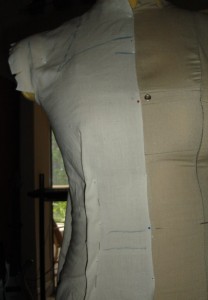
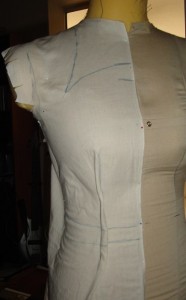
This is a basic tutorial for draping a gown or kirtle bodice from the early 16th century (1500-1520).

What you need:
- dressform or a friend
- muslin/calico or fabric similar in weigth to what your fashion fabric will be.
- pen
- marker
- pins
- scissors
- measuring tape
- french curve
Step 1
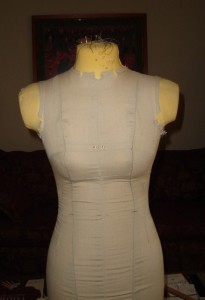
We start with the plain dress form. Mine is a few years old now and it shows. It is close to my size but not perfect, my underbust measurement is bigger then the form. (I left a corset on the form for too long and the foam kept the shape) I have yet to pad that out so I will make allowances for that in the seams.
Some people will use ribbon or twill tape to mark out where everything goes. I’m fresh out so I’m doing this by a few marks I have on the form, my eyes, and a measuring tape.
Step 2
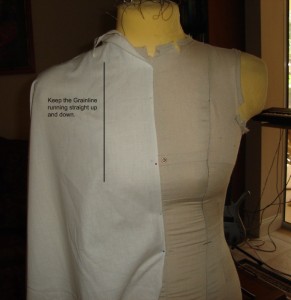
Take your muslin and set the straight edge along the center of the form and above the neck.
We want to start higher then the neck because the straps in the tapestry are not sitting where a tank top would. They start almost where the neck and shoulder meet.
We need that extra material to get the angle right and make the straps wide enough.
The fabric will start to bunch around the neck, just cut a shall scoop or V and smooth out the bunching. Pin it in place and smooth out the rest of the fabric across the form pinning as you go. You want to keep the grain line of the fabric straight up and down.
Step 3
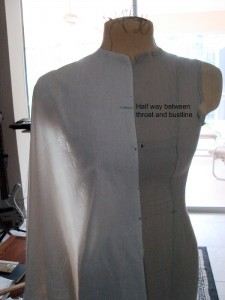
I’ve trimmed down the excess fabric at the neck and smoothed the fabric across the chest and shoulder. Next I measured from my throat to my bust line and halved that measurement. I marked that on the form for where the bodice neckline could hit.
This point may change once the mock up is on you, but better to cut a little too high then too low.
Step 4
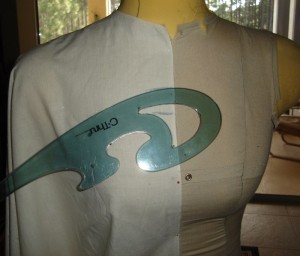
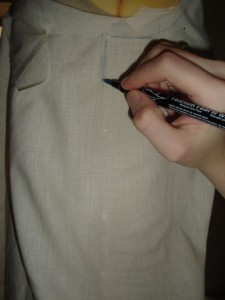
I then move up one inch and make another mark. This is where we are going to start the top curve of the bodice. I’m using a french curve to give me a nice easy line. If you don’t have a french curve a paper plate can work in a pinch.
The angle I am going at is a bit steep.
I didn’t have the picture in front of me at the time.
Step 5
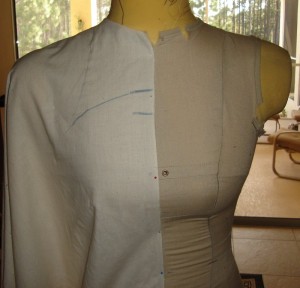
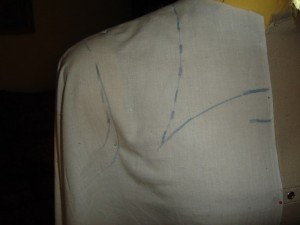
Starting from almost where the neck and shoulder meet draw in the line of your shoulder strap. I used the french curve and brought the line down till it was almost level where my armpit starts.
Step 6
I’ve darkened the line of the shoulder strap so it is a little easier to see.
Mark the top of the shoulder and then mark your armscye. (The armhole).
I always mark the armscye very high and tight so I can cut it down to fit later.
Trim away your excess fabric and start to smooth and pin the fabric under the arm and along the side of the form.
Step 7
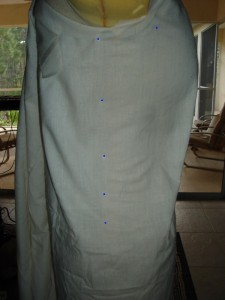
The small blue dots show where I’ve pinned along the side of the form.
You can also see the excess fabric in the front.
We don’t need to worry about that right now.
Step 8
Play connect the dots and mark your side seam!
Step 9
Now back at the front of the form we have some excess fabric sitting here. This is what is going to make up our front dart. The size of your dart will vary depending on the bust, underbust and waist measurements.
If you have a great deal of fabric, you may need to unpin your side seam and then make the dart, and/or include a side bust dart. Fold out the excess fabric, pin the dart closed and then repin and redraw the side seam. (If this isn’t clear let me know. My dressform isn’t really good for draping darts but I’m happy to walk someone through it.)
We will be drafting the darts out later.
Step 10
The dart I am making is very shallow, I just roll the fabric between my fingers until the excess is in one spot. I pinch out excess while keeping the grain as straight as I can and pin the dart closed. Notice the top of the dart does not extend up to the bust point, it starts about an inch or so below it.
Step 11
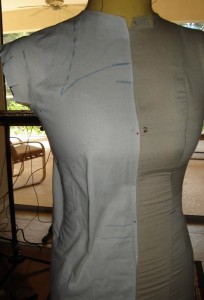
Mark both sides of you pinned dart and mark your waist line. Add seam allowances at the waist, side, shoulder seam and neckline then trim down your excess fabric.
