Centuries-Sewing

Tag: brass pins

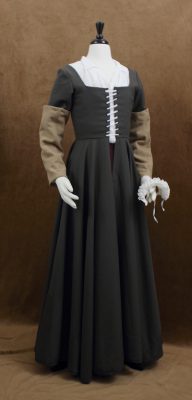
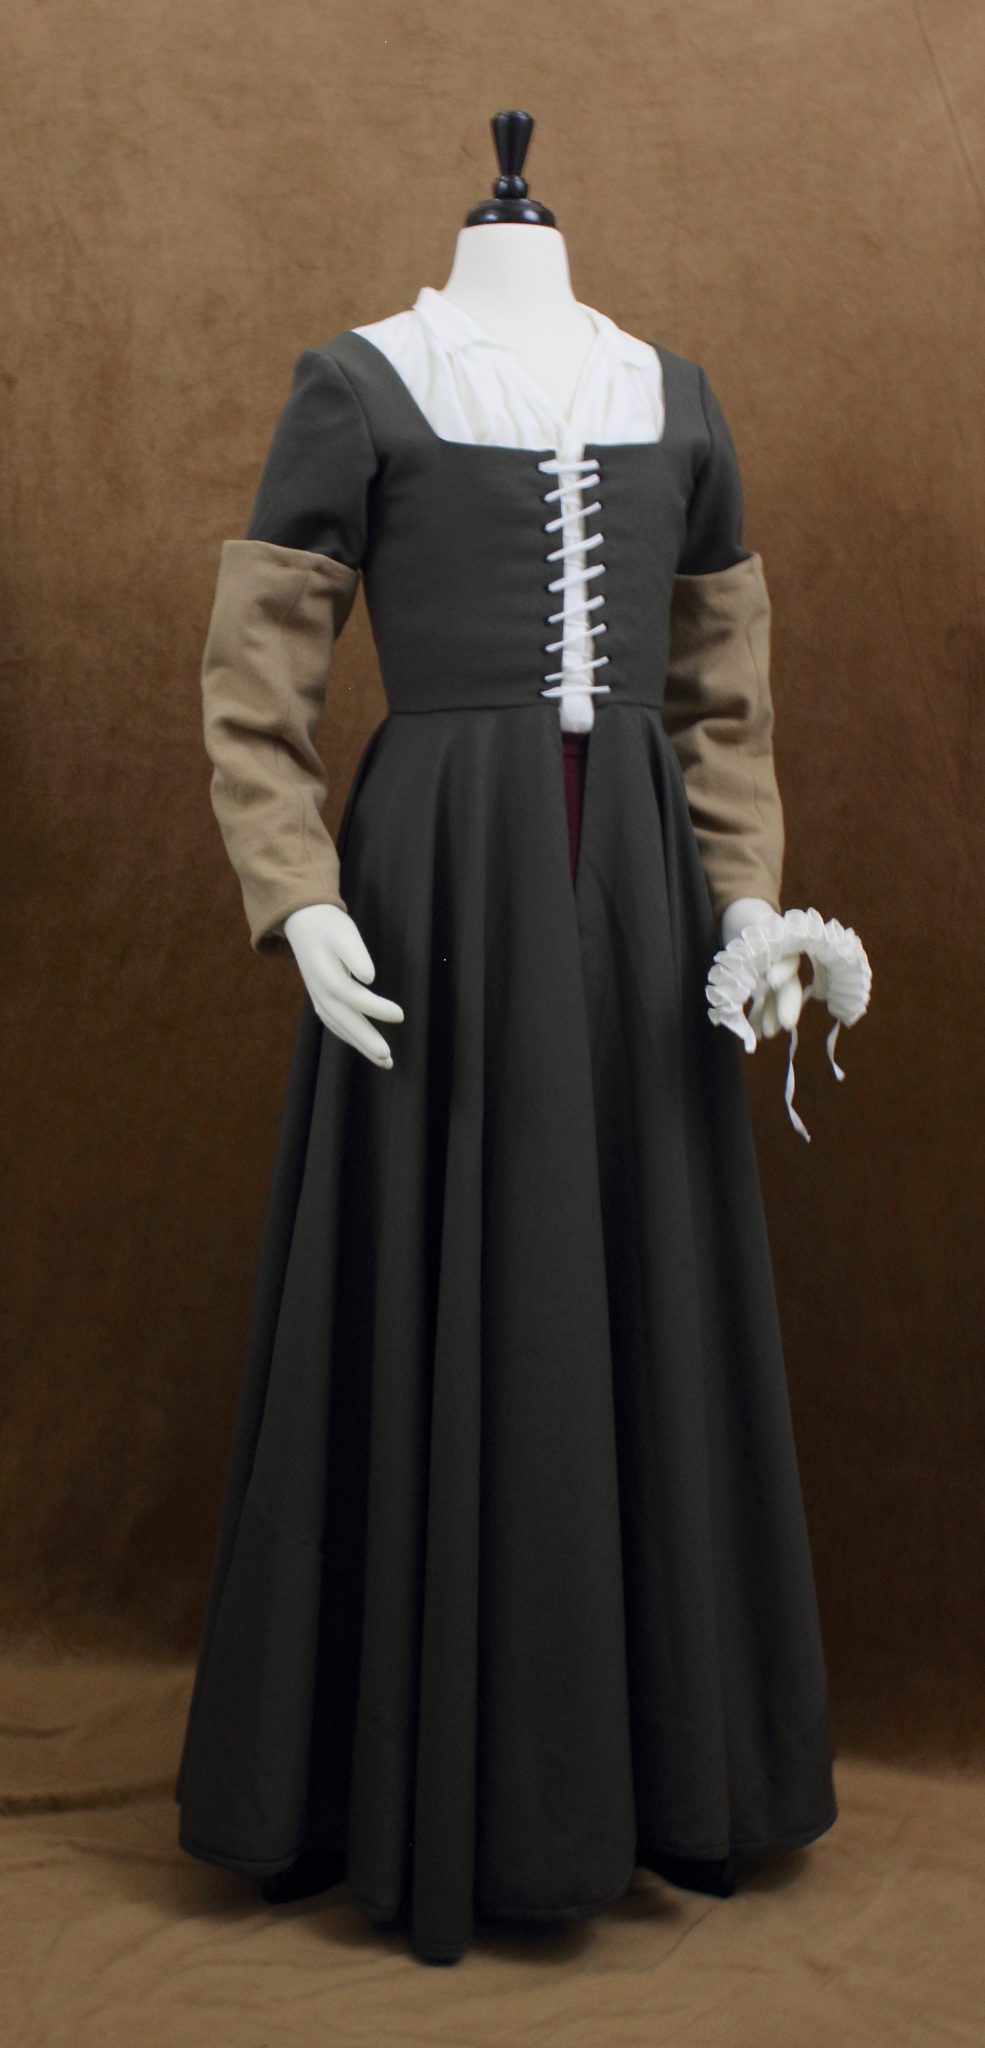
  • A 16th Century Kirtle in Olive Wool with Caramel Oversleeves

    A 16th Century Kirtle in Olive Wool with Caramel Oversleeves

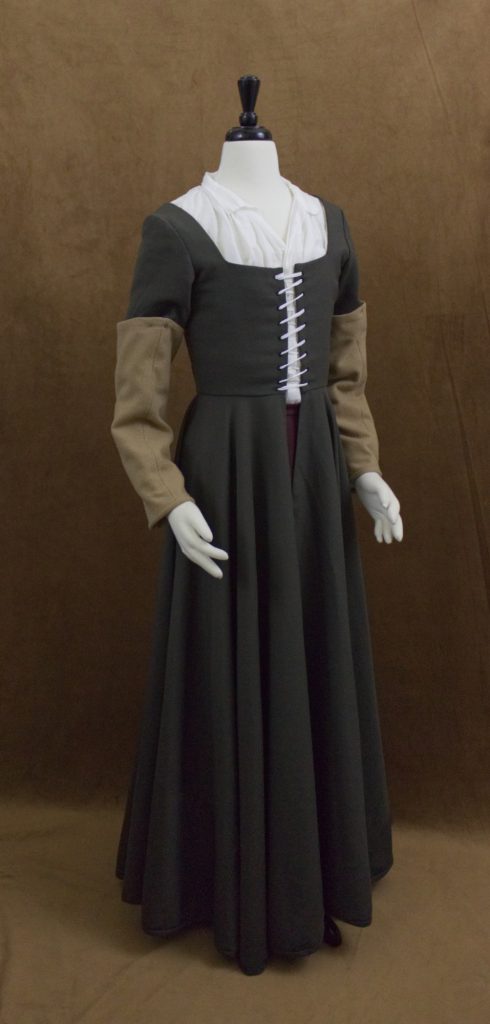
    I started this kirtle in 2014/2015 cutting it from the leftover yardage of the olive fitted gown and an old bodice block I drafted on newspaper. This kirtle differs from ones I’ve made before in that it has a very full skirt (possibly too full) and half sleeves.

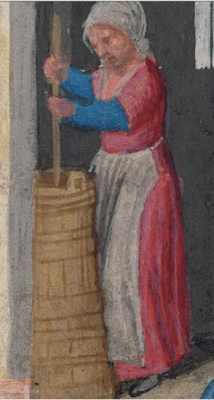
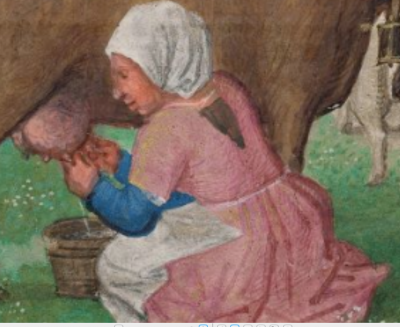
    Images from the Da Costa Book of Hours at the Morgan Library and Museum served as my main inspiration for the half sleeves. I did not try for the deep V back neckline, I have sloped shoulders and have had issues with the straps pulling if I go too low in the back.

    The whole project lived in a large shoe box through two moves, getting taken out from time to time, worked on and then returned to the box.

    This year I was determined to finish it. If only to make sure I wouldn’t misplace the half sleeves again.

    I already sewed the skirt together, so that left me with the bodice to wrangle.

    Building the Bodice

    • Pad stitch interlinings by hand
    • Flatline to bodice
    • Cut bodice linings
    • Baste bodice and try it on
    • Adjust the bodice to fit and piece shoulder seams
    • Sew the bodice
    • Hand sew in the bodice lining
    • Hand sew the eyelets in black silk twist
    • Sew shoulder straps
    • Test fit sleeves and cut the lining
    • Sew sleeves
    • Set the sleeves
    • Bind the armscye

    To piece the shoulder straps I made small lined rectangles and whip stitched them in by hand. I’ve done this a few times before, but I’m not fond of how bulky the area becomes with all the seam allowances building up in that small area.
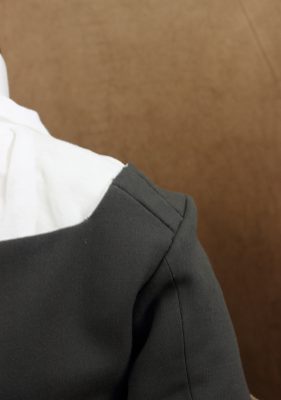
    shoulder strap piecing

    The sleeve head is looking a little sad in the photos because I have mannequin arms stuffed and pinned onto a dressform they did not come with.

    Once the bodice was together I attached the skirt by hand and folded over the bodice lining to hide the join. When I got ready to level out the skirt I realized in my excitement to get every bit of skirt out of the fabric I had I went a little overboard. I was looking at a 6 yard hem to level and bind.

    Speaking of binding, I was down to a handful of scraps.

    This became frankenbinding. Some strips were on the straight, some on the bias, the widths varied and once I had all the binding sewn on I was still 6 inches short. So I pulled some slightly darker wool from the stash and used that.
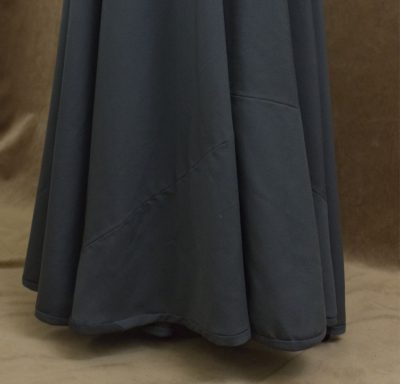
    skirt seaming

    Once the hem was bound, pressed, steamed and clapped into submission I faced the cold hard reality that leaving my skirt unlined was a mistake. The wool I used for the kirtle is tropical suiting weight, this makes it very breathable and easy to wear but it does like to fray when cut along the straight. Now it was not fraying like some brocades do when you look at them, but it was enough that clipping the threads that worked their way lose would be bothersome.
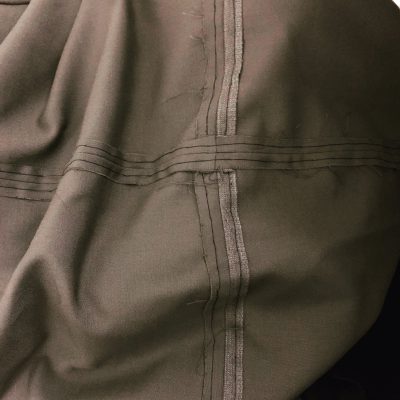
    Skirt seams starting to fray

    So I hand sewed the seam allowances down in a bastardized stitch that is a mix of the prick stitch, the running stitch and the back stitch in black silk thread.
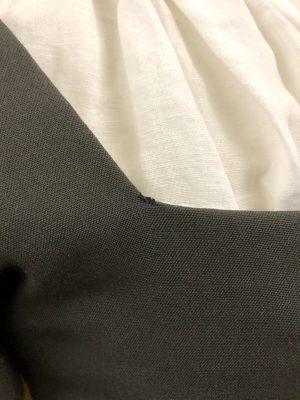
    Reenforced bodice corner

    The final finishing was reinforcing the stress points along the kirtle with a very fine whip stitch at the corners of the bodice front and back and at the front skirt seam opening.

    The Half Sleeves
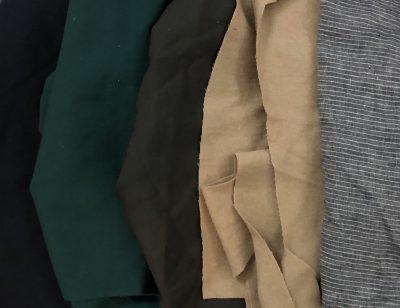
    Sleeve fabric choices
    Sleeve fabric choices

    The caramel wool over sleeves are a mixture of machine and hand sewing. I used my green half sleeves as a pattern and made them a little longer and a little roomier. All in all it is just a two part tapered rectangle. I sewed the wool and the linen lining up on the machine. Pressed. Matched the seams at the top and sewed the tubes together and turned them out. To finish hem off I bound the bottom edges in stripes of the wool and finished them by hand. I decided on the bottom edge as that is where these will get the most wear and tear over time and the binding is easy to replace.

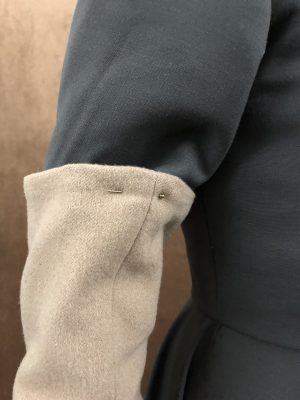
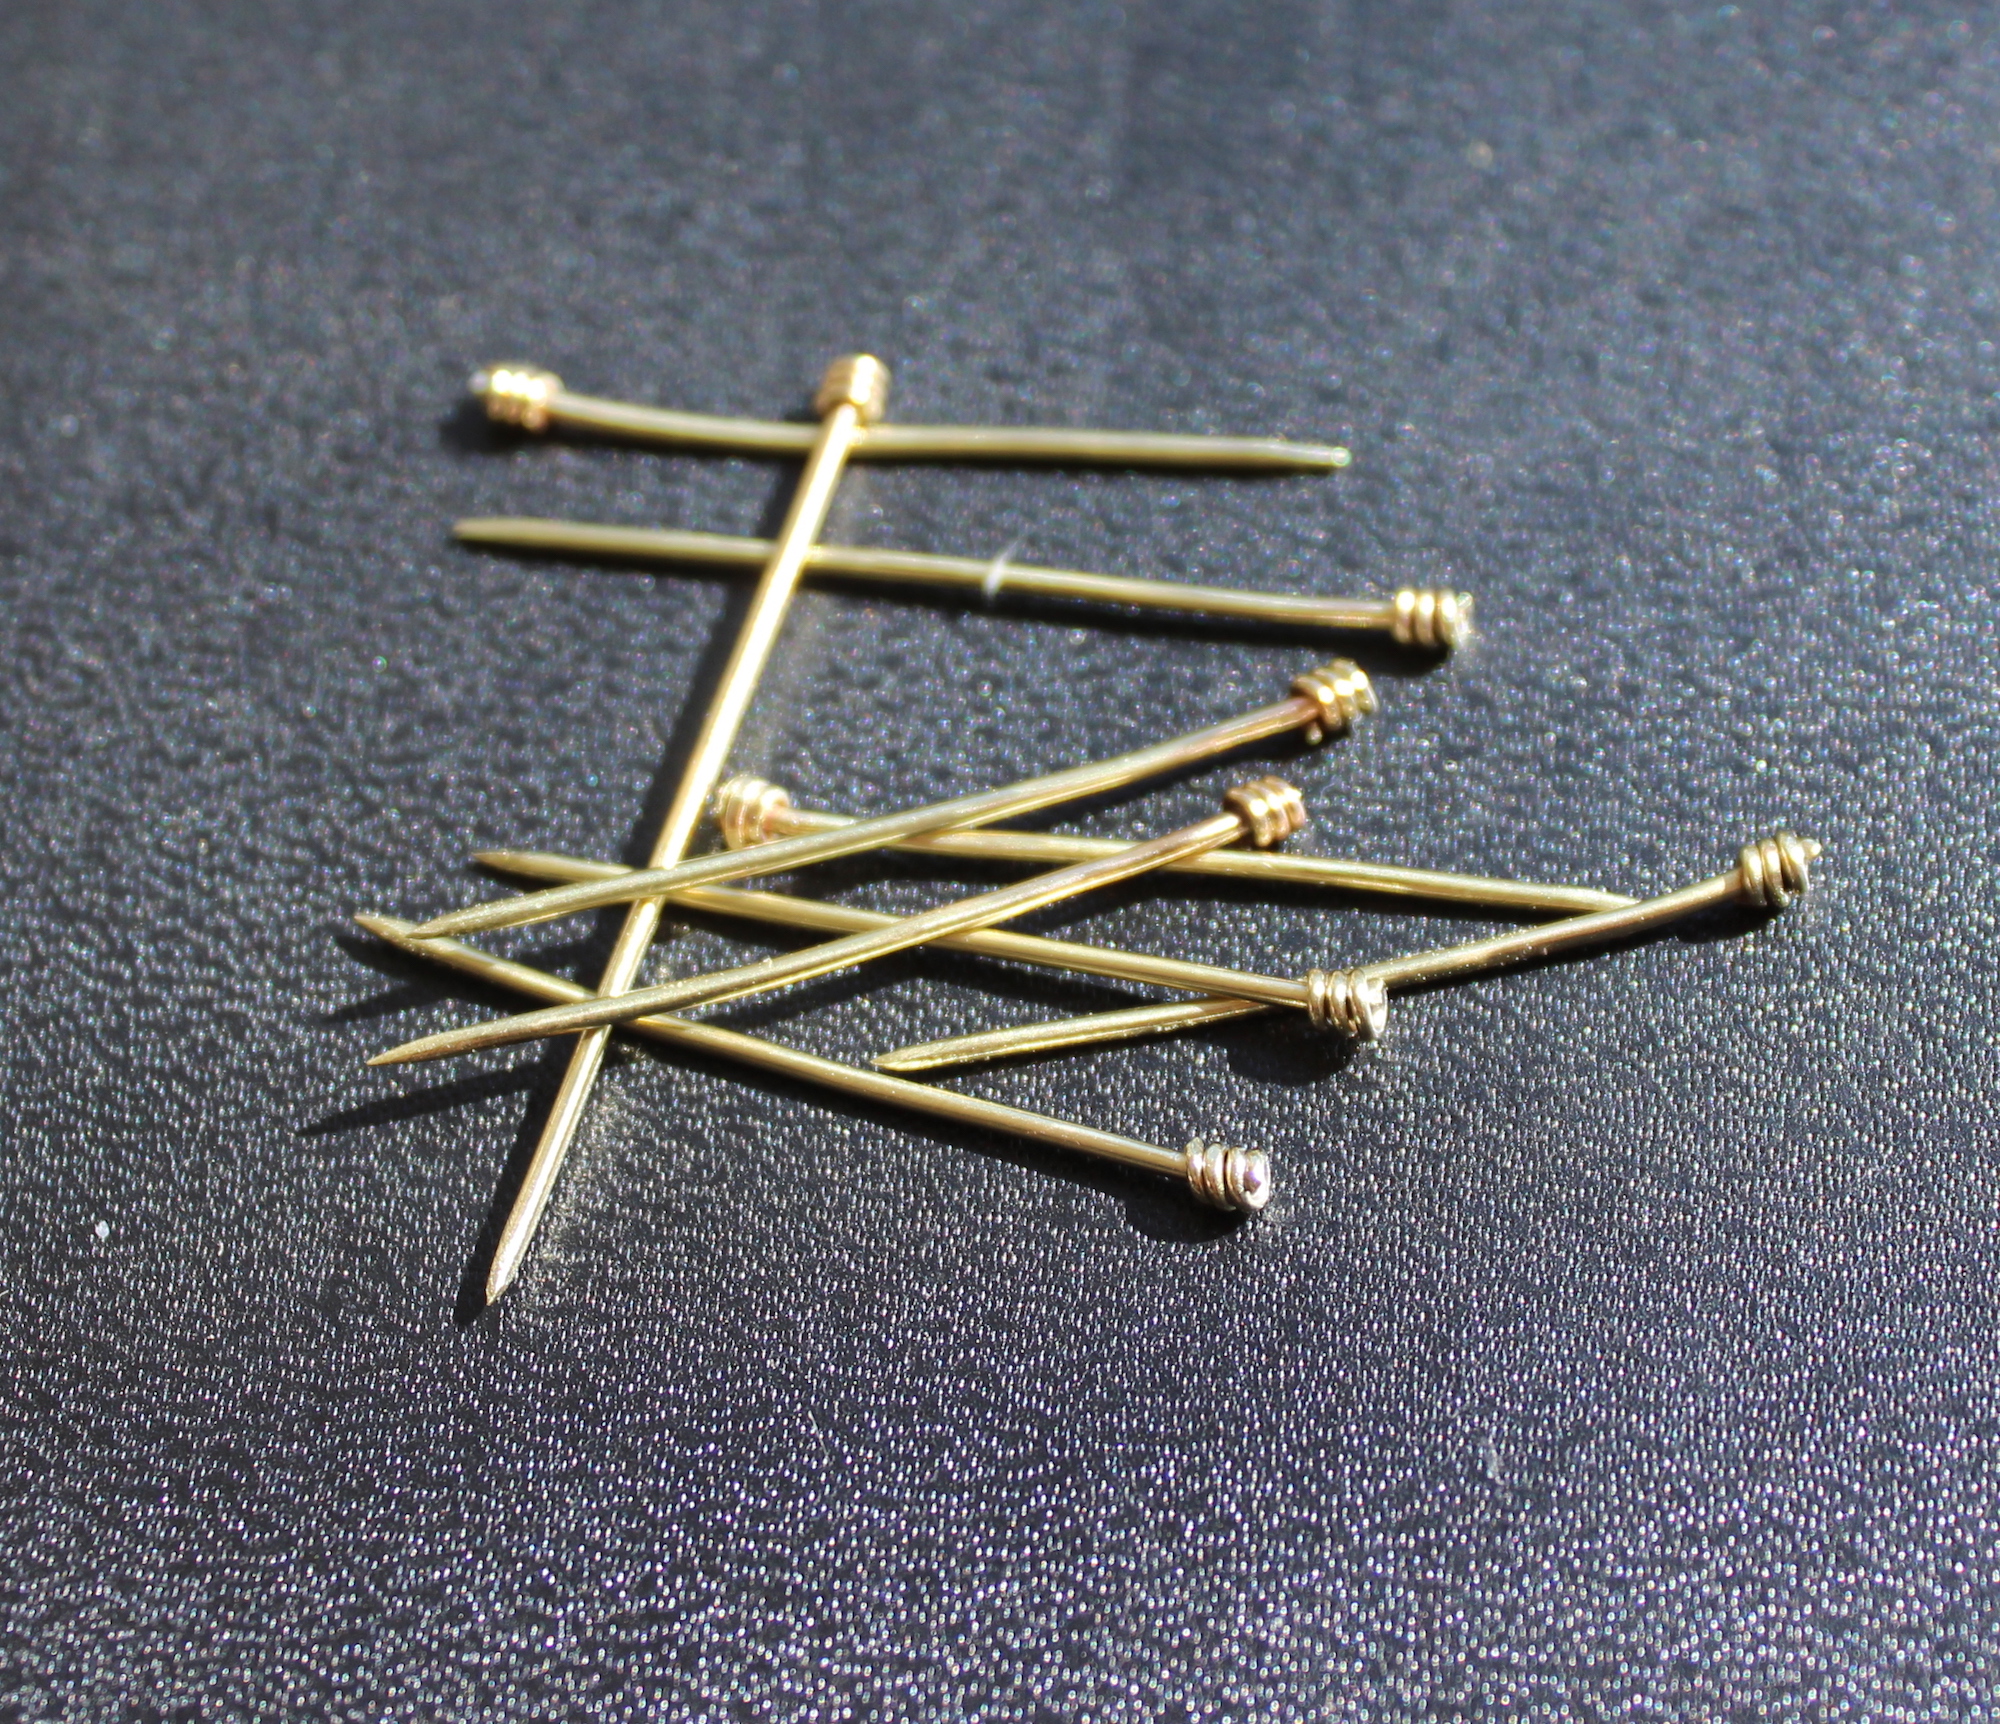
    The sleeve pin on to the upper sleeve with my handmade brass pins.
  • 16th Century Brass Pins

    16th Century Brass Pins

    For Christmas, I got myself a butane-fueled jewelry torch along with brass wire of various gauges, gold colored hard solder, and other accouterments. I have several projects planned but for now, I need lots of practice with the torch.

    Brass pins are just the right amount of fiddleyness for a beginners project and each time I’ve made some I’ve learned something new. Also, shout out to Scott of The Renaissance Artisan for his in-depth work on the history of pins and pinners and who made this process much easier.

    I have in my collection a small 16th century Dutch pin that I am using as a base. The wire it was made with is about 18 gauge and it is 34mm long.

    Brass wire next to original pin
    Brass wire next to original pin

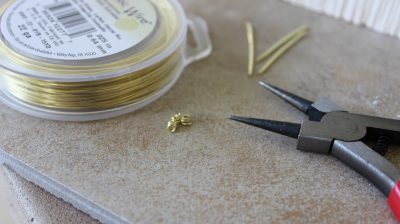
    I start by trimming my brass wire into small sections with my flush cutter and filing one end flat.

    Work hardening brass wire
    Work hardening brass wire

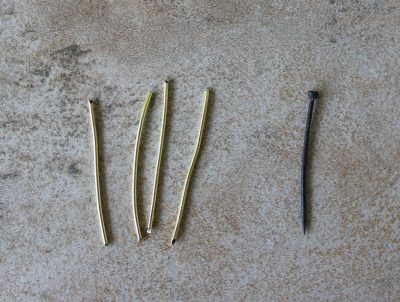
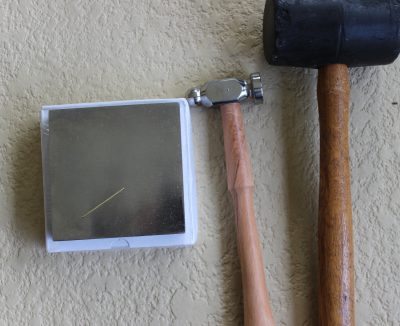
    Next, I work harden my wire on my bench block with a rubber mallet. While this works, it isn’t optimal. On my next batch of pins I rolled the wire between a wooden cutting board and my bench block.

    This works much better for hardening and straightening the small lengths of wire without the risk of pinched fingers. Ouch!


    Brass pins after the first pass of sharpening
    Brass pins after the first pass of sharpening

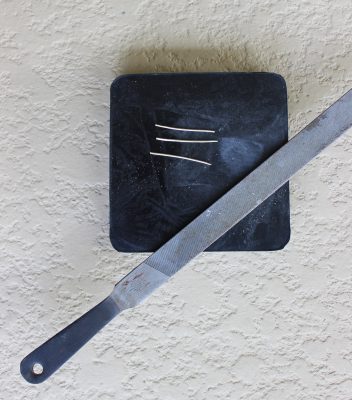
    After work hardening the wire I give each pin a rough point with a crosscut file. In the 16th century, a pinner’s bone would be used to help position and angle the pin for filing. I don’t have one so I filed a small notch into my wooden cutting board.

    This is something I need to practice. While getting a sharp point is easy, getting a smooth taper can be tricky and if your wire is not hardened enough it likes to bend.

    For the pinheads I’m using round nose pliers to make little spiral hats from 22 gauge brass wire. My plier points are not as thin as the 18 gauge wire so I found this process extremely frustrating. The pinheads end up slightly too large for the wire and I had to individually tweak and adjust the top of each spiral so it wouldn’t fall down the pin shaft.

    On my second batch I wrapped the pinhead wire around the pin shank as it was done in period. This was slightly less frustrating and had the added benefit of not needing to adjust the tiny coils and took out the extra step of fluxing the pinheads in place before soldering.

    Brass pins with wrapped wire heads
    Brass pins with wrapped wire heads

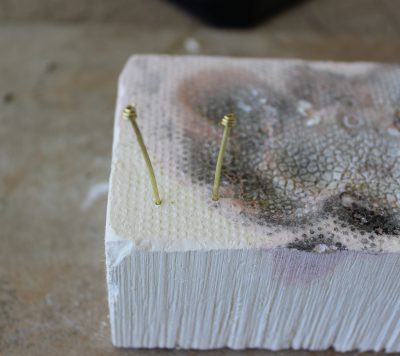
    I poked a few holes into my soldering block to hold the pins upright and then fluxed and soldered each pinhead in place.

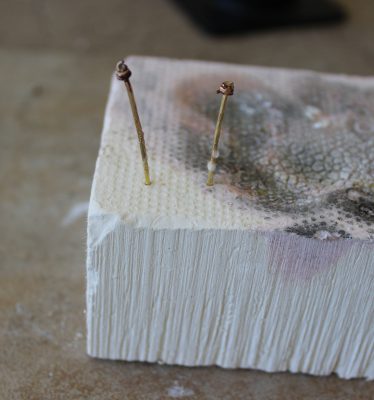
    Brass pins after torch firing
    Brass pins after torch firing

    After soldering the pins are dirty covered in flux and oxidation. Ew!


    Pins after coming out of the pickle.
    Pins after coming out of the pickle.

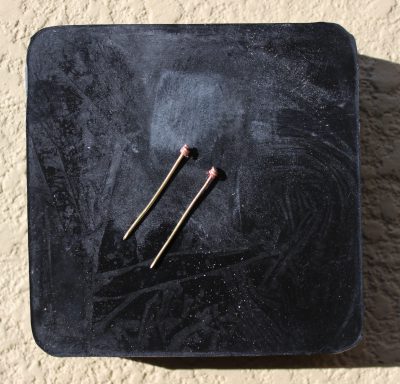
    To clean them I put them in a solution of white vinegar and salt, this eats away at the baked on flux and oxidation. It also brings a thin layer of copper to the surface of the brass. I might be able to prevent this by adding some hydrogen peroxide to the pickle but for now, the copper comes off with some polishing.

    Brass pins before clean up
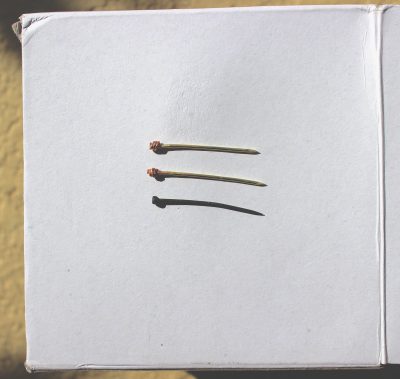
    Brass pins before clean up with original 16th-century Dutch pin on the bottom.


    Brass pins after polishing
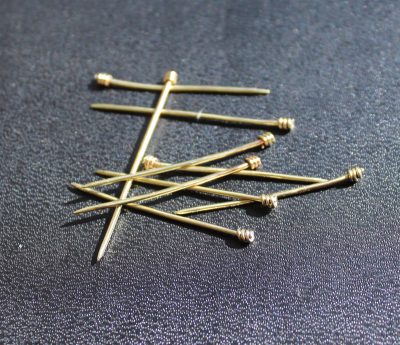
    Brass pins after polishing