The main project this week was revising my 16th-century sleeve pattern and making up a pair of test sleeves. I was not happy with how my sleeves turned out in the caramel wool petticoat bodies. Some of that was from how thin and lightweight the fabric was, and some of it was from the pattern I used.
I plan on revisiting those linen sleeves to fix some of the issues, but knew I needed a new base pattern that didn’t cause so many headaches.
A New Sleeve Pattern
Over the years I’ve drafted a lot of sleeve patterns. I’ve drafted them using modern drafting methods, using diagrams in costumes books and at least one-time using aluminum foil. Sometimes they have been successful, other times they have been a hot mess.
This time around I turned to Juan de Alcega’s Tailors Pattern Book but instead of breaking out the bara strips, I opened up Inkscape and traced the sleeve shape.
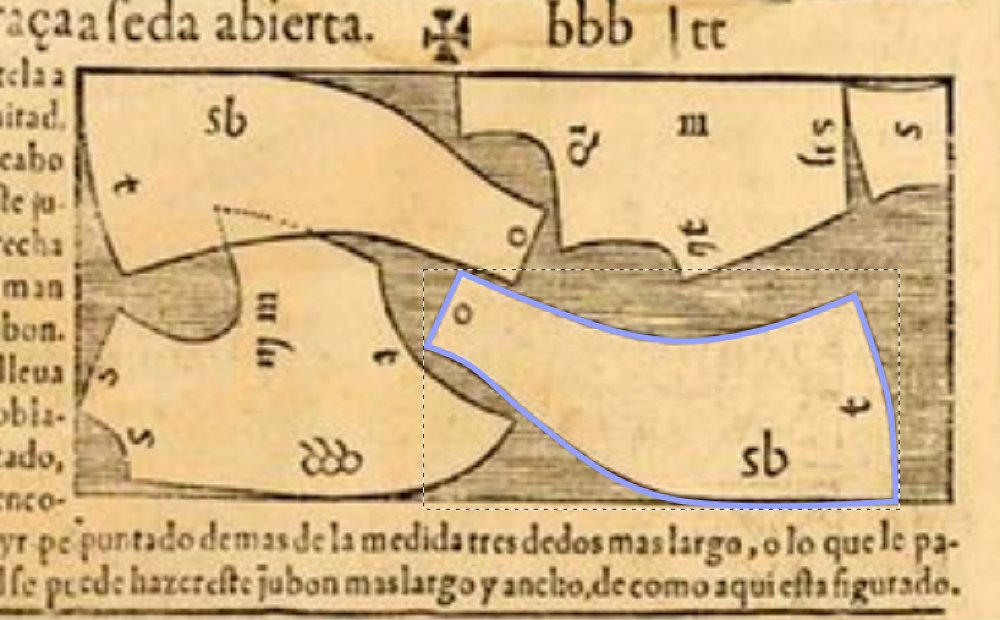
From there I adjust the pattern shape to have less of a dramatic curve and match my arm measurements with some ease included.
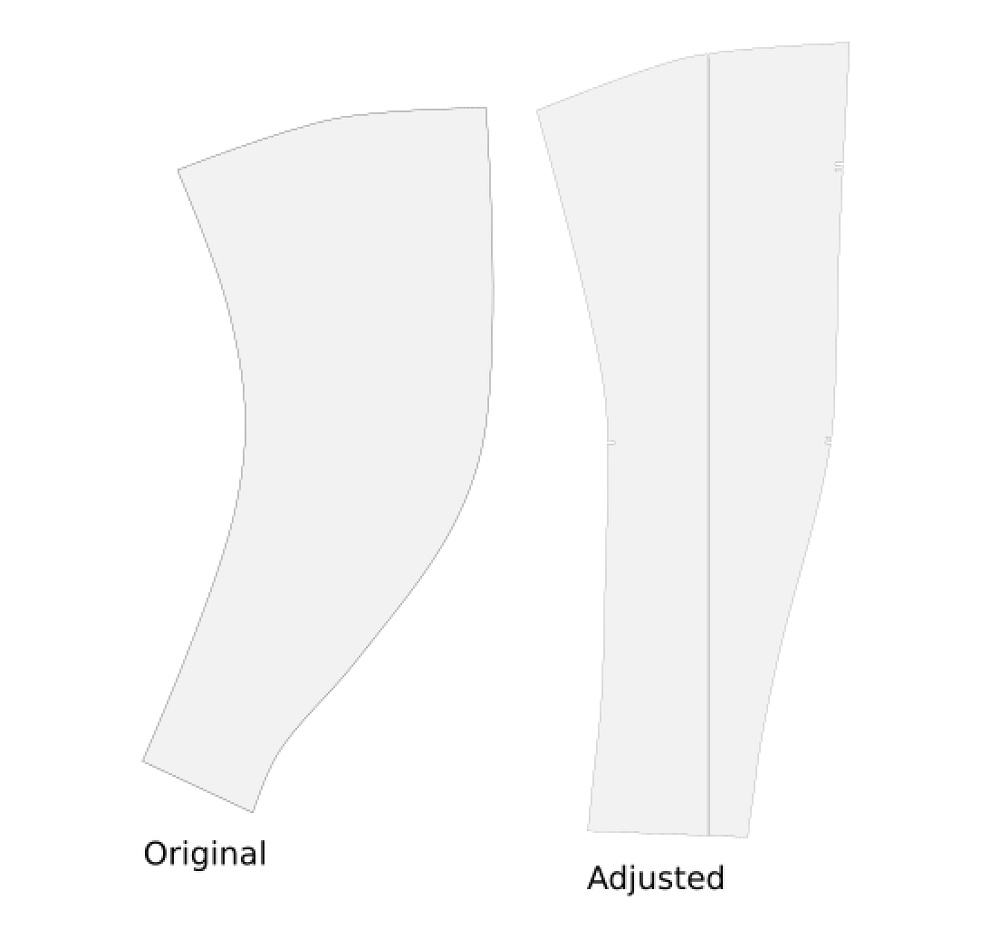
I printed out my digital pattern, cropping it to fit on two sheets of paper and taped it together. Then I made a mock-up out of some rough linen, giving myself some extra wide seam allowances for adjustment. It took some back and forth in front the mirror with pins until I was happy with how the pattern was shaping up.
Measure 400 Times Cut Once
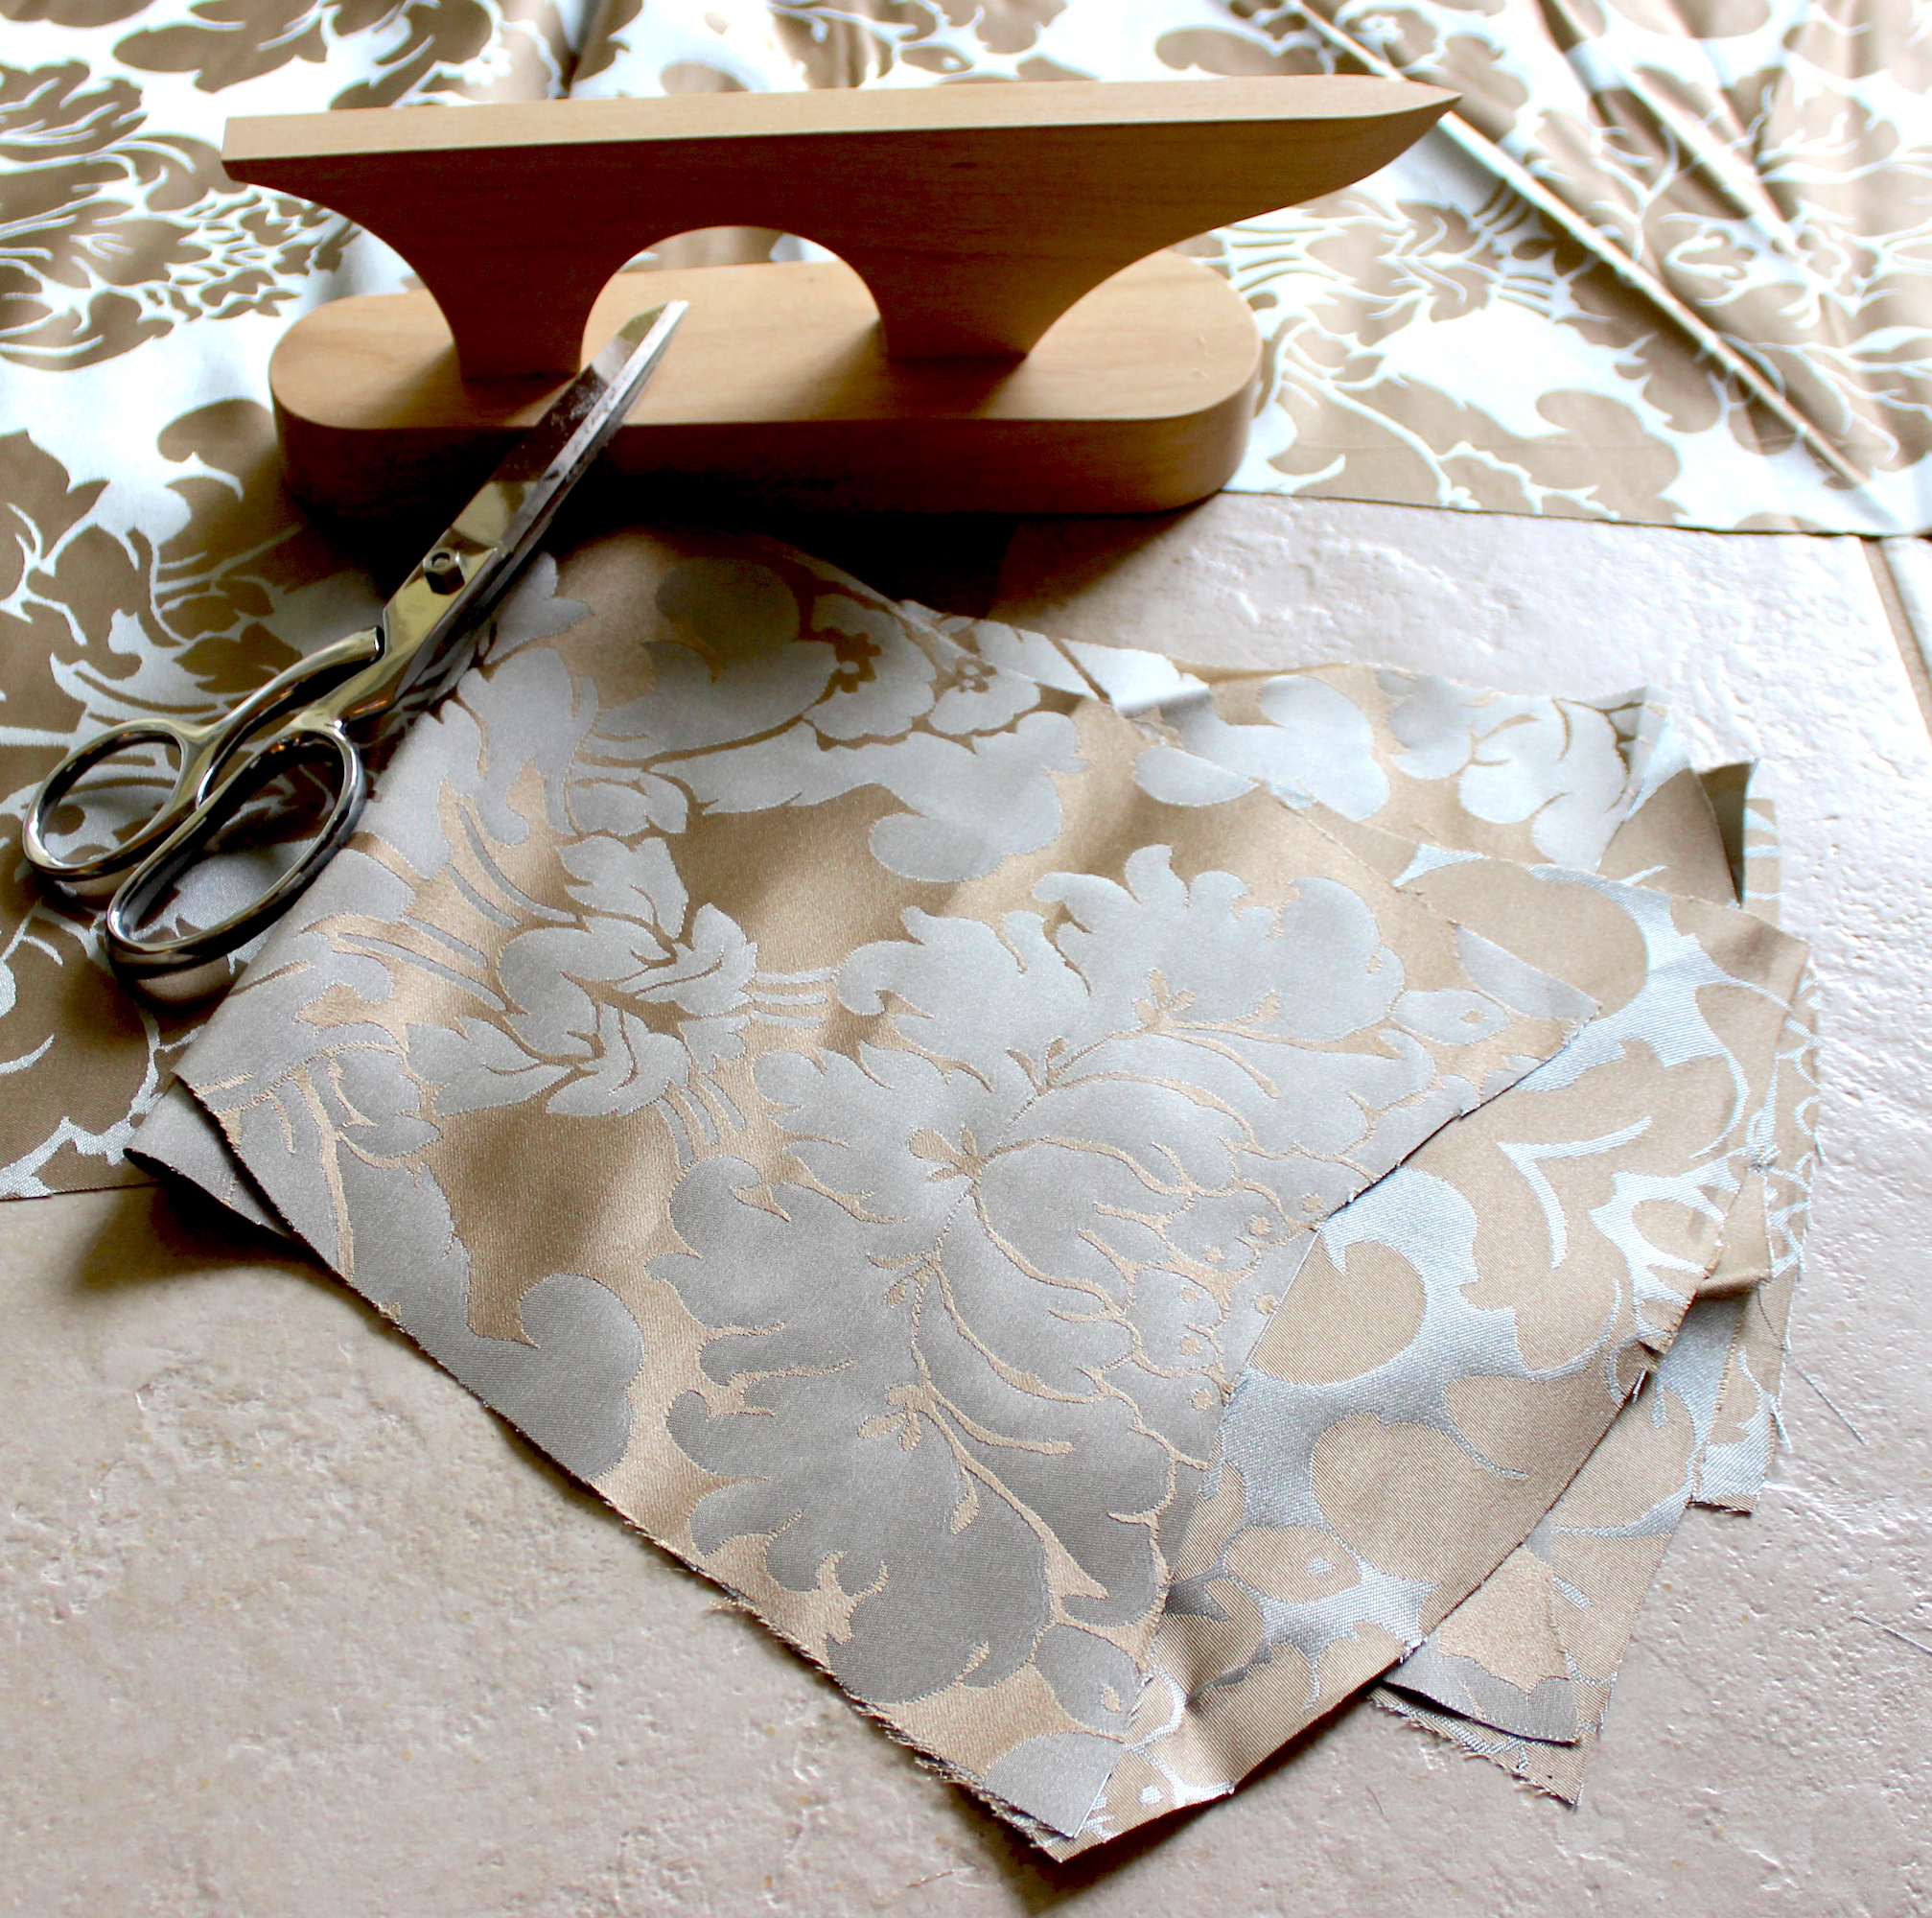
A few weeks ago I ran across a very good deal on some scrumptious silk damask, it was dirt cheap due to a flaw in the weave. Into my shopping cart it went along with some linen to use for various projects. I figured I could cut around the flaws.
When the fabric arrived I found the weave flaw ran all the way down the yardage. The thought crossed my mind to try and reweave the damage, but I decided I was not *quite* that dedicated.
I cut out my linen lining first and then jigsaw puzzled my way down the silk trying to pattern match where I could. Not having the missing thread run through the main part of the sleeve was a challenge as I wanted to use as little of the fabric as possible.
To make everything fit I ended up piecing the upper back of the left-hand sleeve.
It took me at least an hour to cut out the sleeve, due to not wanting to mess up a very nice fabric. I also cut it flat so each pattern piece needed to be flipped over while I triple checked that I did not somehow cut two left sleeves (which has happened before).
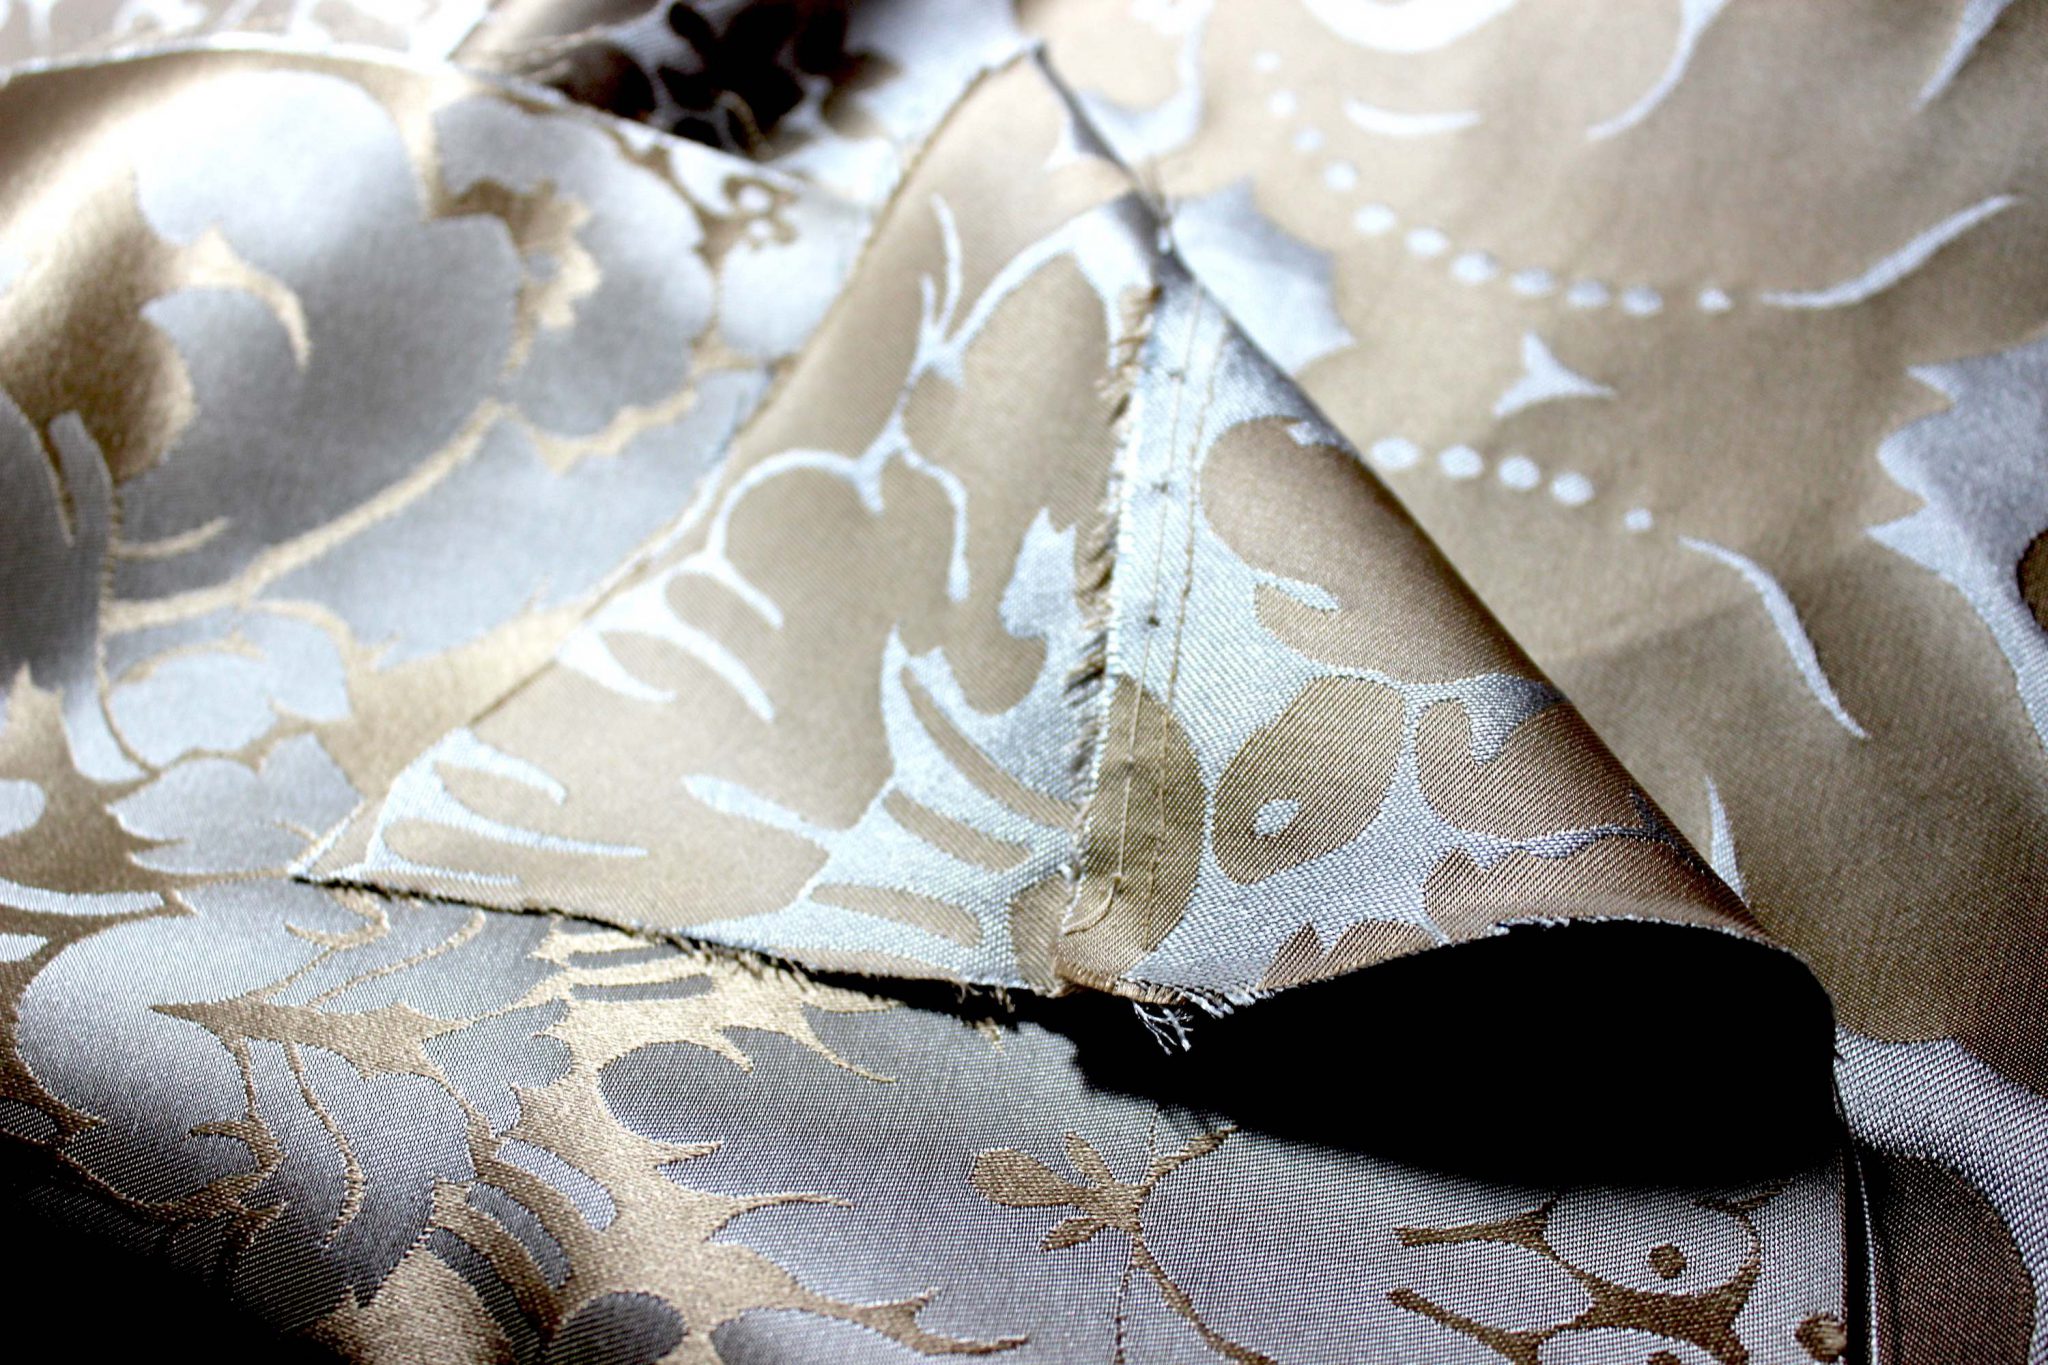
Once everything was cut out I sewed the linen lining together using the running stitch with a small section of backstitching at the elbow points to reinforce that area. Next, I sewed the silk together using cream silk thread with the back stitch.

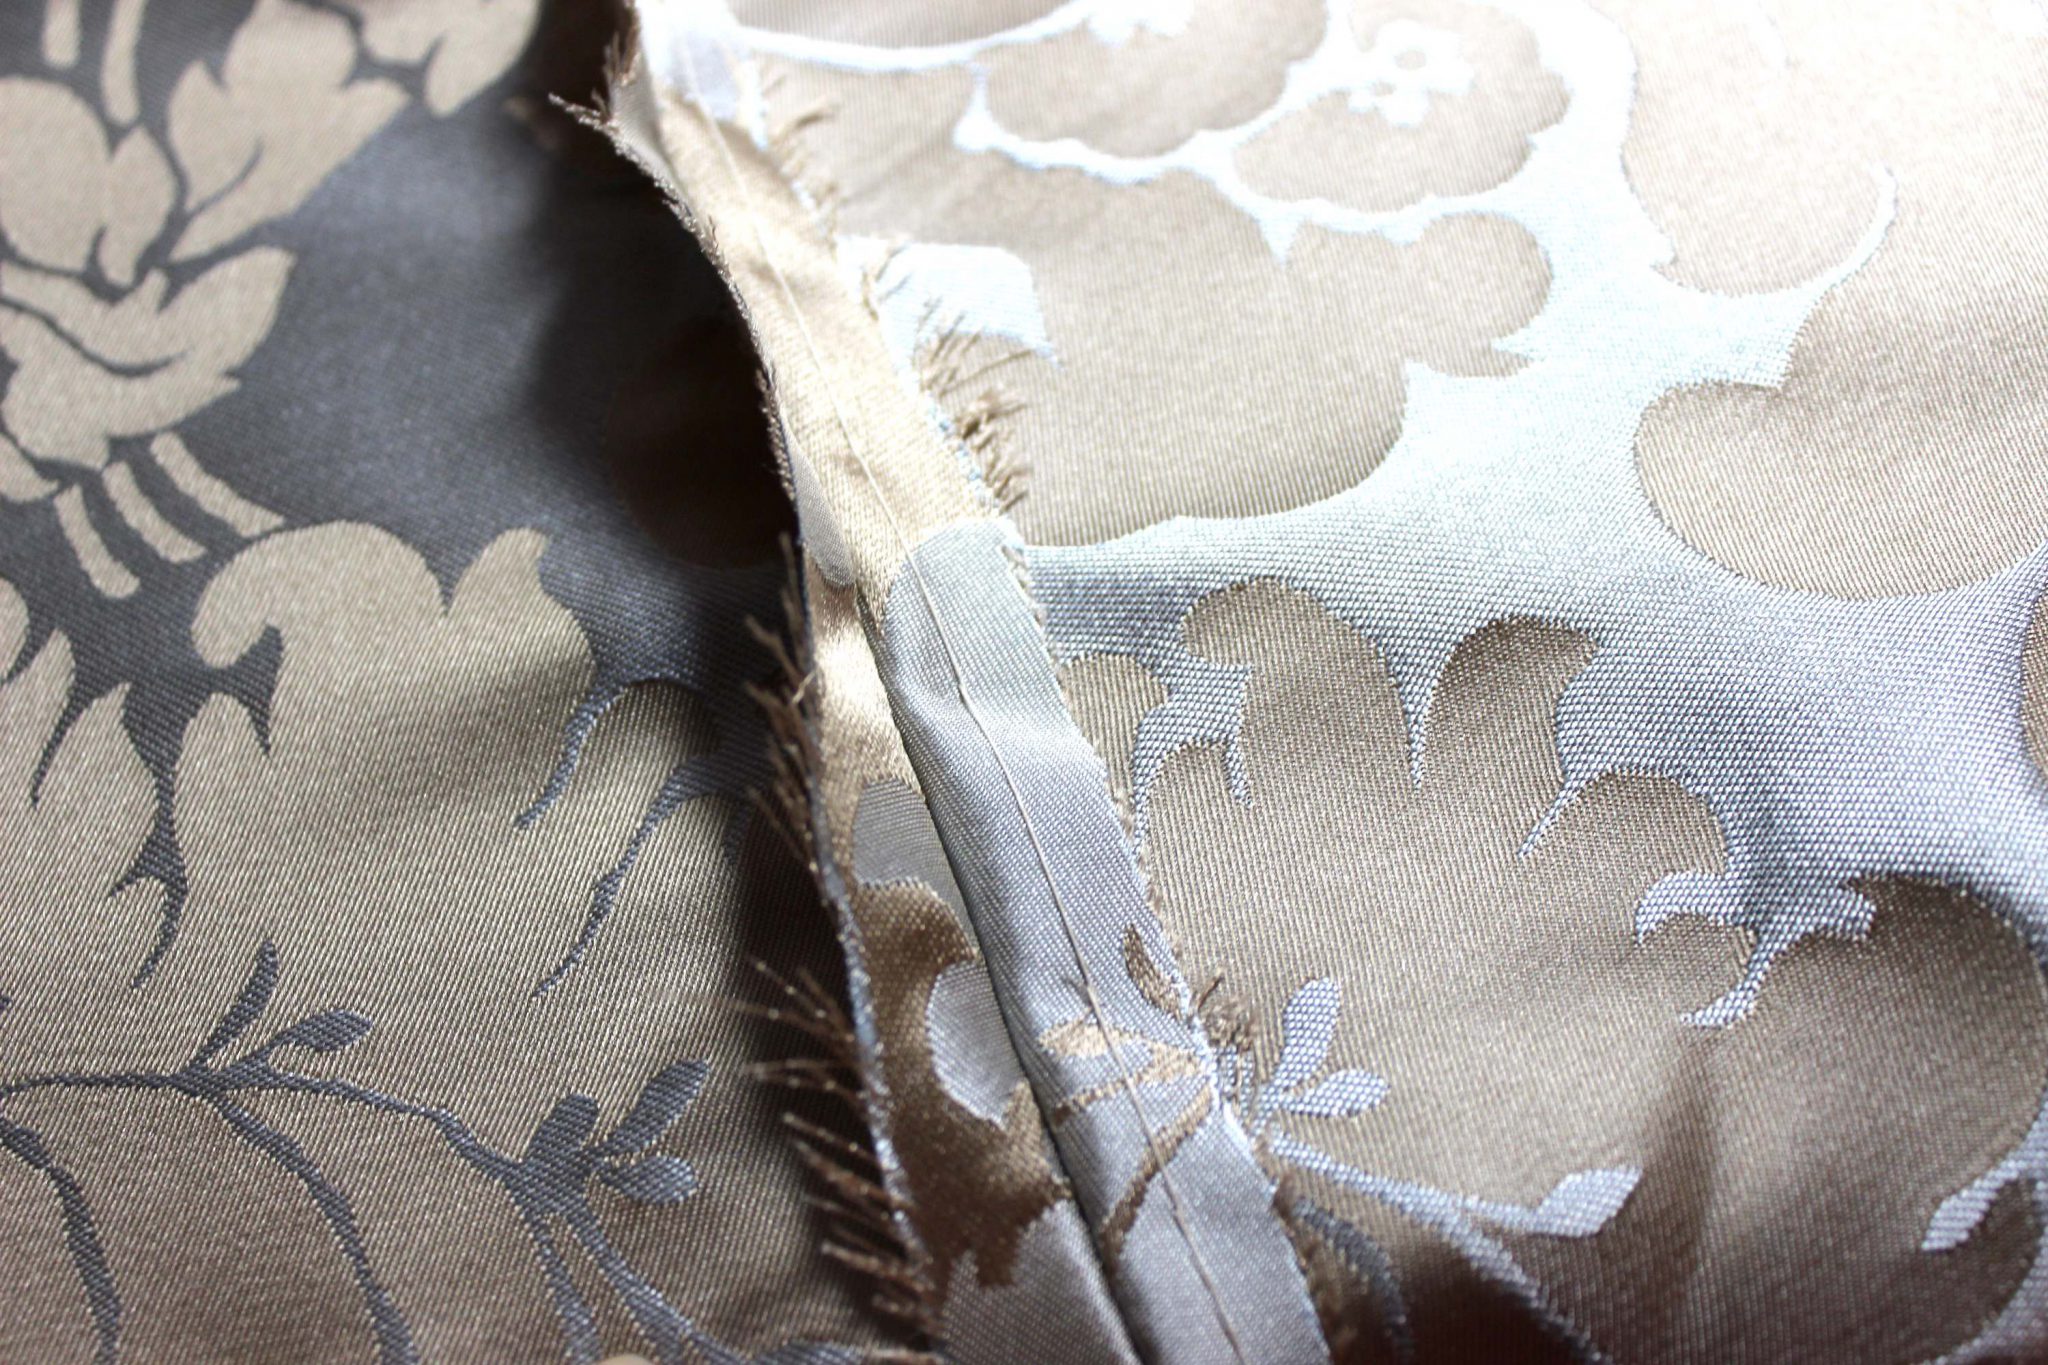
As I handled the fabric it started to fray. Usually, I would overlock or zig zag the raw edges to prevent it. But I was worried about the extra bulk of the threads shadowing through the silk.
Instead, I prick stitched the seam allowance down, taking tiny stitches through the outer fabric, this also meant I did not need to worry about ironing the seam flat.
Once all the sleeves were together I put the linings in and basted along the top of the sleeve cap. Then I tried them on with a kirtle, pinning the top of the sleeve to the shoulder strap and looking at where the wrinkles formed. They needed some adjustment.
That is where I am now. There is a pin stuck in where the underarm curve needs to dip down a little more. I have some narrow bias tape cut from scrap linen to bind the edges and some braid should be arriving in a week or two to trim the seams.