
For Christmas, I got myself a butane-fueled jewelry torch along with brass wire of various gauges, gold colored hard solder, and other accouterments. I have several projects planned but for now, I need lots of practice with the torch.
Brass pins are just the right amount of fiddleyness for a beginners project and each time I’ve made some I’ve learned something new. Also, shout out to Scott of The Renaissance Artisan for his in-depth work on the history of pins and pinners and who made this process much easier.
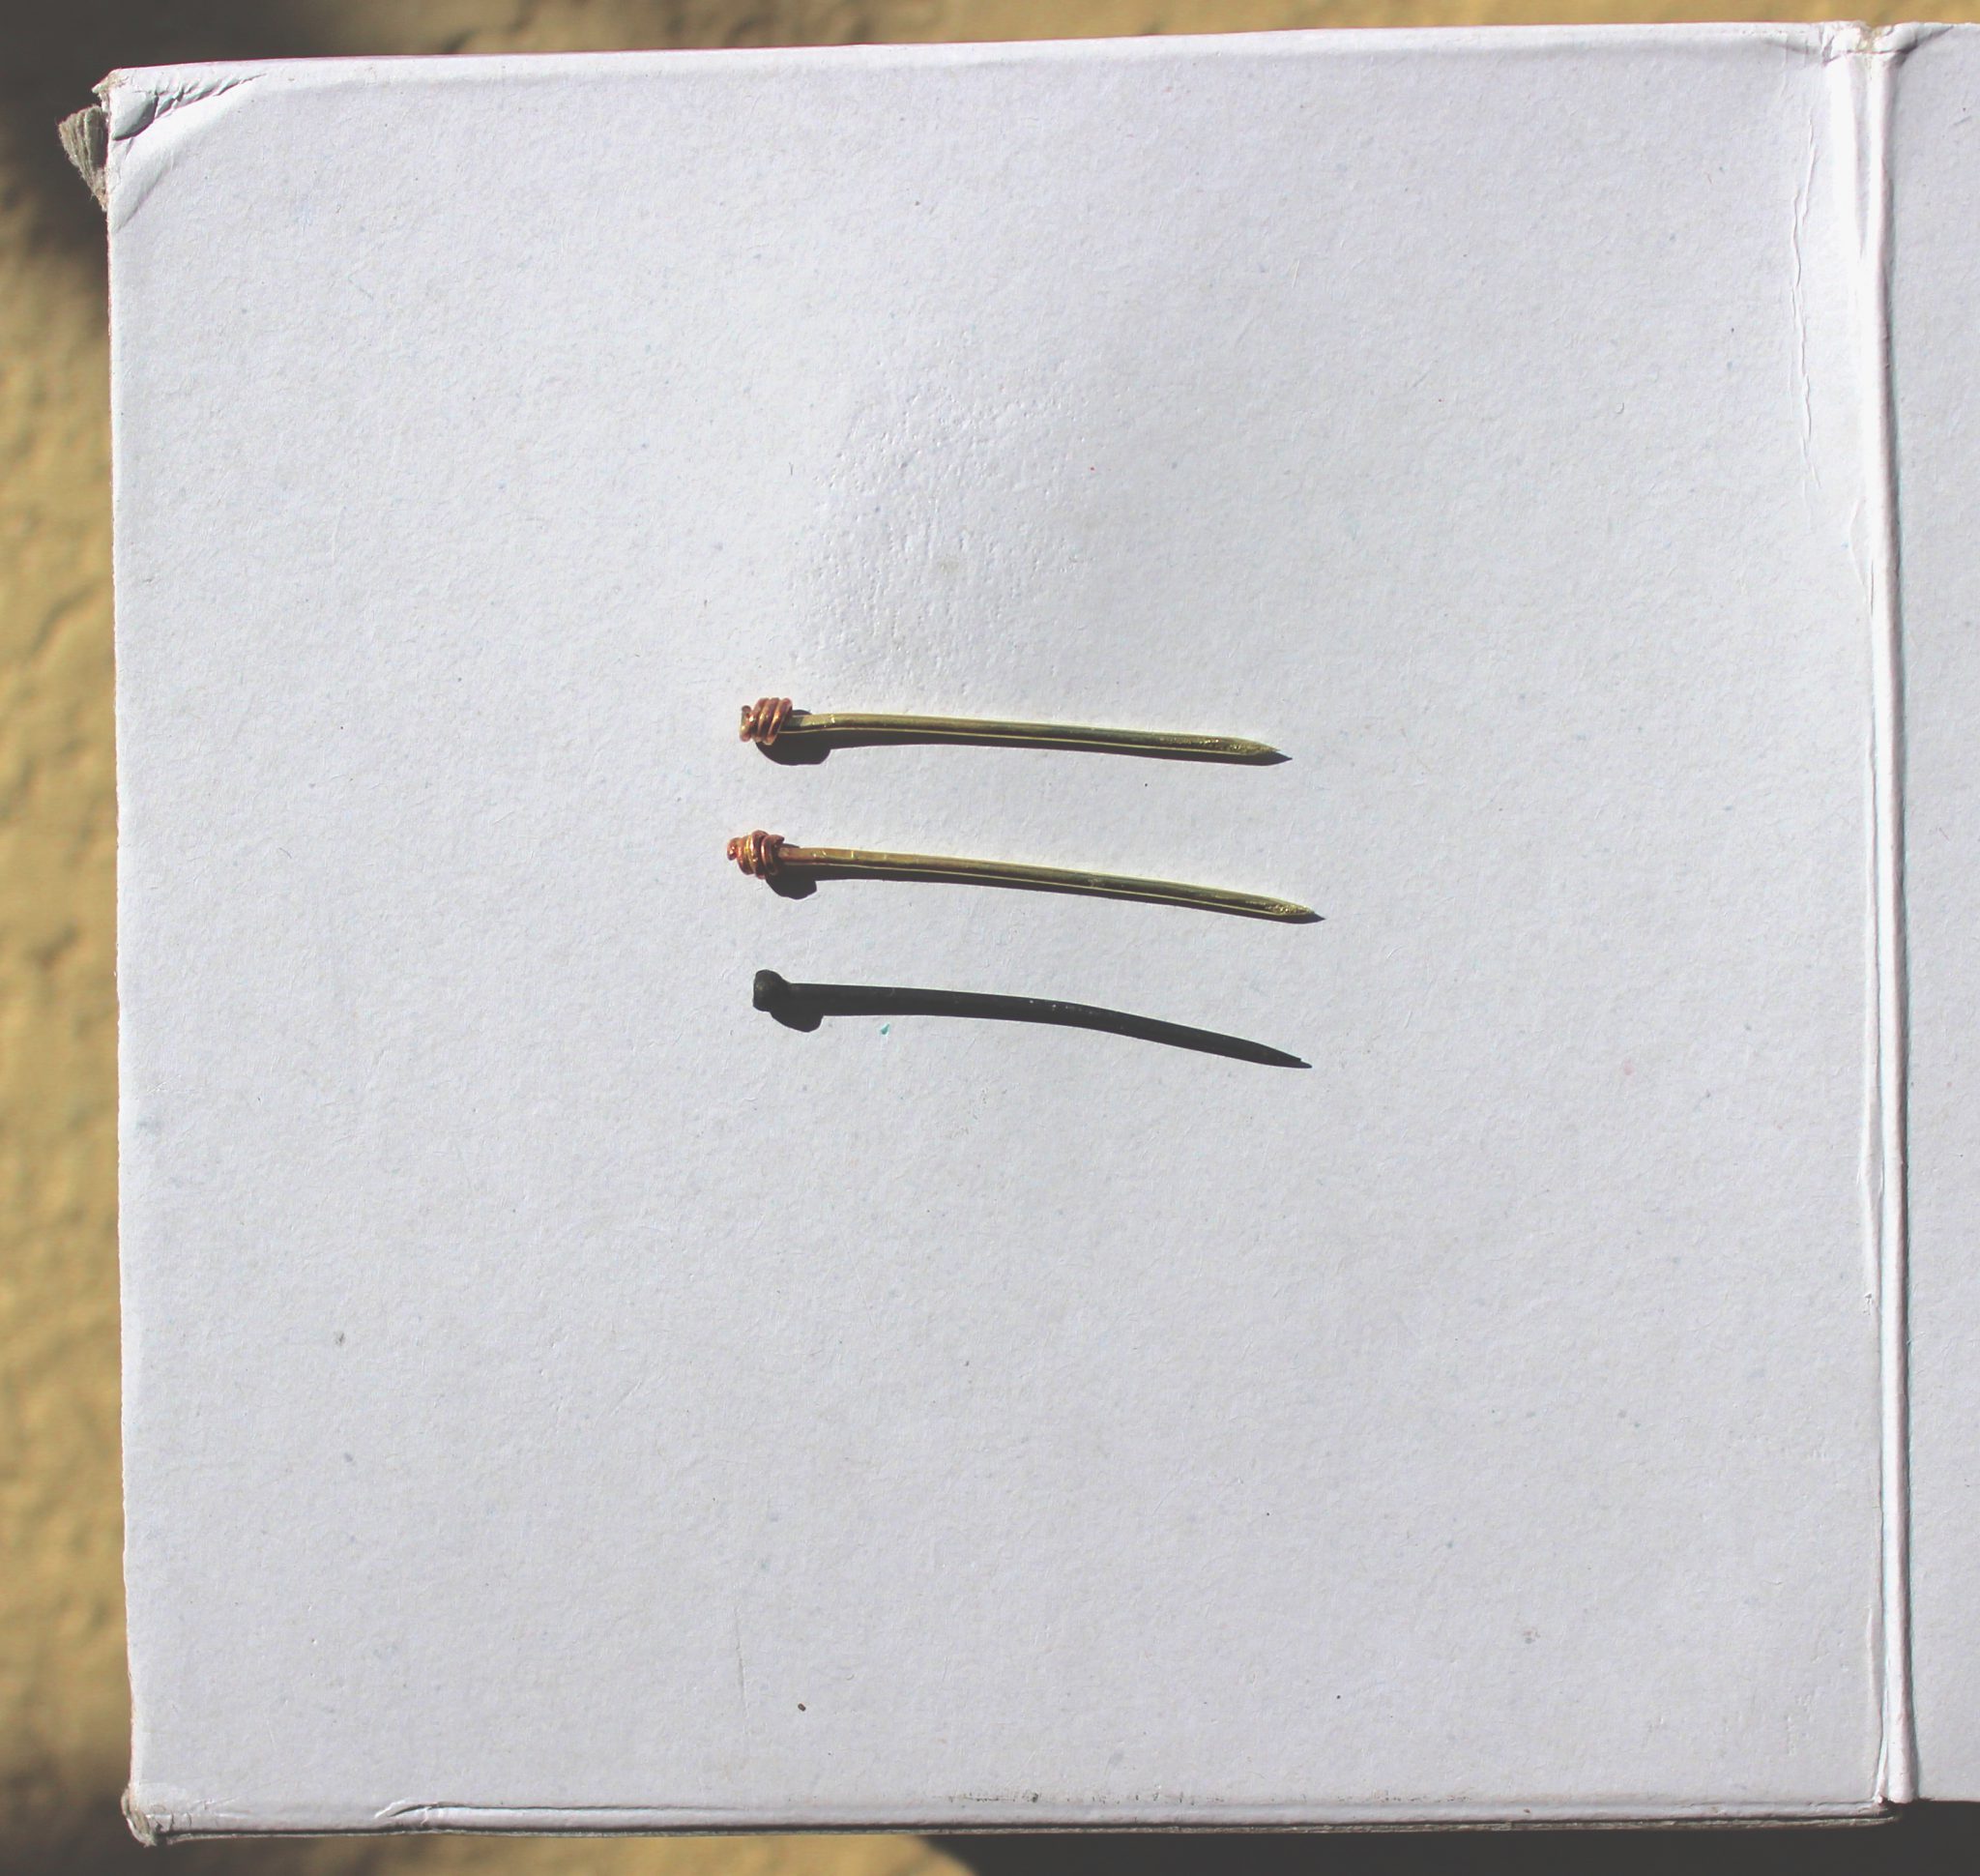
I have in my collection a small 16th century Dutch pin that I am using as a base. The wire it was made with is about 18 gauge and it is 34mm long.
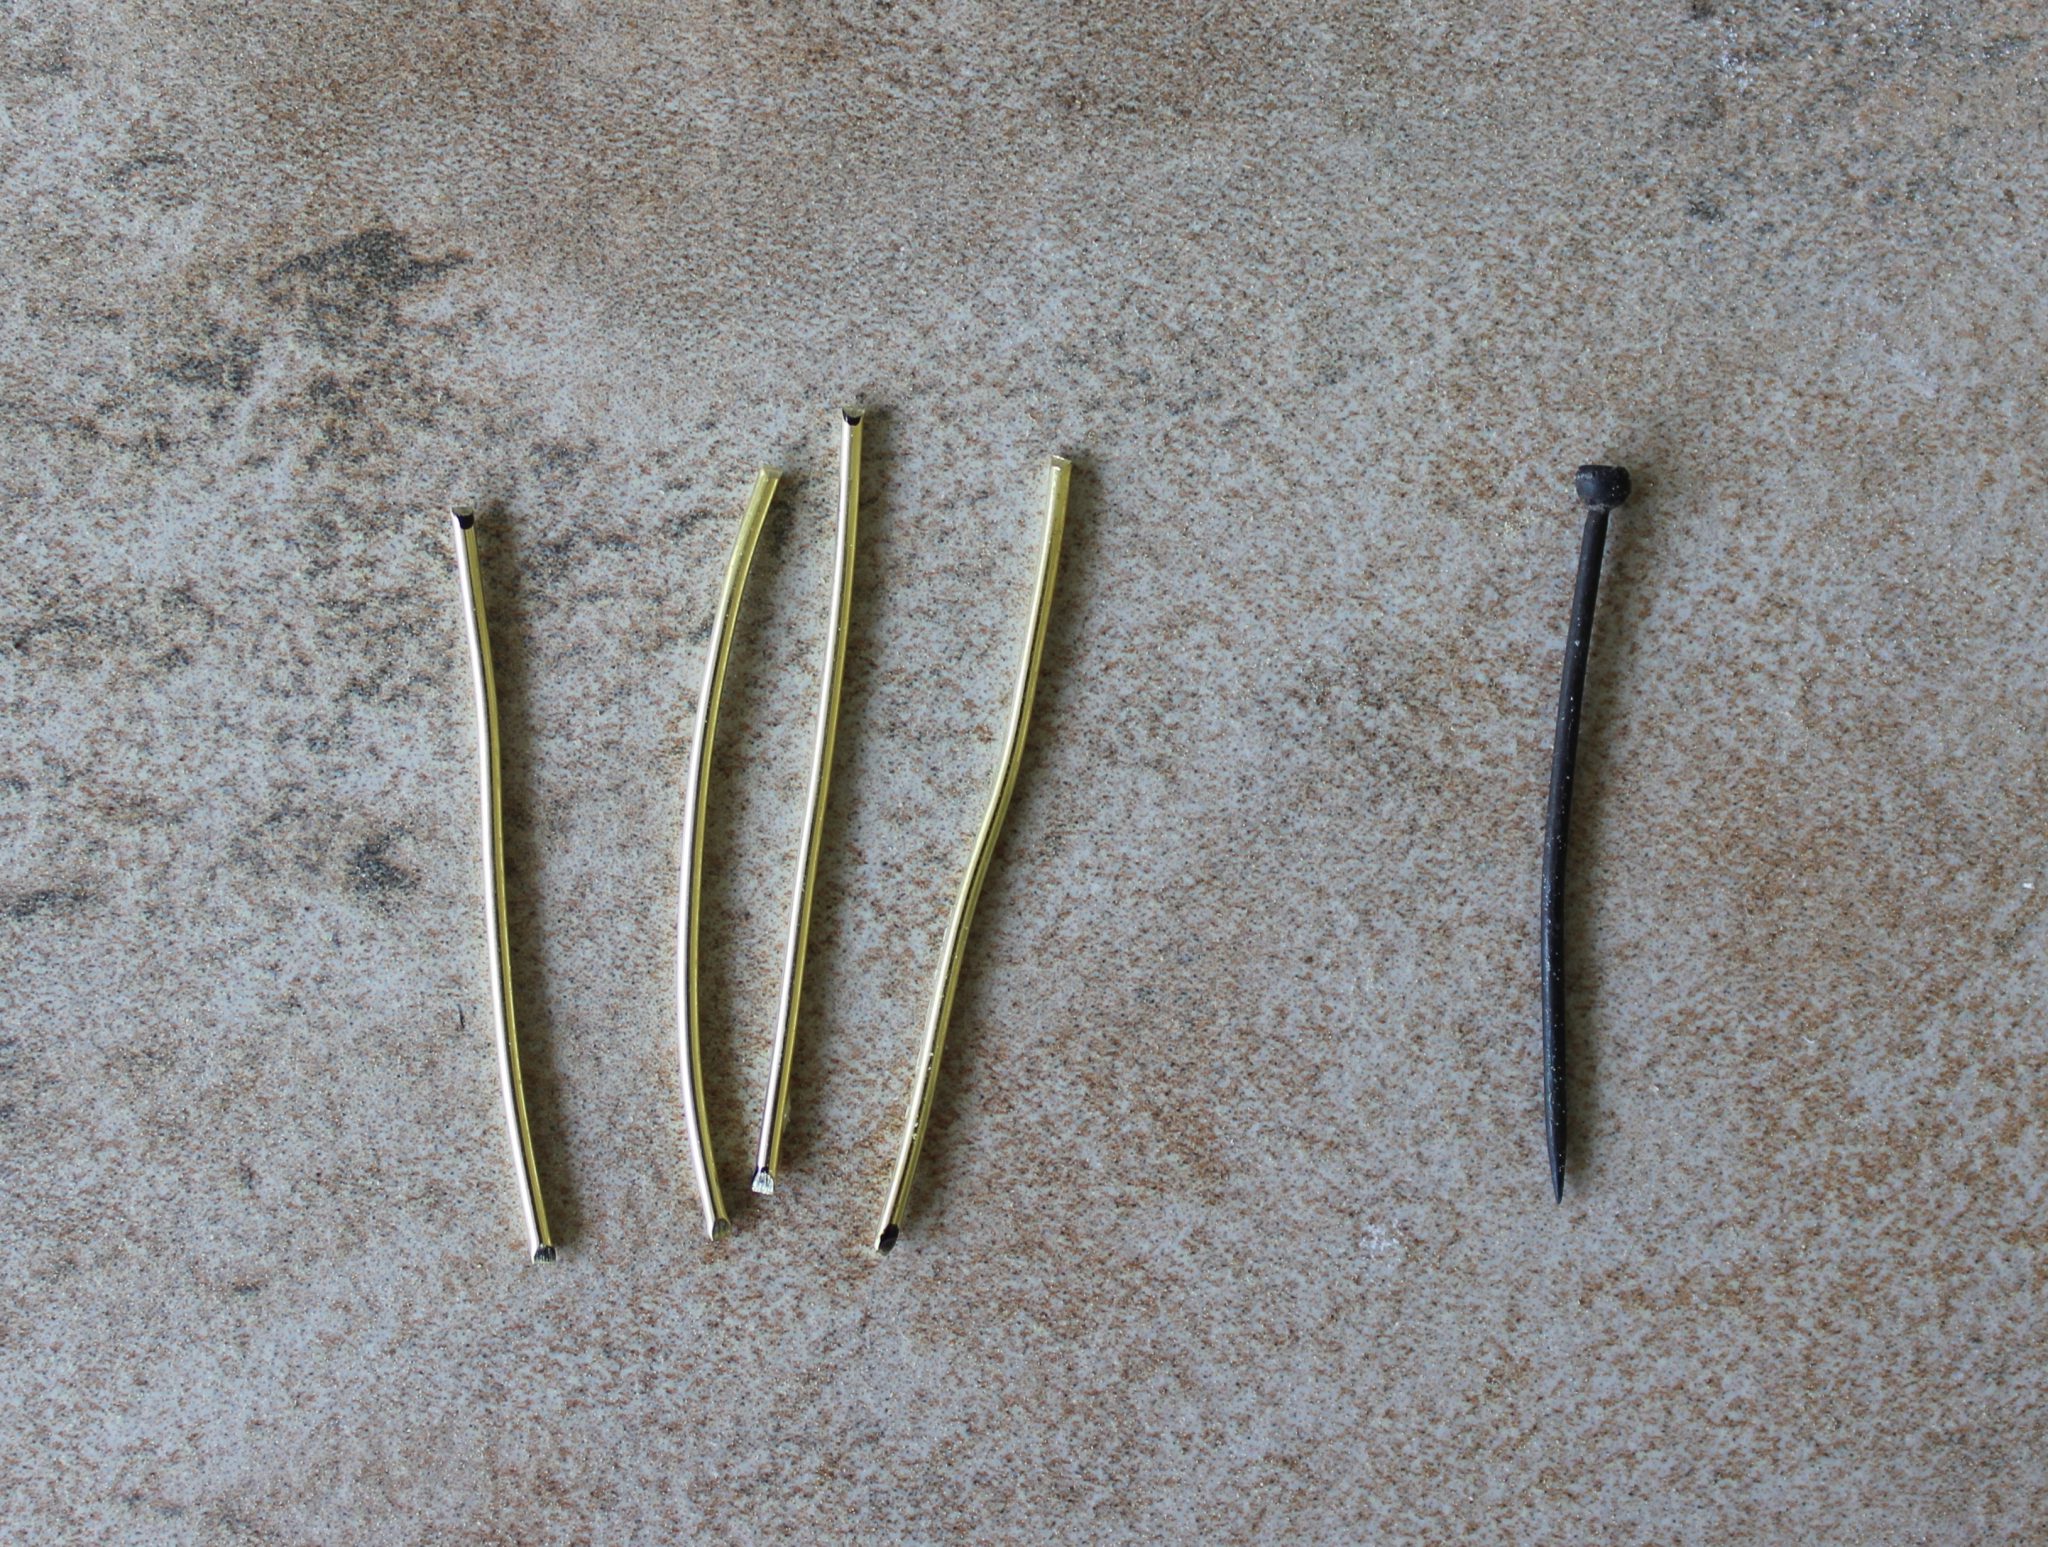
I start by trimming my brass wire into small sections with my flush cutter and filing one end flat.
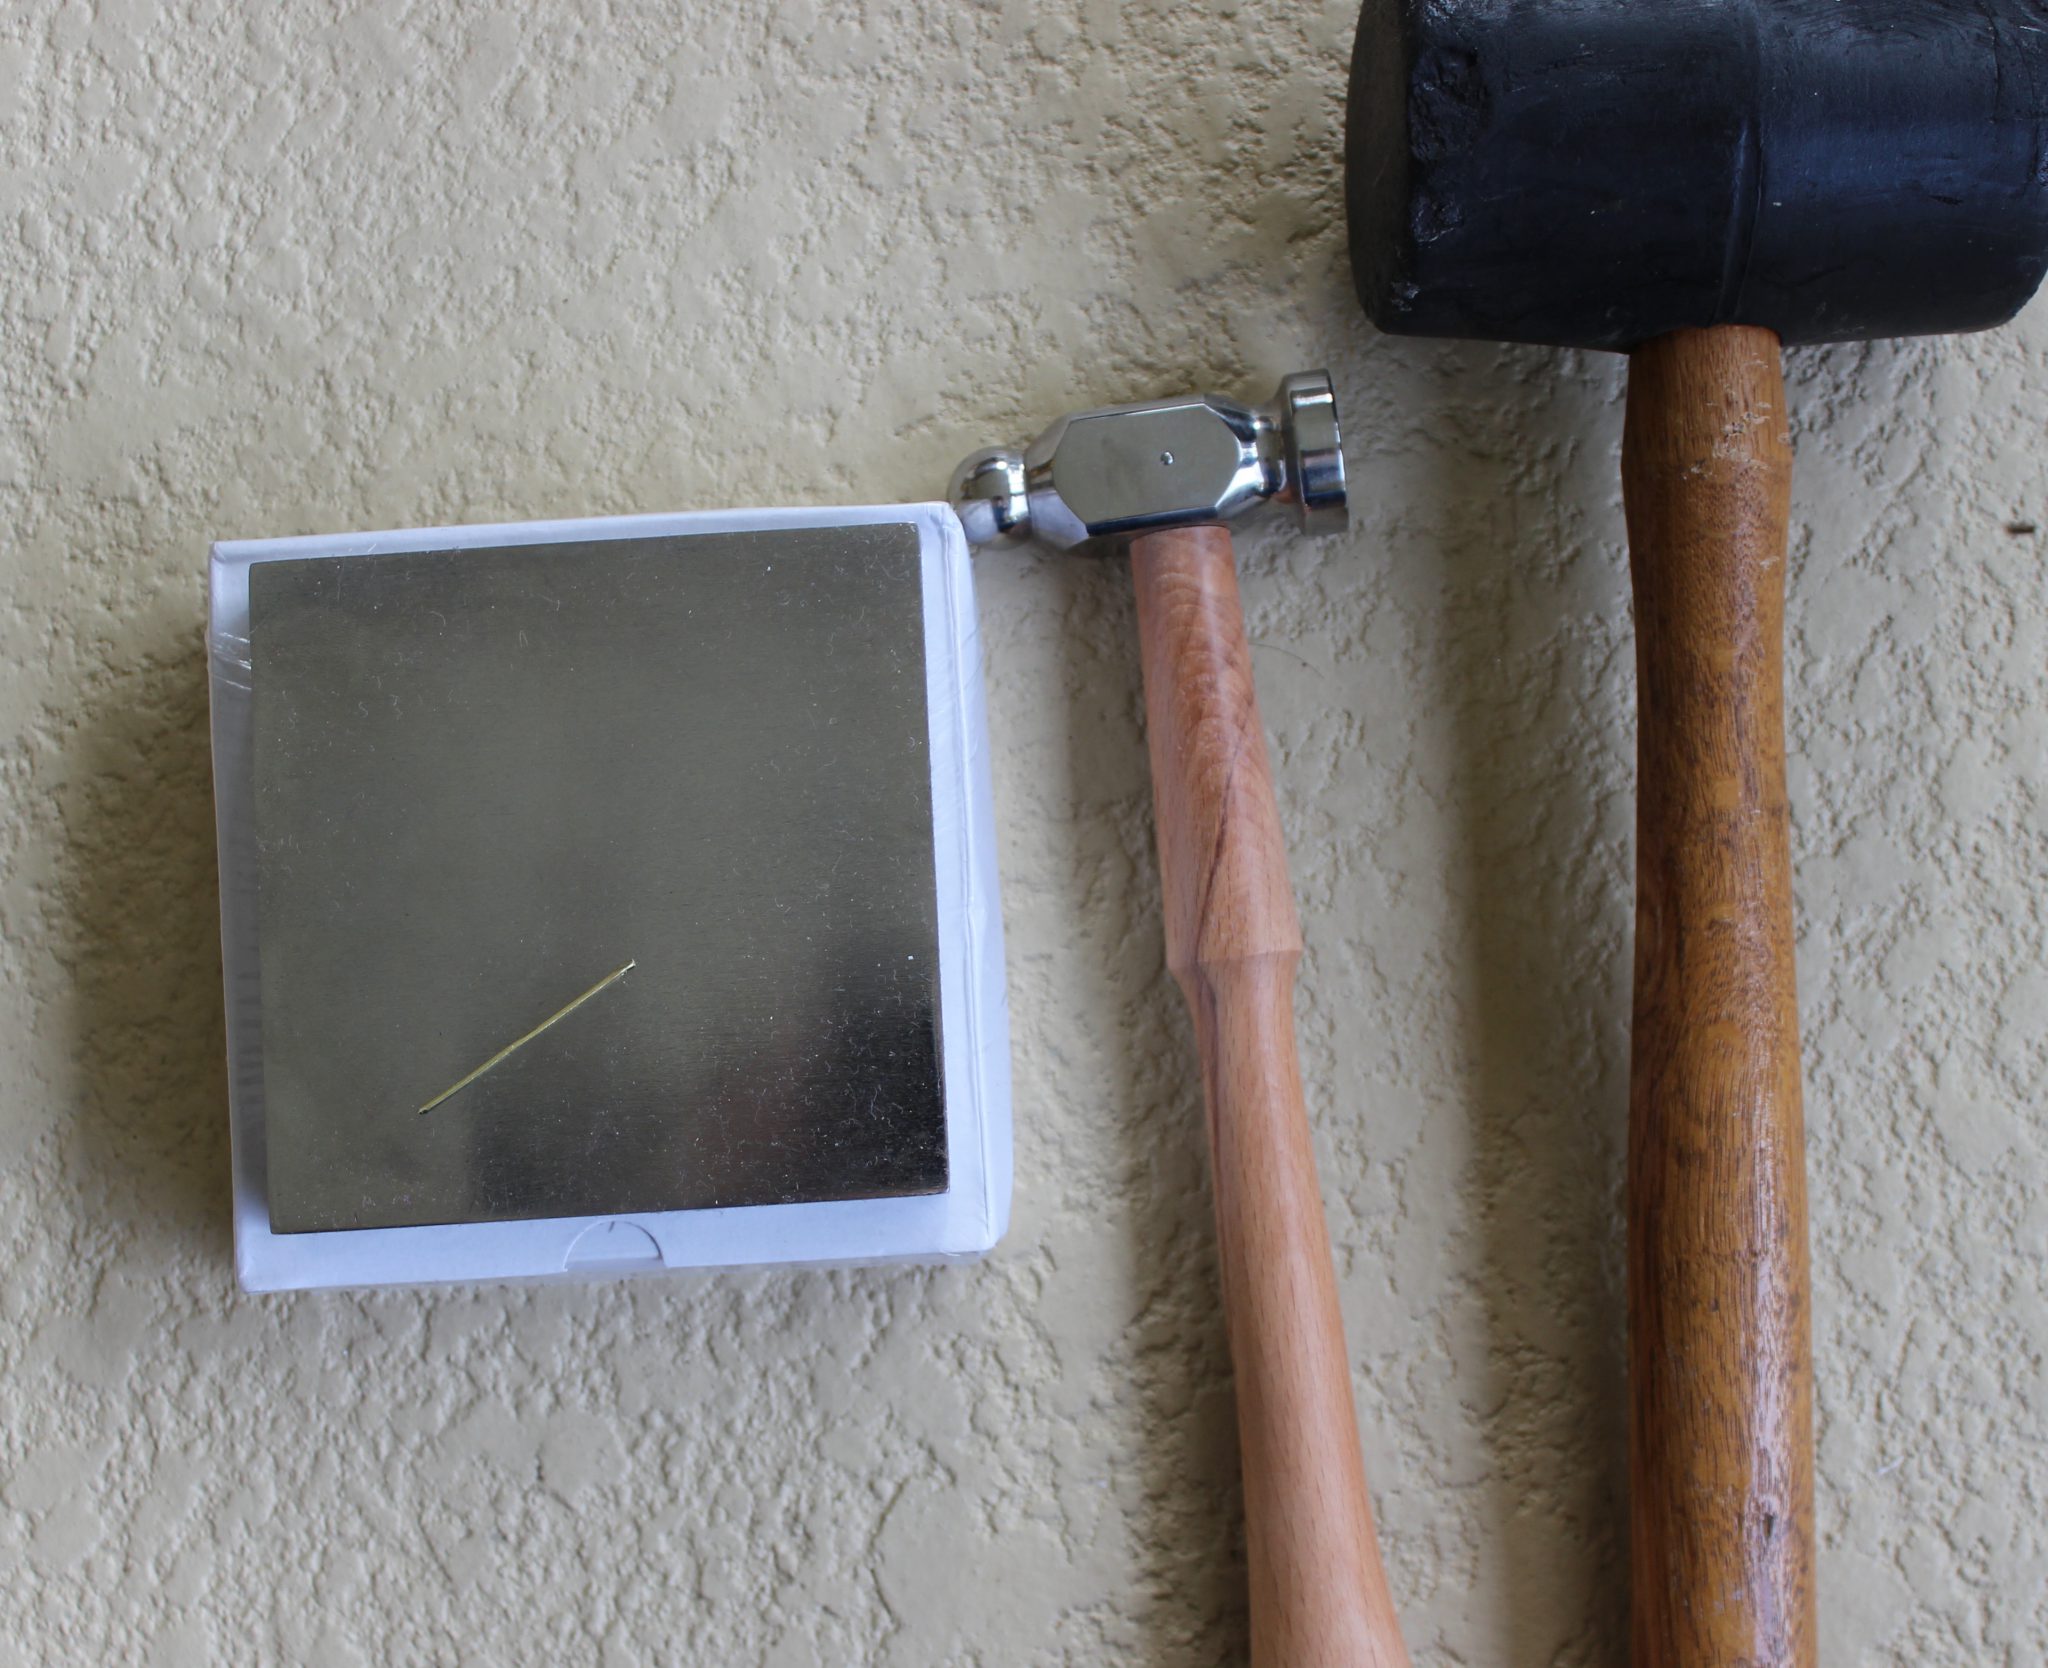
Next, I work harden my wire on my bench block with a rubber mallet. While this works, it isn’t optimal. On my next batch of pins I rolled the wire between a wooden cutting board and my bench block.
This works much better for hardening and straightening the small lengths of wire without the risk of pinched fingers. Ouch!
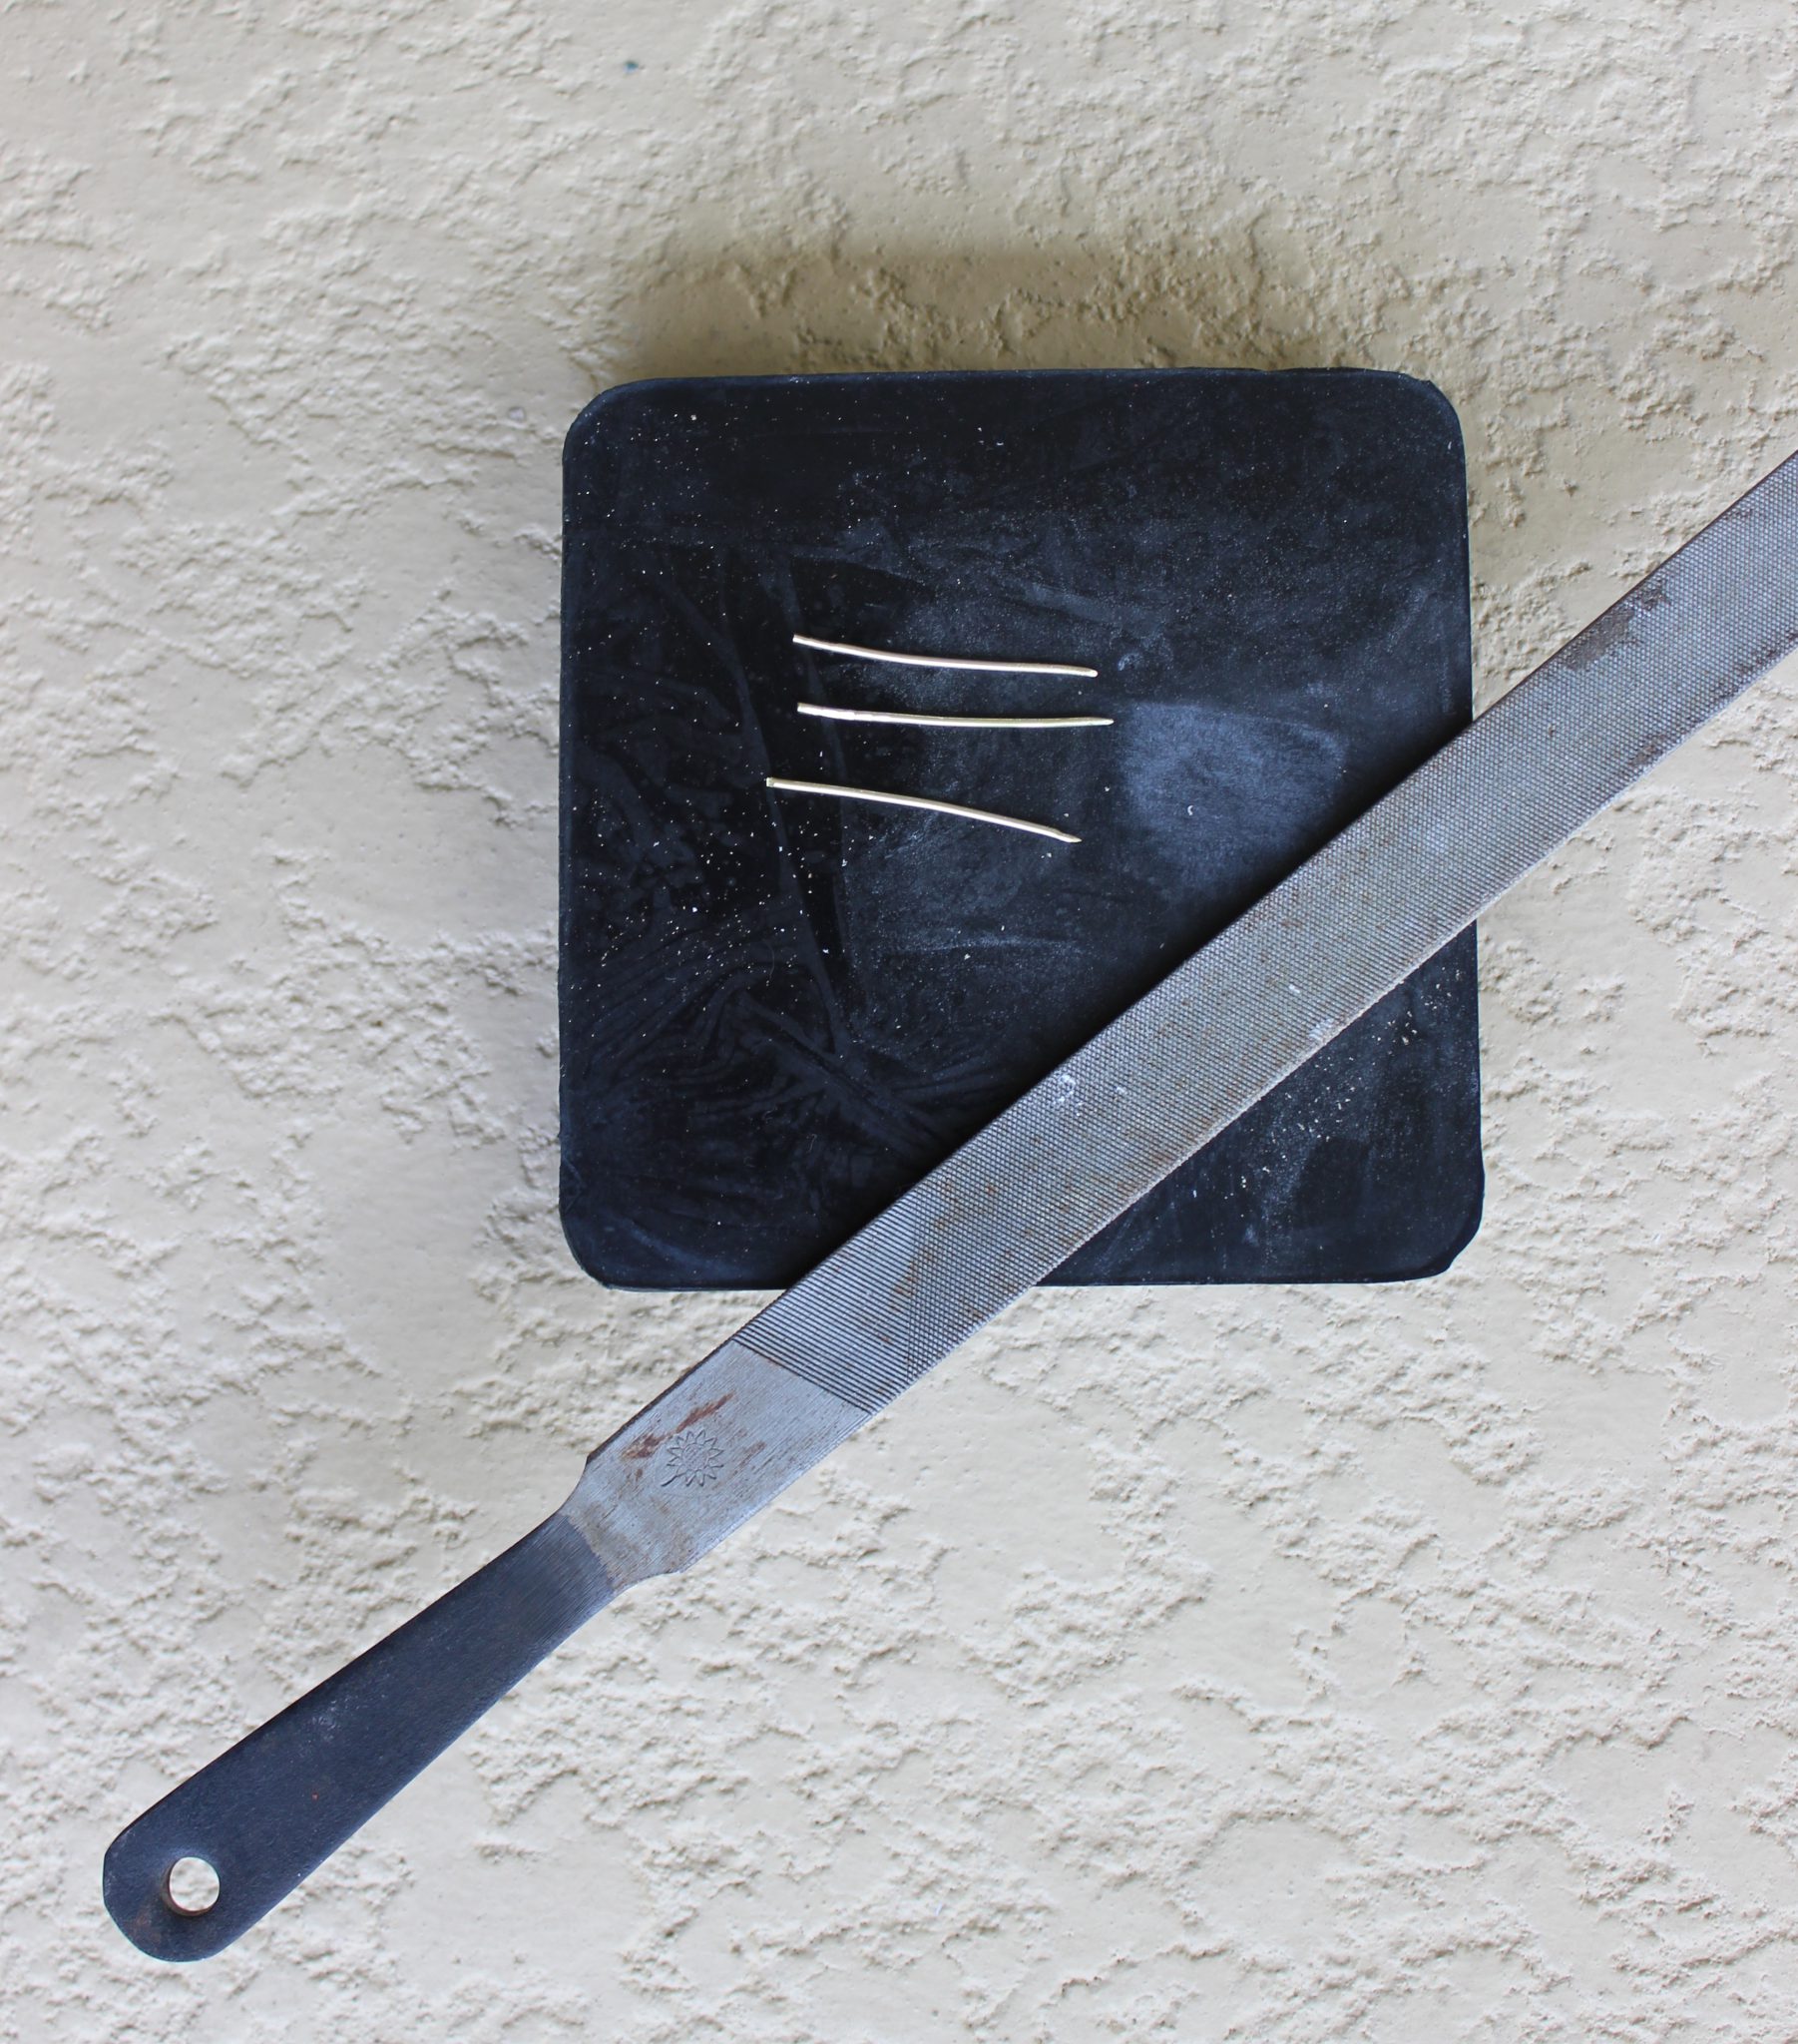
After work hardening the wire I give each pin a rough point with a crosscut file. In the 16th century, a pinner’s bone would be used to help position and angle the pin for filing. I don’t have one so I filed a small notch into my wooden cutting board.
This is something I need to practice. While getting a sharp point is easy, getting a smooth taper can be tricky and if your wire is not hardened enough it likes to bend.
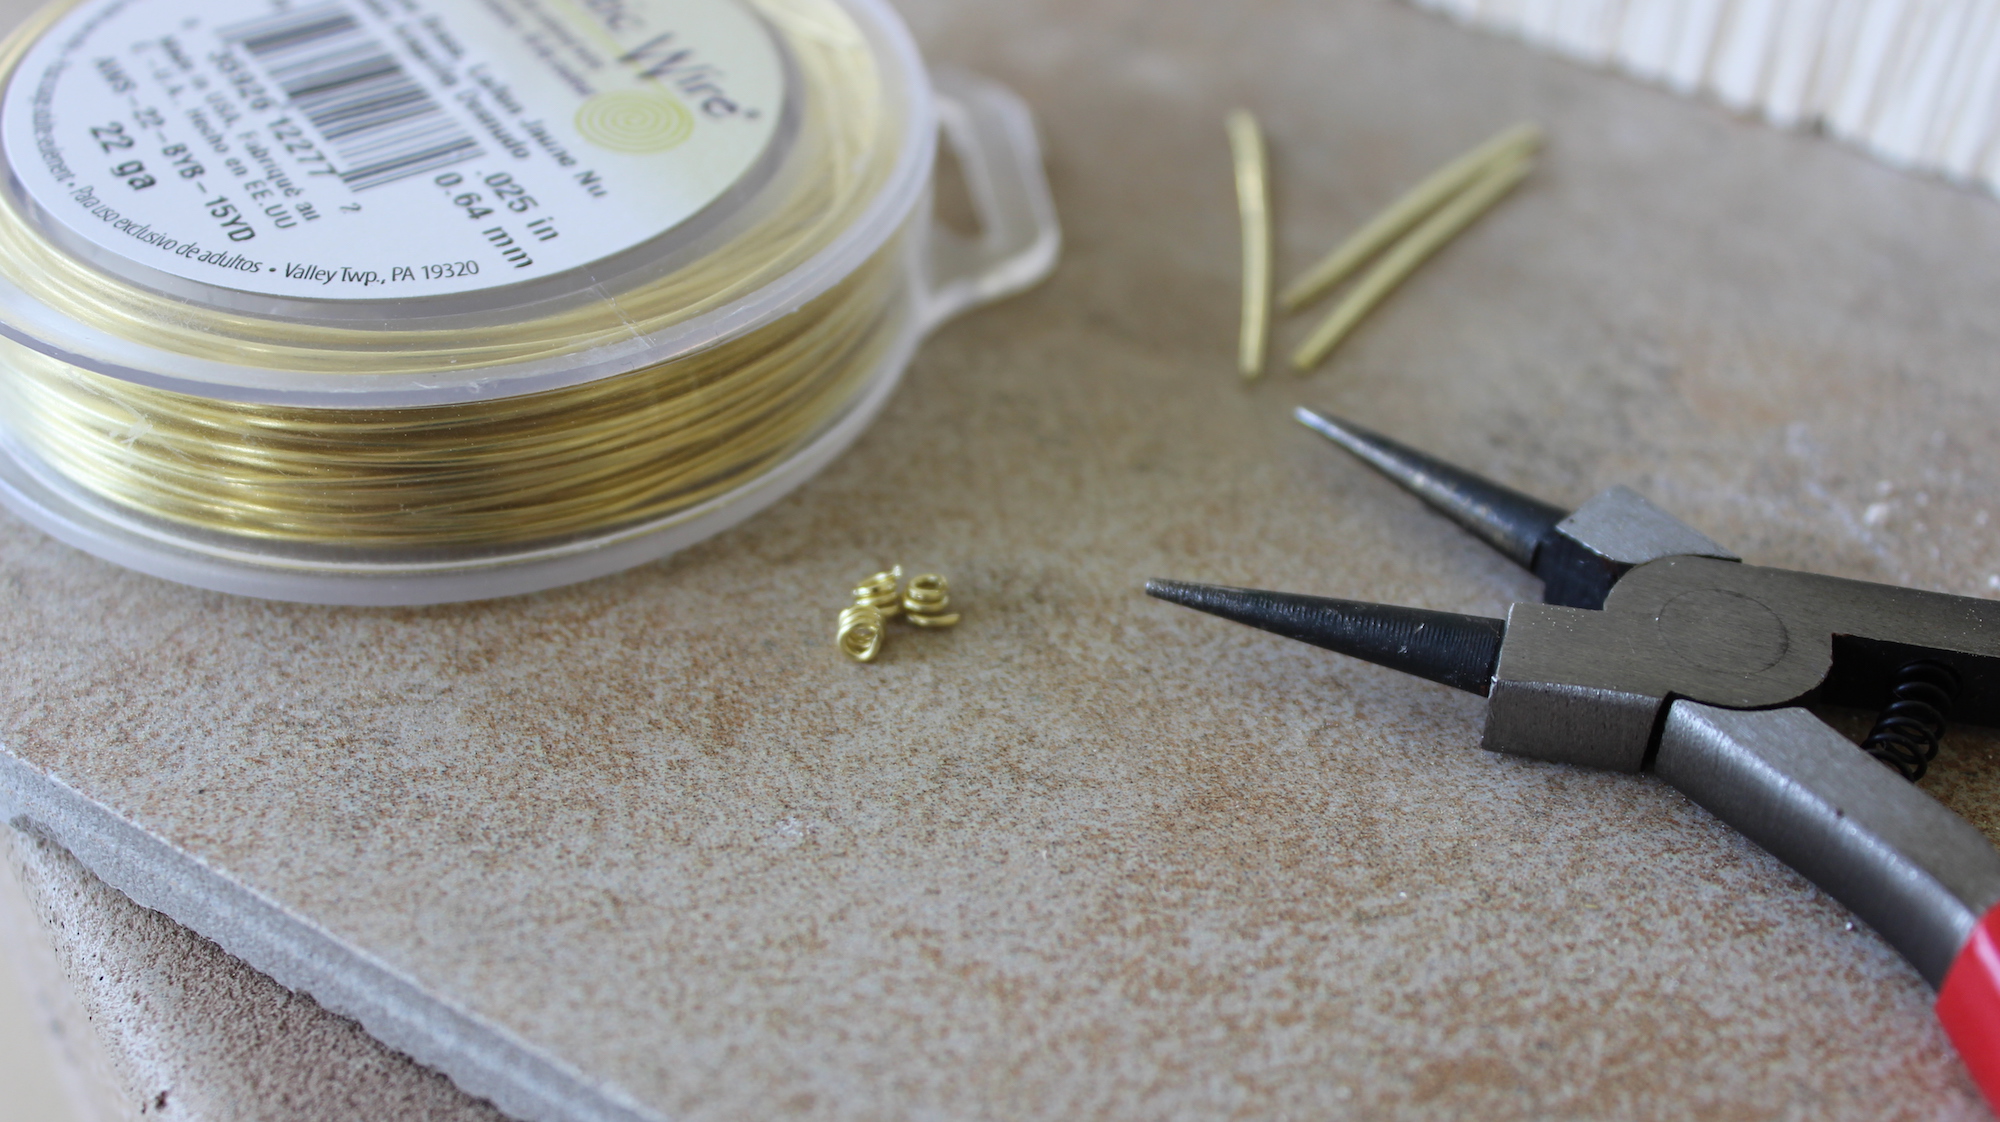
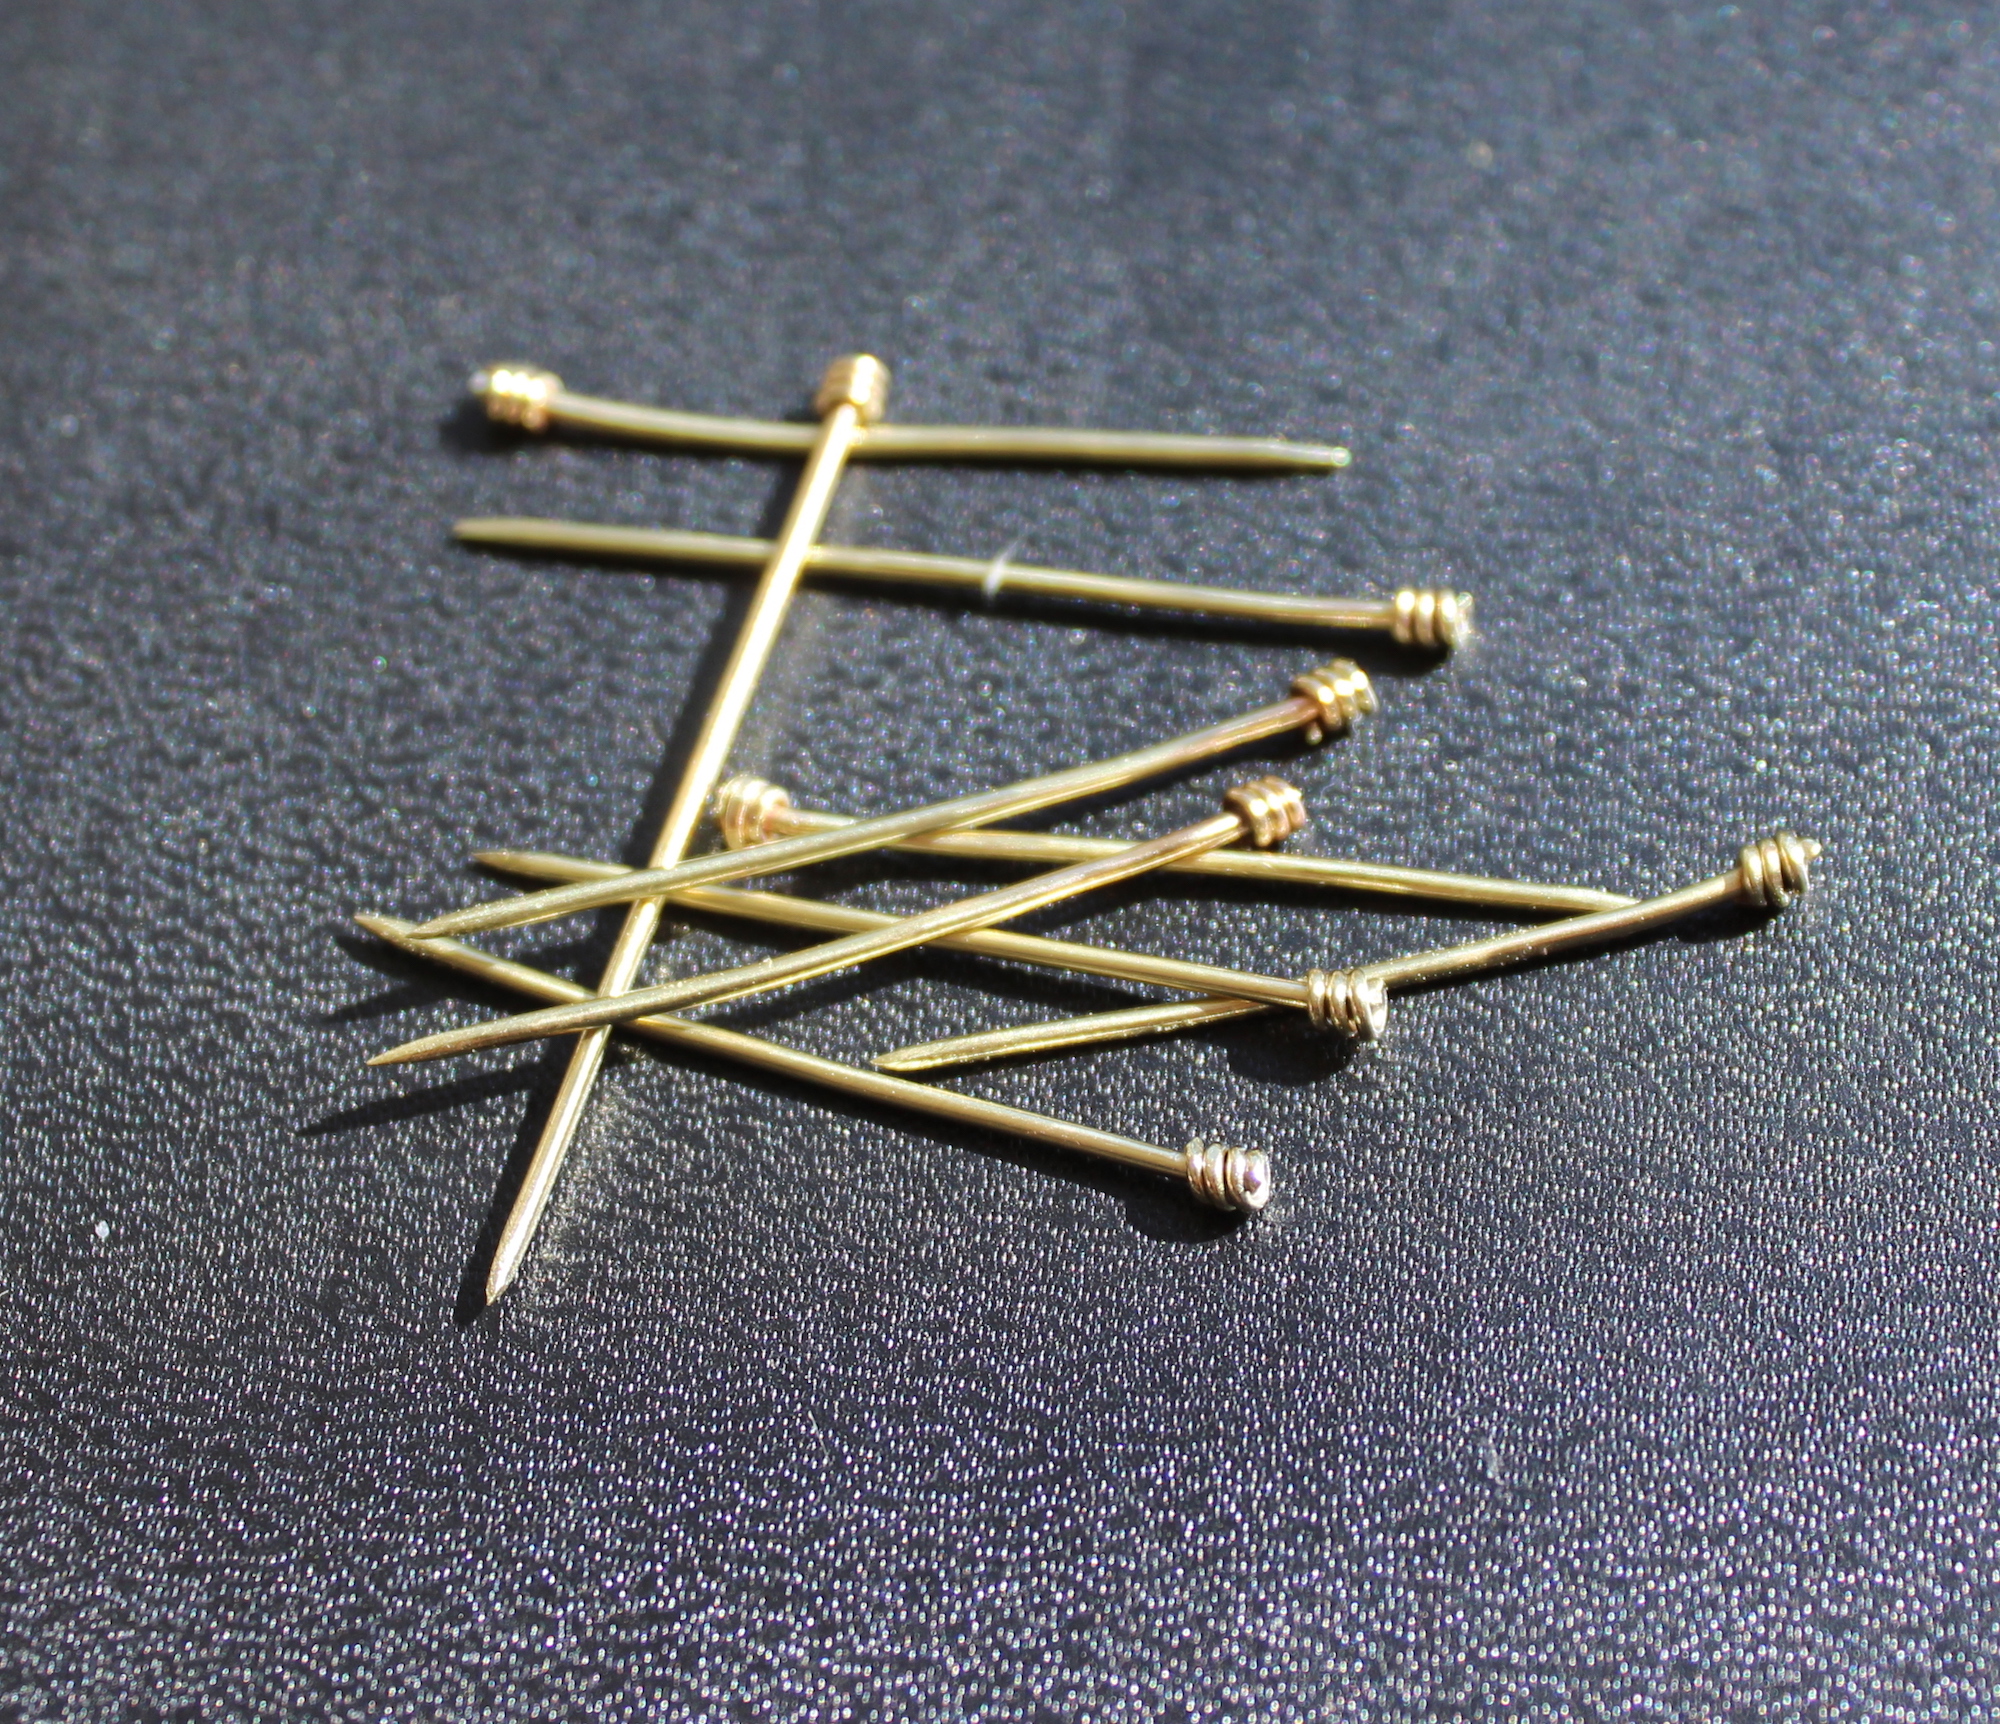
For the pinheads I’m using round nose pliers to make little spiral hats from 22 gauge brass wire. My plier points are not as thin as the 18 gauge wire so I found this process extremely frustrating. The pinheads end up slightly too large for the wire and I had to individually tweak and adjust the top of each spiral so it wouldn’t fall down the pin shaft.
On my second batch I wrapped the pinhead wire around the pin shank as it was done in period. This was slightly less frustrating and had the added benefit of not needing to adjust the tiny coils and took out the extra step of fluxing the pinheads in place before soldering.
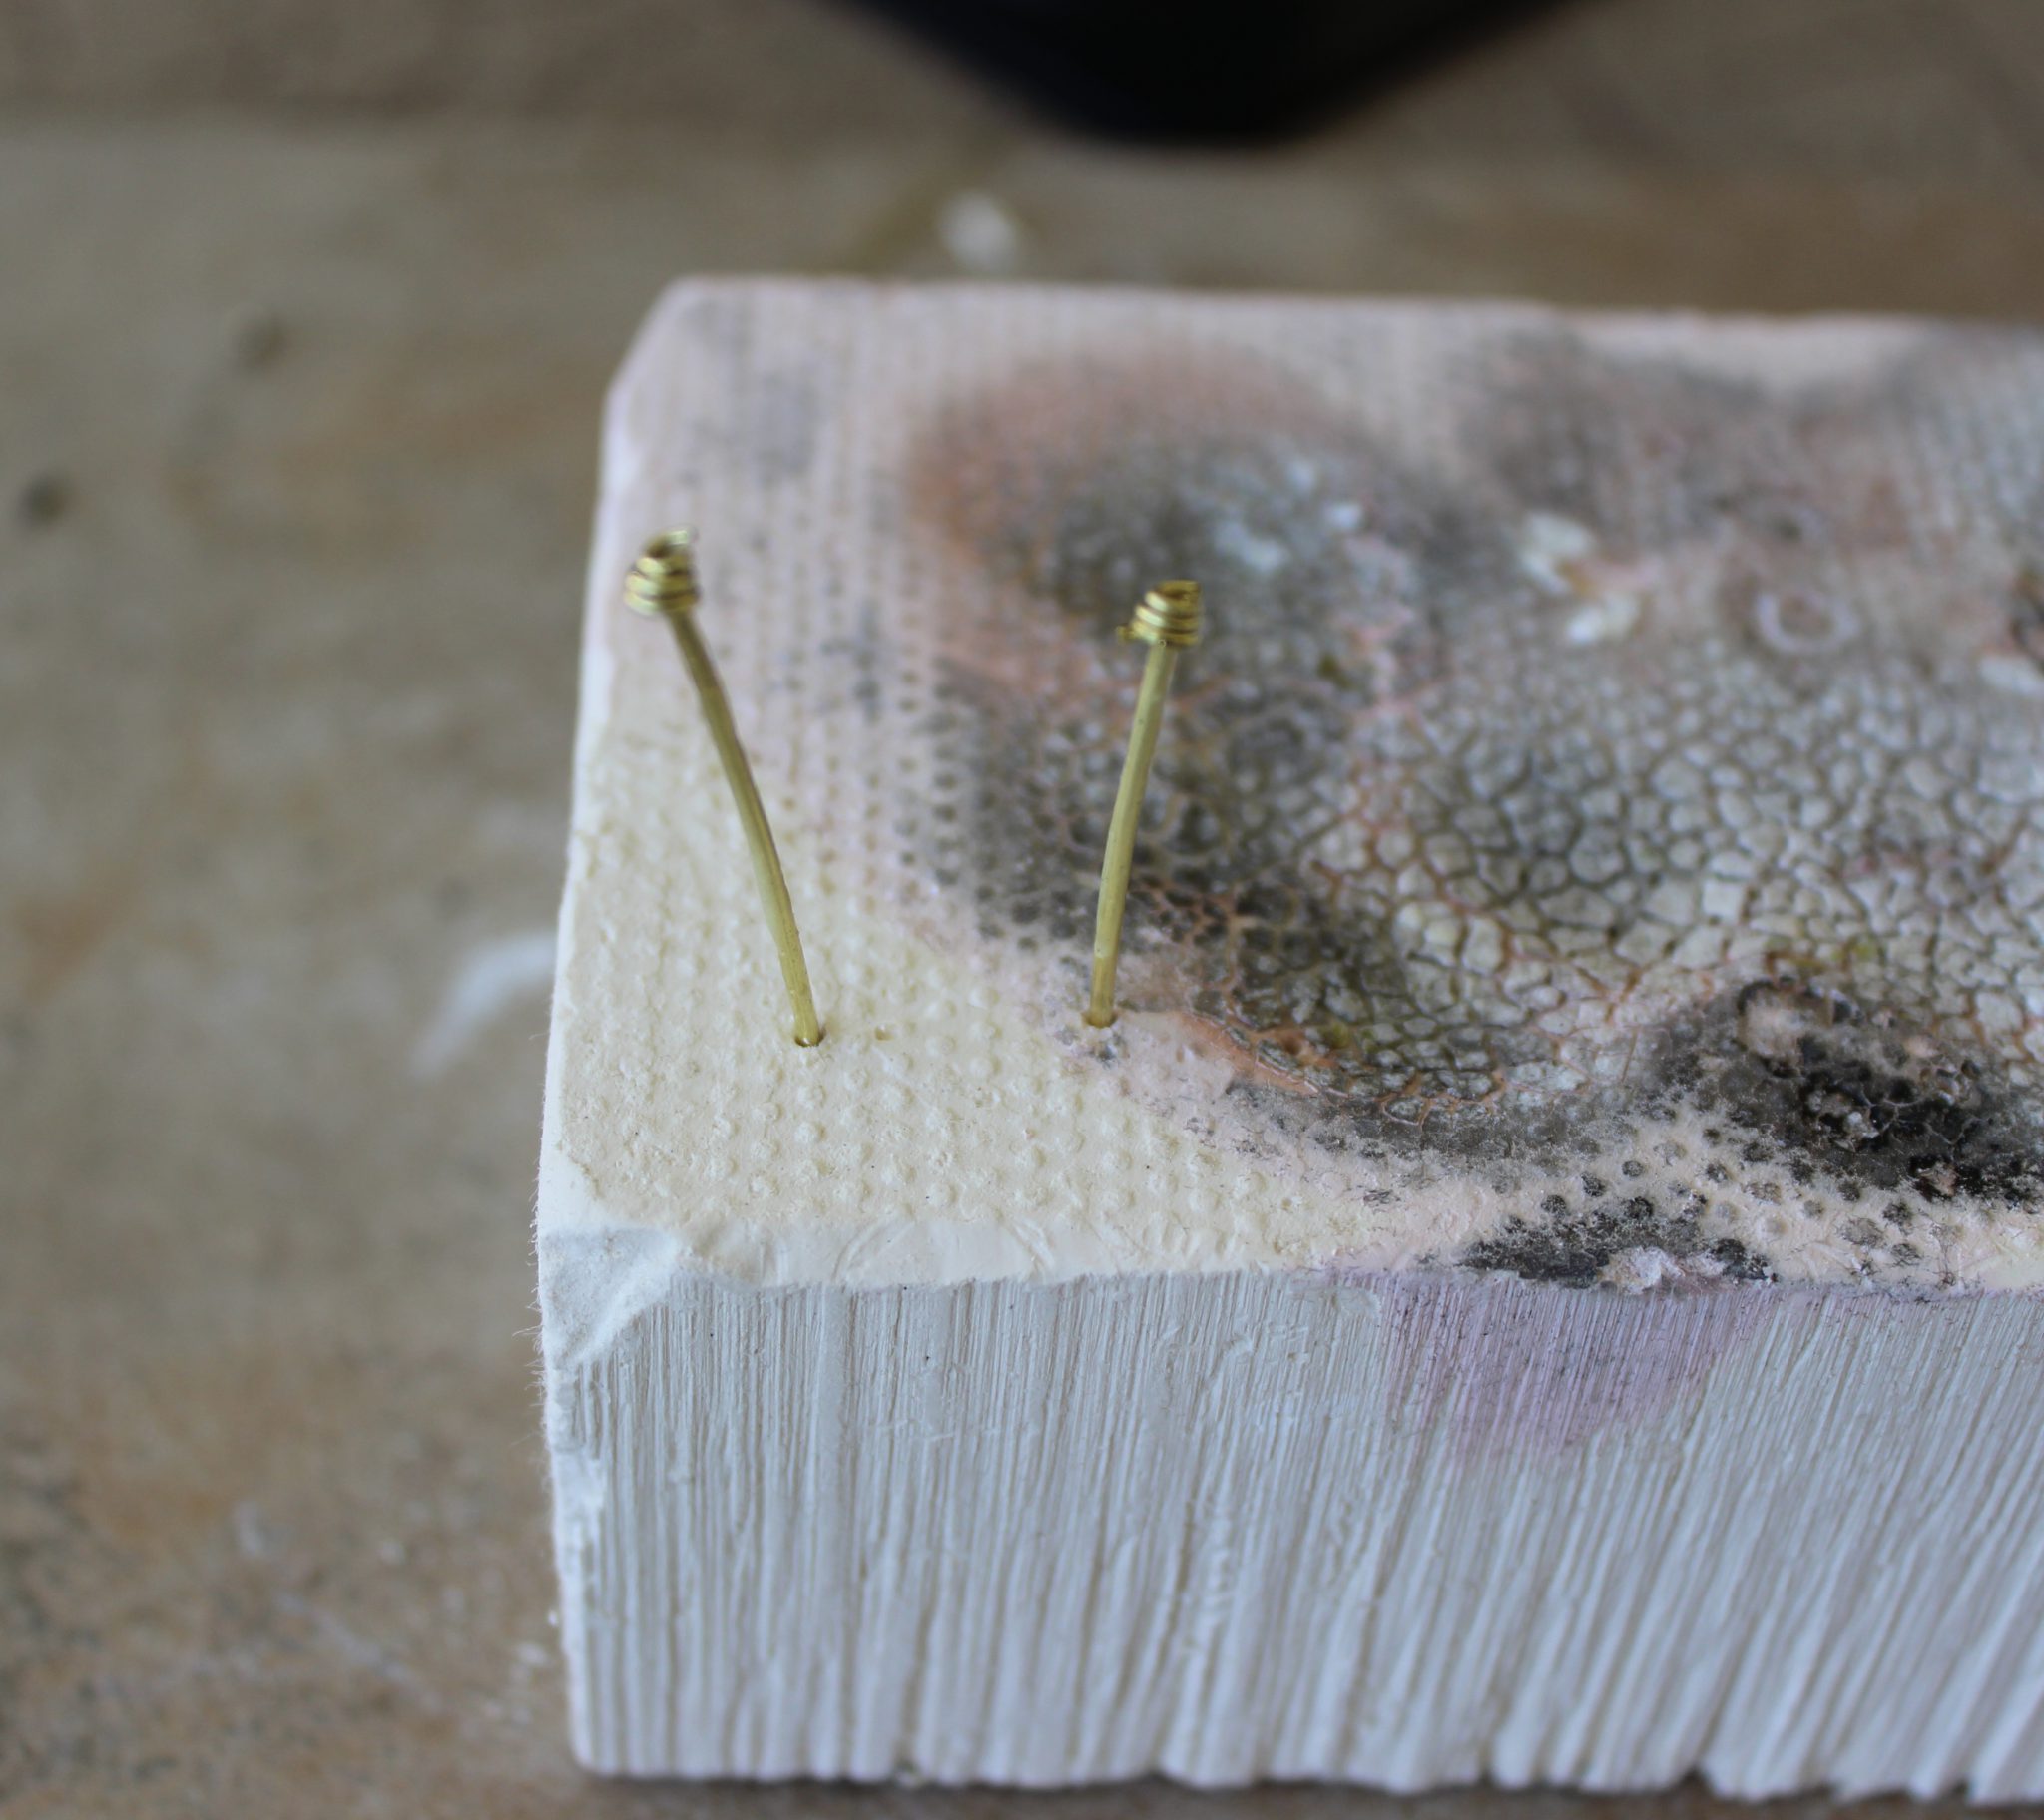
I poked a few holes into my soldering block to hold the pins upright and then fluxed and soldered each pinhead in place.
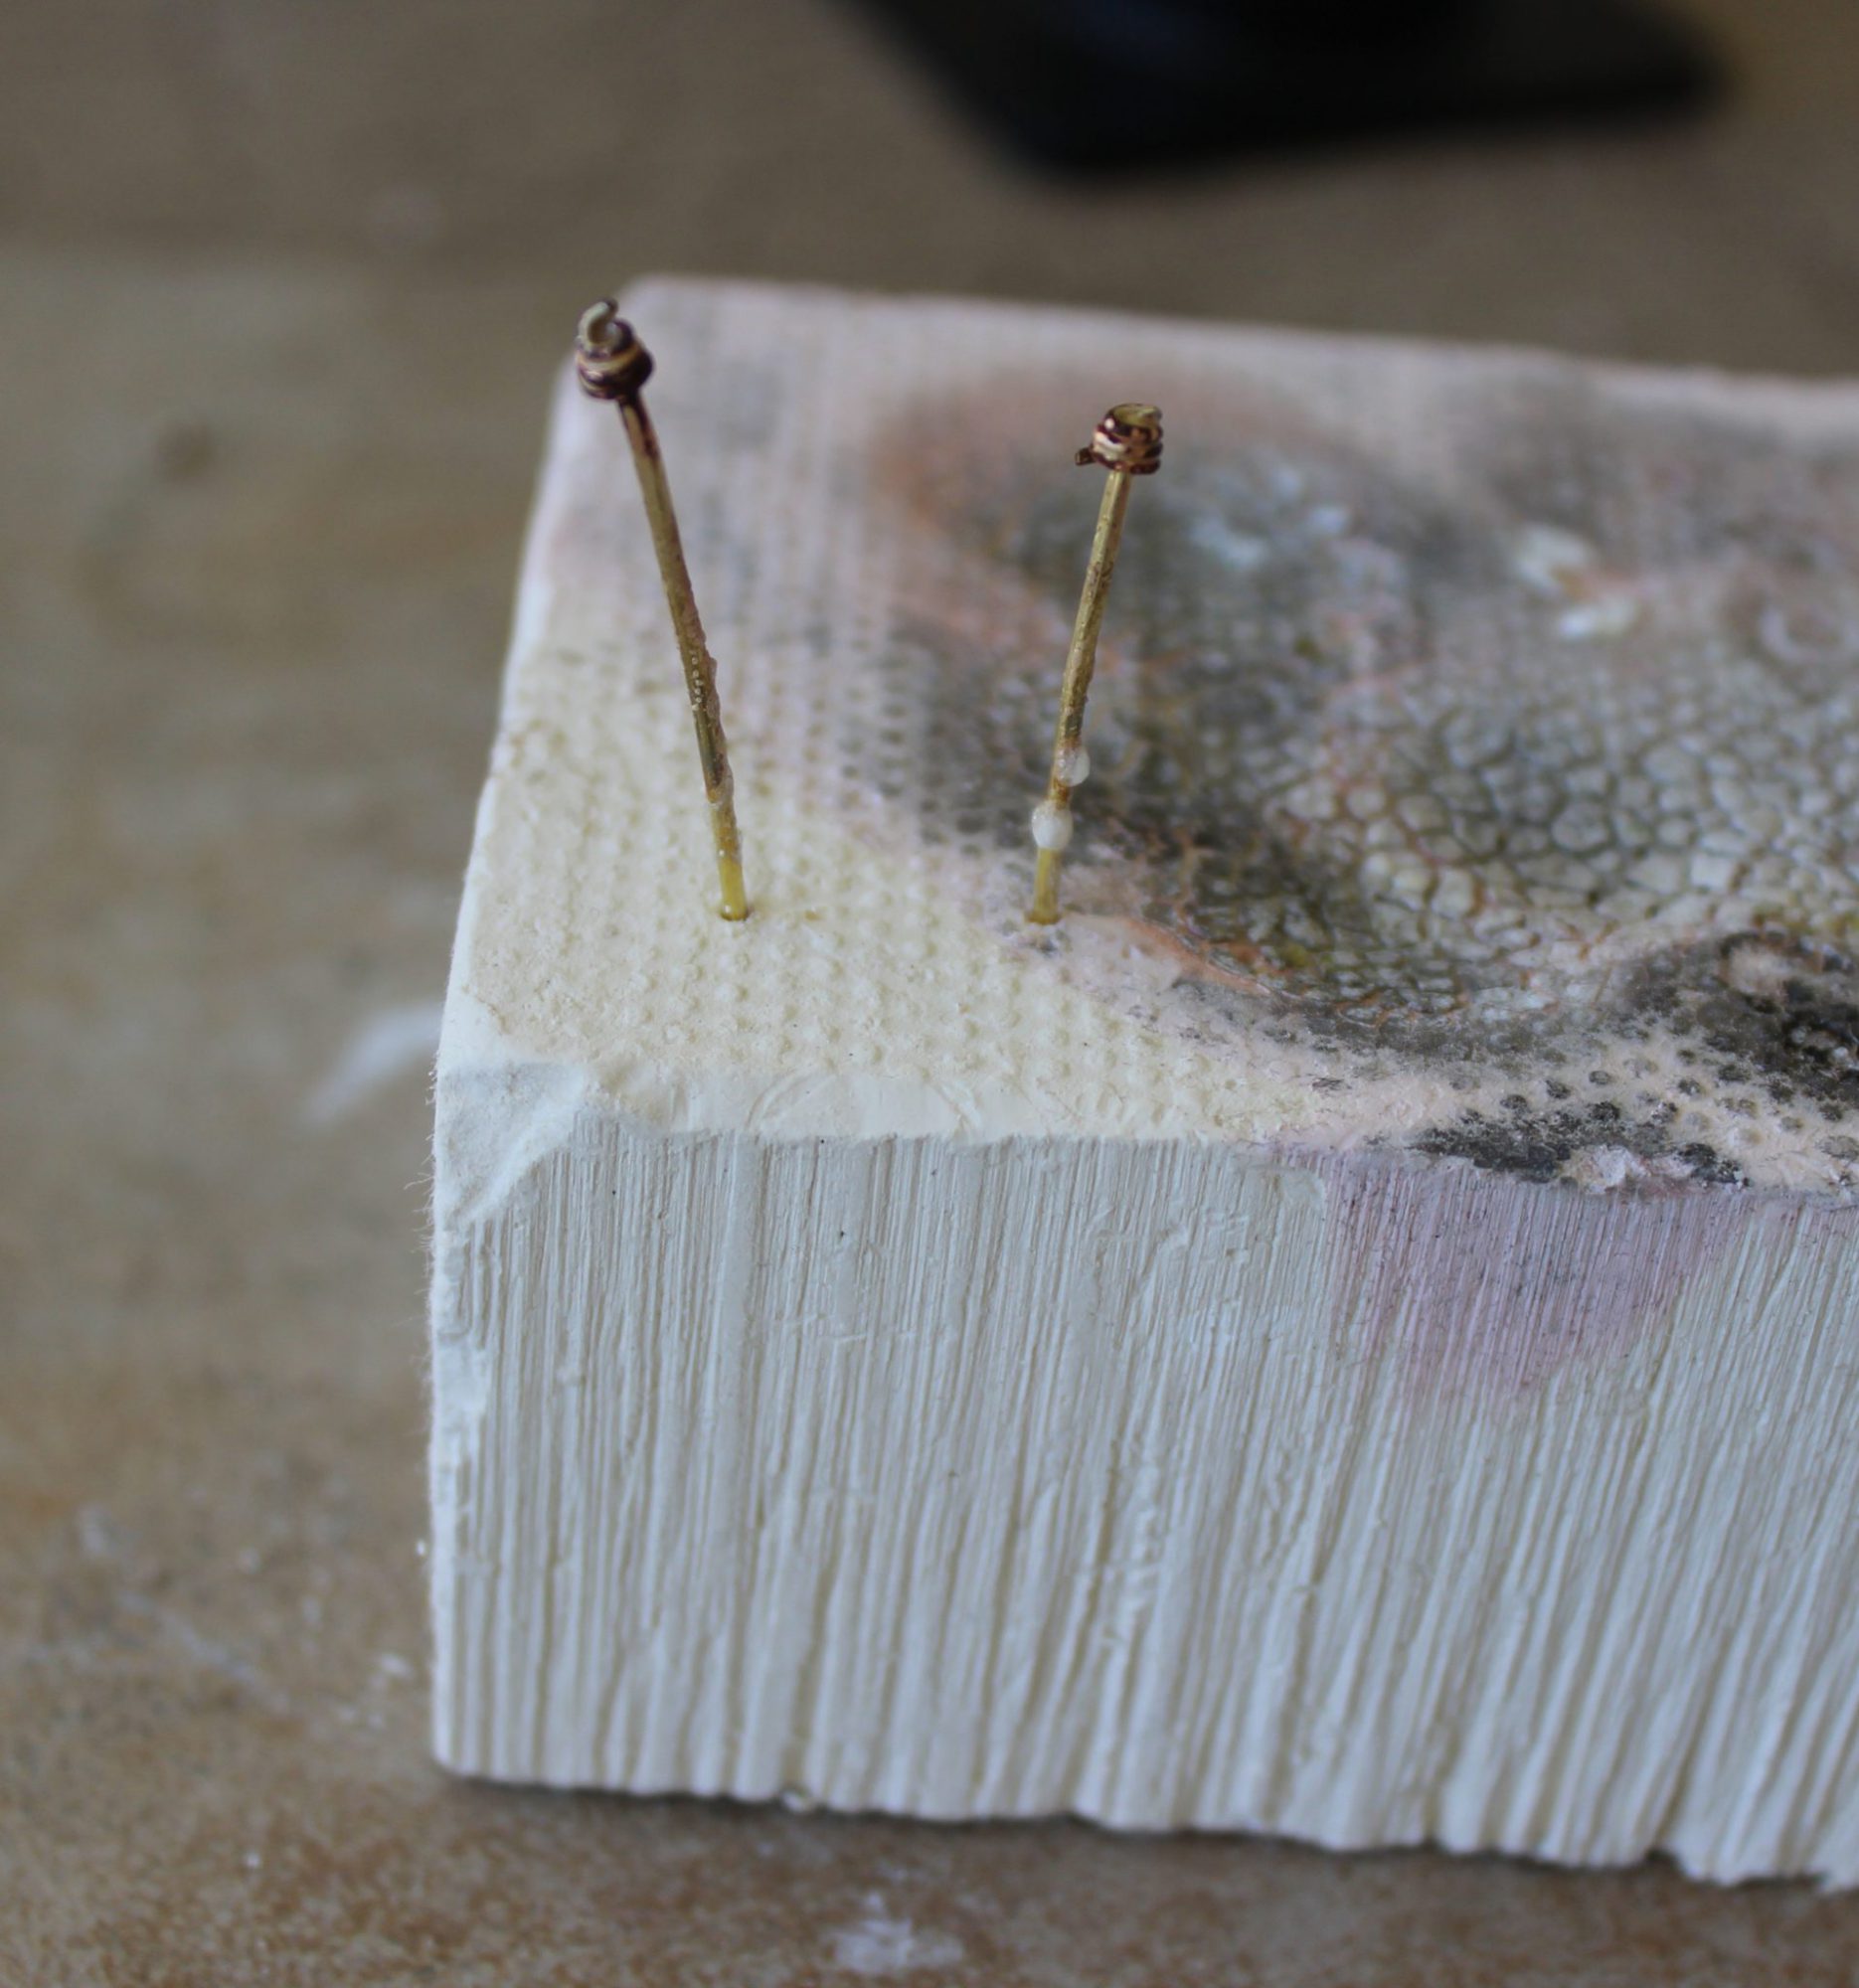
After soldering the pins are dirty covered in flux and oxidation. Ew!
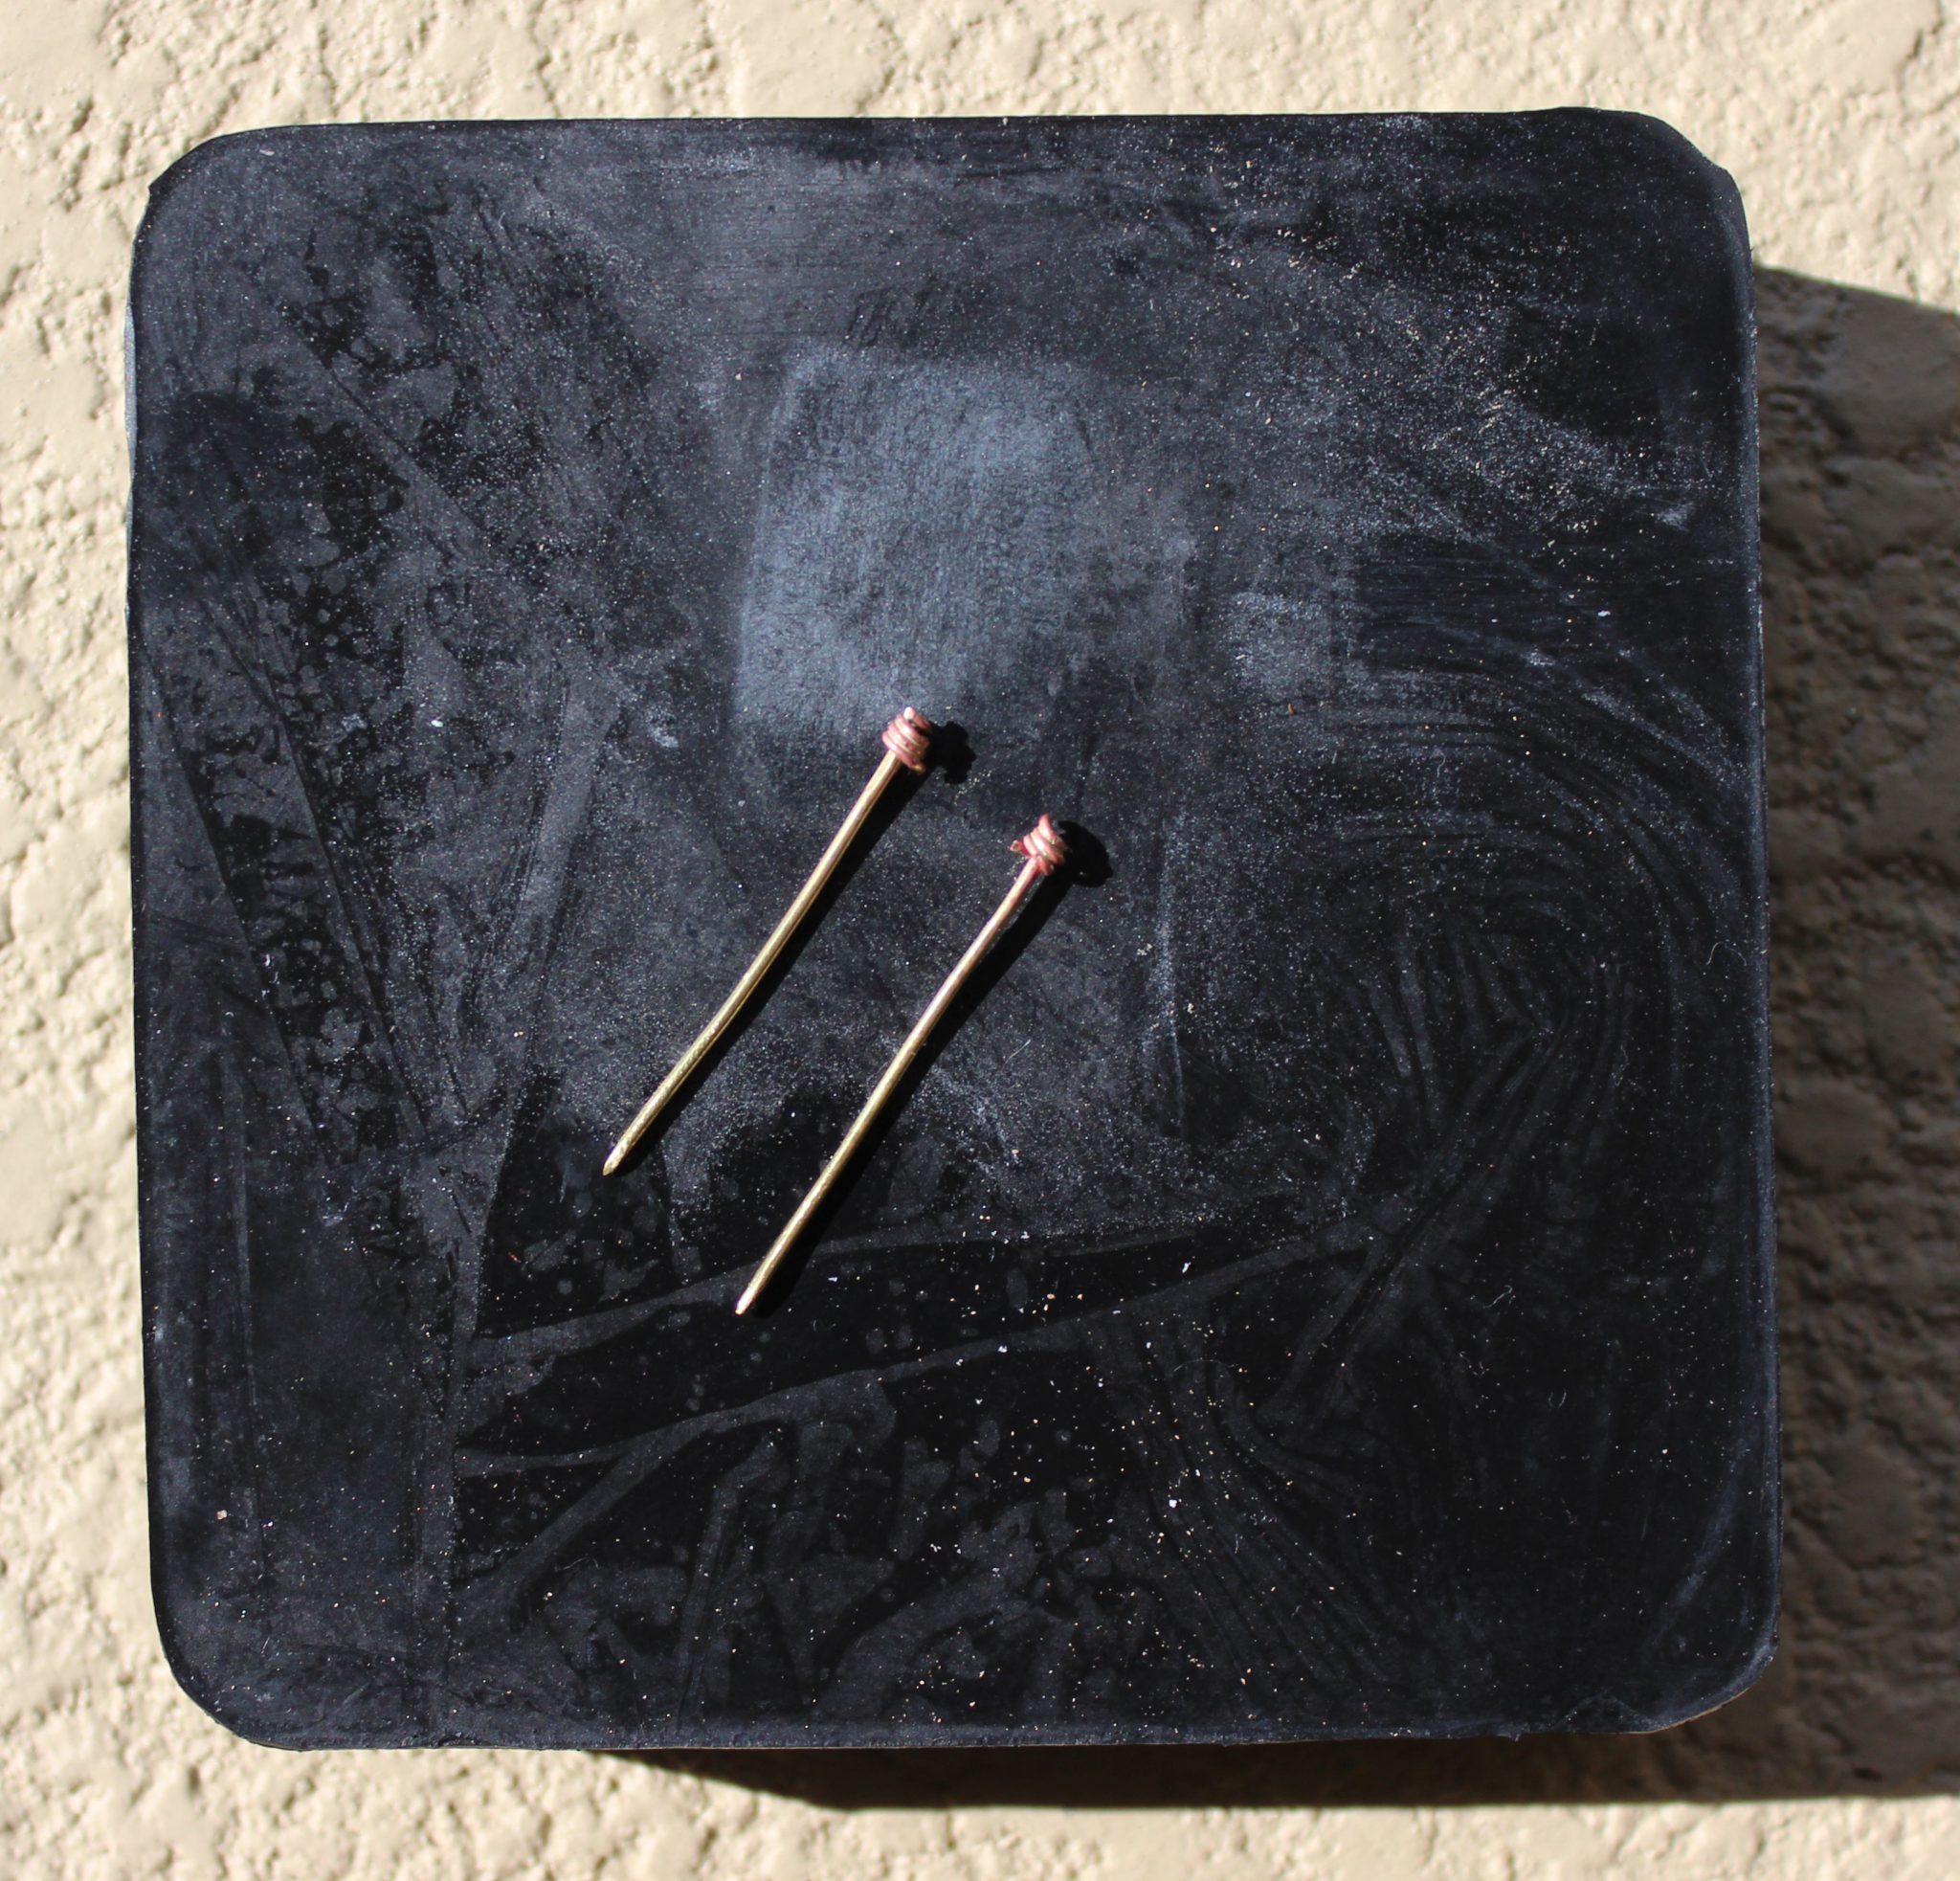
To clean them I put them in a solution of white vinegar and salt, this eats away at the baked on flux and oxidation. It also brings a thin layer of copper to the surface of the brass. I might be able to prevent this by adding some hydrogen peroxide to the pickle but for now, the copper comes off with some polishing.

Leave a Reply