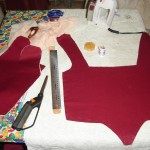
After laying out the fabric I traced my pattern on to the drill and sateen then cut it out.
I left all the seam allowances in place (Which I will cut down later then I bind it.) save for the back, which I extended by an inch as I plan to fold that over as a facing rather then bind the back edges.

Then I stacked the layer of sateen on top of one layer of the drill and hand basted all around it in the seam allowances.
In sewing terms this is known as flat lining it gives the sateen layer more strength then it would have on its own and will help prevent the bones from wearing through the fabric.
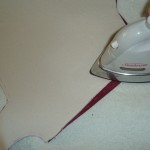
Next I pressed the seam allowances down on the side seams.
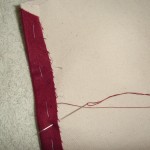
Then the side seam allowances were whip stitched down on the front and back pieces.
This method of construction calls for more hand sewing then if you used a machine, but the end result means you don’t have a thick bulky seam on the inside of the stays.


The outer layer done I set that aside and took the second layer of drill and pressed the side seam allowances down as well, but did not whip stitch them in place.
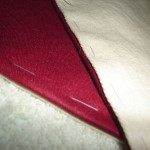
Then I stacked the two layers of drill together with the folded under/stitched down seam allowances facing each other.
All the layers were then basted through, going only up the side seams and the straps, leaving the bottom of the stays and the neckline open. I used a very sharp glovers needle for this, as regular hand sewing needles have some issues going through the heavy fabric.
Up next, sewing the boning channels.