Pattern Adjustments and Mock-ups
To me this is the annoying and tedious part of sewing, but once it is done we will have a bodice pattern that fits and we can use for various projects. If you already have a block pattern by all means use it. I’m starting from the beginning because this is stuff I wish I knew when I was starting out.
Materials:
Pencil
A small scrap of cardboard
Tape
Measuring tape
A long Ruler
Paper to trace your pattern on
Muslin or calico for Mock-up(s)
Scissors
Narrow Elastic or Ribbon
Tracing Wheel (optional)
A pin
Measurements:
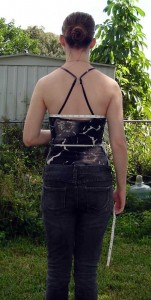
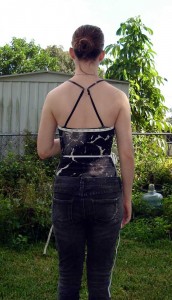
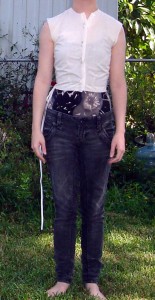
To start we need a few measurements, so take a second to change into a fitted knit top and if you wear extra support under your garb put that on too. I’m wearing modern jeans to show where where your waist is not.
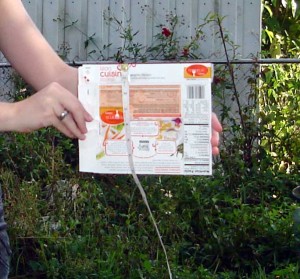
Natural waist: ________ Take string or narrow elastic and tie it snug around your waist, wiggle around from side to side till it settles. Make sure it isn’t twisted like mine is. This trick for finding the waist doesn’t always work, so a second way of finding it is to look at where your elbow falls, that will roughly tell you where your true waist is. (Thank you Elizabethan Costume facebook group for teaching me that proportional trick.)
Bust: _____ Measure over the fullest part of the bust.
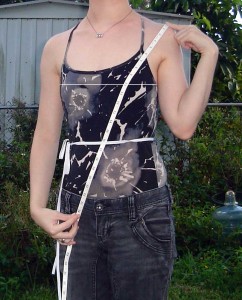
Overbust _______With the back of the tape measure still sitting at where you measured for the bust measurement slide the front of the tape up to take your overbust measurement. This can be tricky to do alone, you can see the tape slipped down a bit in the photos.
Shoulder to Bust Point:______ From the top edge of your shoulder across and over to the highest point of the bust line. This is where some dart points end, depending on the style.
Under arm to waist: ______ Tape measuring tape to some cardboard, shove under arm, measure to waist.
Now check the back of the pattern envelope for your bust measurement. Depending on your build, you can use your bust measurement or your over bust measurement to find your size. For example if you are large busted but have a small frame it might be better to use your over bust measurement to ensure that the shoulders fit.
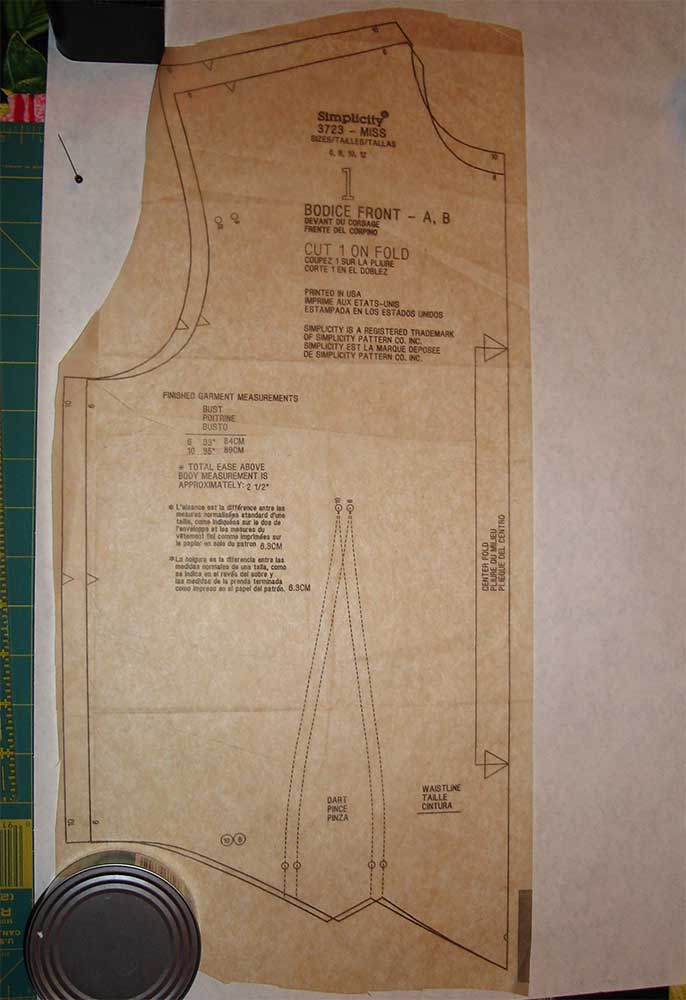
Unfold pattern and roughly cut out Bodice A, around all sizes.
Yell at tissue paper.
Mark off your seam allowances at the bust, waist, and shoulder. In this case they are 5/8ths.
Measure the pattern and compare it your measurements.
Pattern Waist: ________
Pattern Bust: _______
Shoulder to Bust Point _____
Pattern Shoulder Width: _________
Pattern Underarm to Waist: __________
Pattern companies add a bit too much wearing ease for a fitted 16th century kirtle. If needed go down in size until the pattern bust and waist match your waist and over bust measurements.
If between sizes blend and taper between the two with a pencil.
Mock-up 1.0
Get out your muslin/calico and cut a mock-up, this is to test the pattern straight out of the envelope aside from removing the dart, and it will be easier to read what other adjustments will be needed.
Mark off your seam allowances along the arm holes and neckline.
Here is the pattern in a size 6 on me, right out of the envelope, the only adjustment I’ve done is to pivot out the dart which I show how to do below.
The fit isn’t bad, however I do have very sloped shoulders, so I will need to pinch out the excess, that will fix the extra fabric in the armscye.
My seam allowances around the armscye are not snipped into yet, so there is some wrinkling. You can also see this at the back of my waist.
Adjustments:
Put the tissue paper pattern away where hopefully you won’t have to see it for a long long time. We are going to make any changes to the traced pattern.
I may not be able to cover every adjustment here but I’ve tried to touch on the important ones.
Bust Point
Compare your bust point to the pattern the tip of the dart should end roughly about ½ an inch from the bust point.
To raise and lower the bust dart:
http://repository.tamu.edu/bitstream/handle/1969.1/87412/pdf_2291.pdf?sequence=1
Cup size:
Most store patterns are drafted for a B cup, if you are not a B cup adjustments will be needed.
Full Bust Adjustment Tutorials: This will increase the waist size into the dart, that is fine, we will pivot the dart out later.
http://web.archive.org/web/20100318053715/http://www.timmelfabrics.com/fullbustalteration.htm
http://sewmamasew.com/blog2/2008/05/full-bust-alterations-or-adjustments-fba/#.UEvhucFlQ8k
Small Bust Adjustment Tutorials: More or less a FBA in reverse.
http://hungryzombiecouture.blogspot.com/2007/03/my-cup-does-not-runneth-over.html
Under arm to waist:
Compare your under arm to waist measurement with the pattern. If you are short waisted you may need to fold the pattern up. If you are long waisted you will need to slash and spread the pattern down. Do this for the front and back of the pattern.
http://portialawrie.blogspot.com/2011/07/top-draftalong-23-adjusting-waistline.html
Shoulder Width: Some patterns grade their shoulder width up too much. Feel on your shoulder for a boney notch that is where the marked off seam allowance should hit.
Removing that pesky dart
Now we are going to trace the pattern, straighten the waist and pivot out the bust dart.
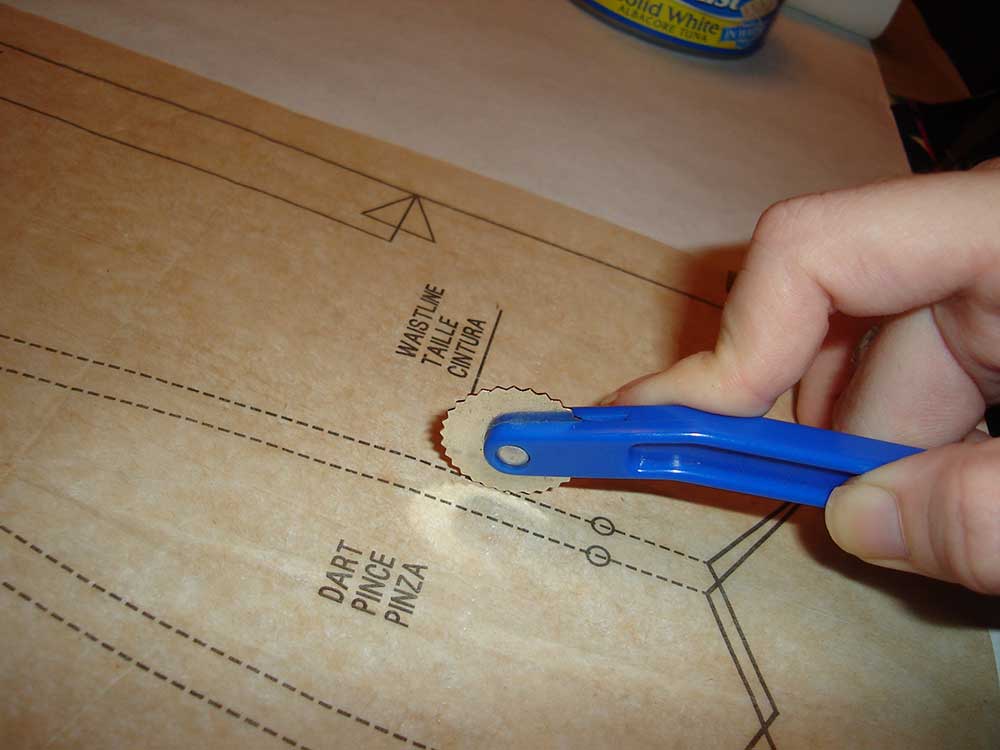
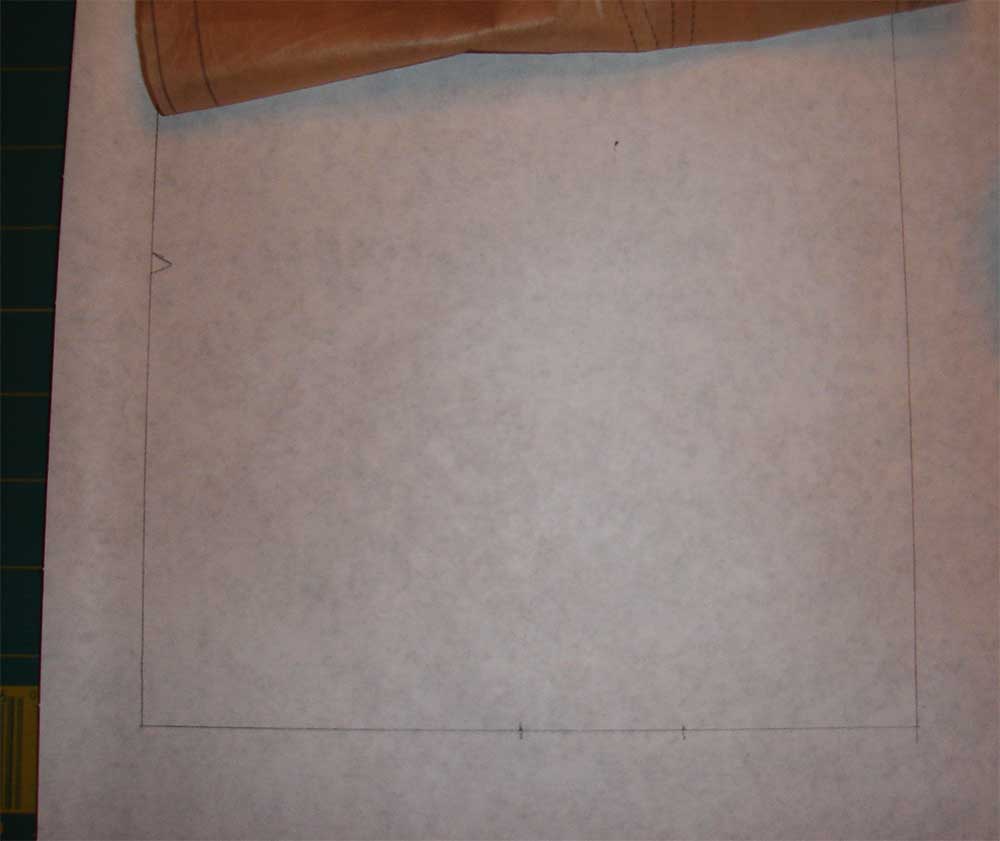
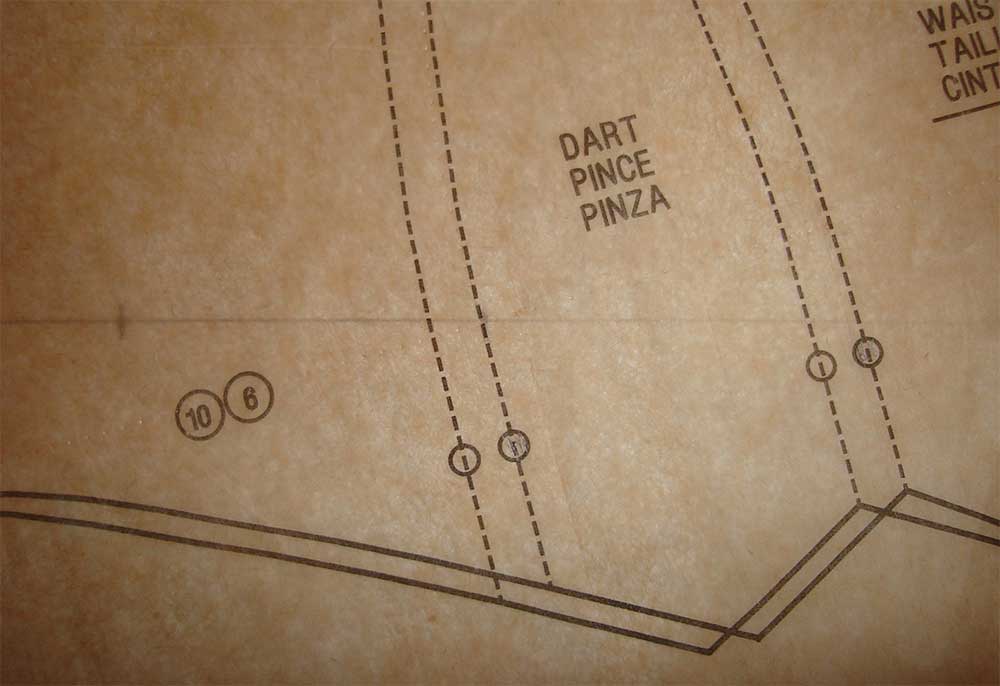
Put the pattern on some paper and trace around the pattern, marking the darts, notches, dart tip and grain lines.
The tracing wheel is a pretty neat tool, it leaves a small row of perforations through the tissue paper and into the paper under it. You could also put carbon paper between the two layers to make the tracing easier to see. If you don’t have a tracing wheel you can mark a series of dots along the pattern and connect them with your ruler.
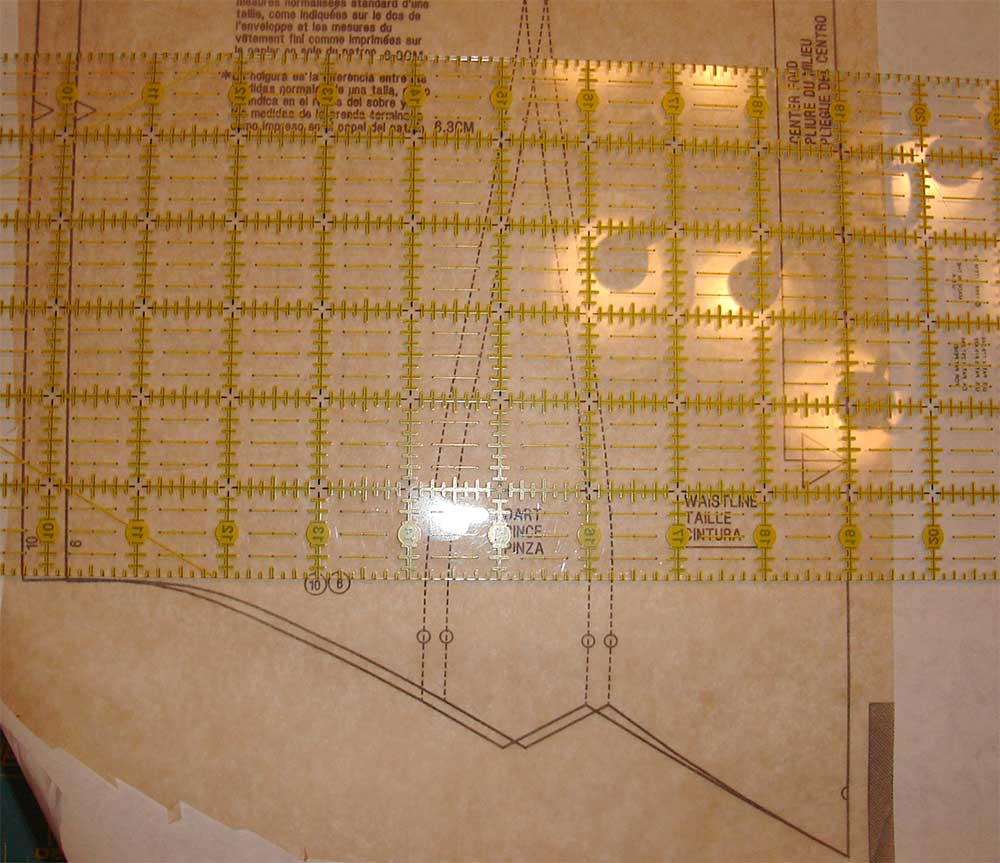
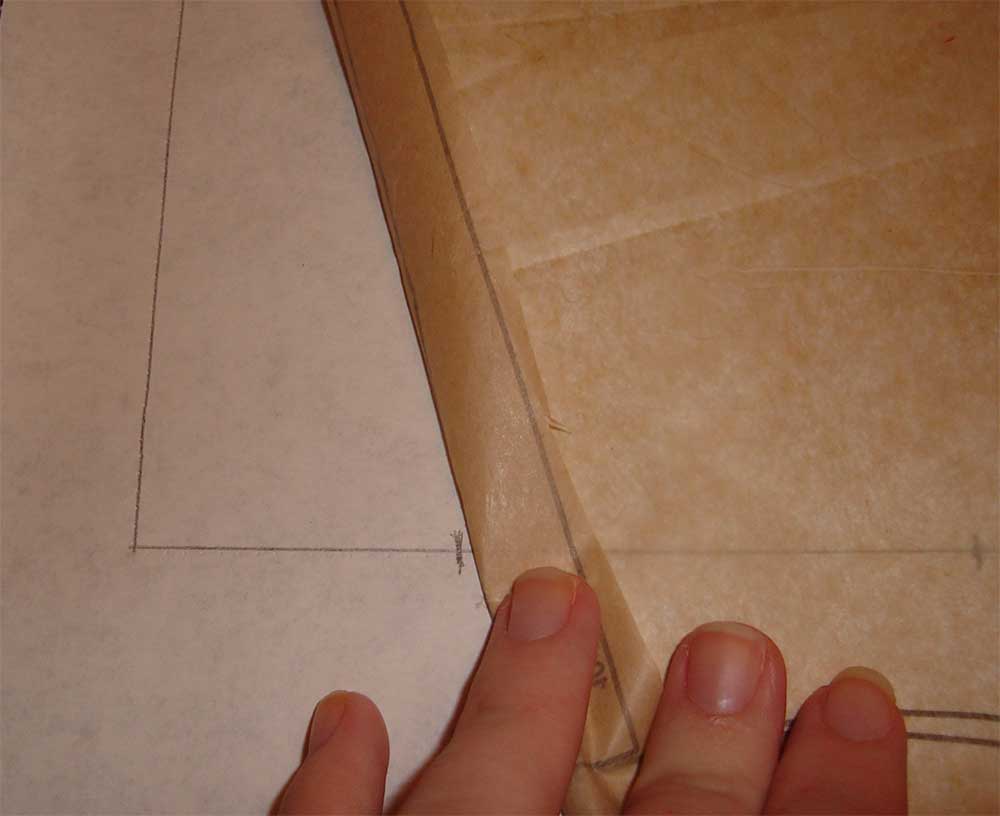
Next we will even out the bottom of the pattern, align the ruler along the bottom edge of the side seam and trace straight across. Make sure you mark the end of the dart legs. We need to know where they hit for the next step.
When I fold the tissue pattern up out of the way this is what it looks like. Put the tissue pattern back in place, matching the lines and notches.
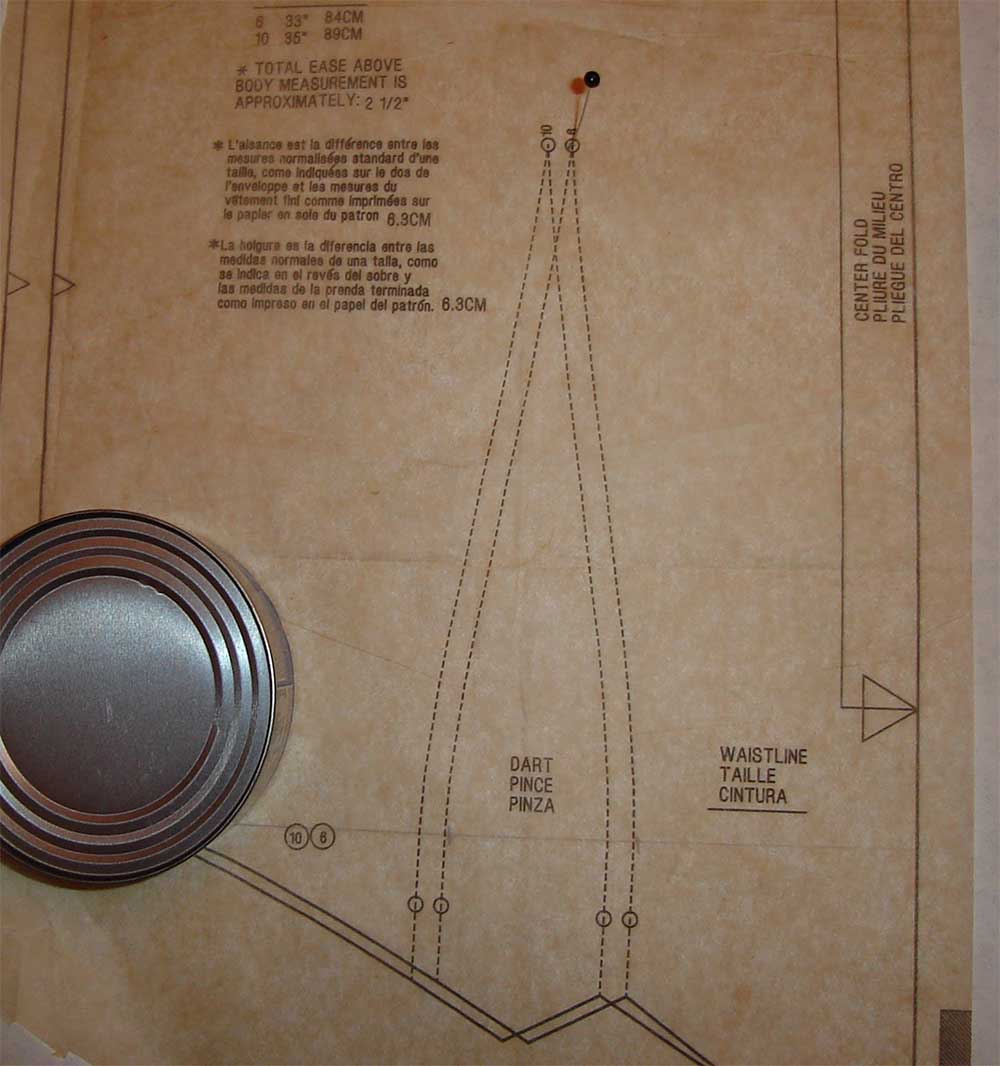
Now stick a pin at the center tip of the dart.
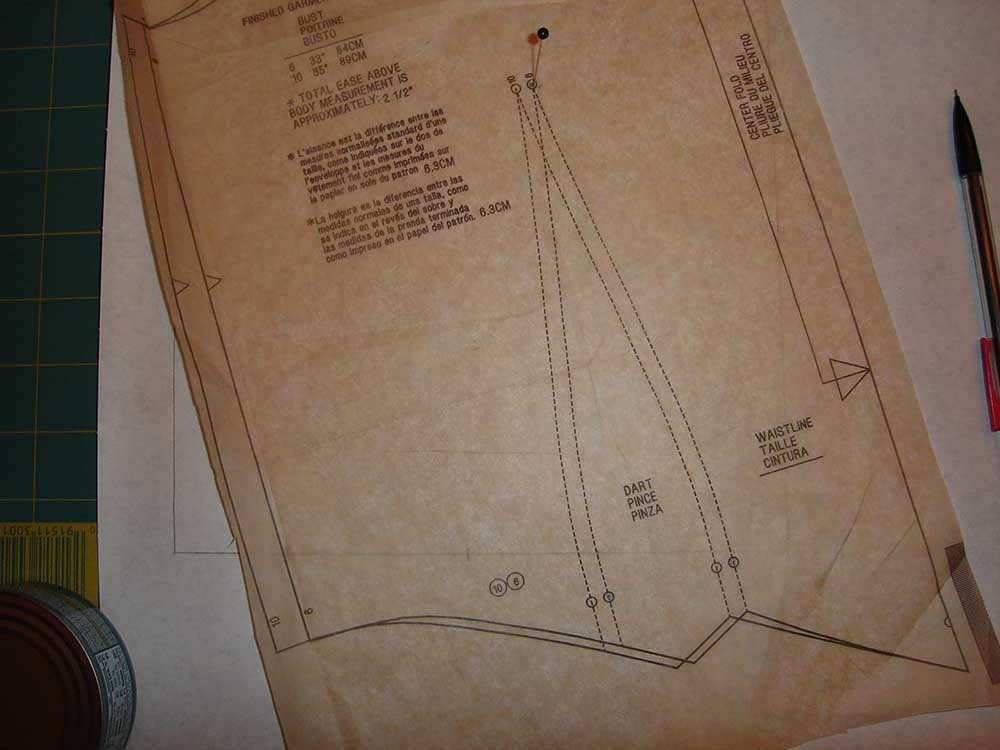
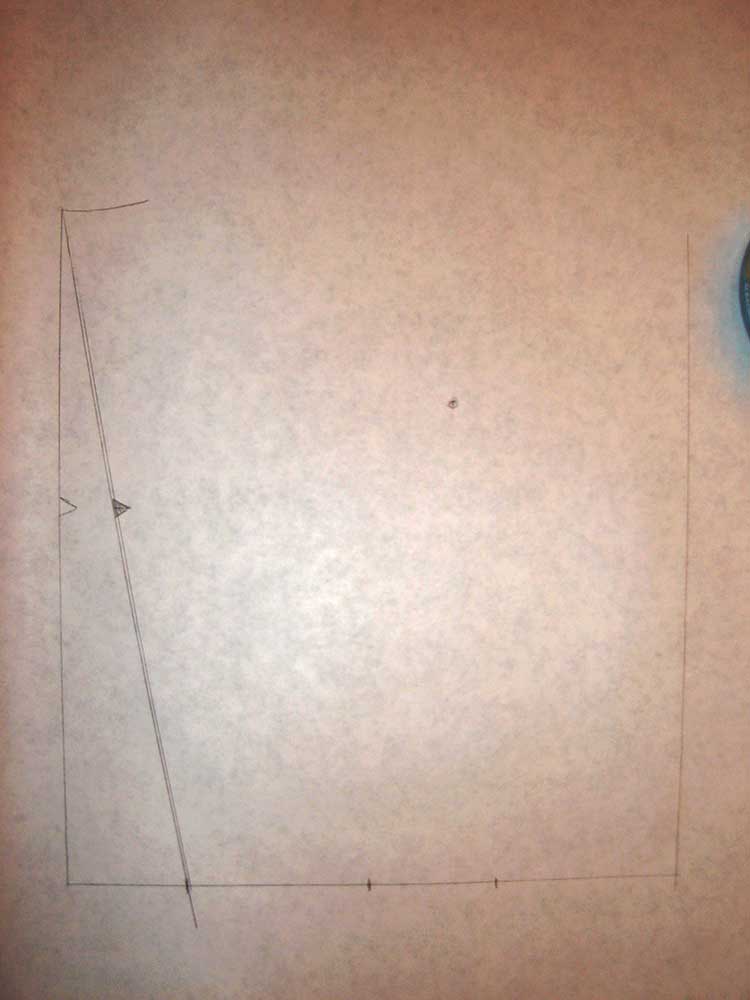
The pin acts as a pivot point. You can see in the photo above where I marked off the dart legs, now we are going to pivot the pattern shifting the left dart leg on the tissue pattern to match the marking of the right dart leg on the paper pattern.
Notice how that changes the angle of the side seam?
The space from the old side seam to the new side seam mark is the width of the dart.
Match the new bottom side seam mark with the top of the side seam, draw a line to connect the two points and transfer your notches.
You now have a dart free pattern!
The next installment will cover the interlining pattern, and more!








Yours is a wonderful site — thank you so much for sharing your experiences and advise.
Great! I’m still chipping away at this series, it is just slow going sometimes. In the works is a post and video on interlinings!
Looking forward to more! I’m in the planning/re-search stage right now. This is great information.
Aggghhh! I’m so skerred!! I think I’m going to try absorbing this info over the next two weeks. I’m terrified of tilting and *mumble mumble* Keep going, I’m entranced by your every type-written word!