

Trying to fit a corset mock-up on your own body, by yourself, calls for patience and flexibility. I wanted something I could sew on quickly so I could check the general fit of a corset, without having to worry about busk length, zippers, or safety pins.
The Velcro Corset Busk

Supplies
- 2 lengths of flat steel boning
- 2 sturdy strips of fabric, wide enough to fold in half. this will make your boning channels.
- Velcro, either the sew on kind or the industrial strength adhesive kind
- Sewing machine, pencil, scissors
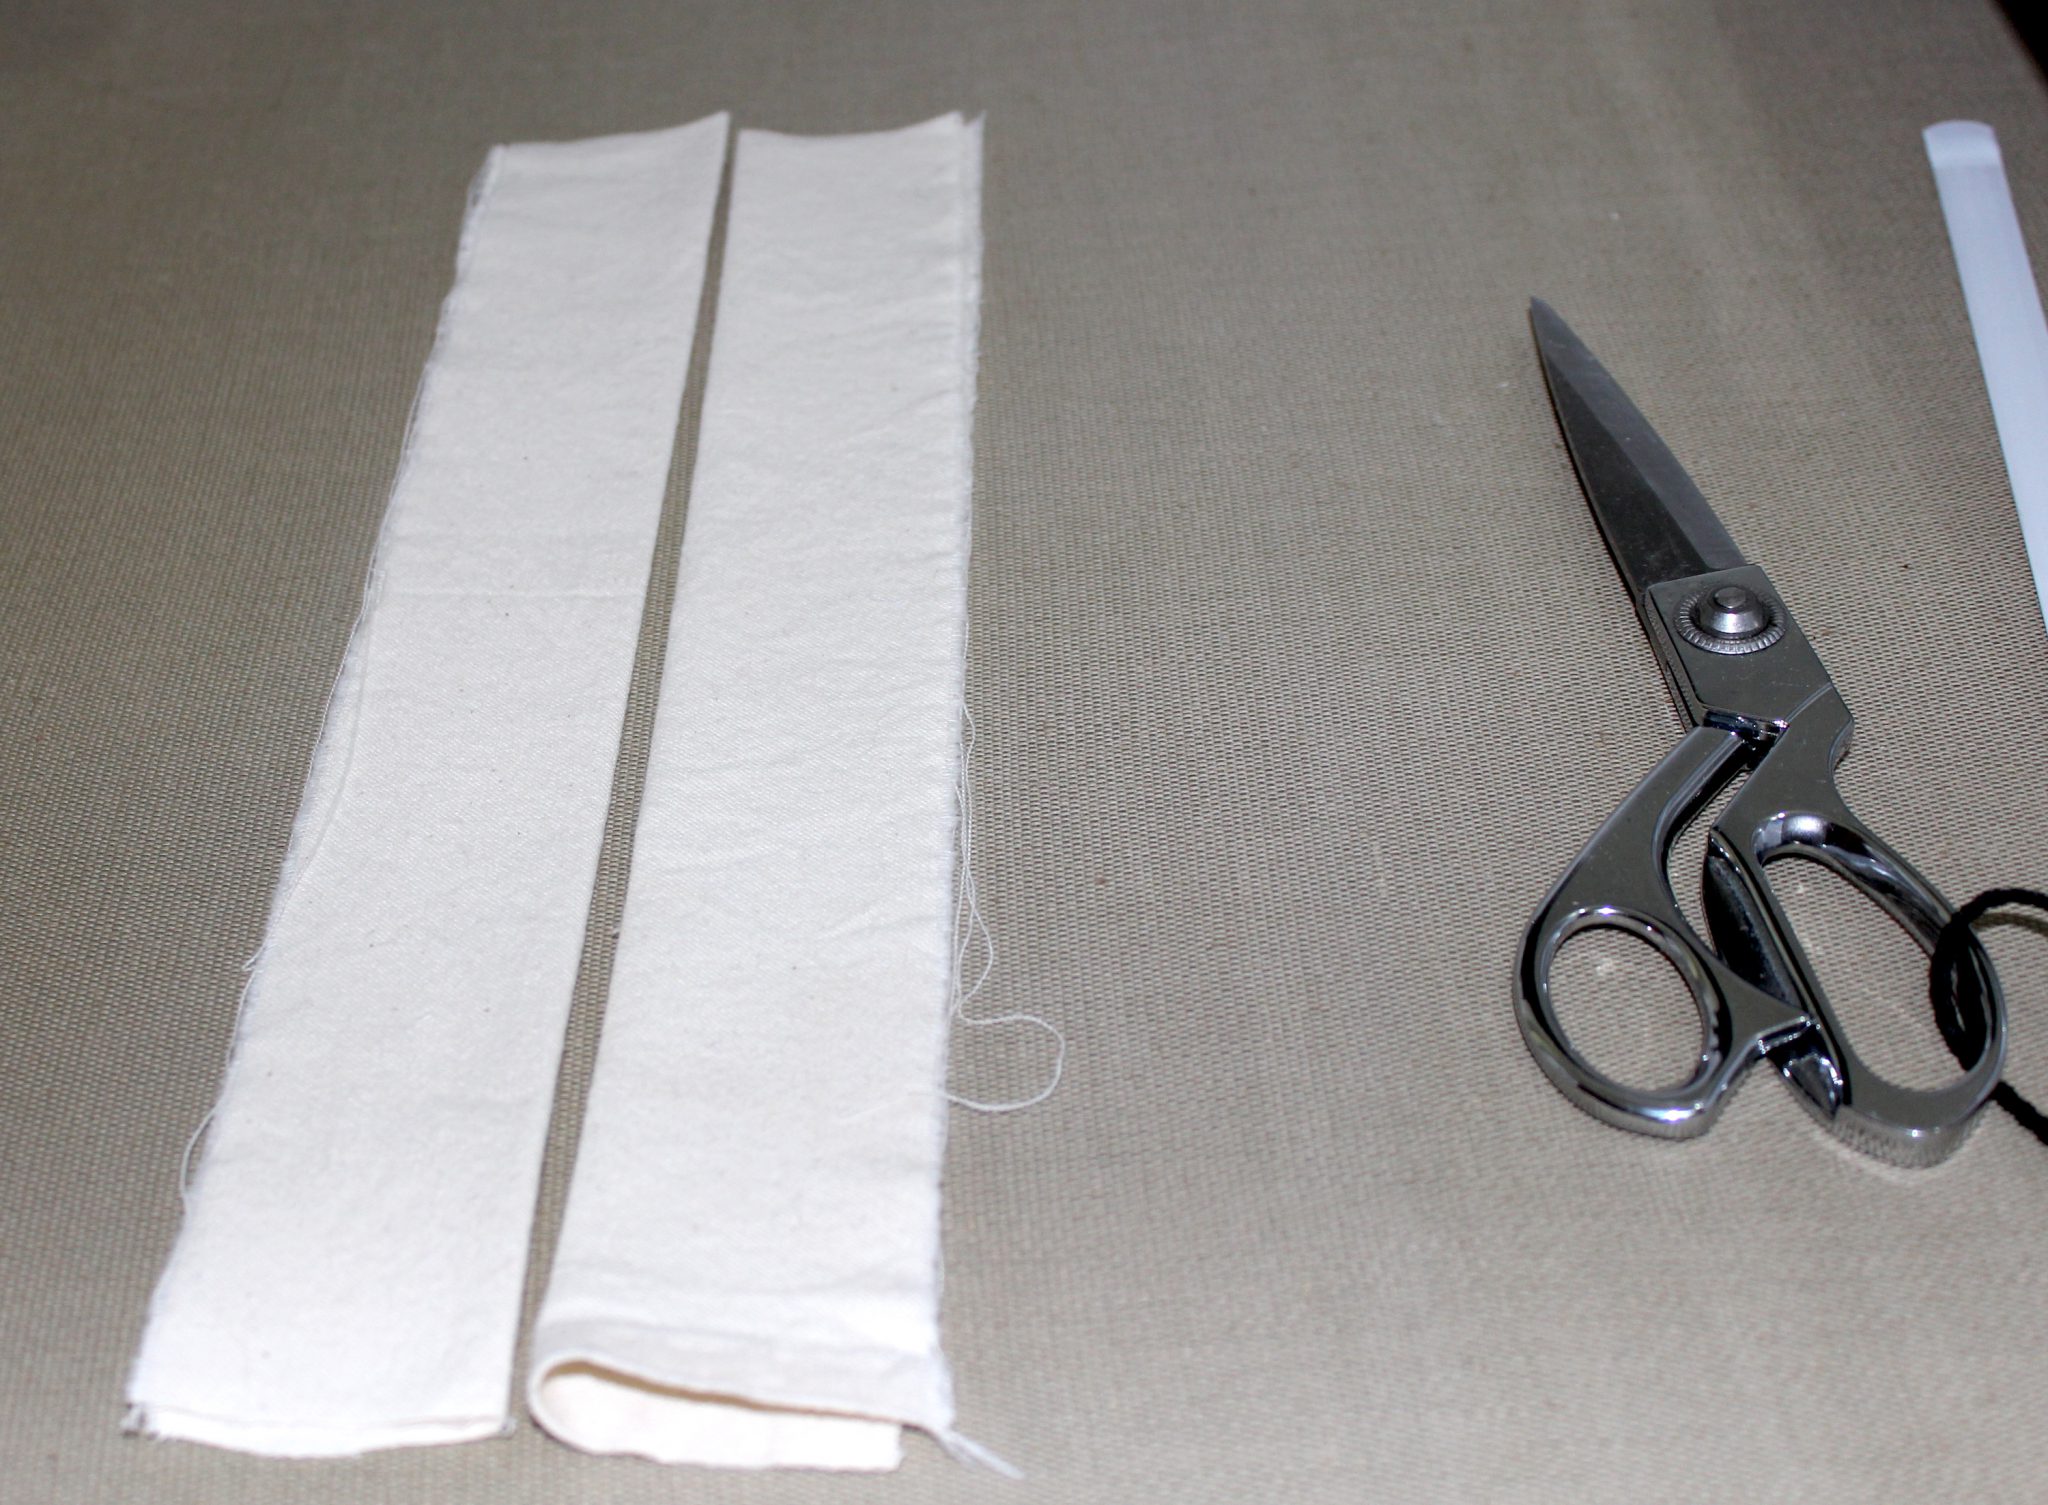
Cut 2 strips of fabric (I’m using cotton twill) and fold in half.
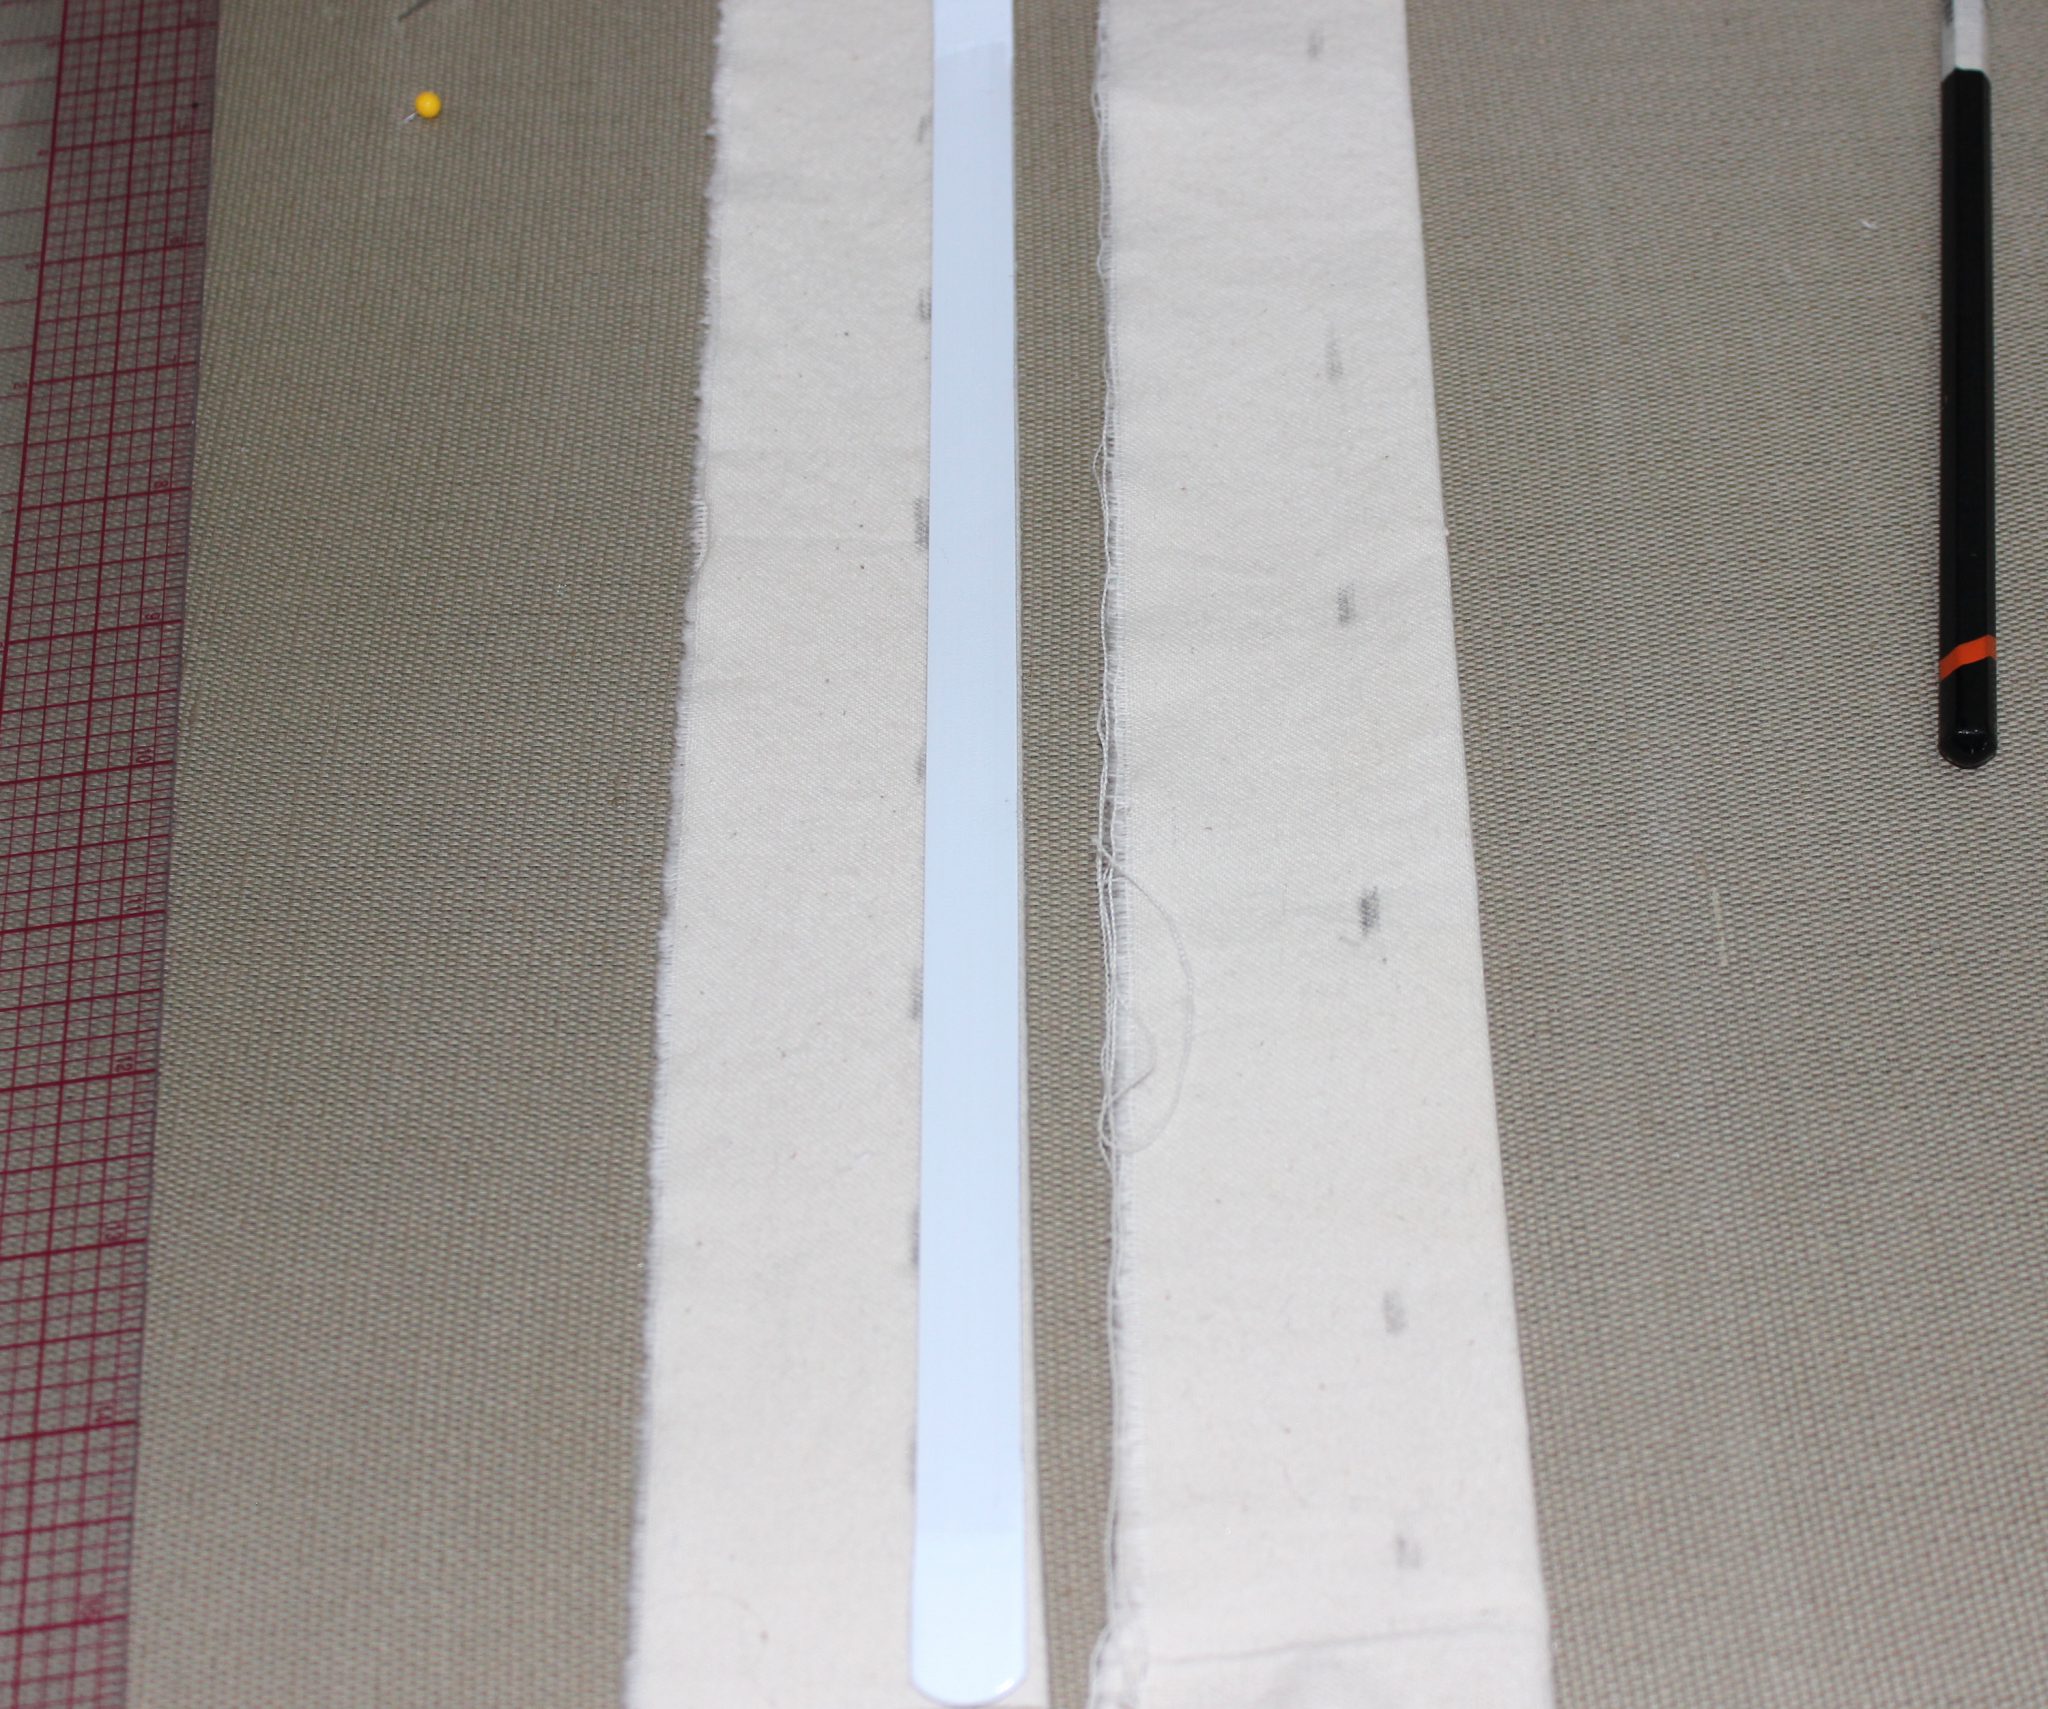
Mark the width of the boning along the folds.
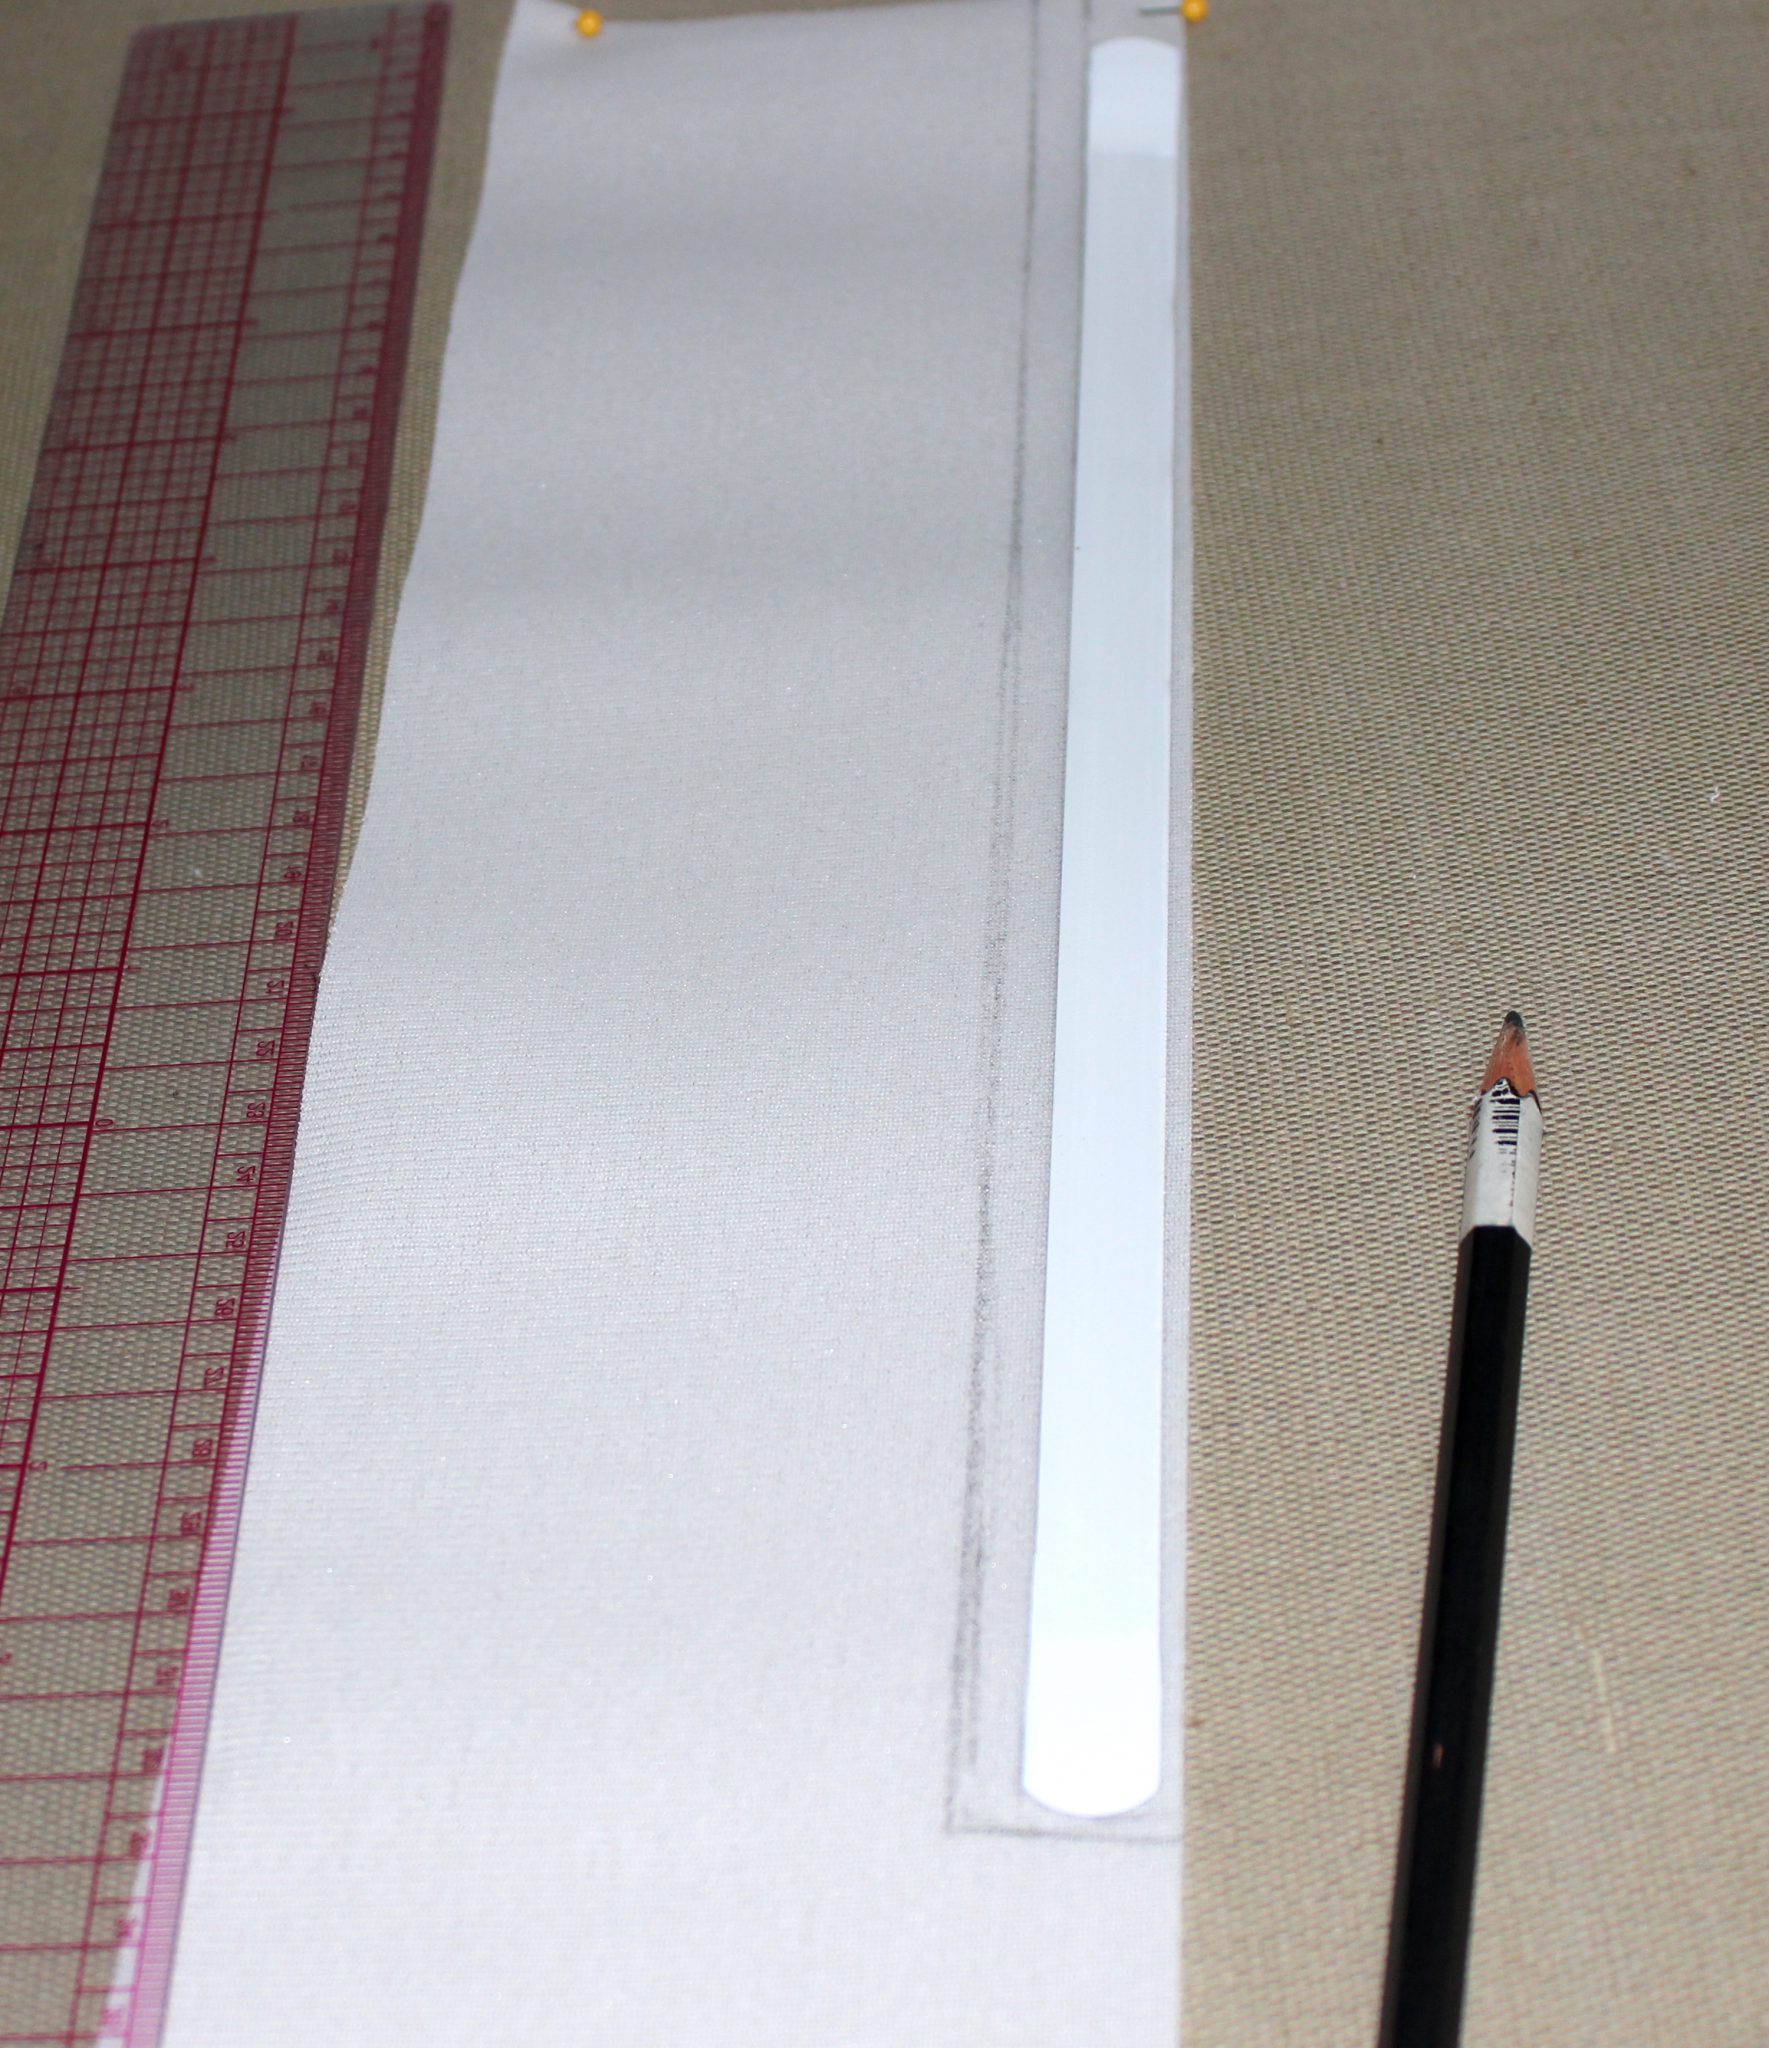
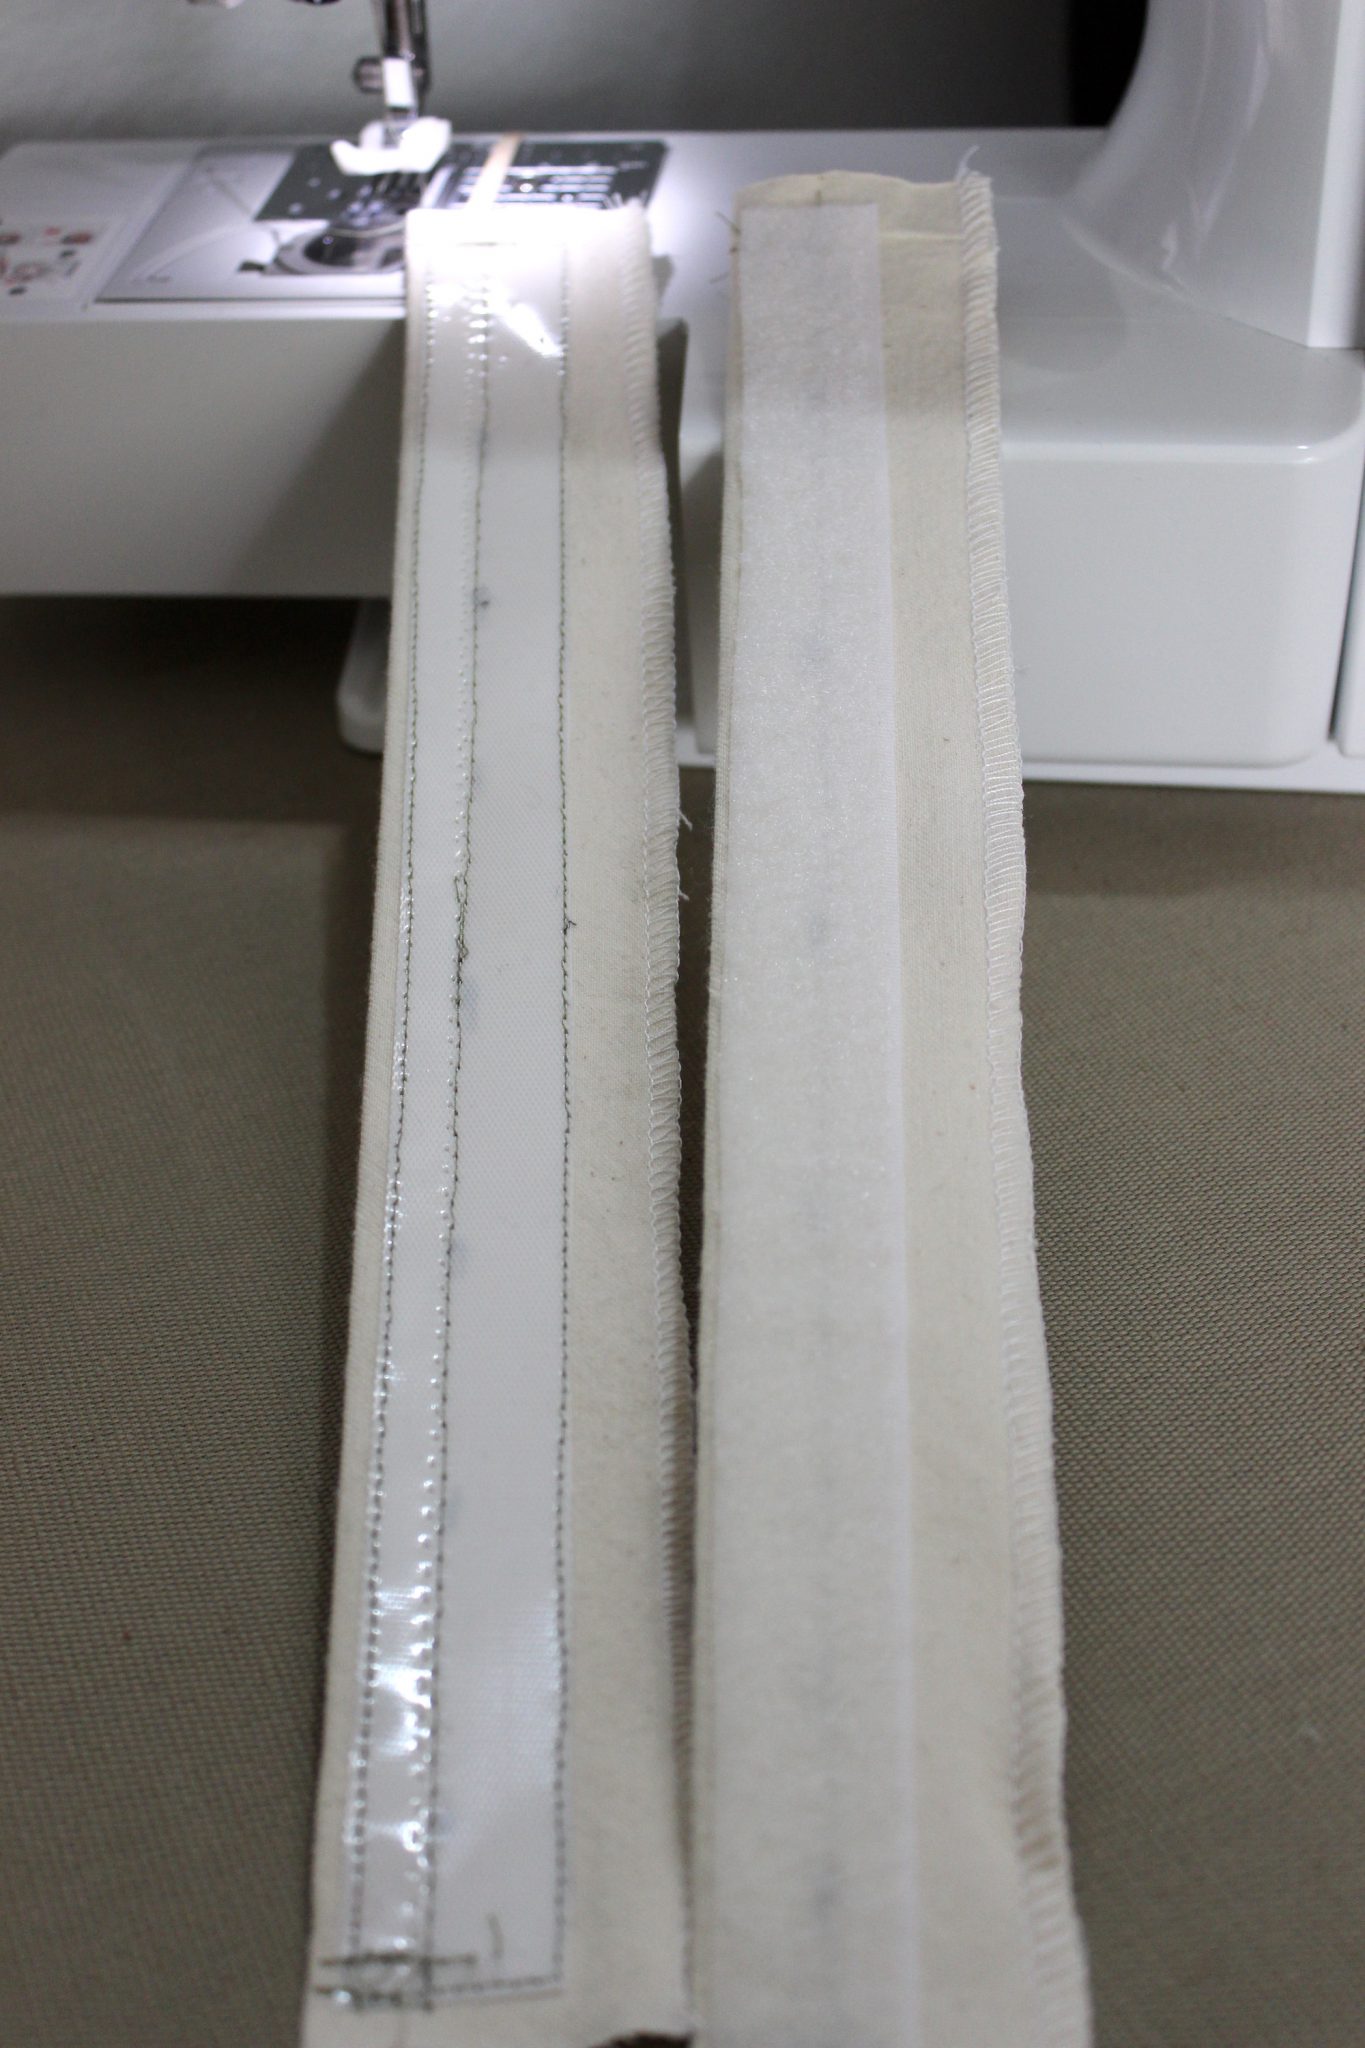
Measure and mark your velcro strips.
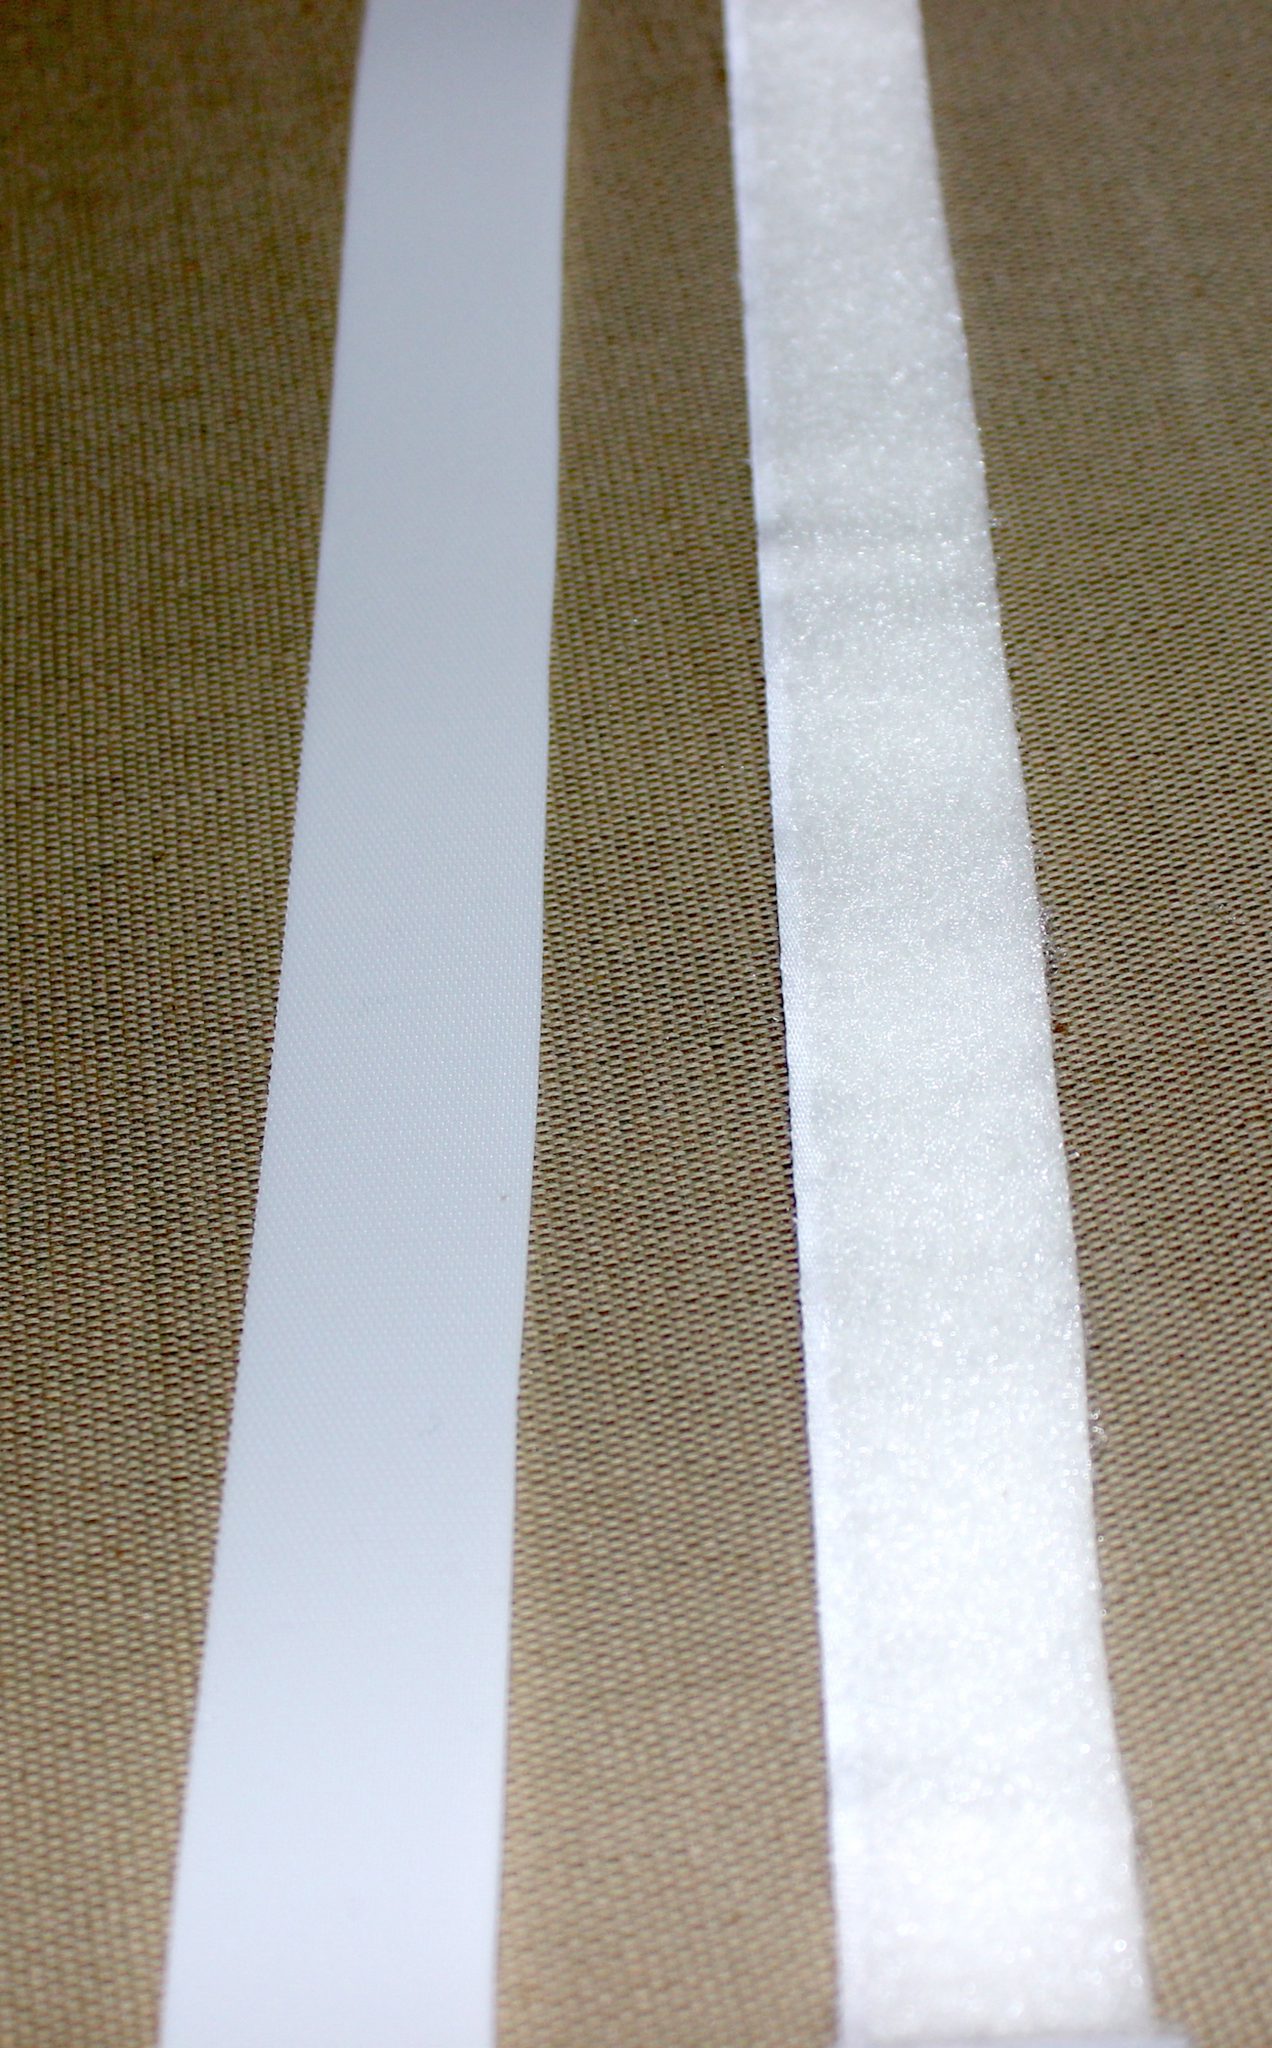
I’m using one strip of sew-in velcro and one strip of the adhesive
because that is what I have on hand.
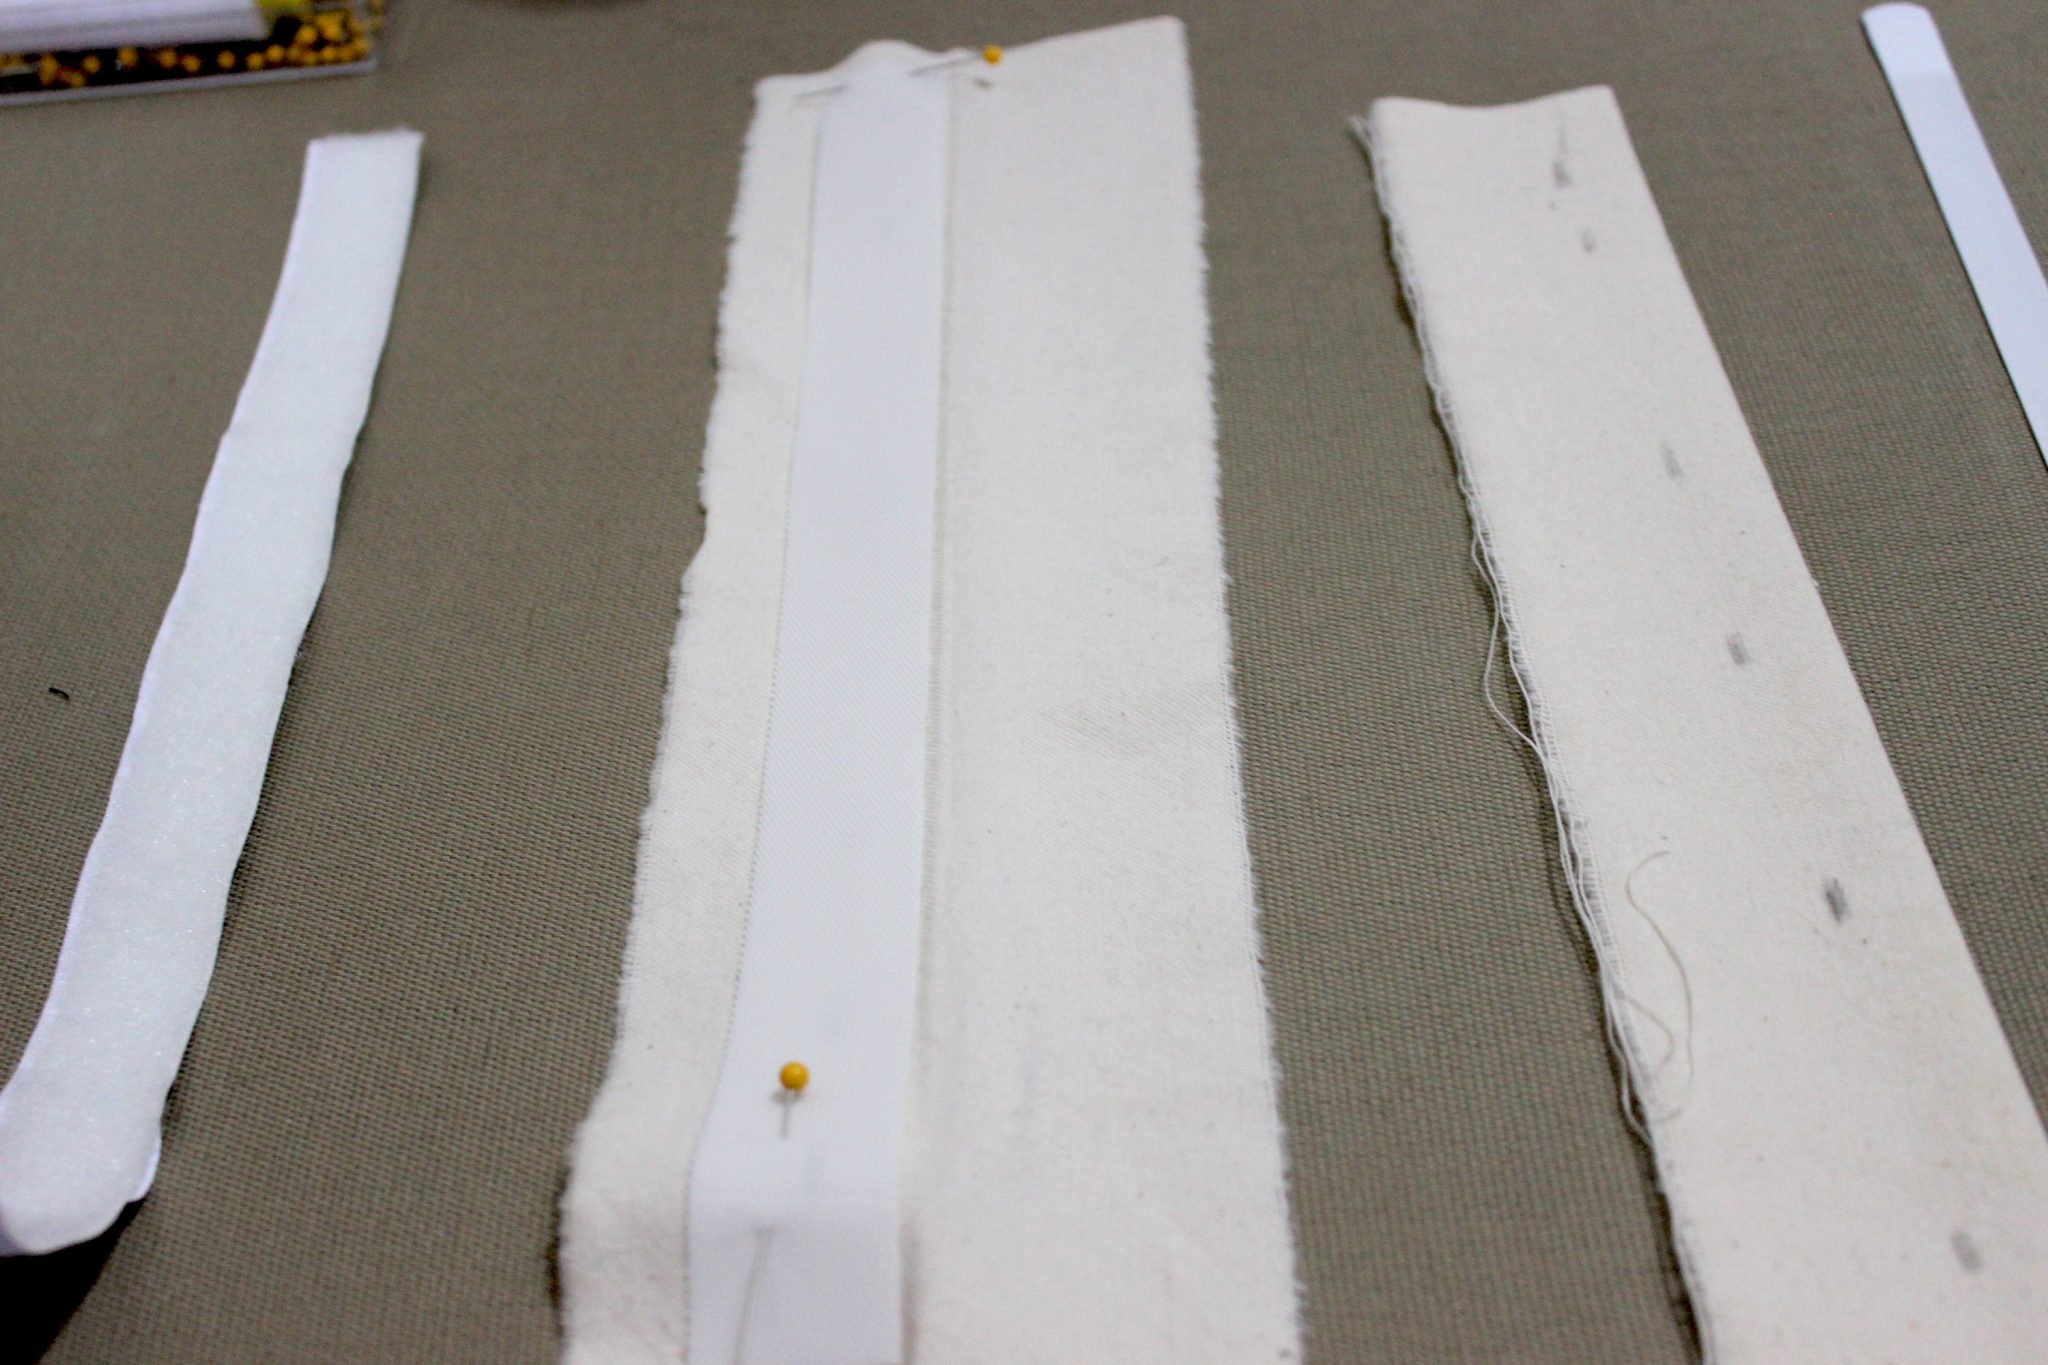
Unfold the twill strip and pin the velcro in place.
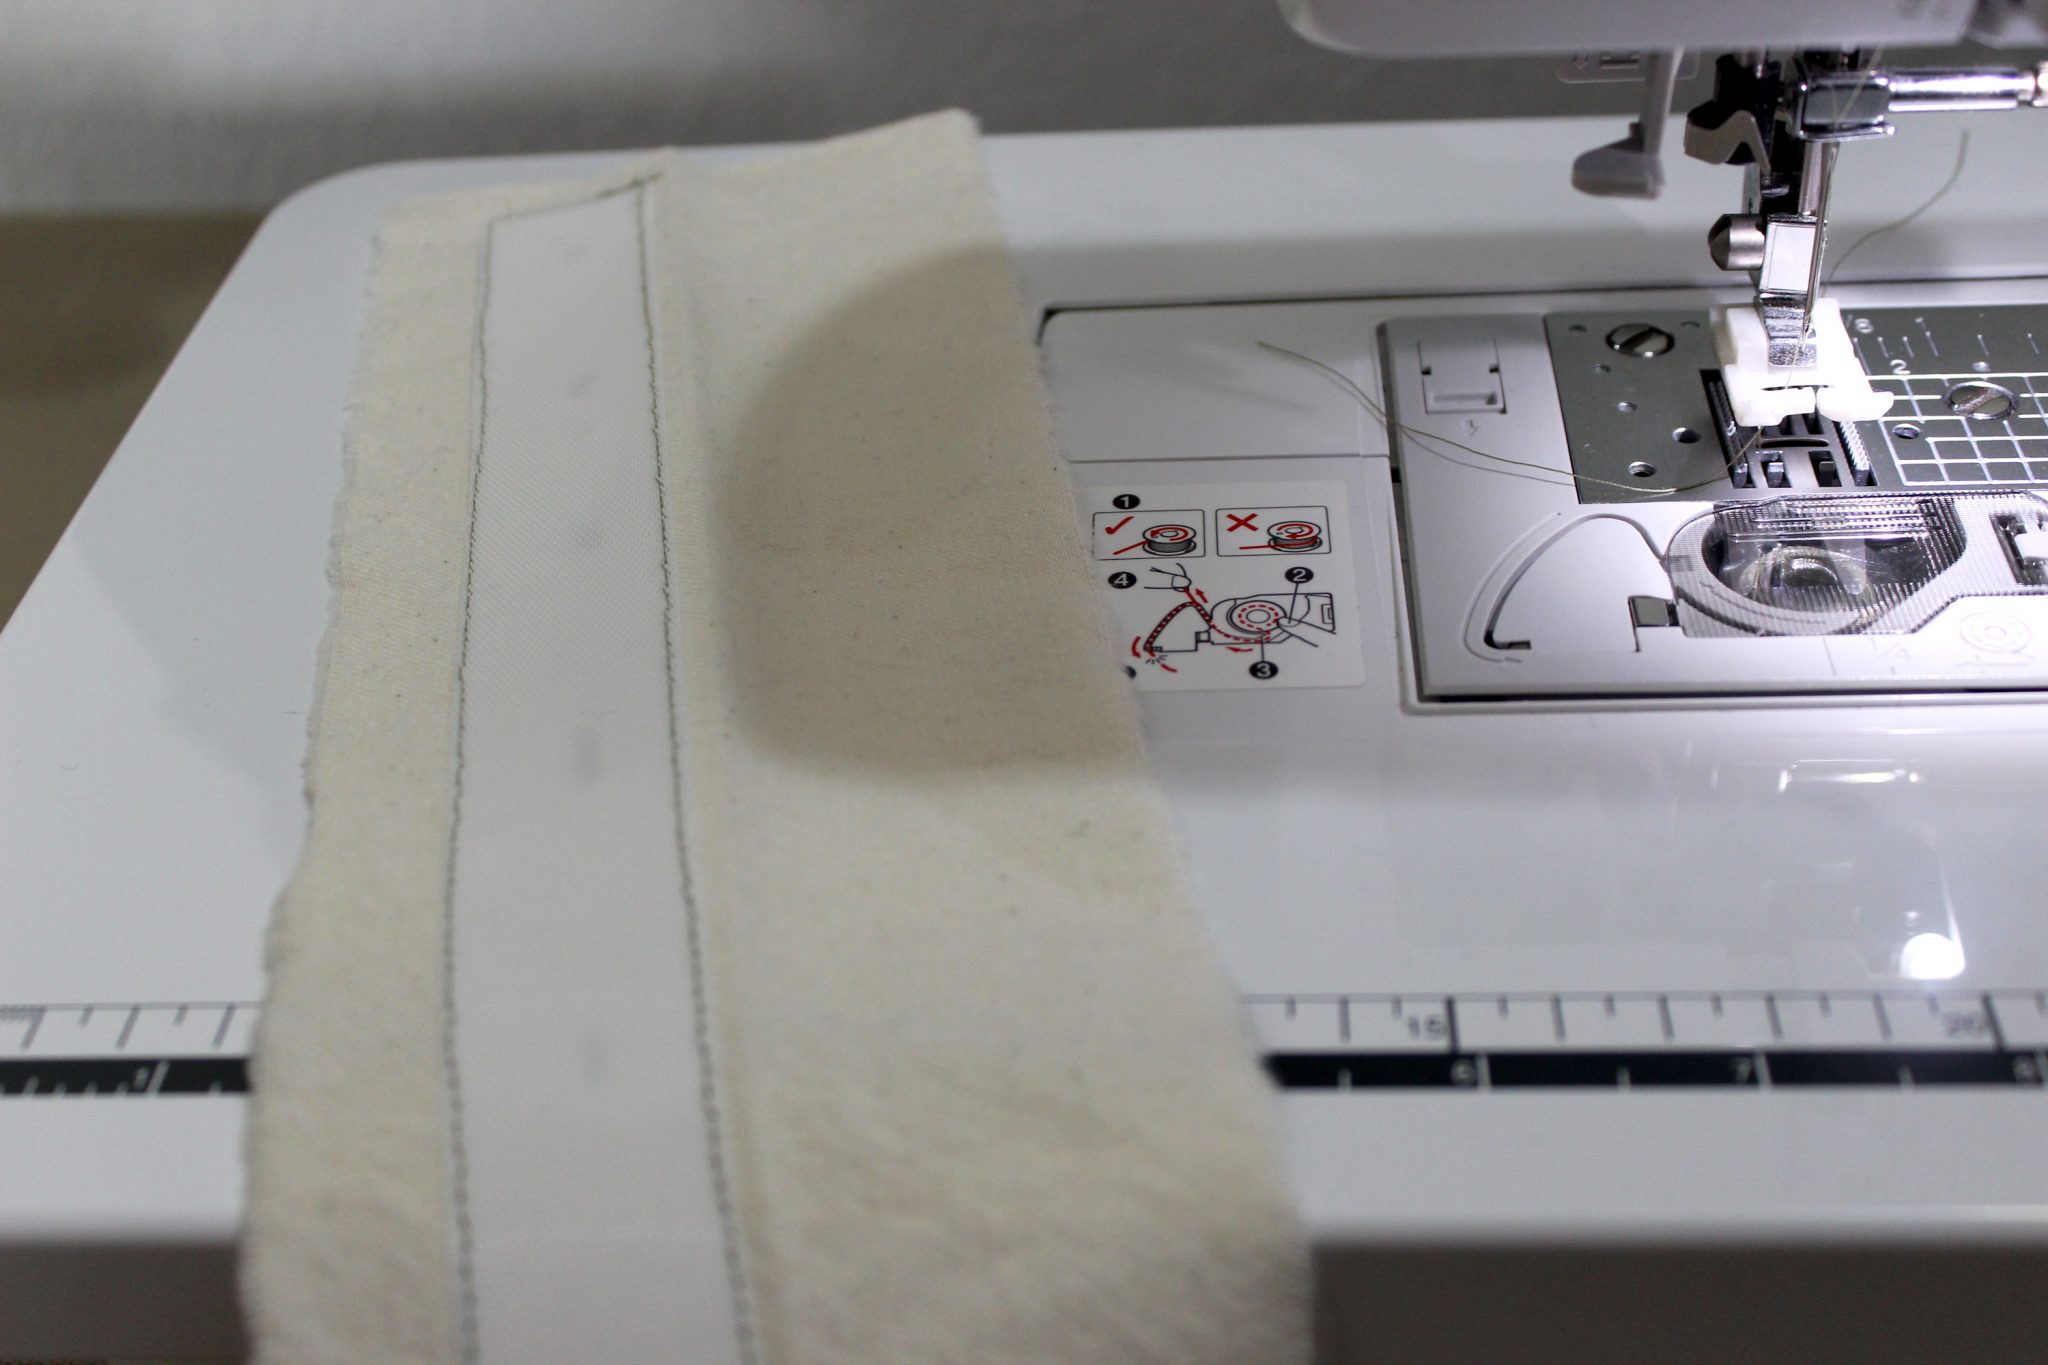
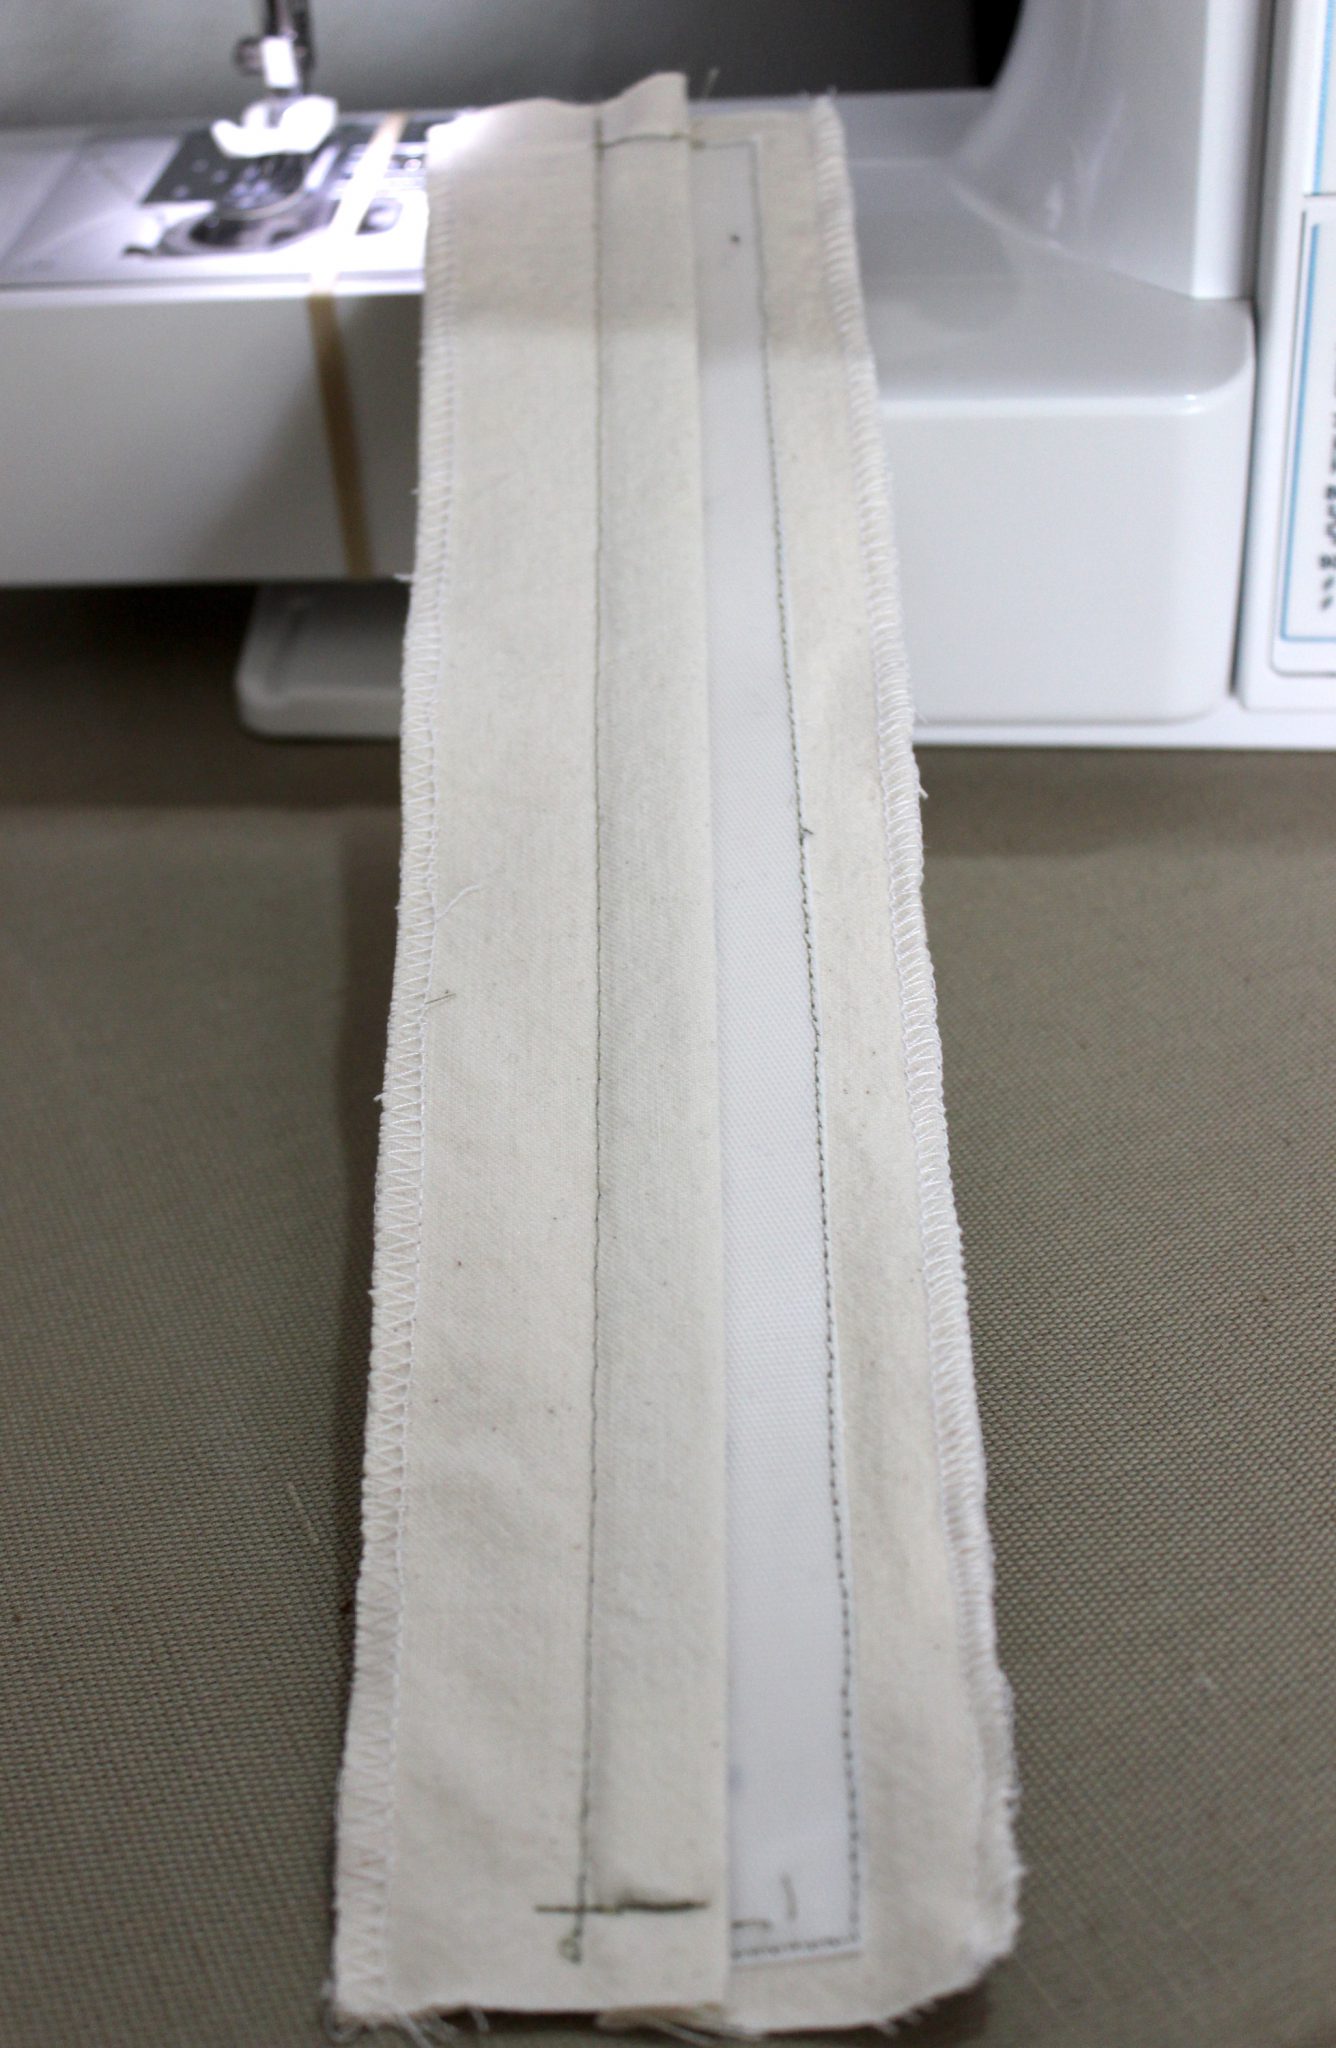
Sew the velcro to each twill strip.
If you are using the adhesive kind sew your boning channels first, insert boning, finished the ends, and then stick on the velcro.
Fold the strip back over and sew the boning channel. (I forgot to get a photo of this step.)
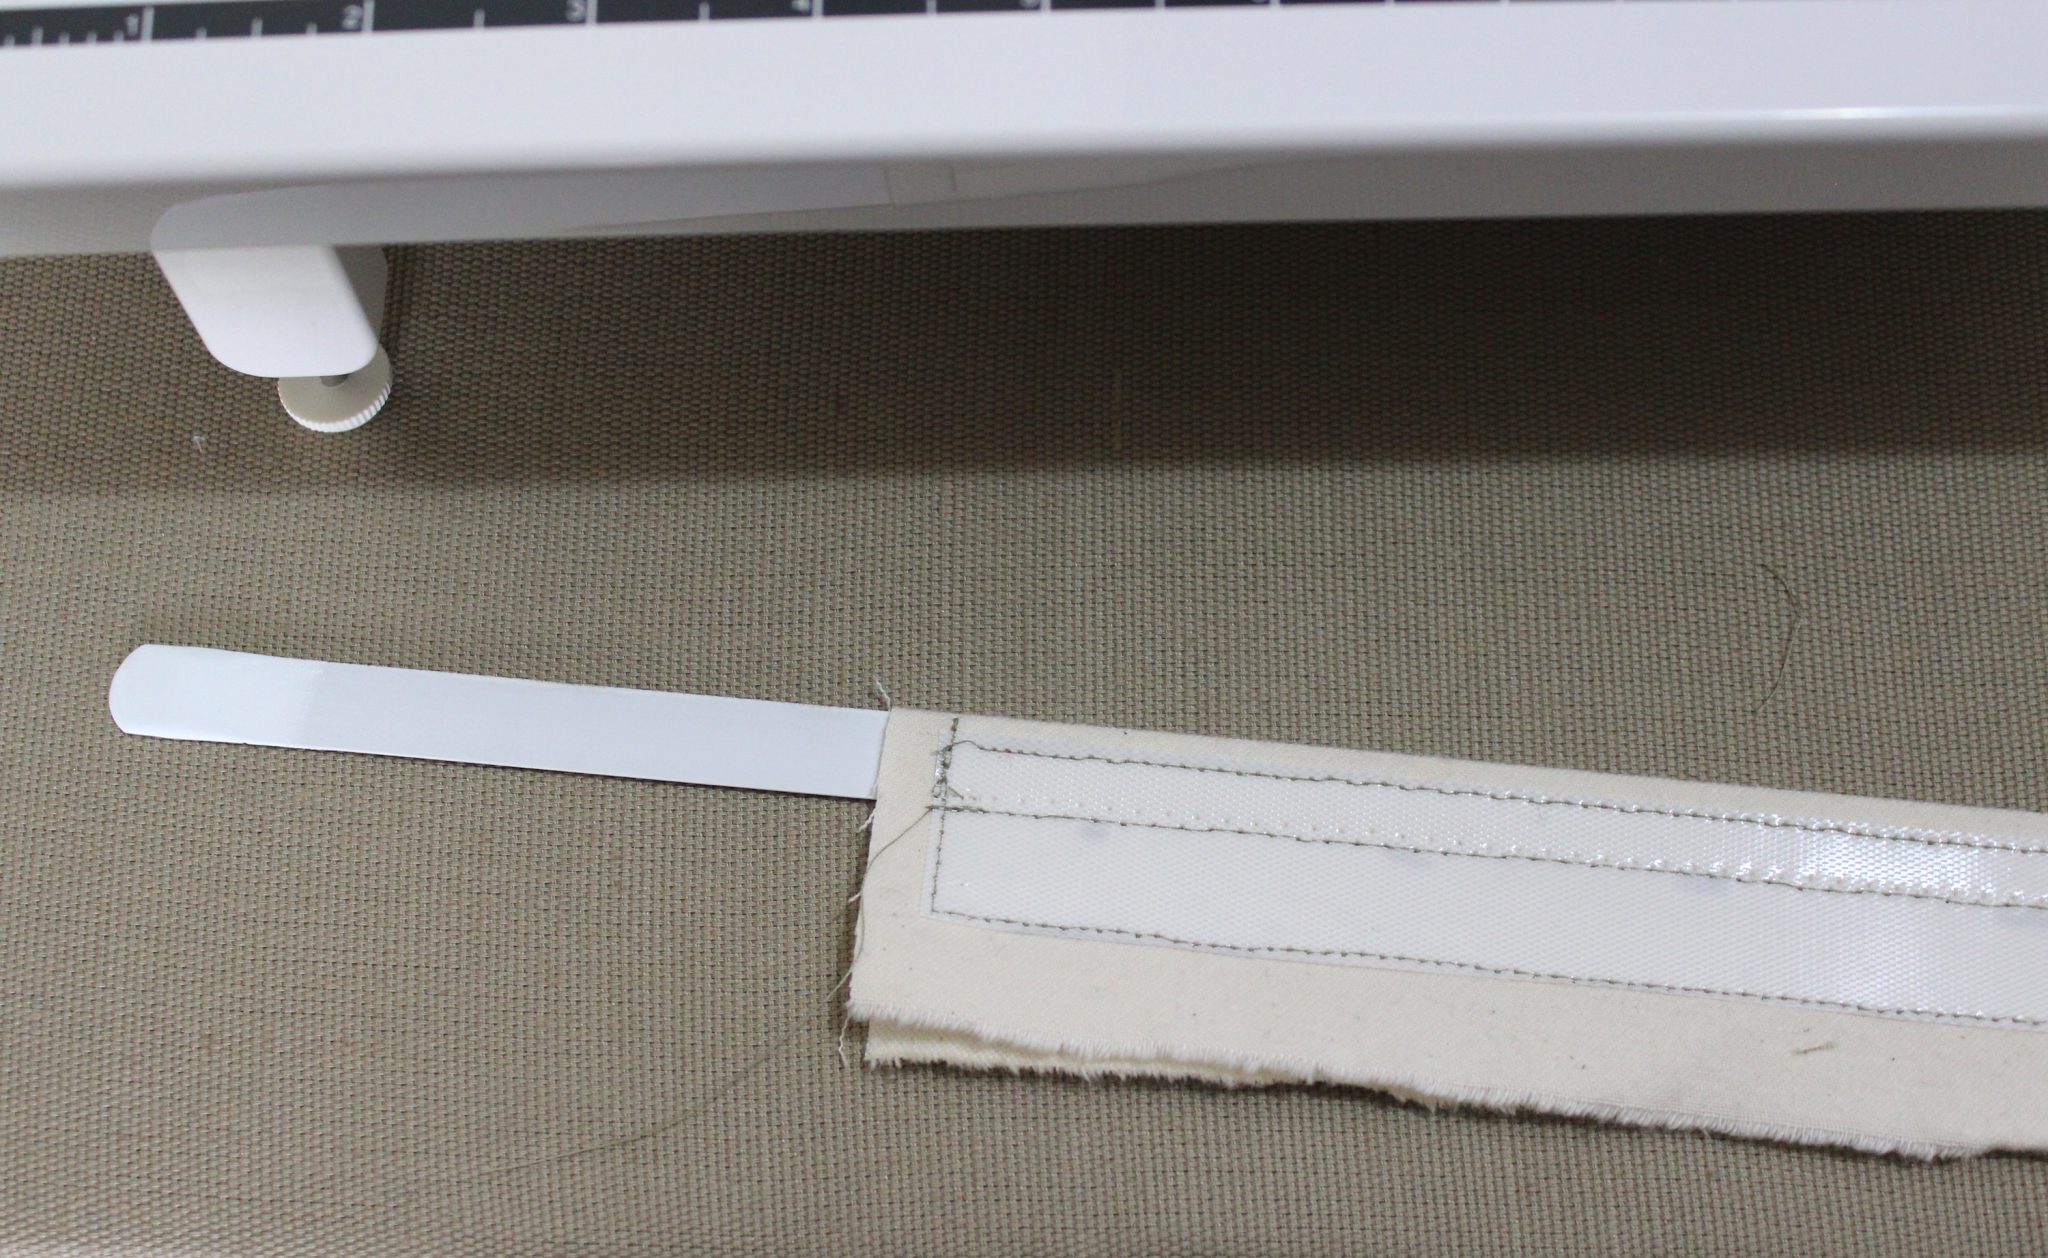
Make sure the boning fits!
Mark the boning ends, make it snug so the boning can’t move around.

And sew close to the boning on each end.
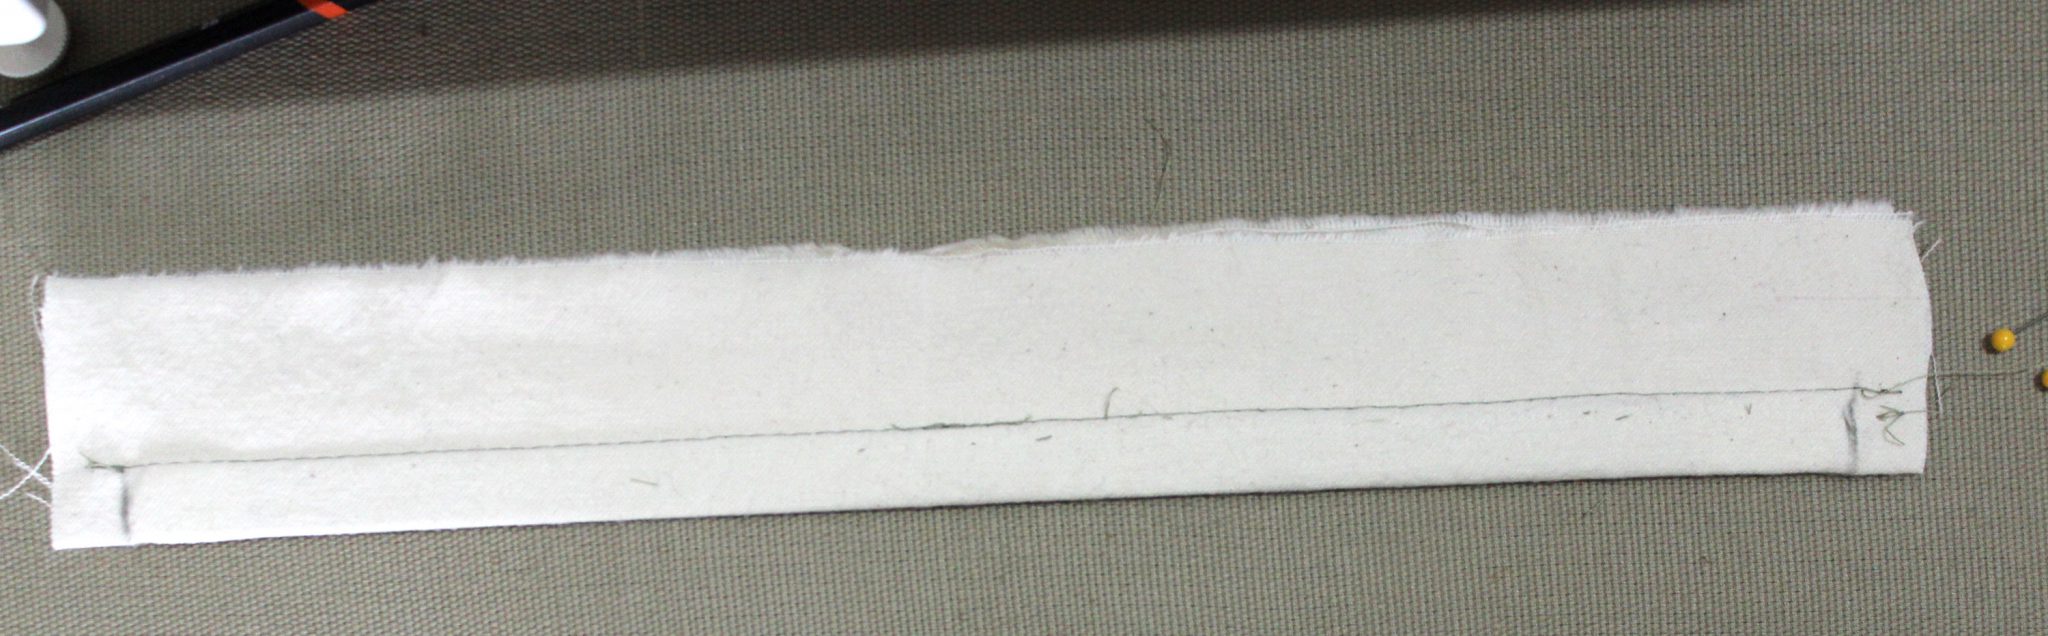
And done! I overlocked the edges to keep it from fraying.
The sew in velcro doesn’t look pretty, but it works.
Closed just along the boning edge 1/2 inch overlap.
Leave a Reply