Centuries-Sewing

Category: 16th Century

  • Week in Review: Silk Taffeta Kirtle and Passementerie

    Week in Review: Silk Taffeta Kirtle and Passementerie

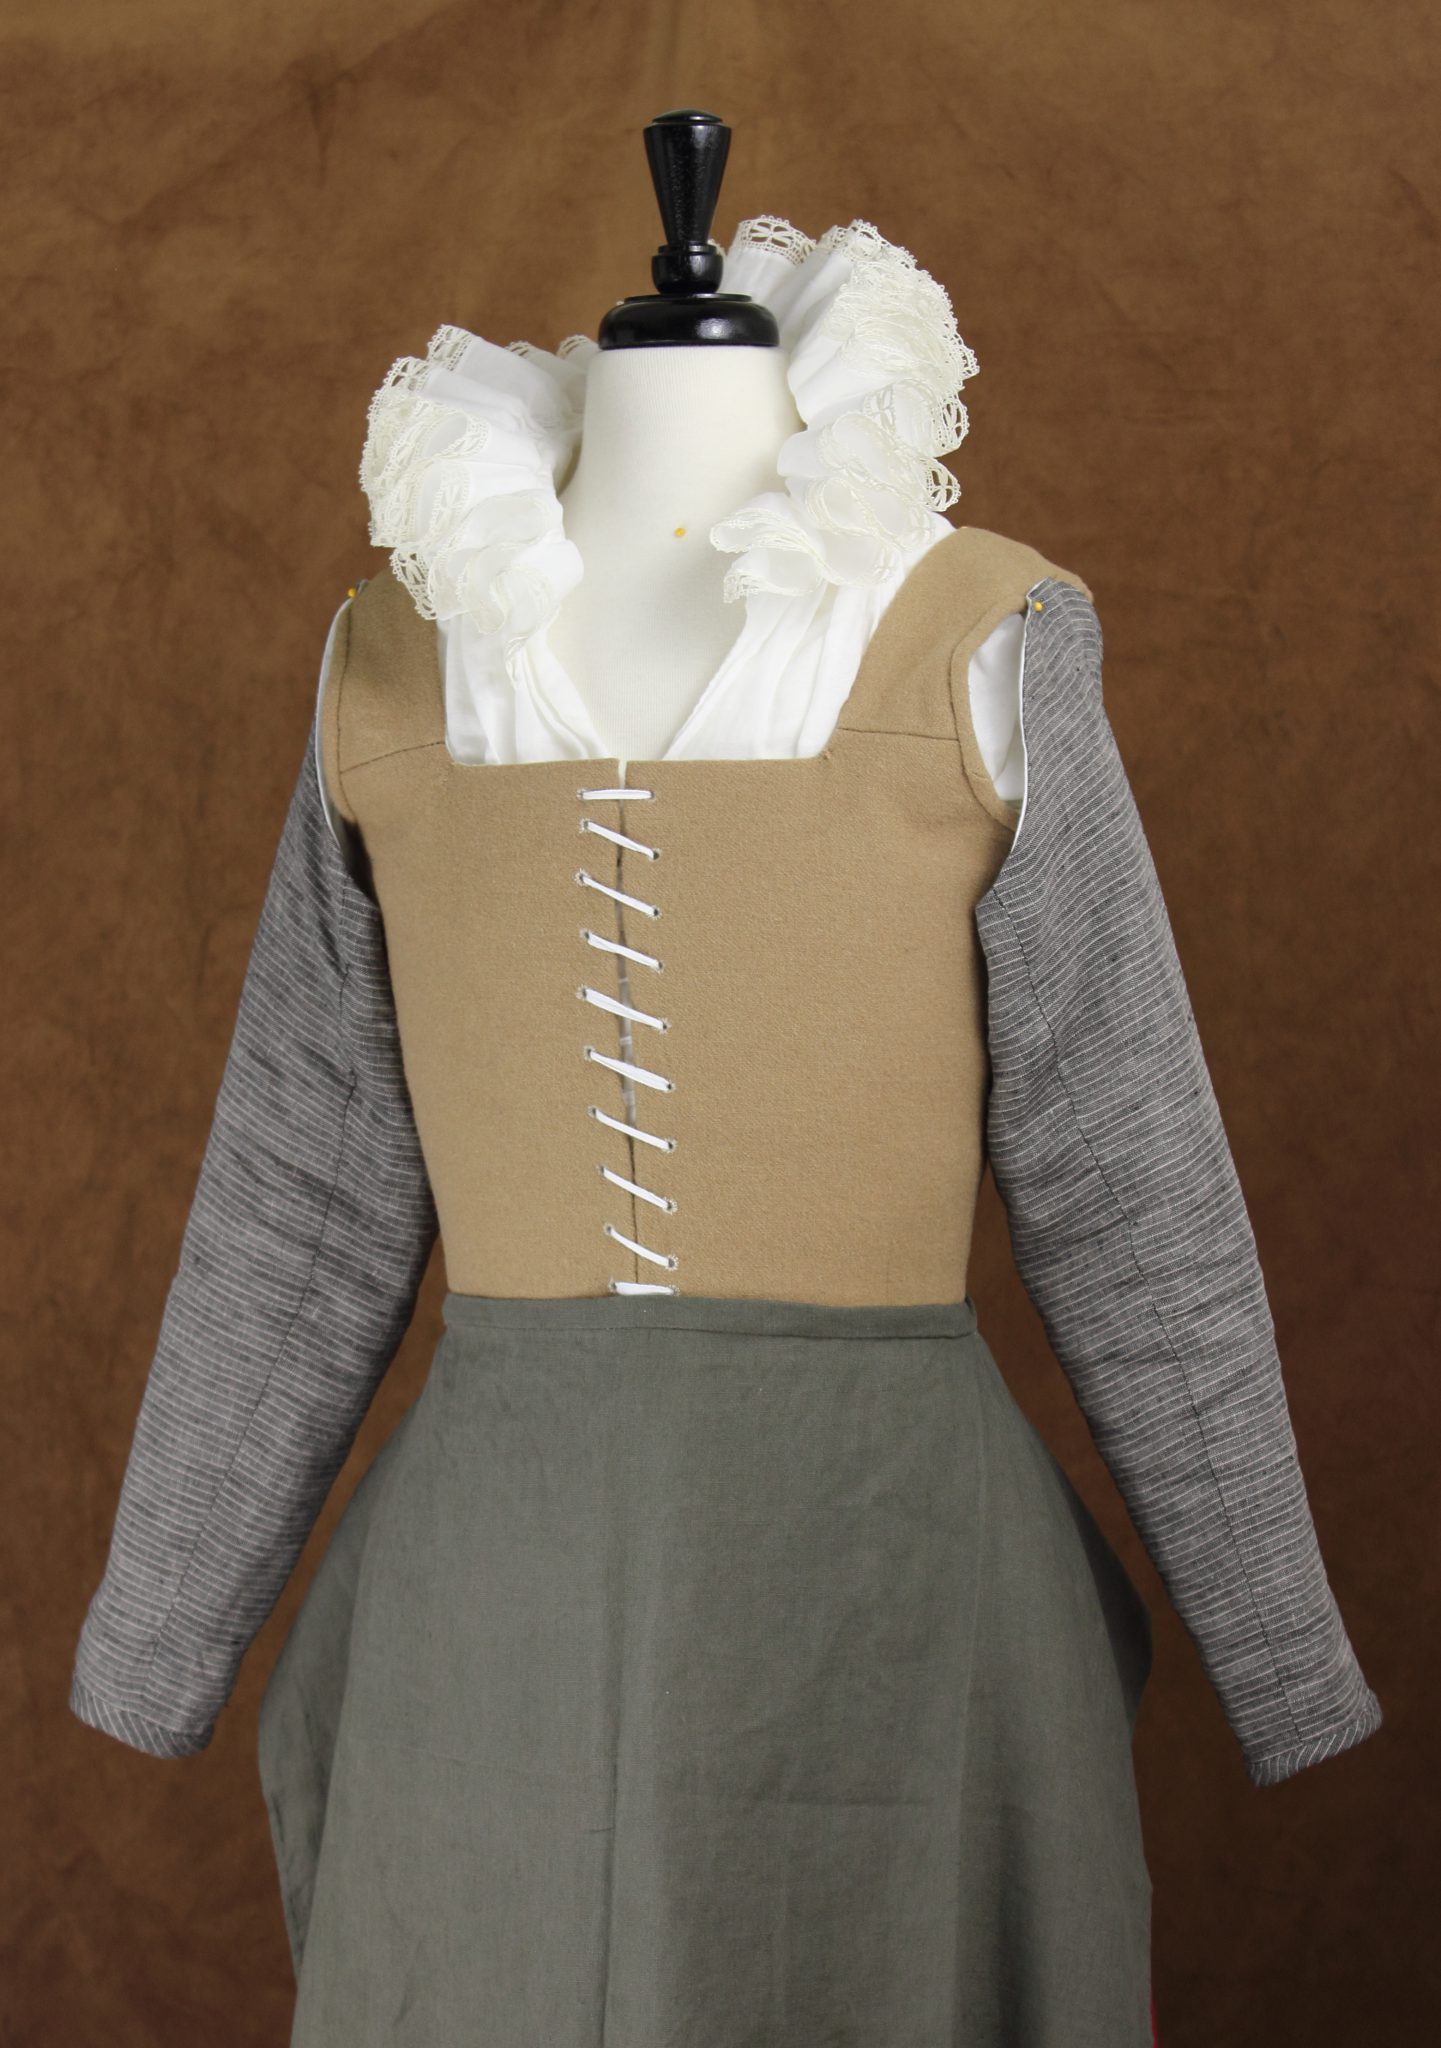
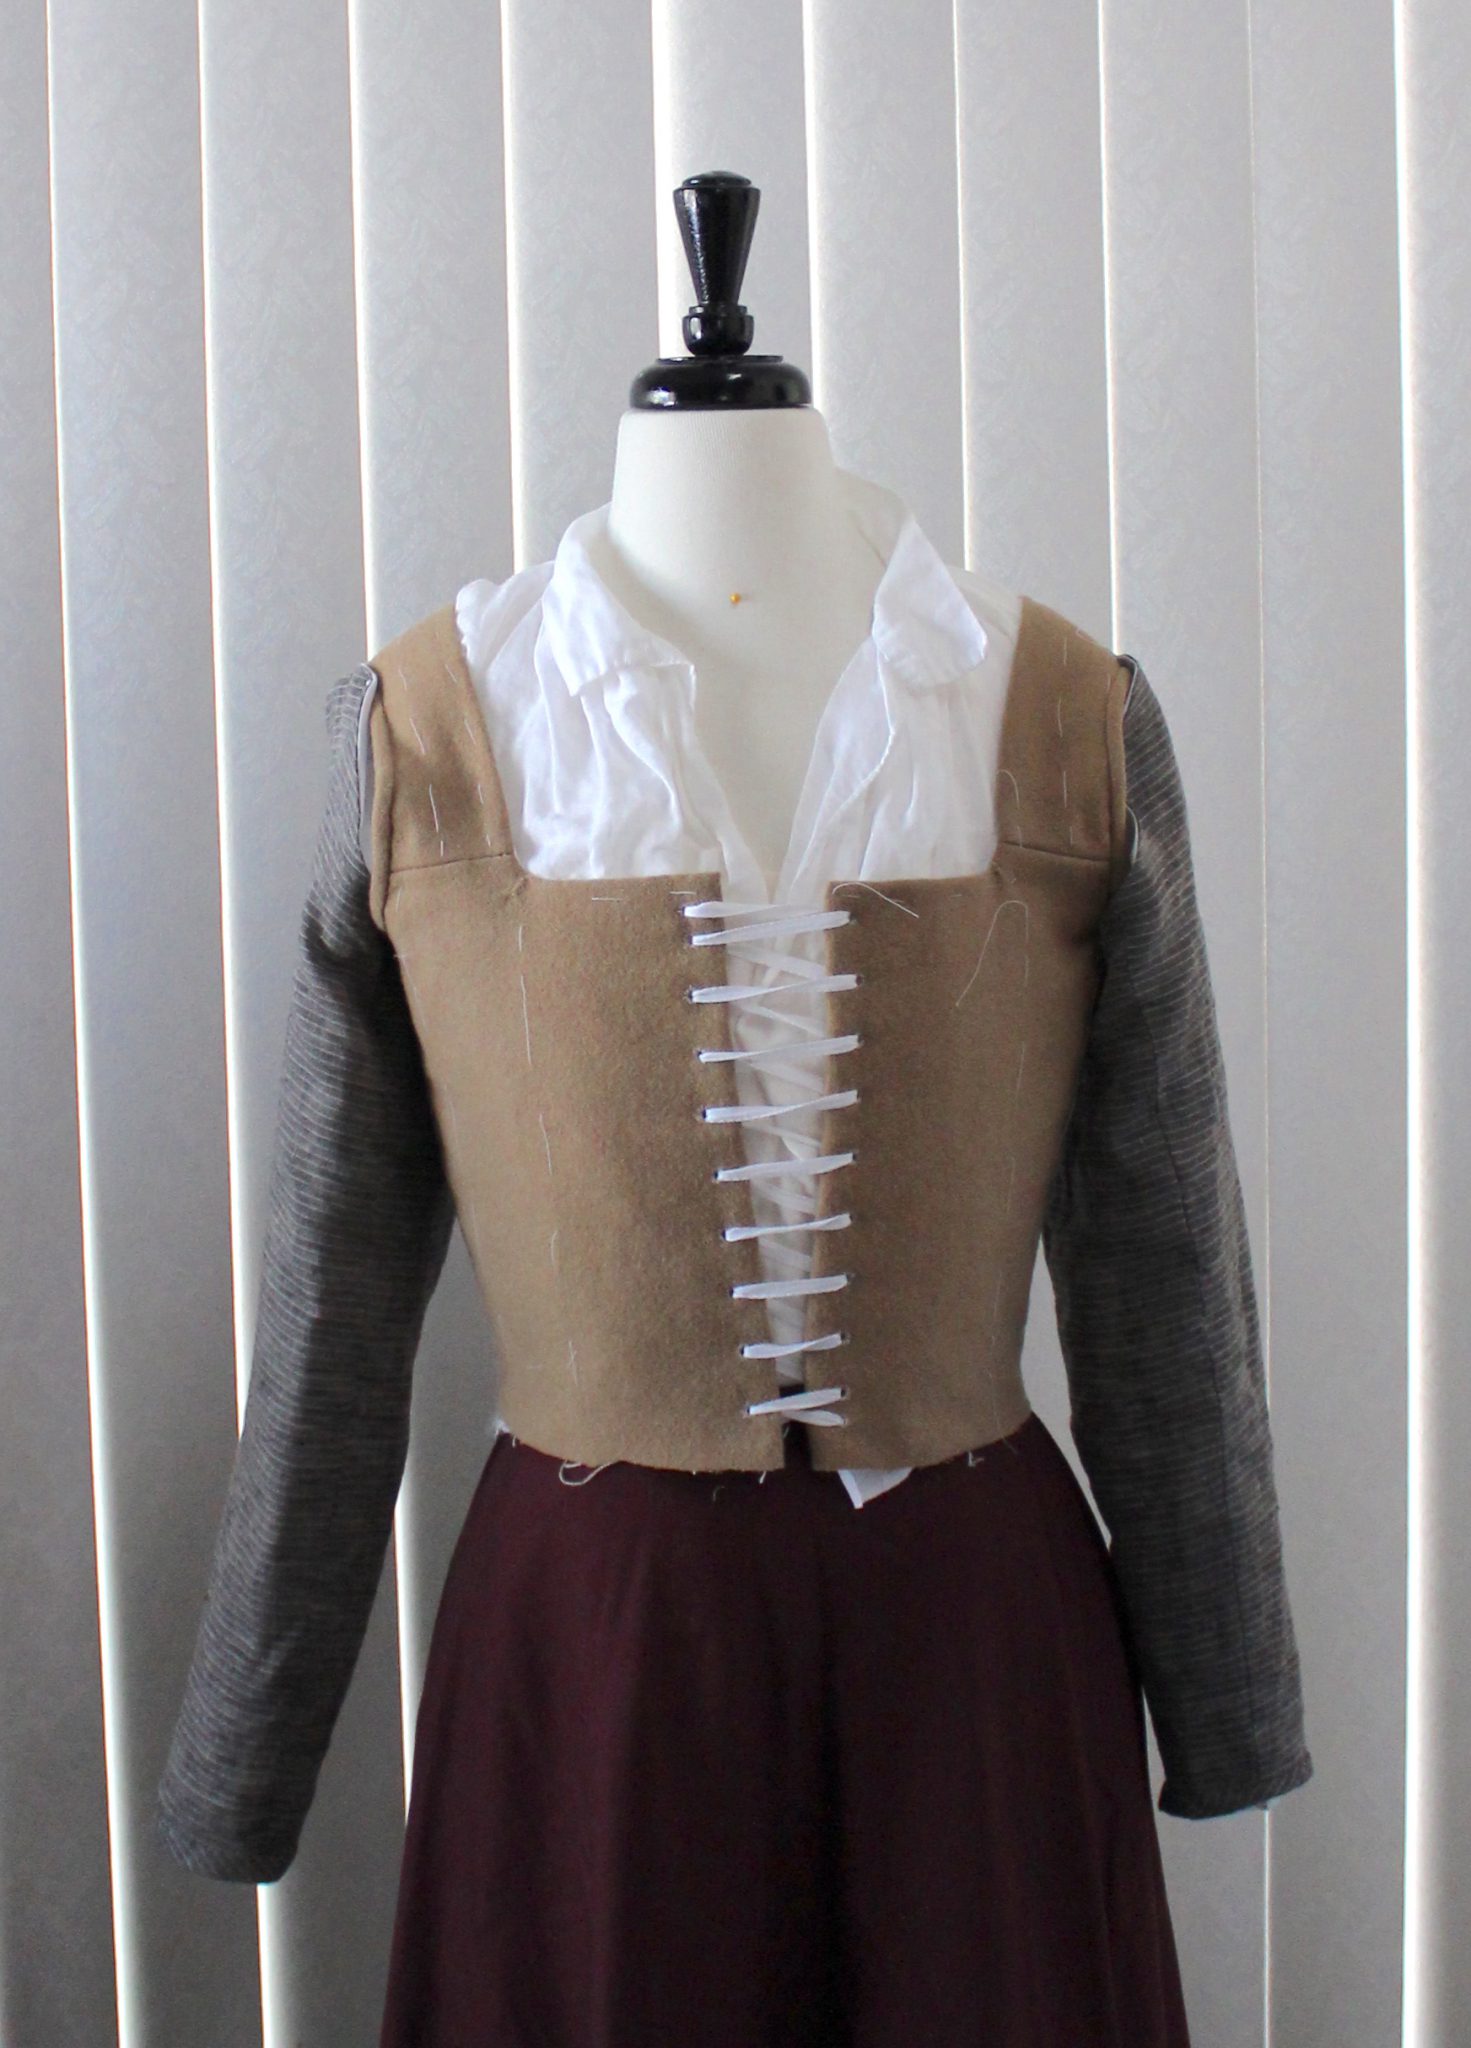
    This week I finished pad stitching the silk taffeta kirtle interlinings and basted the outer fabric in place.

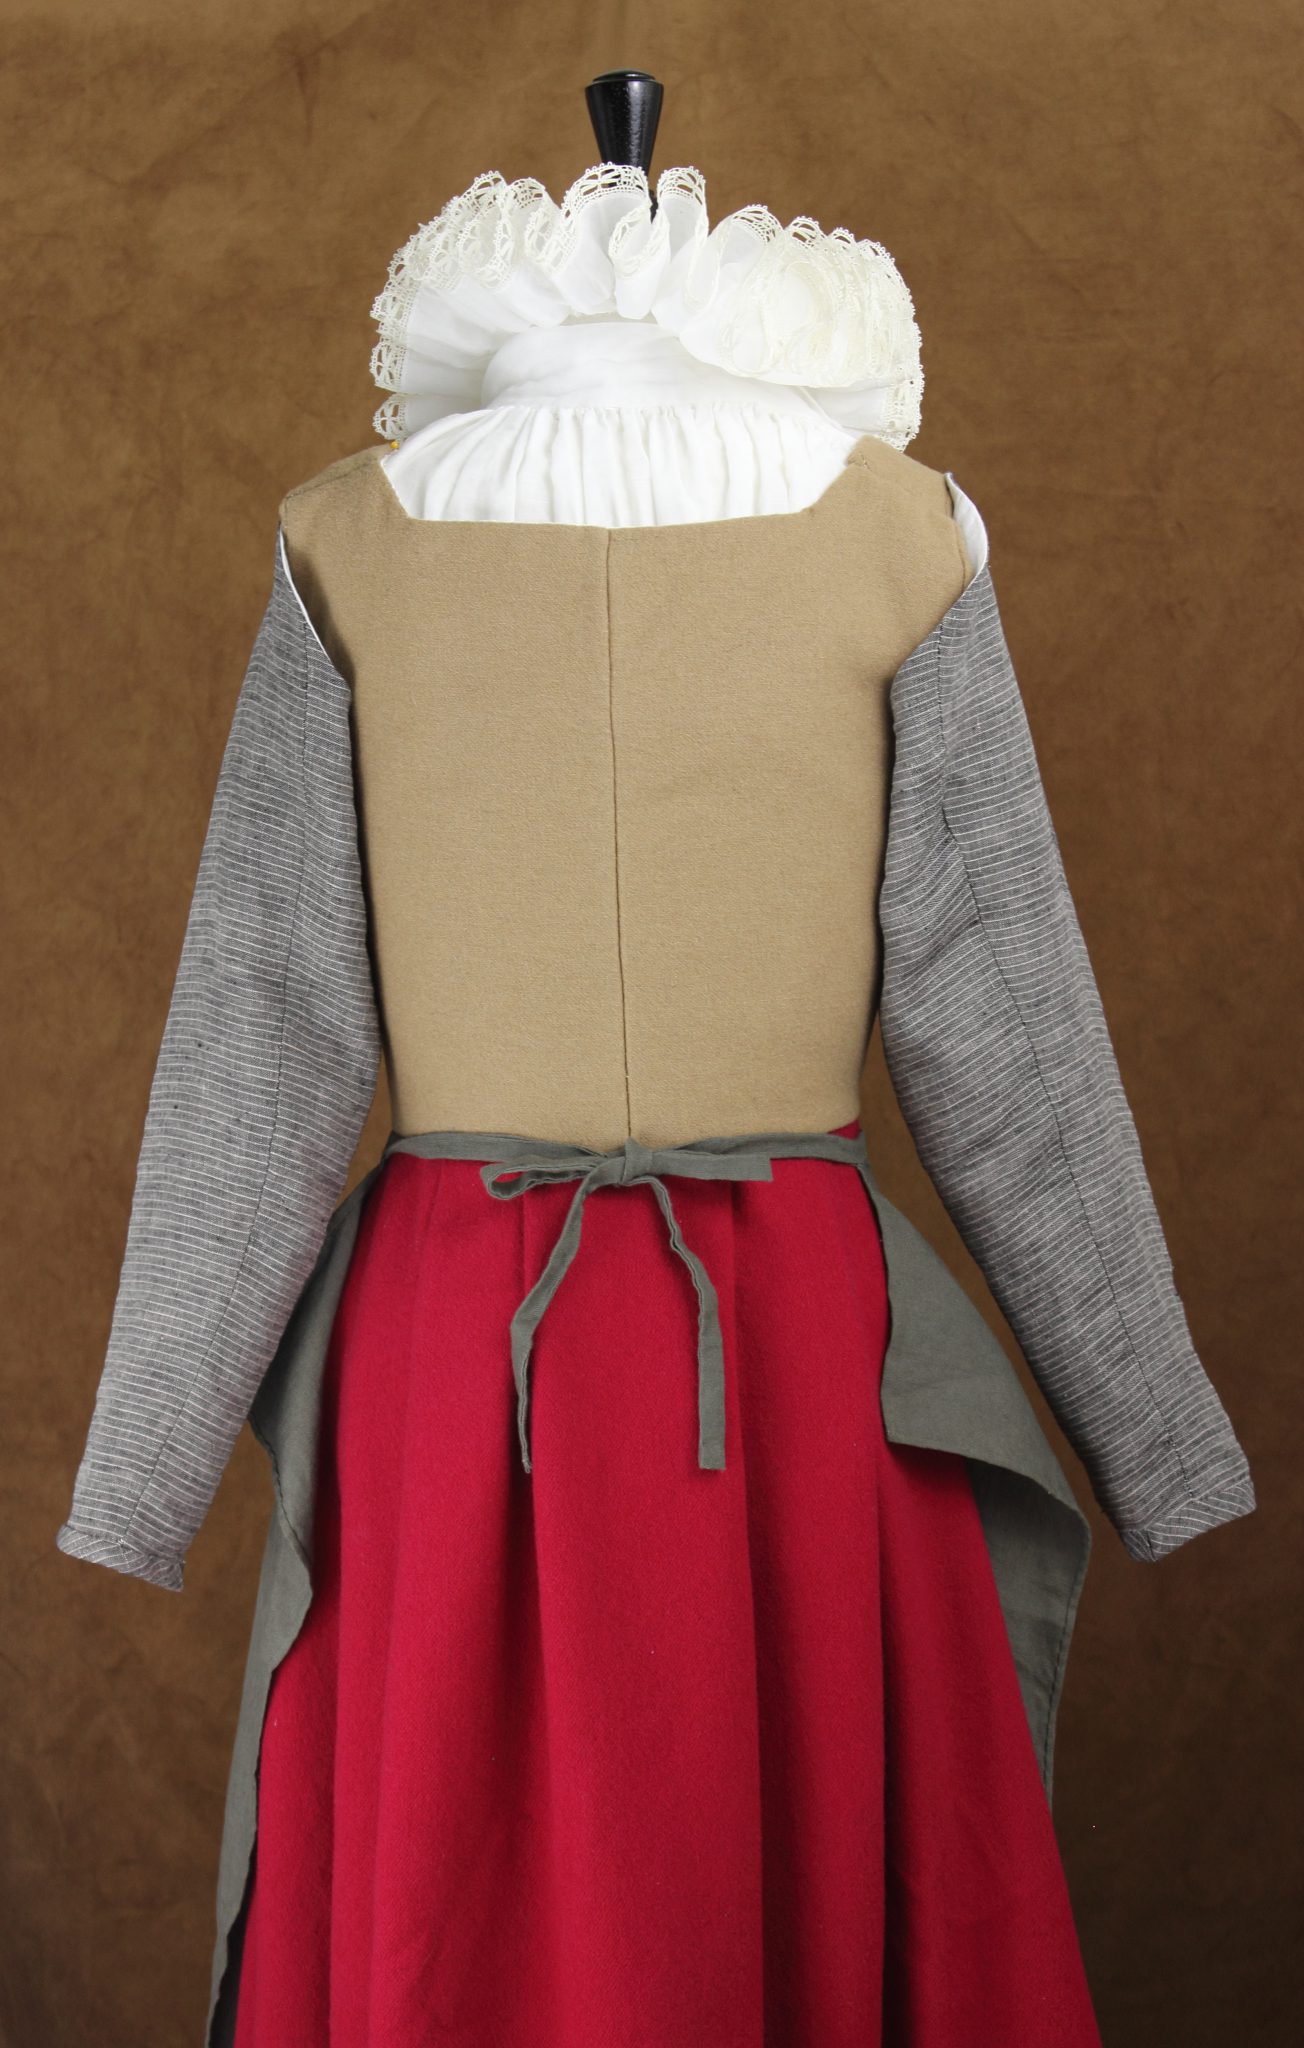
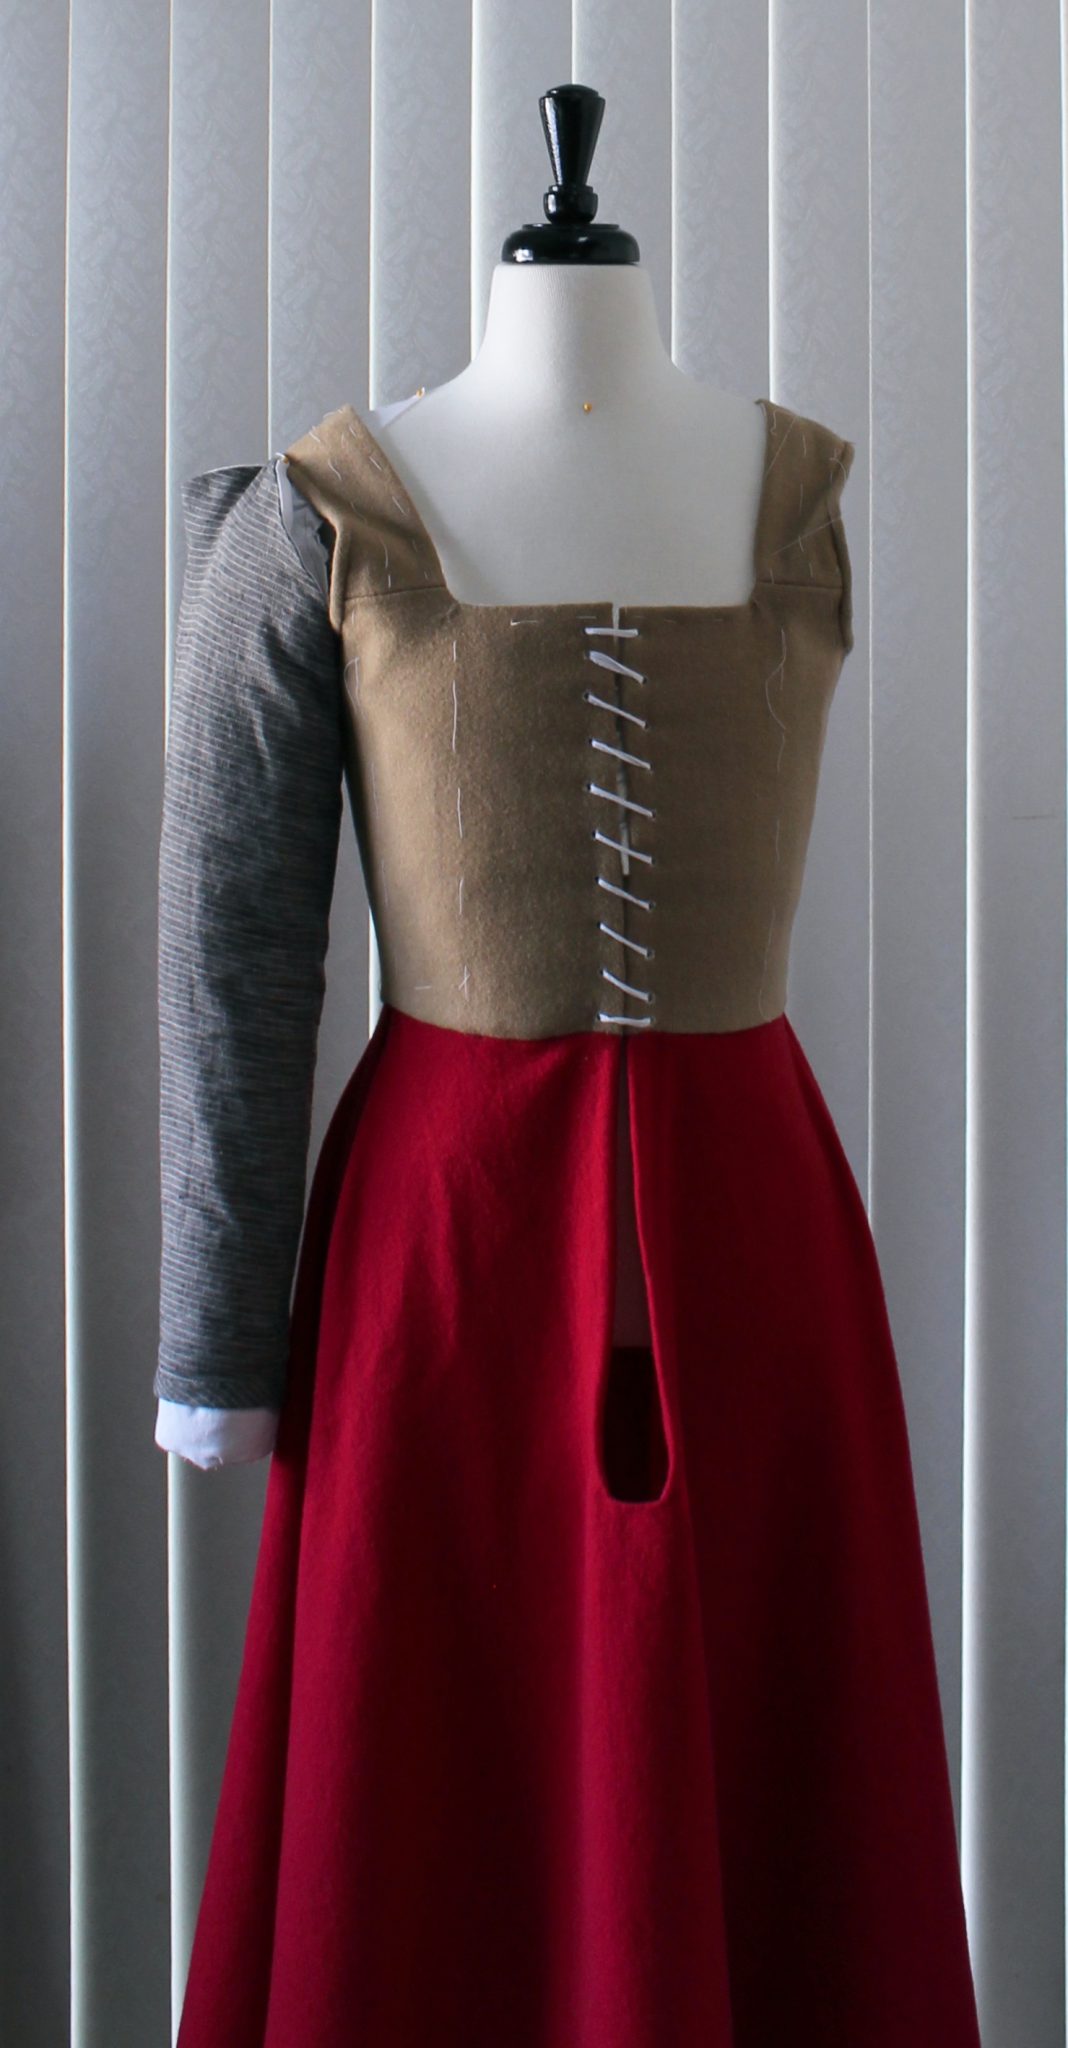
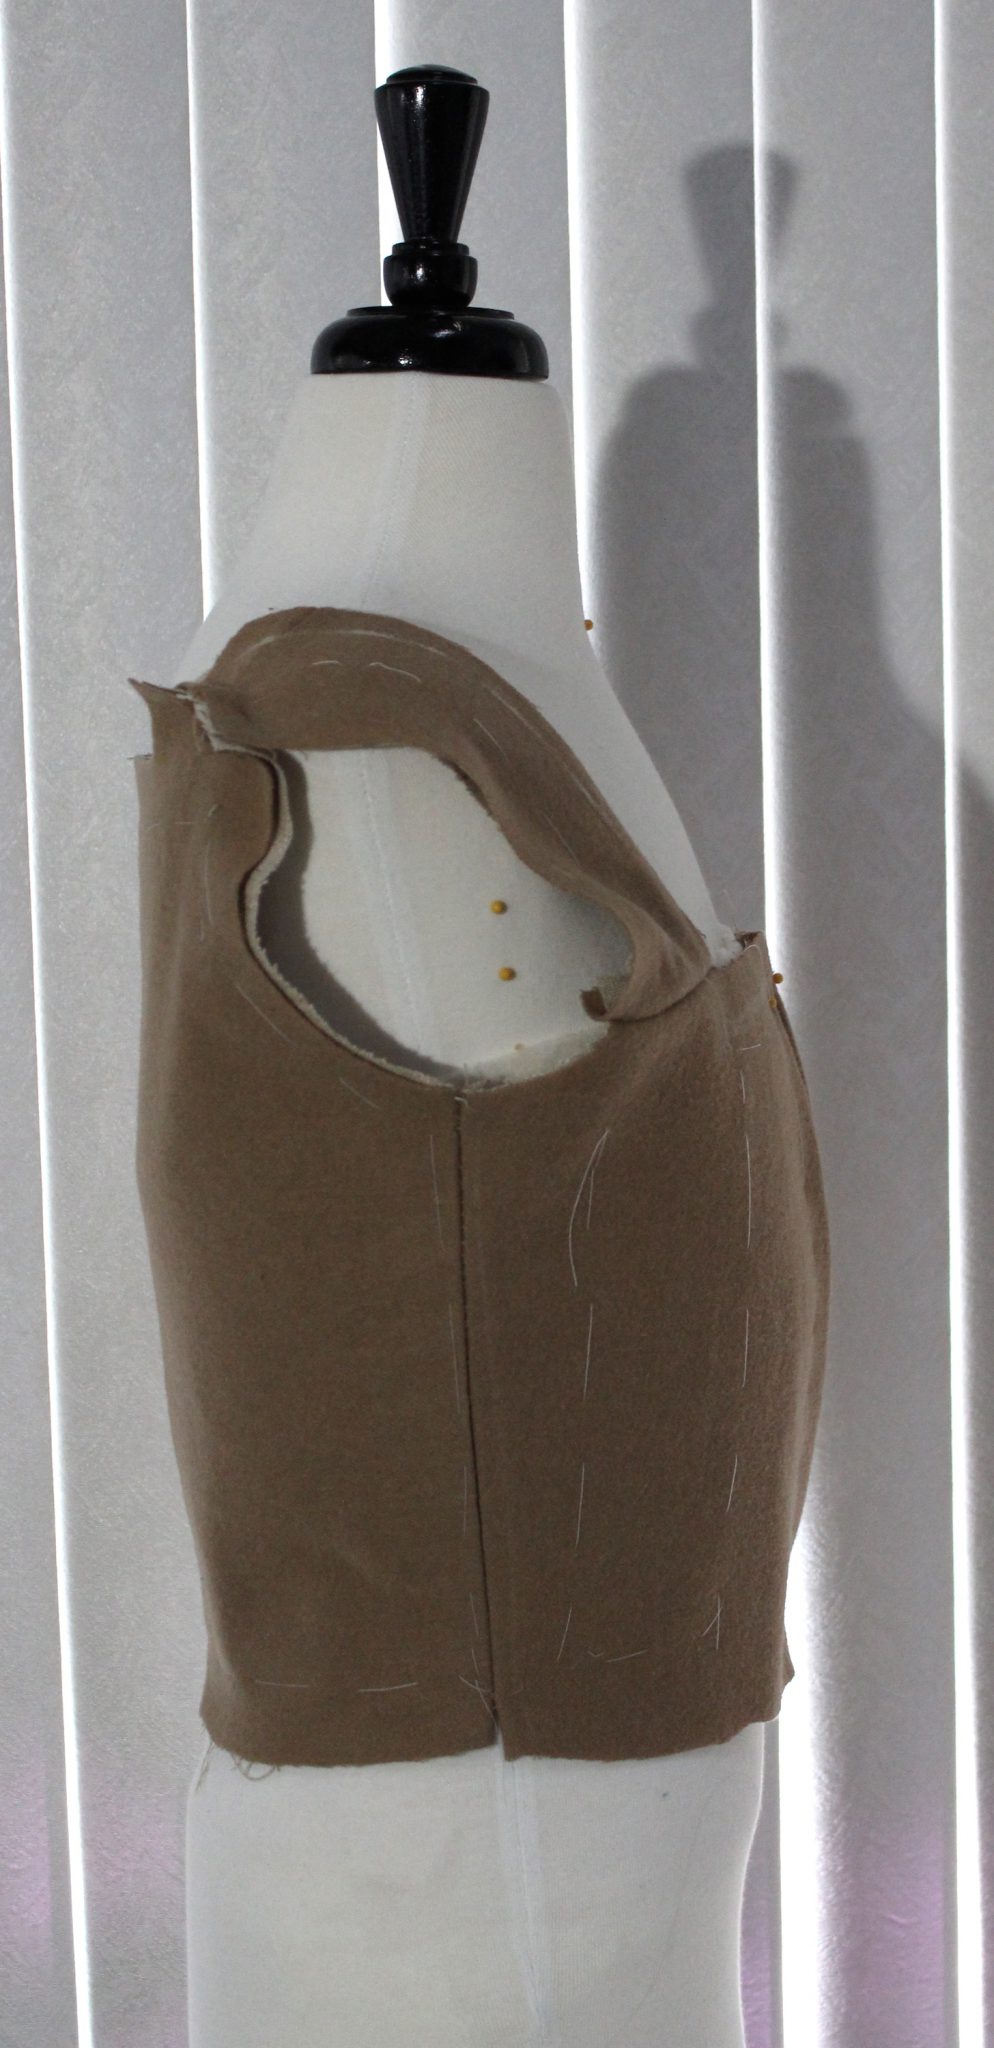
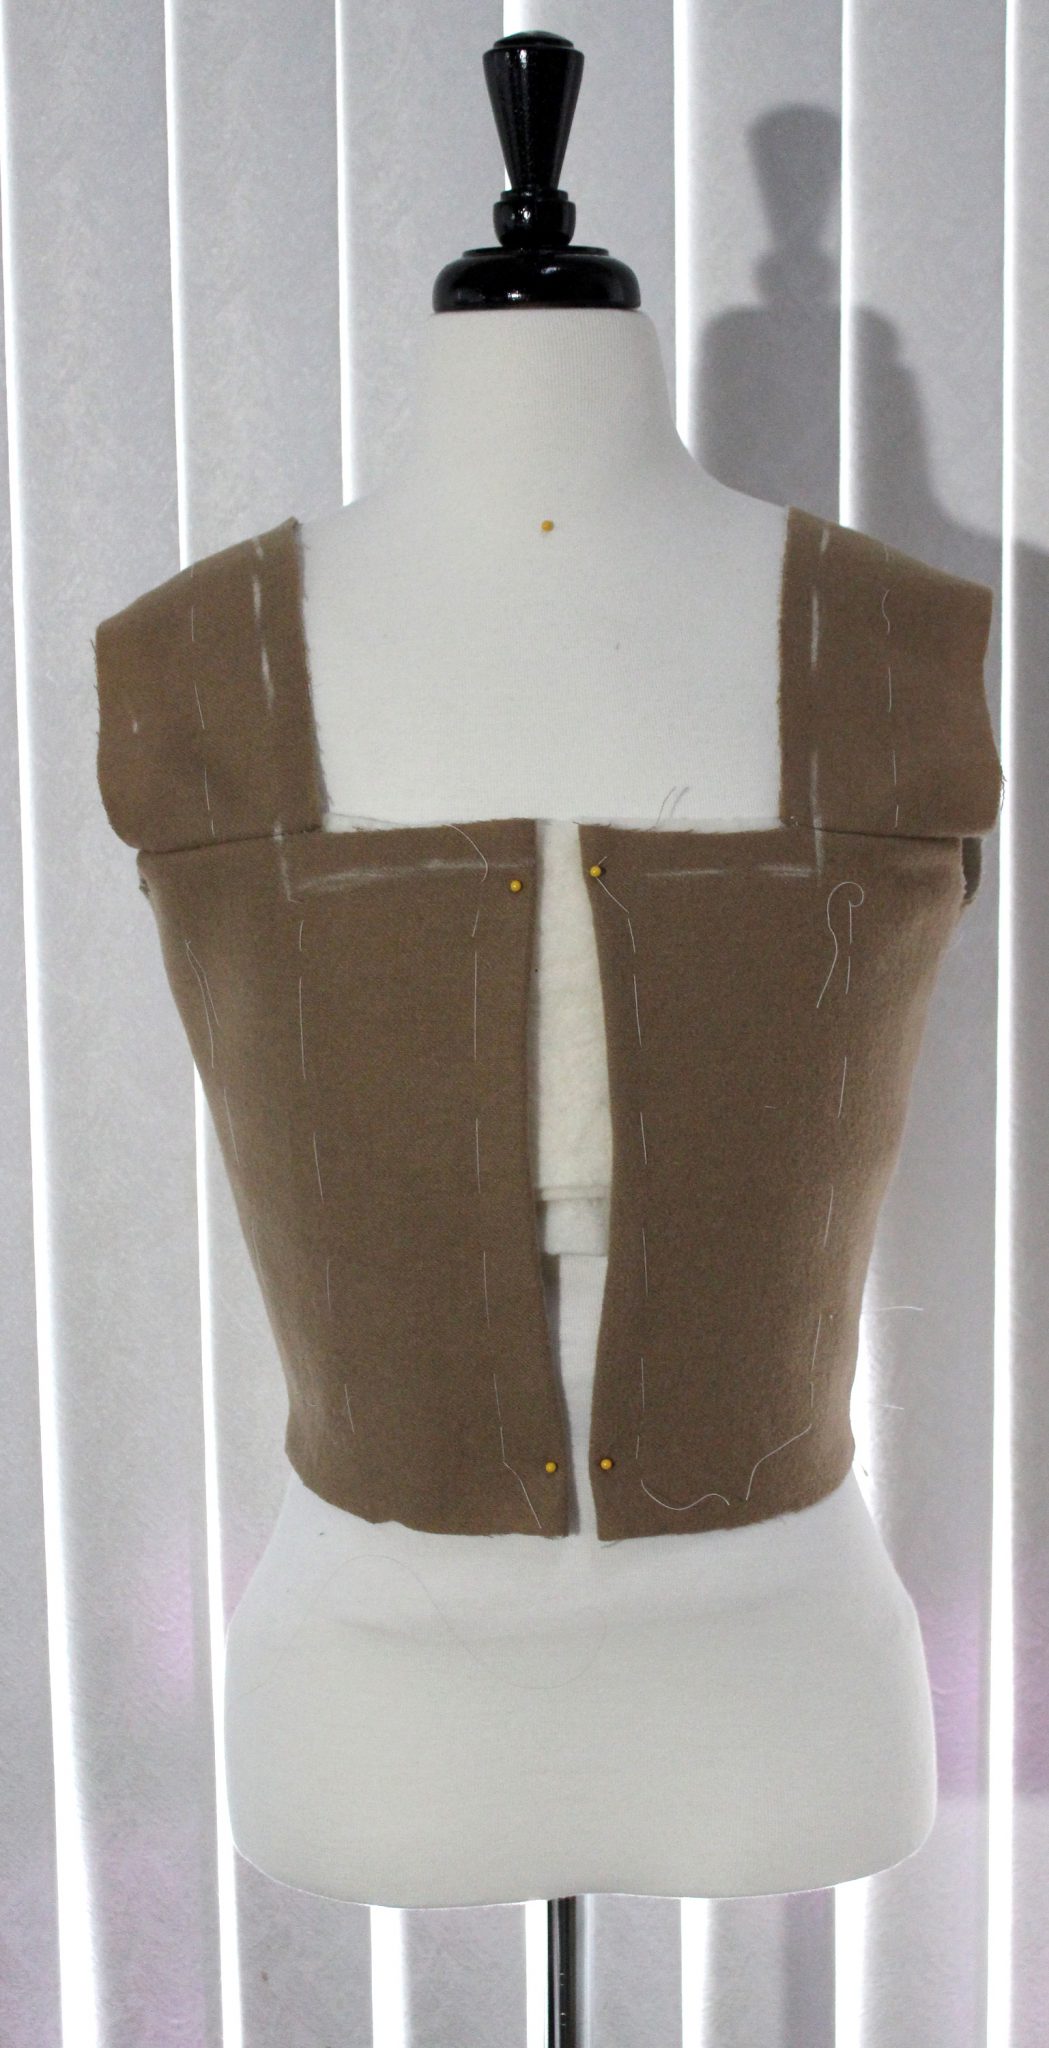
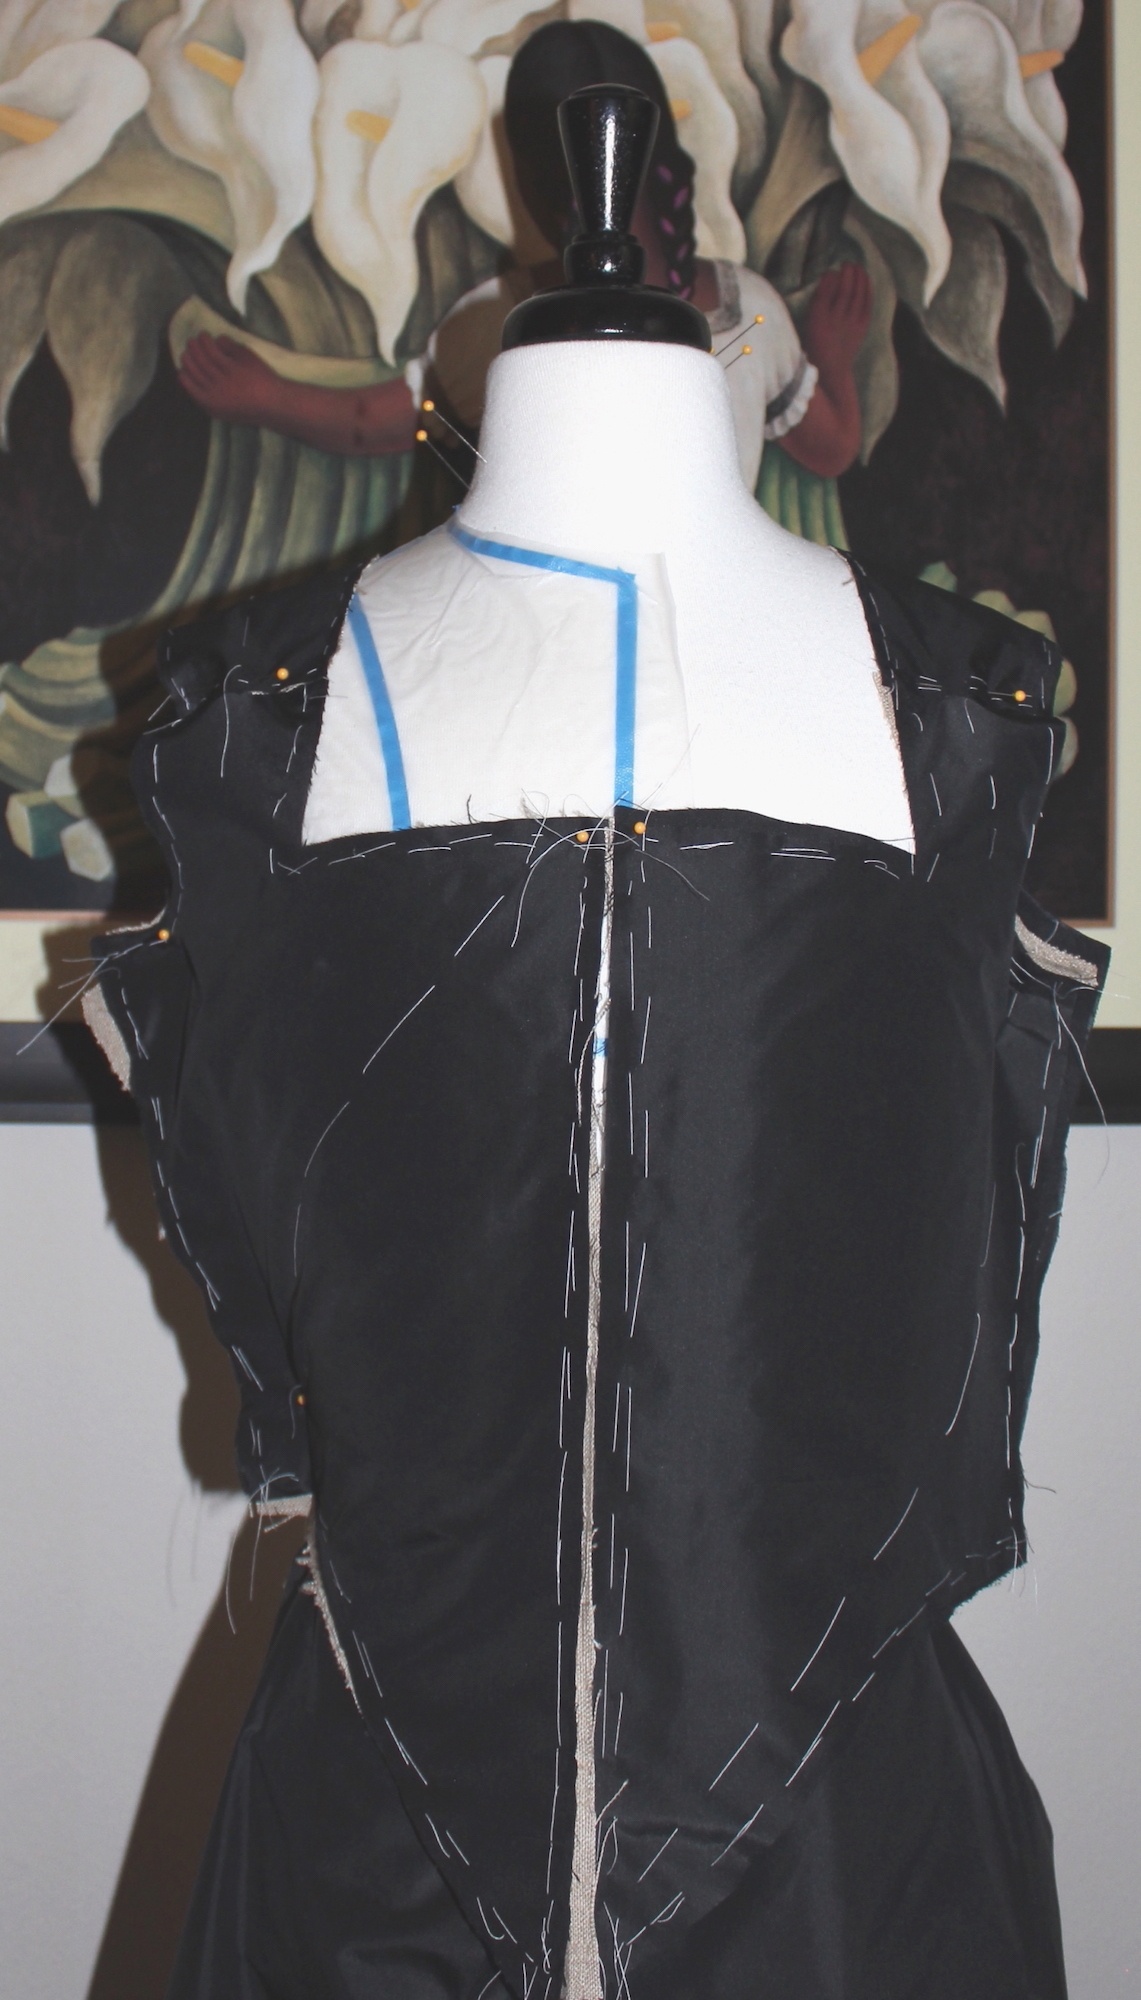
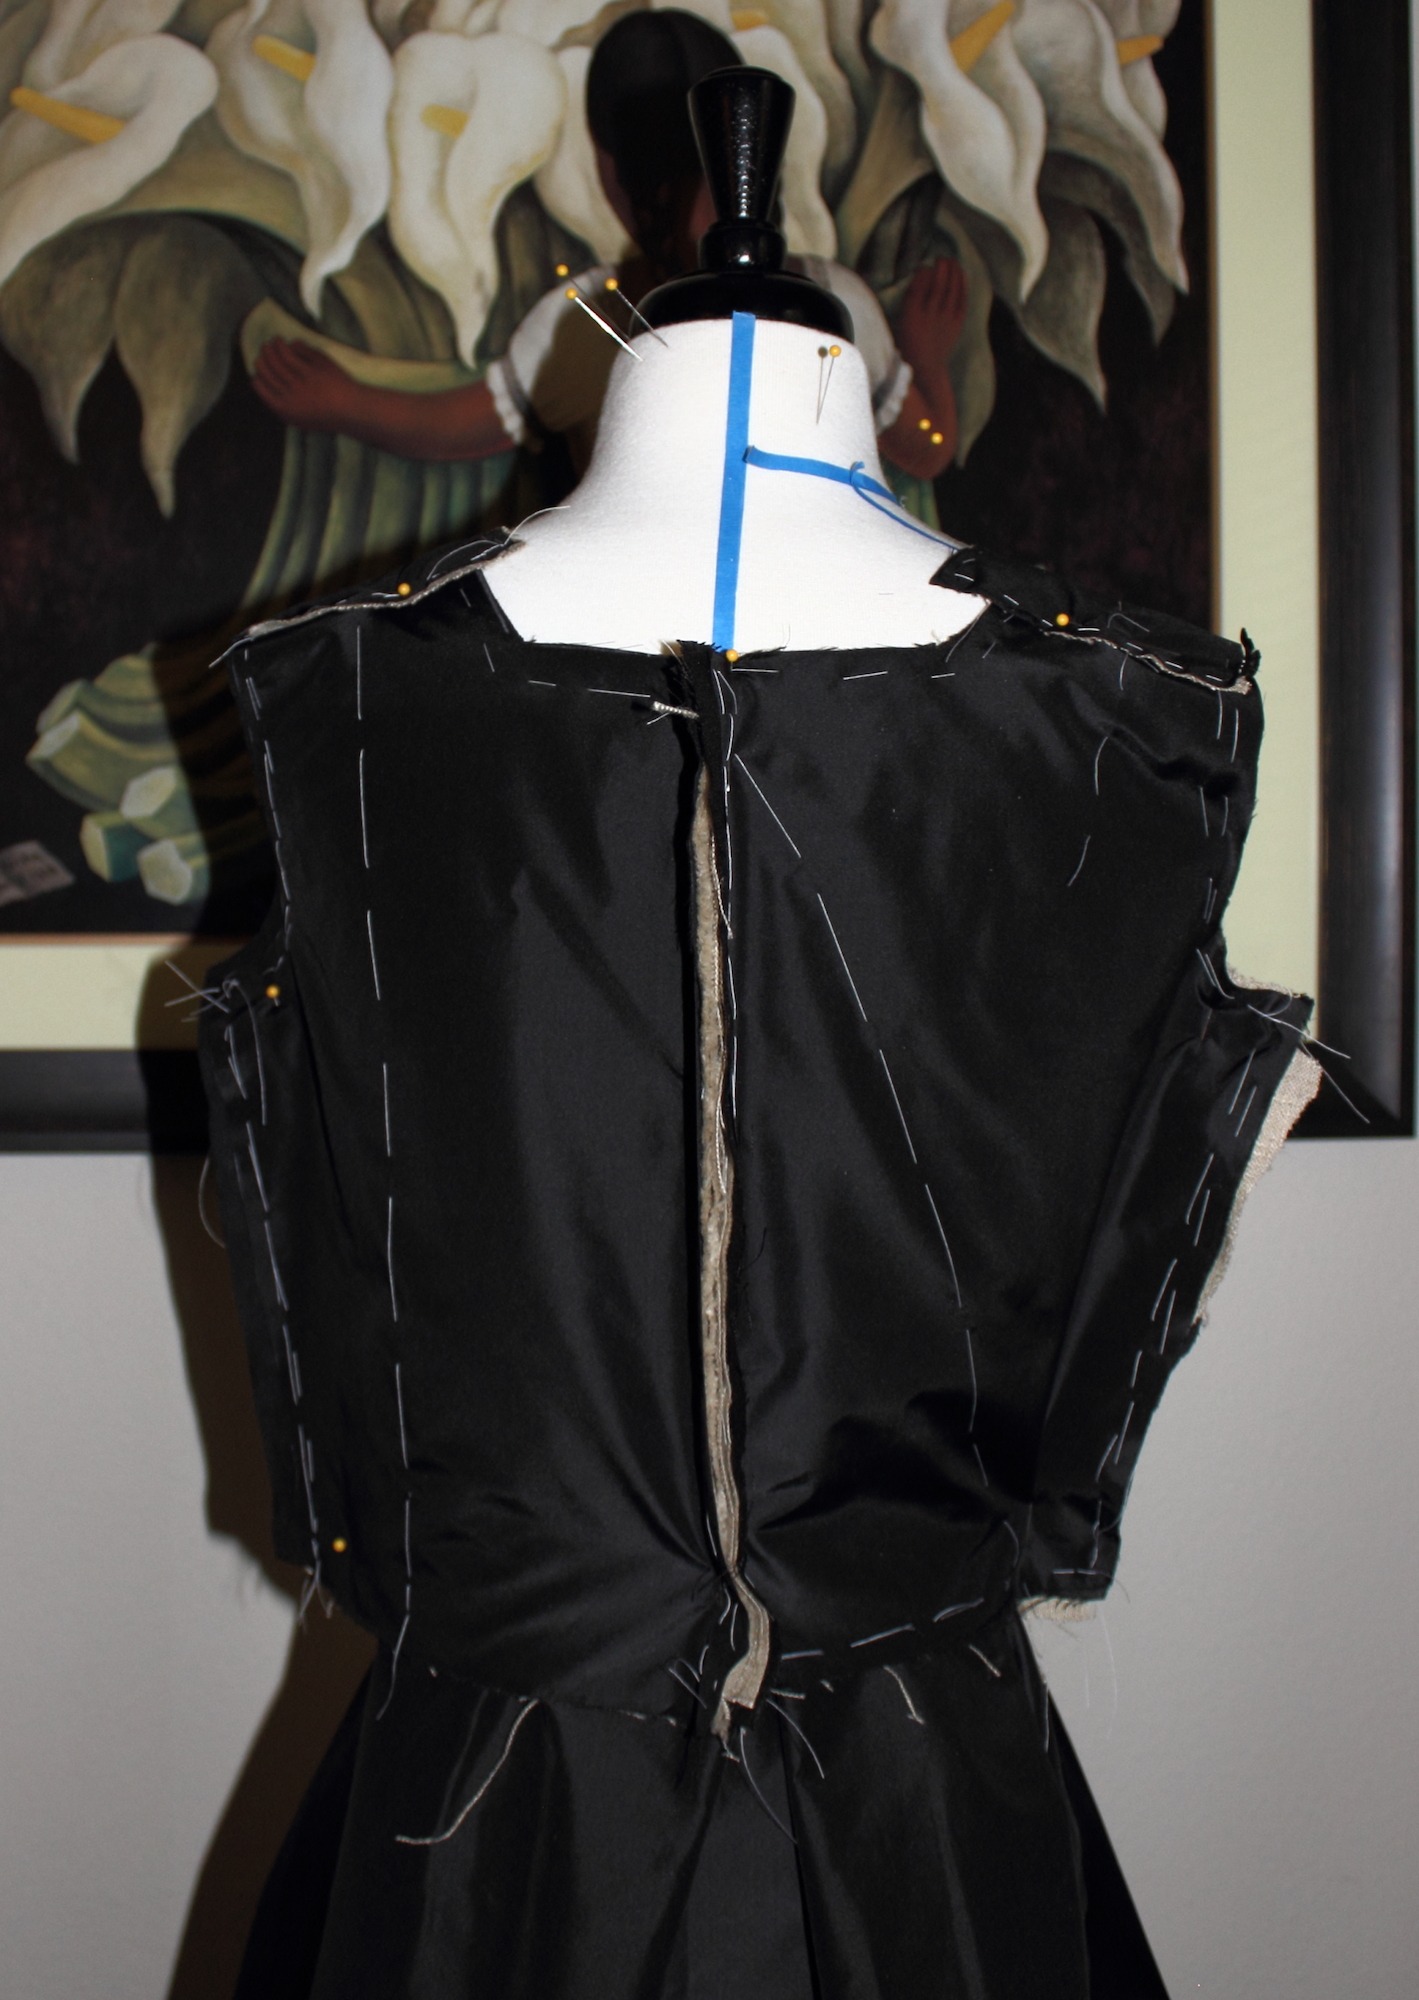
    I popped it on the dress form with pins holding it together to see how it looked. The 3 layers of canvas at the front (which may be overkill) plus the pad stitching gives it lots of shape and structure. So much the bodice stands away from the dress form on its own with very few wrinkles. I need to trim down the edges of the canvas before I put the lining in. I also need to decide if the kirtle will be back or side opening. Side lacing kirtles are easier for me to get into and offer more flexibility in sizing. The trade off is I’ll have to sew twice as many eyelets and my sleeves will need to lace on.

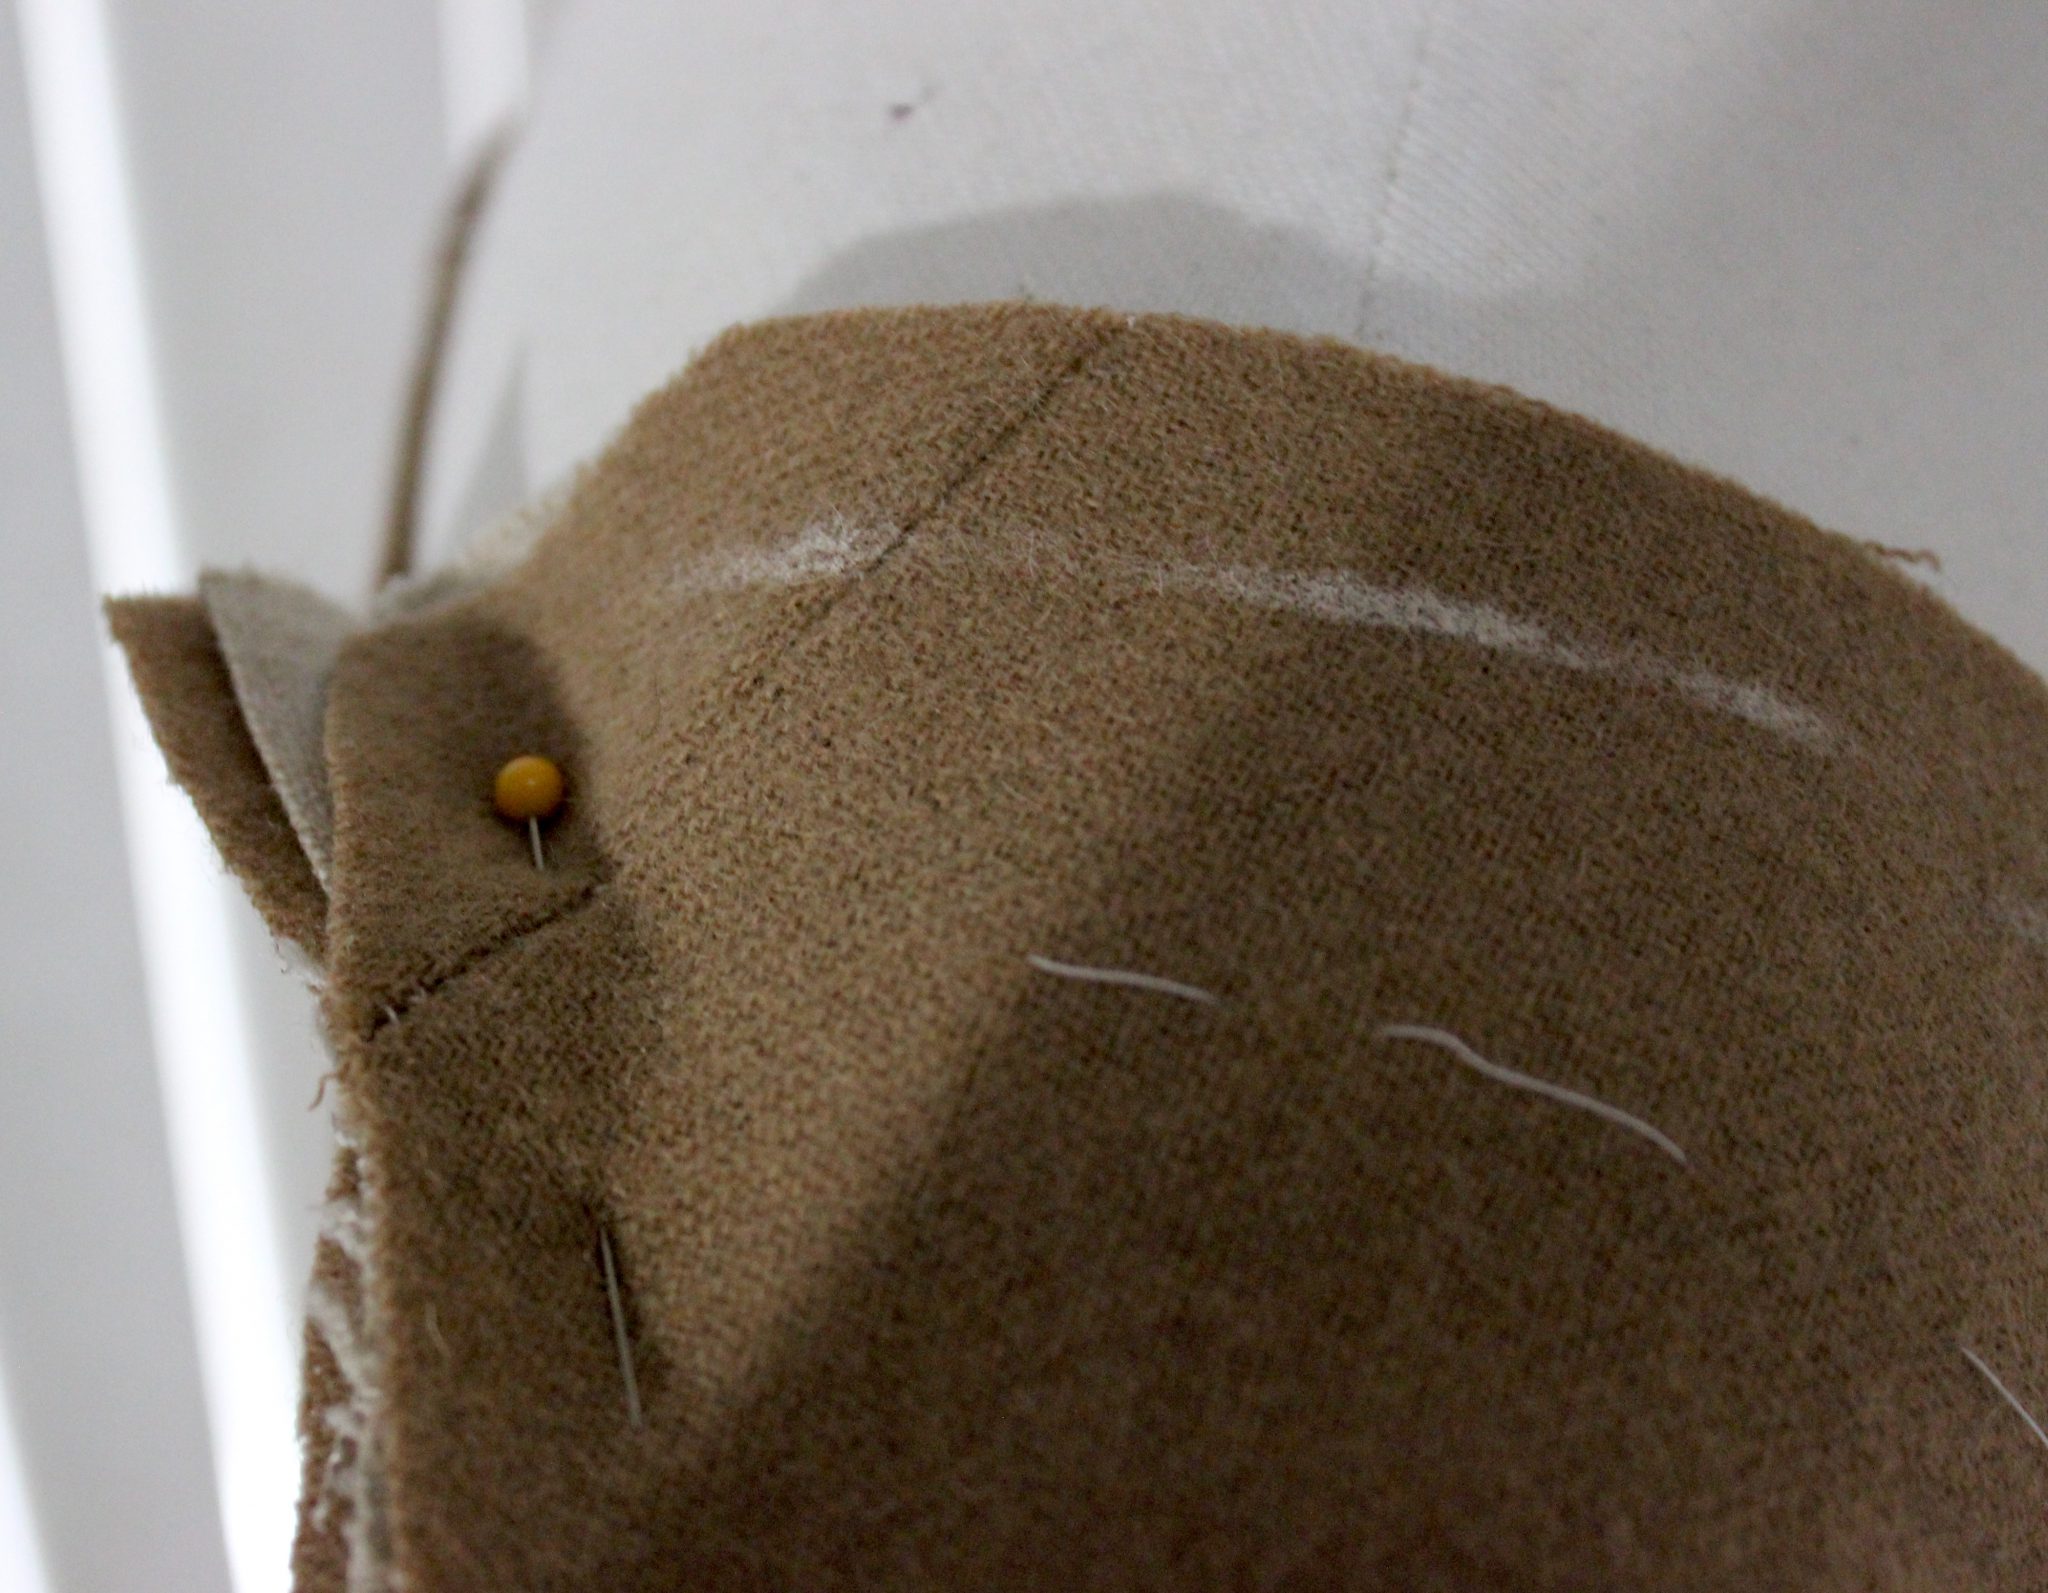
    I may also narrow my shoulder straps along the neckline edge. There is a 1/2 inch seam allowance to keep in mind, but after looking at some extant garments the strap is still a little wide.

    Black silk taffeta kirtle front with basting thread


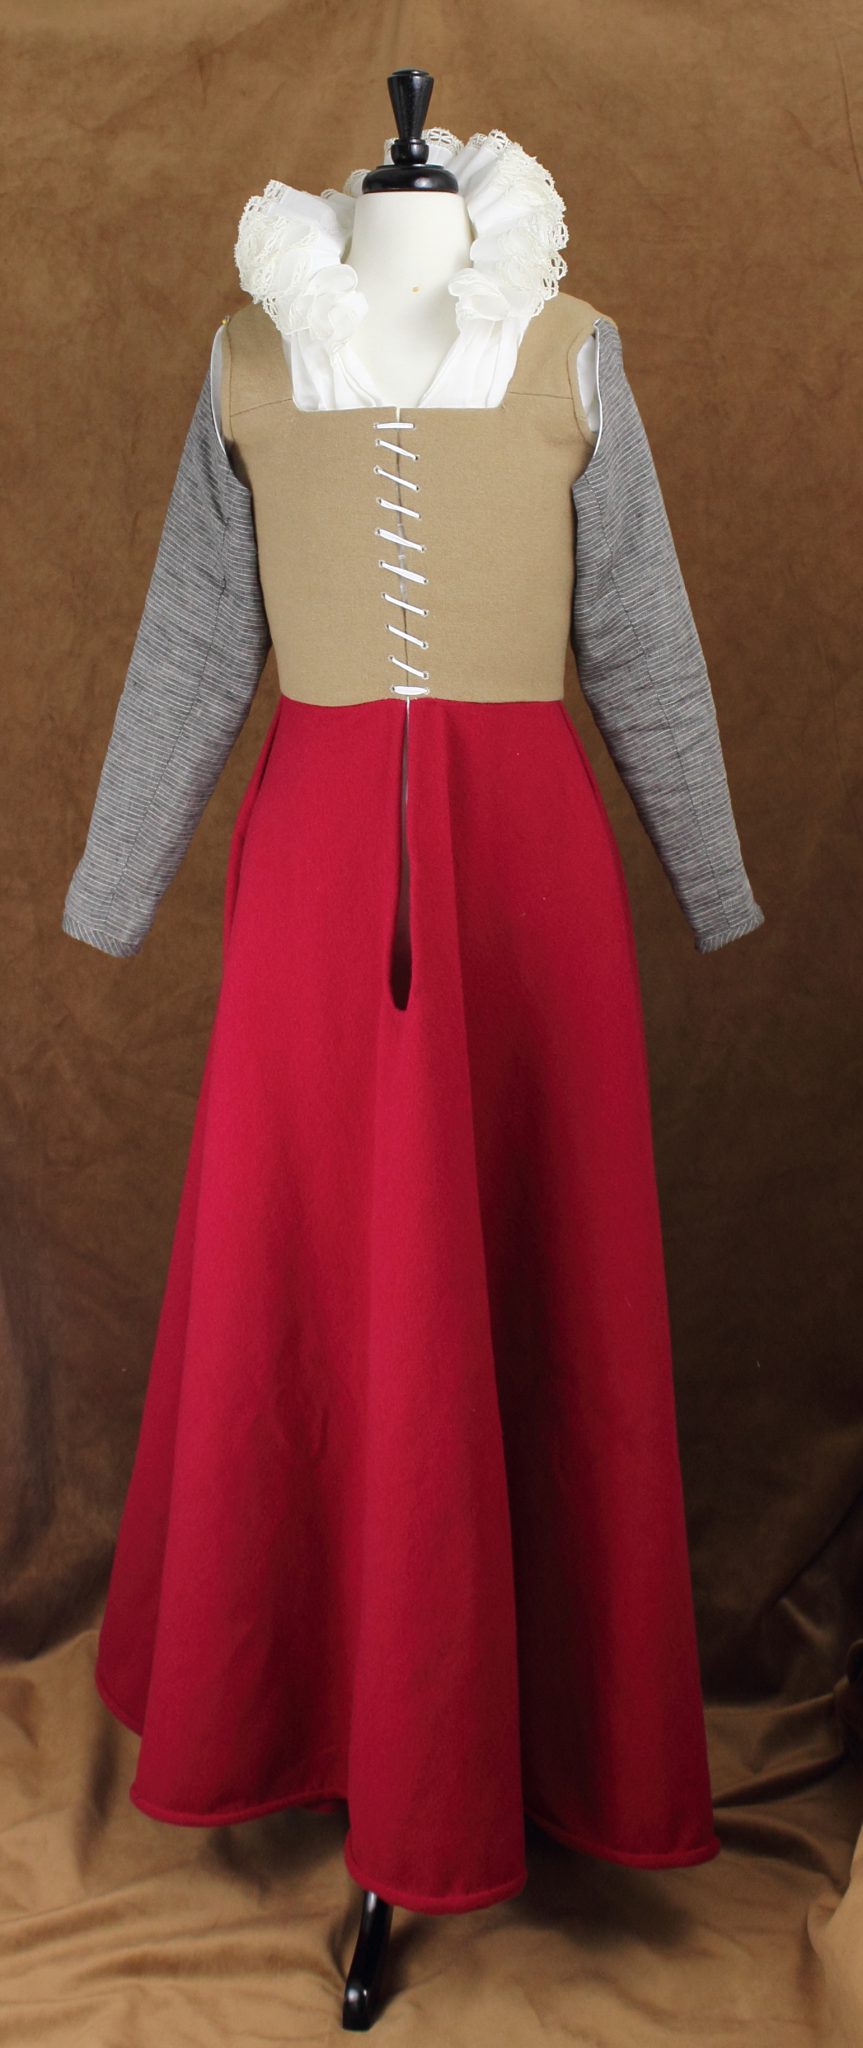
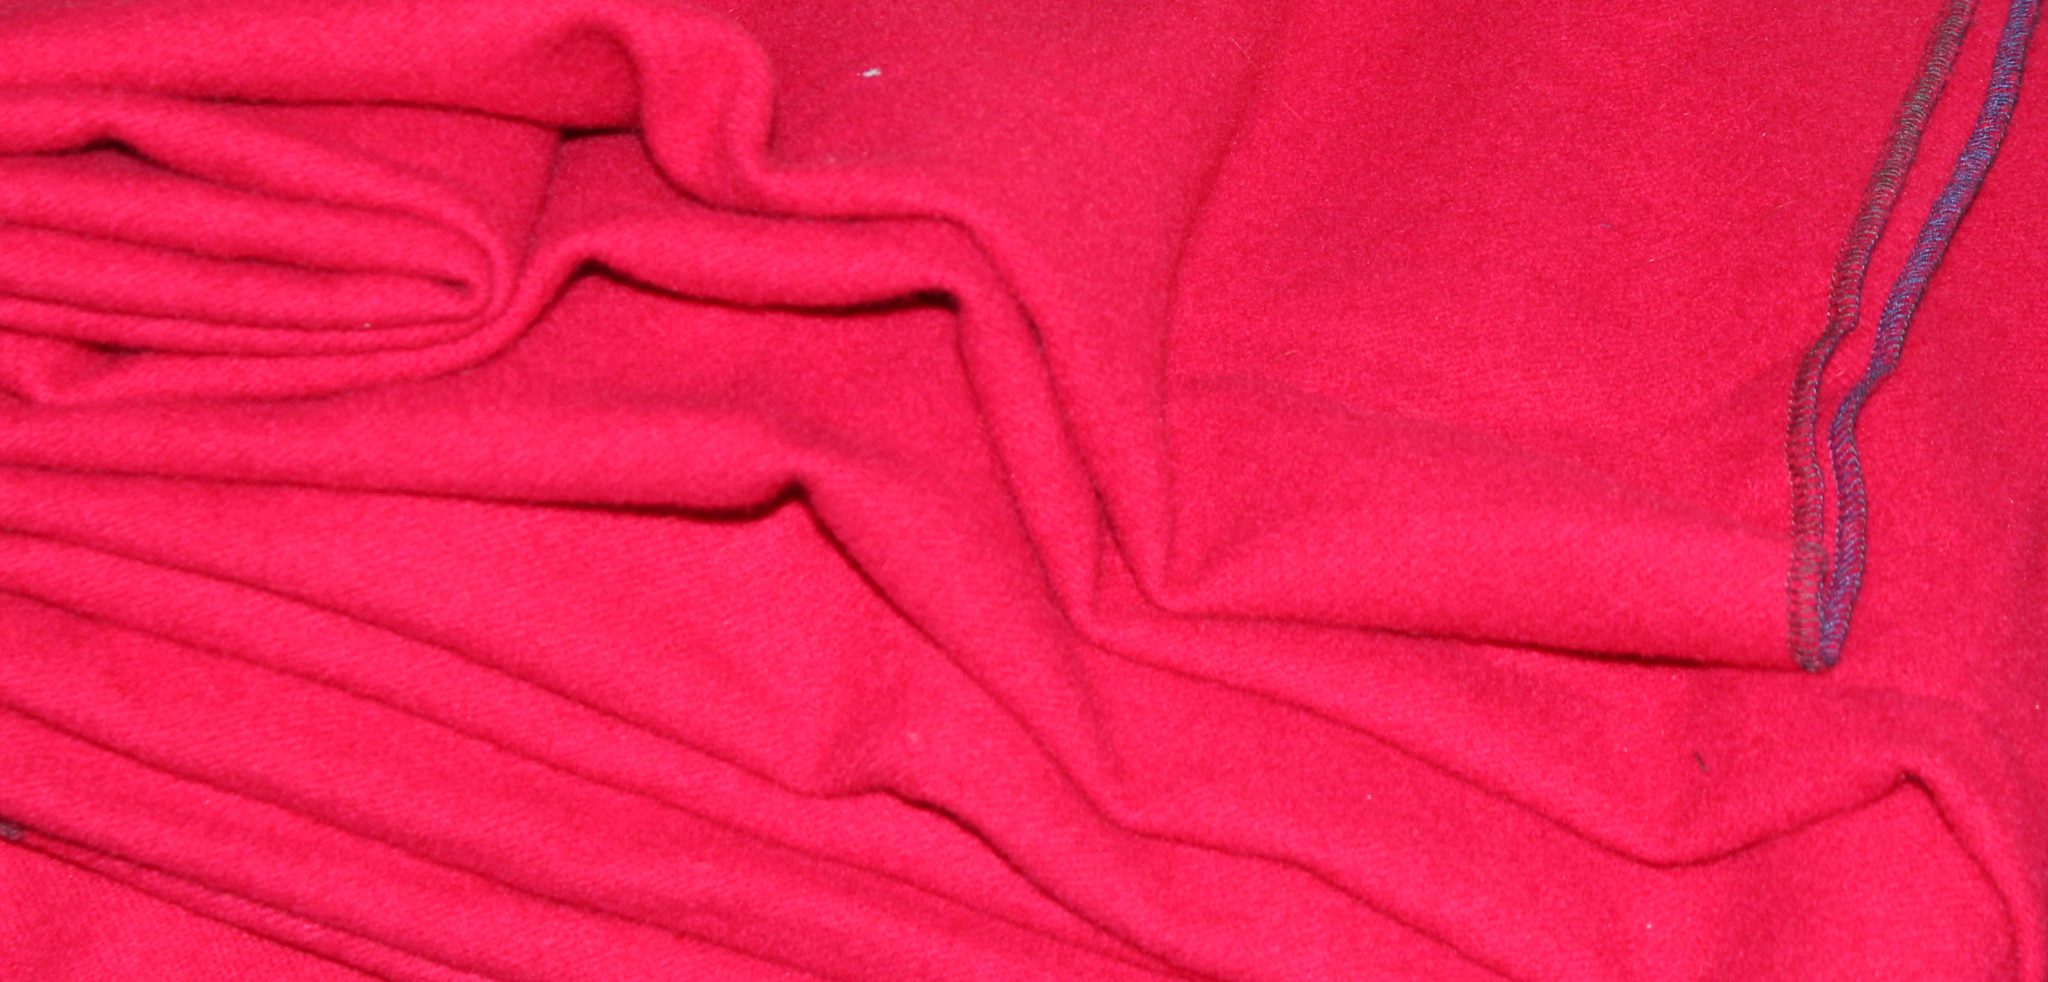
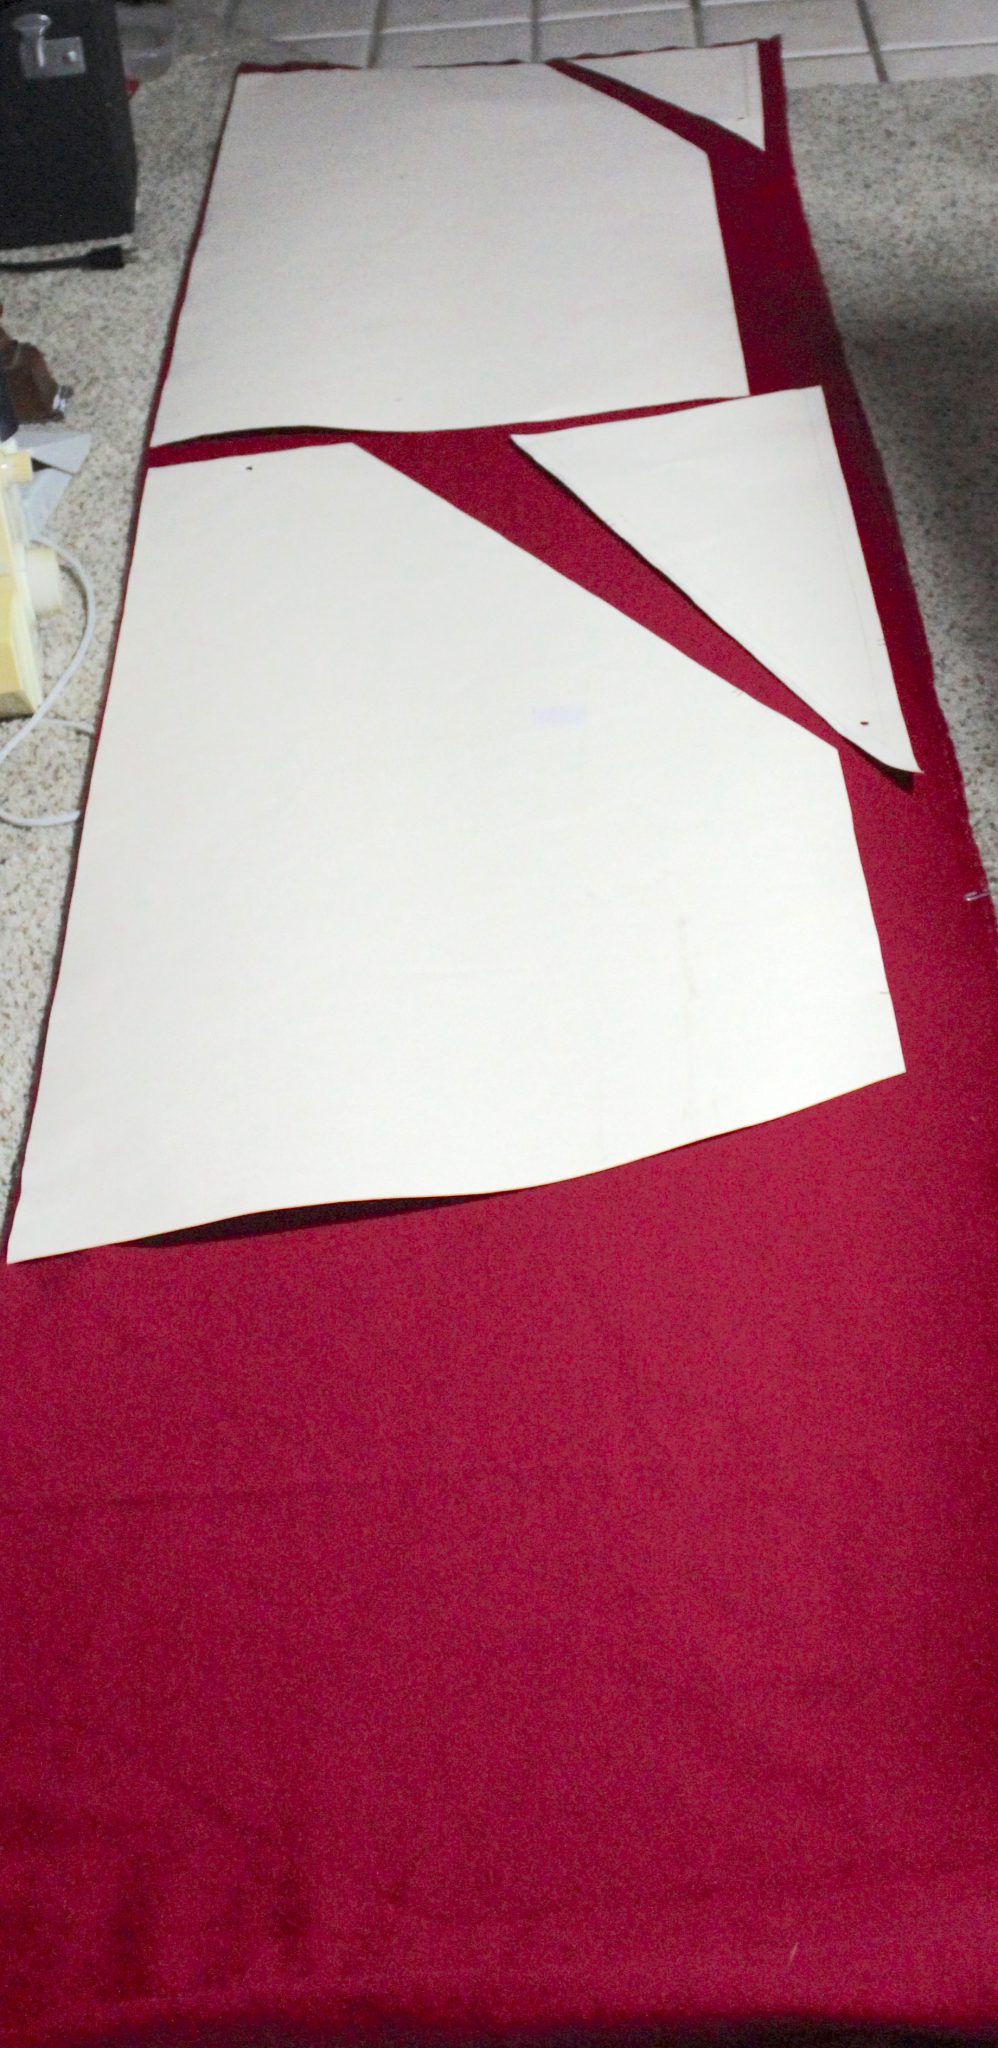
    The silk taffeta kirtle skirt and lining are sewn together, save for the side seams. It is currently hanging on the dress form to let the bias drop. I may baste a lightweight chain to the hem to hurry the process along.

    Gold black and red silk cords


    I also experimented making my own cording out of silk buttonhole thread. The gold cord on the far left is from twisting it by hand with the help of a chopstick. I twisted the other cords by machine which was much faster and even. I found making very long cords is an issue. The black cord is the longest I managed by myself, another person to help would keep the tension even and the threads from getting tangled.


  • Early Morning Patterning for the Leather Jerkin

    What my tools do while I’m sleeping 😉


  • Petticoat Bodies Done!

    Petticoat Bodies Done!

    I’ve had the petticoat bodies done for a few weeks now and completely forgot to post the finished photos here.

    Opps.

    In my defense I haven’t been able to get photos of me in them yet, part of me wants to go out and rent a chicken (can one rent a sweet-tempered chicken for photos?) and get a semi-period looking backdrop going on, but right now that doesn’t look like it is going to happen.

    Where we last left off I had things to fix in the bodice, and after pinning sections, unpinning them, and squinting in the mirror I realized the shoulder straps had stretched out despite my efforts at steaming the bias stretch out of them. I took them up at the back shoulder seam and everything fell into place.

    Petticoat bodies and green apron Petticoat bodies front with no apron close up Petticoat bodies front with no apron full shot Petticoat bodies front with apron full shot Petticoat bodies back

  • Finishing up the Petticoat Bodies

    Finishing up the Petticoat Bodies

    The holidays are over, I’ve eaten my own weight in cookies and it is time to finish up the petticoat bodies.

    Last time I posted I finished the bodice and put in the lining. Over the holidays I cut out the skirt, hand sewed it together, and bound the hem.

    Red wool fabric for the petticoat bodies skirt

    My camera did not like this shade of red most of the time.

    Petticoat skirt pattern laid out on the red wool fabric

    Still not the correct shade of red.

    The skirt only took 2 yards and 7 inches of fabric and I was able to use the off cuts and scraps for hem binding.

    Scraps used to bind the petticoat skirt hem

    My handful of scraps before making the binding.

    Running stitch used on the petticoat skirt hem with linen thread

    I used the running stitch for skirt construction with the occasional backstitching where gores met for extra strength. The fabric is a lightweight flannel and doesn’t fray so I don’t need to worry about finishing the edges.

    Flattening the petticoat skirt seams with a wooden clapper

    Clapping the seams!


    Whipstitching the petticoat skirt edges down with linen thread

    I left the skirt side seams open at the top so I’d have access to pockets. To finish the edge I just whip stitched the fabric down.

    Petticoat bodies and sleeve on the dress form

    How it currently looks with at least one sleeve pinned on and the basting threads still in.

    Up next, troubleshooting the armscye problem area! My experiment in using wool binding has made that area stiff + the seam allowances from where I pieced the strap. Pinning the sleeve on also caused some pulling. I may need to adjust the angle of the strap by unpicking the binding and adjusting where the strap and bodice meet. What do you guys think?

  • Hand Sewn Petticoat Bodies/Bodice Work in Progress

    Hand Sewn Petticoat Bodies/Bodice Work in Progress

    I forgot to post these, I’ve slowly been sewing away on petticoat bodies from caramel colored wool. Linen/cotton canvas interlining, linen/cotton lining. Sewn with the broken backstitch, running stitch and whip stitch in linen thread. The project has sat in the time out corner a few times.

    First, when I trimmed the neckline corner down a tiny bit too far, I ended up darning it as a fix and reinforcing the area. Second I tried it on and it was too tight! Bah, I need to adjust my bodice block. Thankfully I had an extra large seam allowance in the back so I was able to let it out, but once I did that the back neckline started to have issues. After lots of basting, pressing, and re-basting I sewed up another 1/4 an inch and that seemed to fix it.

    The lining is in, the armscyes bound, so it just needs eyelets and a tiny bit of clean up, oh and the petticoat. I have 5 yards of red wool (lucky e-bay find) which should be enough for a new kirtle *and* the petticoat if I am careful with my cutting.


    petticoatbodiescut

    petticoatbodiceshoulderstrap

    petticoatbodiceshellside

    petticoatbodiceshell padstitchedinnerpb