

The holidays are over, I’ve eaten my own weight in cookies and it is time to finish up the petticoat bodies.
Last time I posted I finished the bodice and put in the lining. Over the holidays I cut out the skirt, hand sewed it together, and bound the hem.
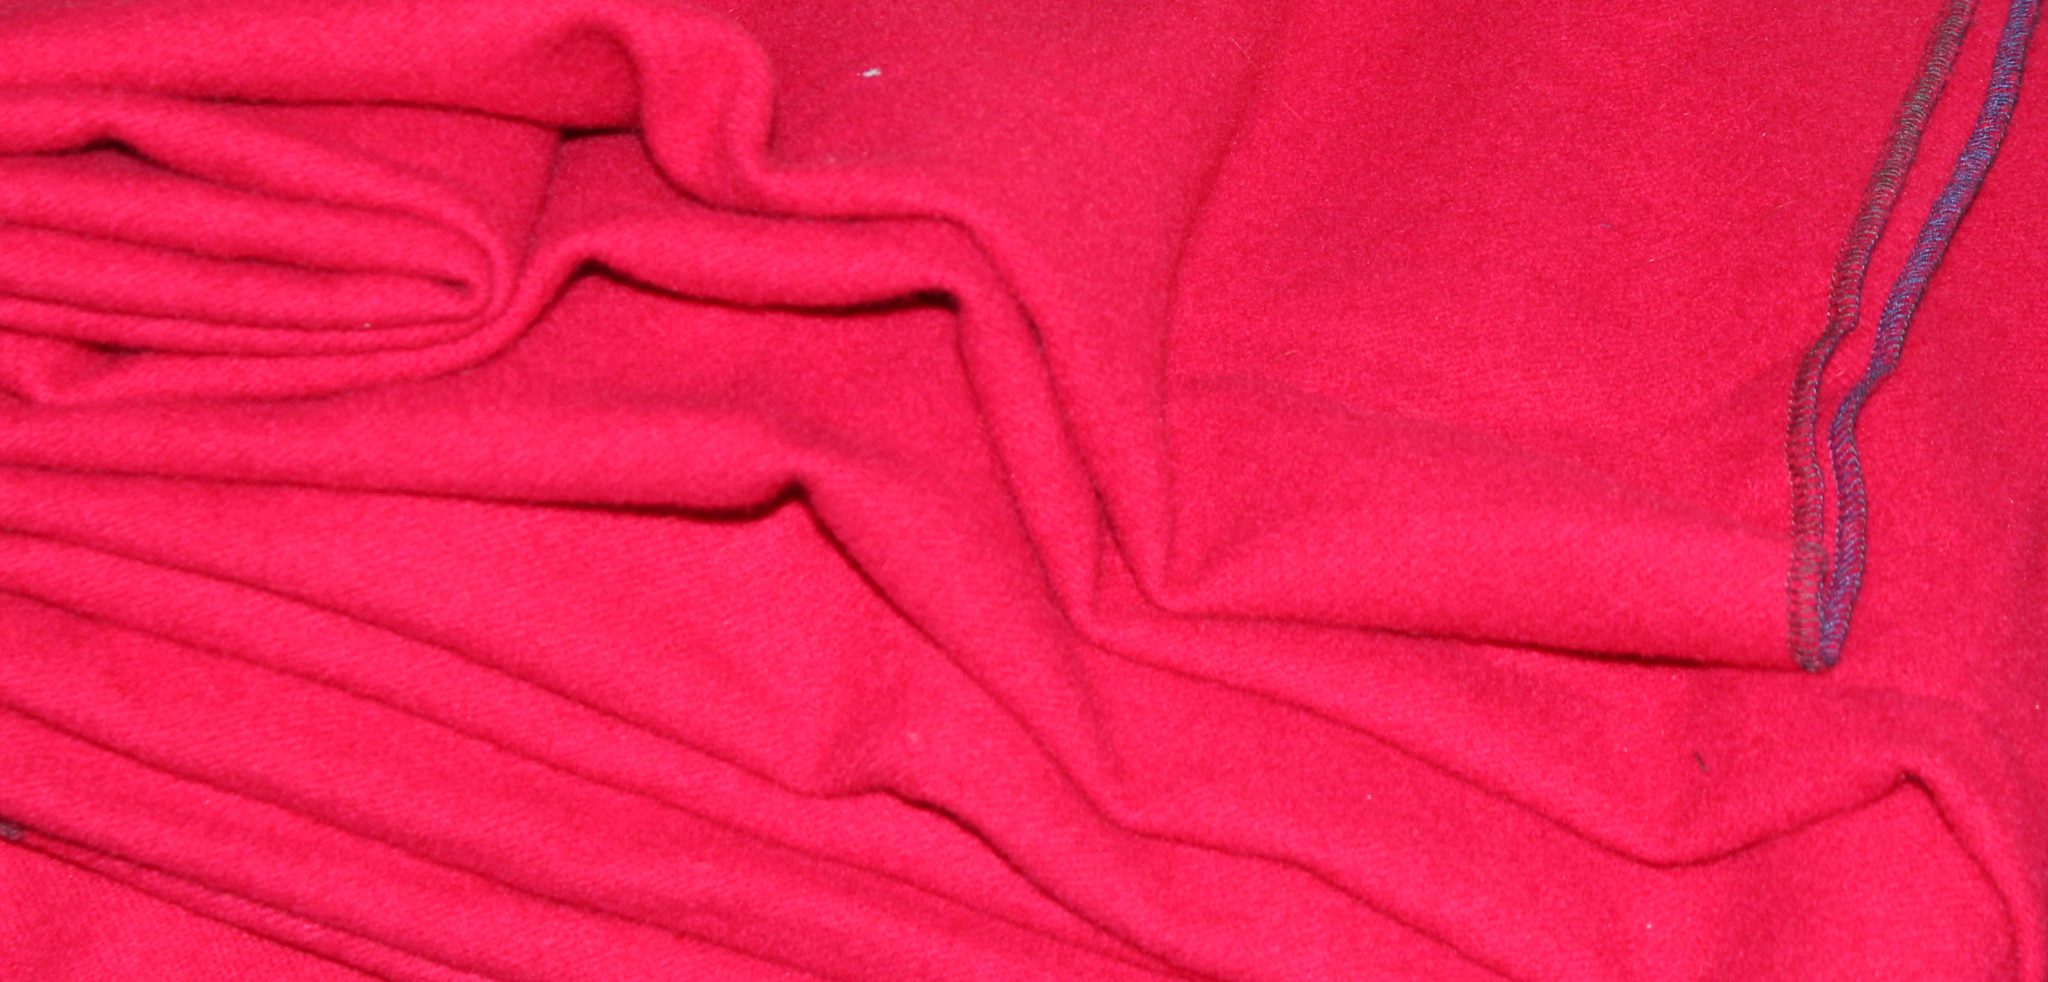
My camera did not like this shade of red most of the time.
Still not the correct shade of red.
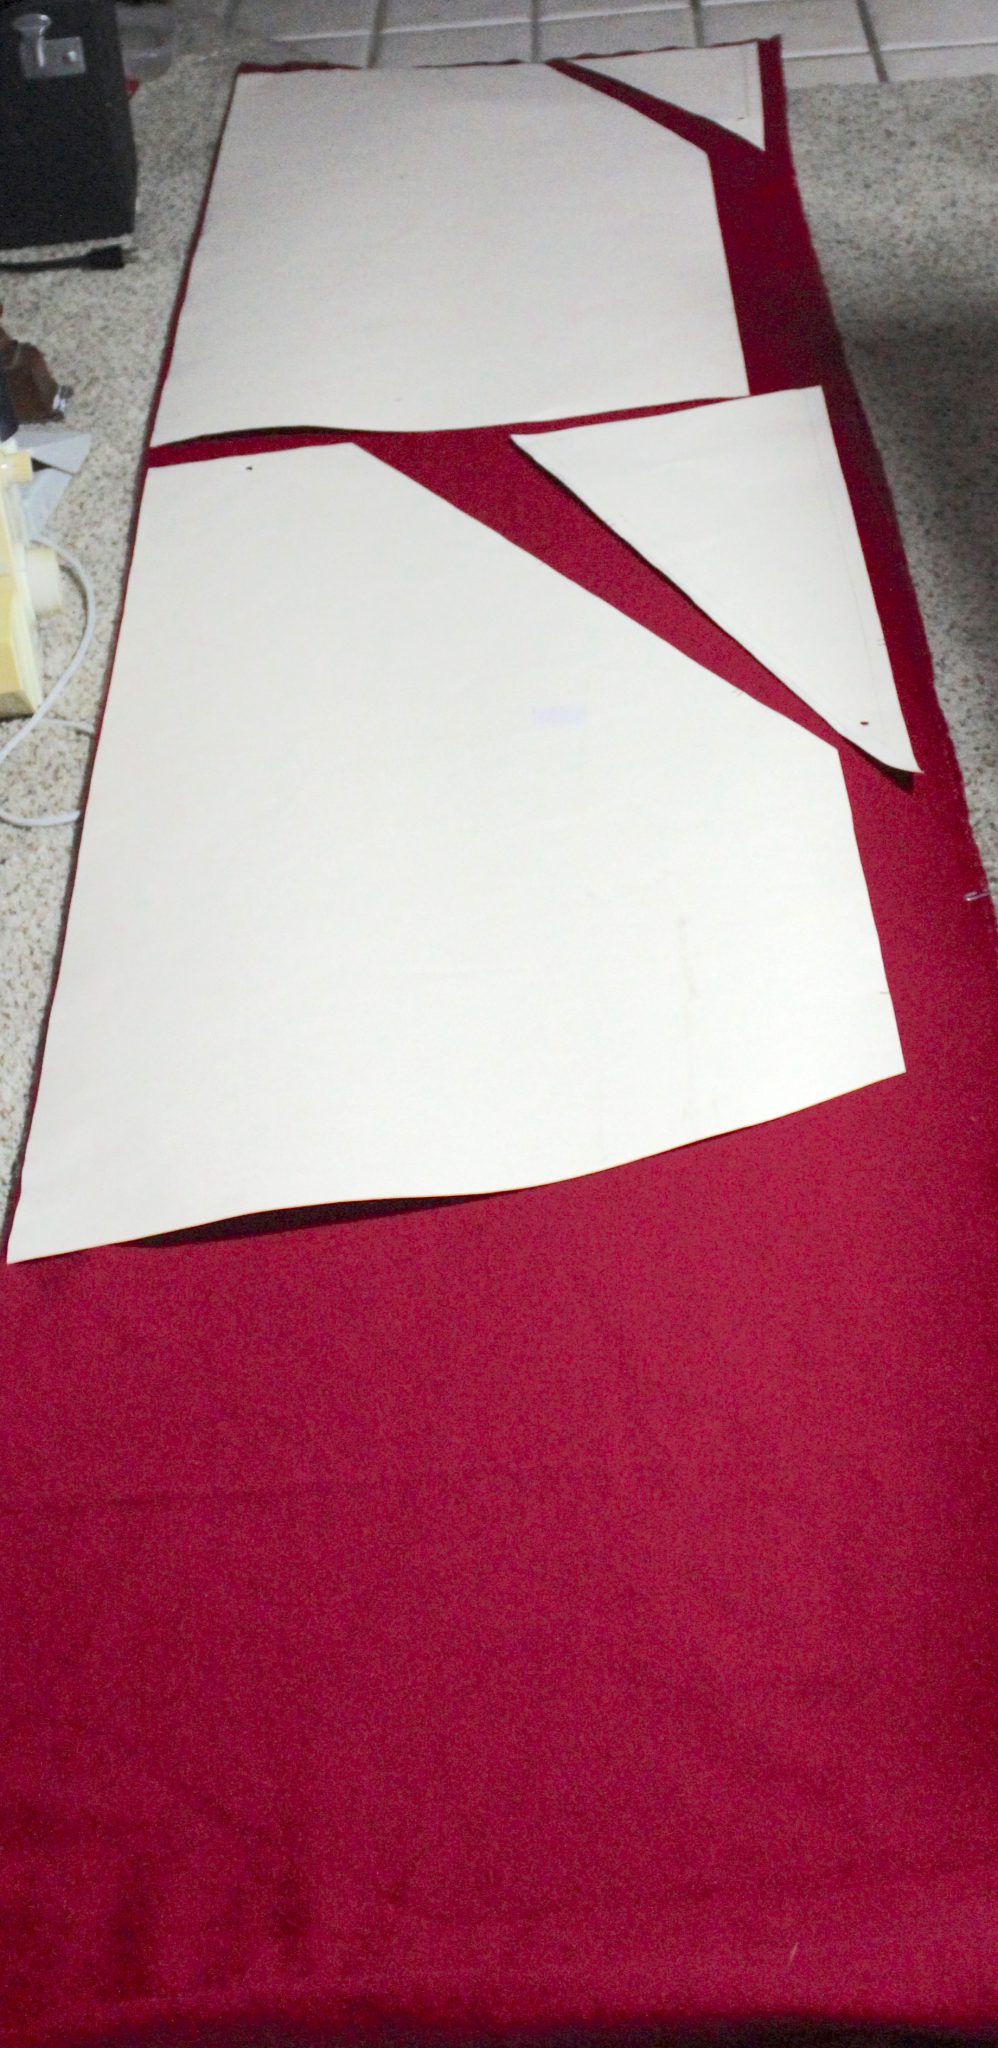
The skirt only took 2 yards and 7 inches of fabric and I was able to use the off cuts and scraps for hem binding.
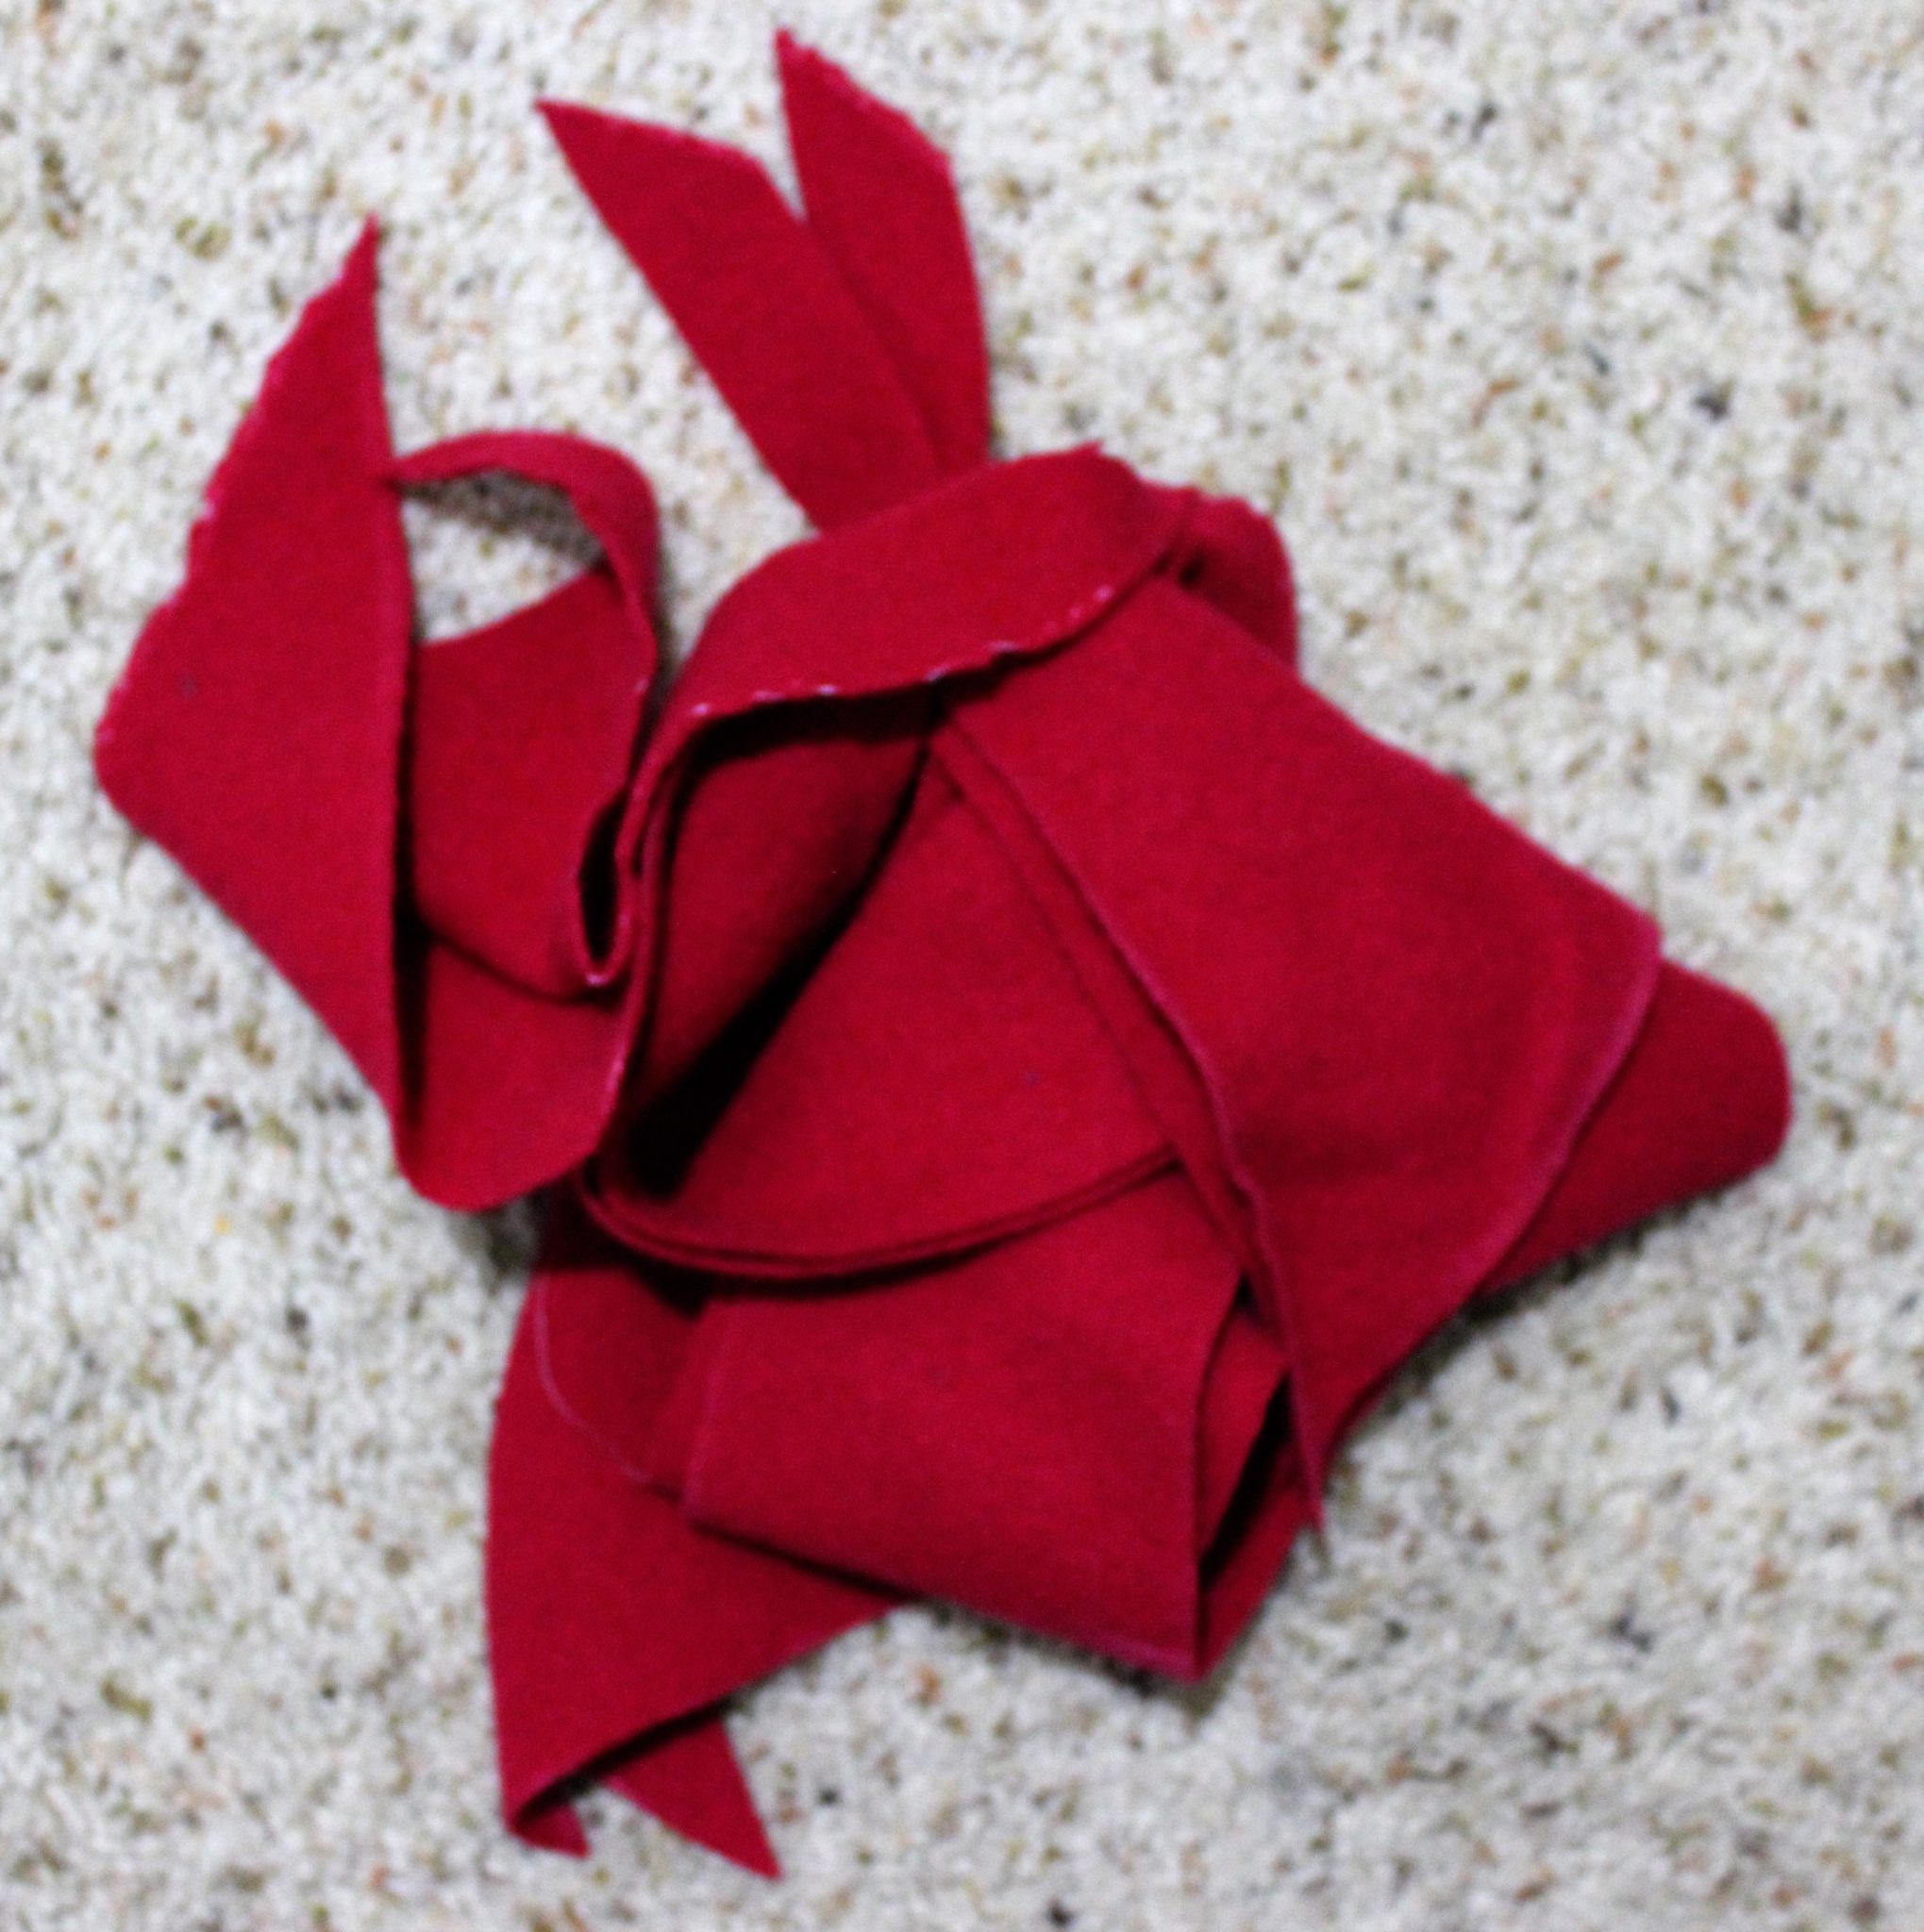
My handful of scraps before making the binding.
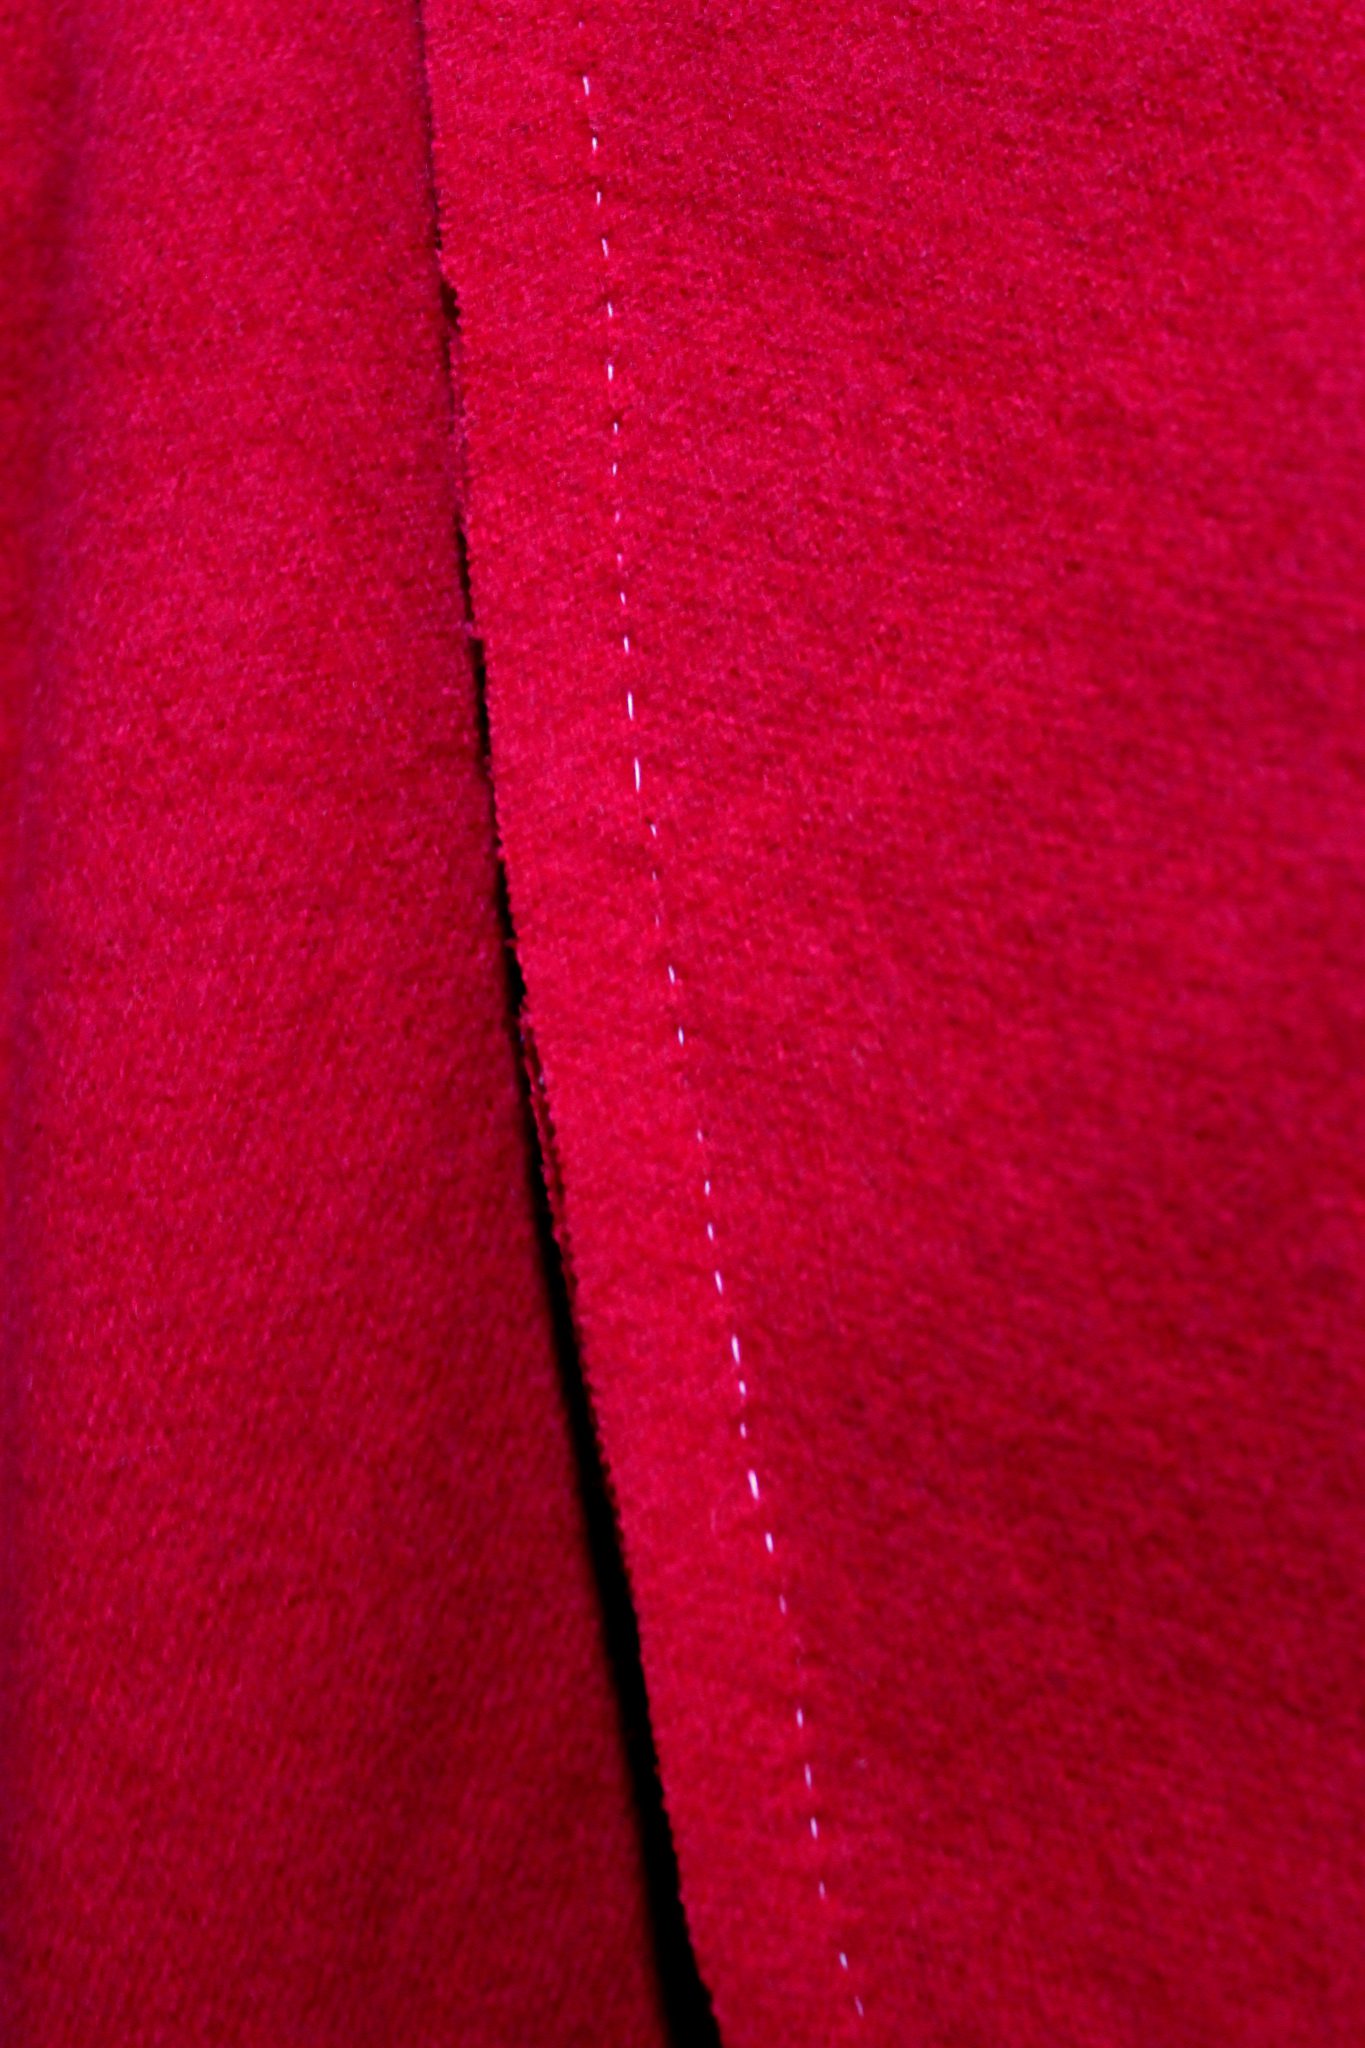
I used the running stitch for skirt construction with the occasional backstitching where gores met for extra strength. The fabric is a lightweight flannel and doesn’t fray so I don’t need to worry about finishing the edges.
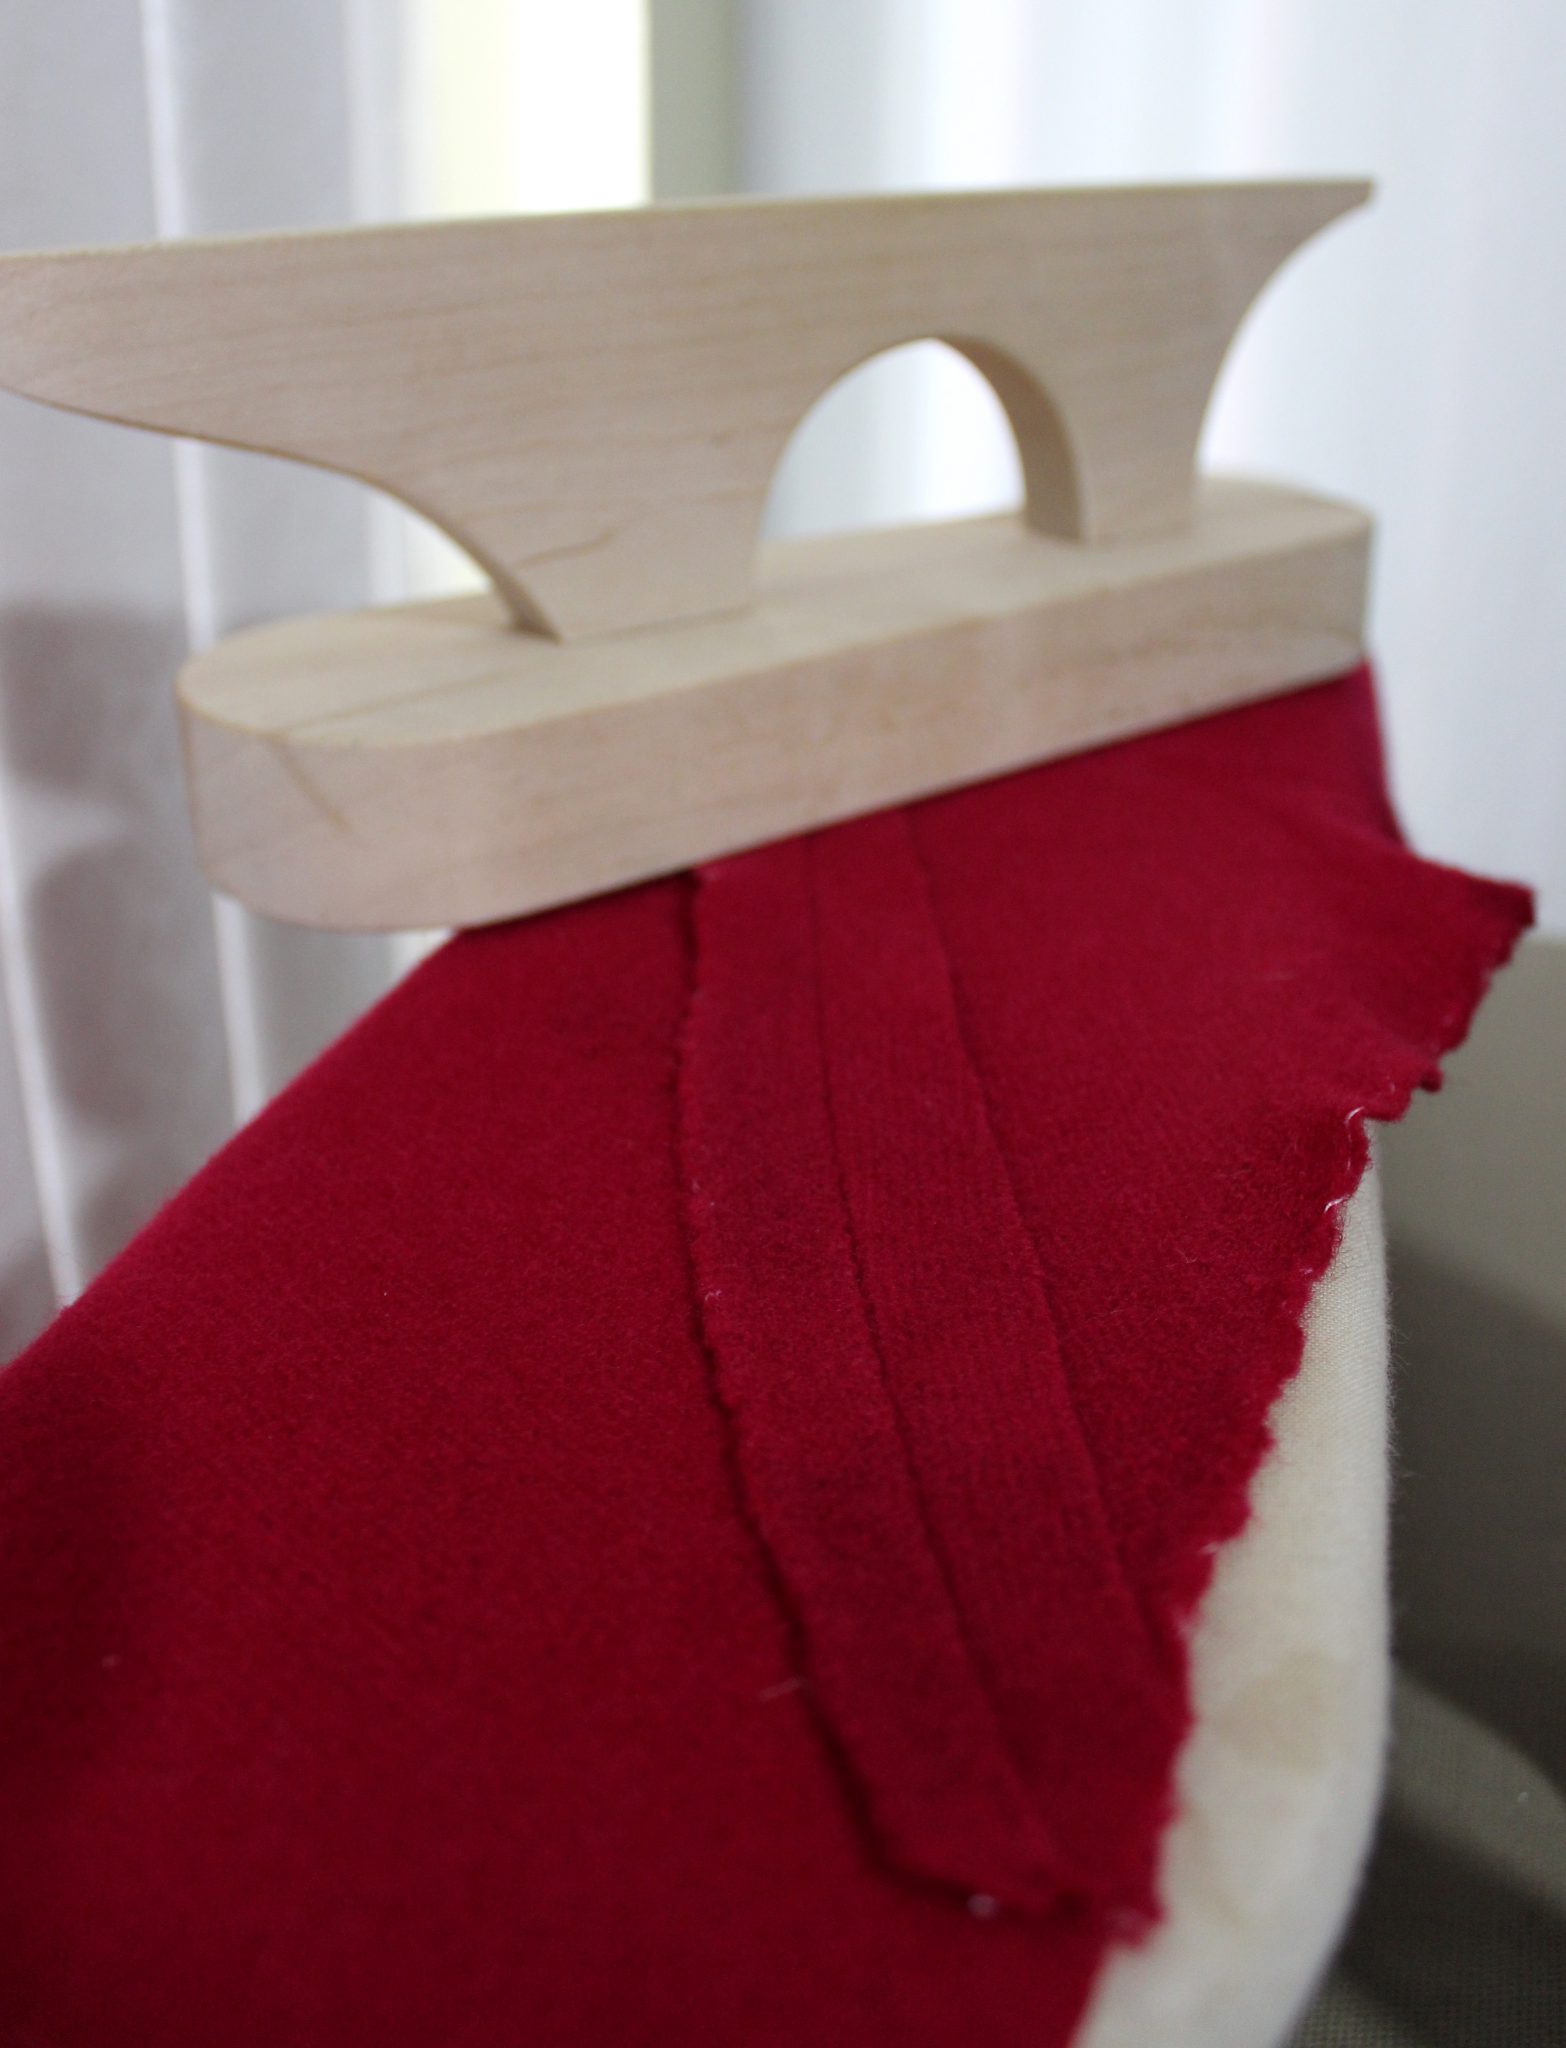
Clapping the seams!
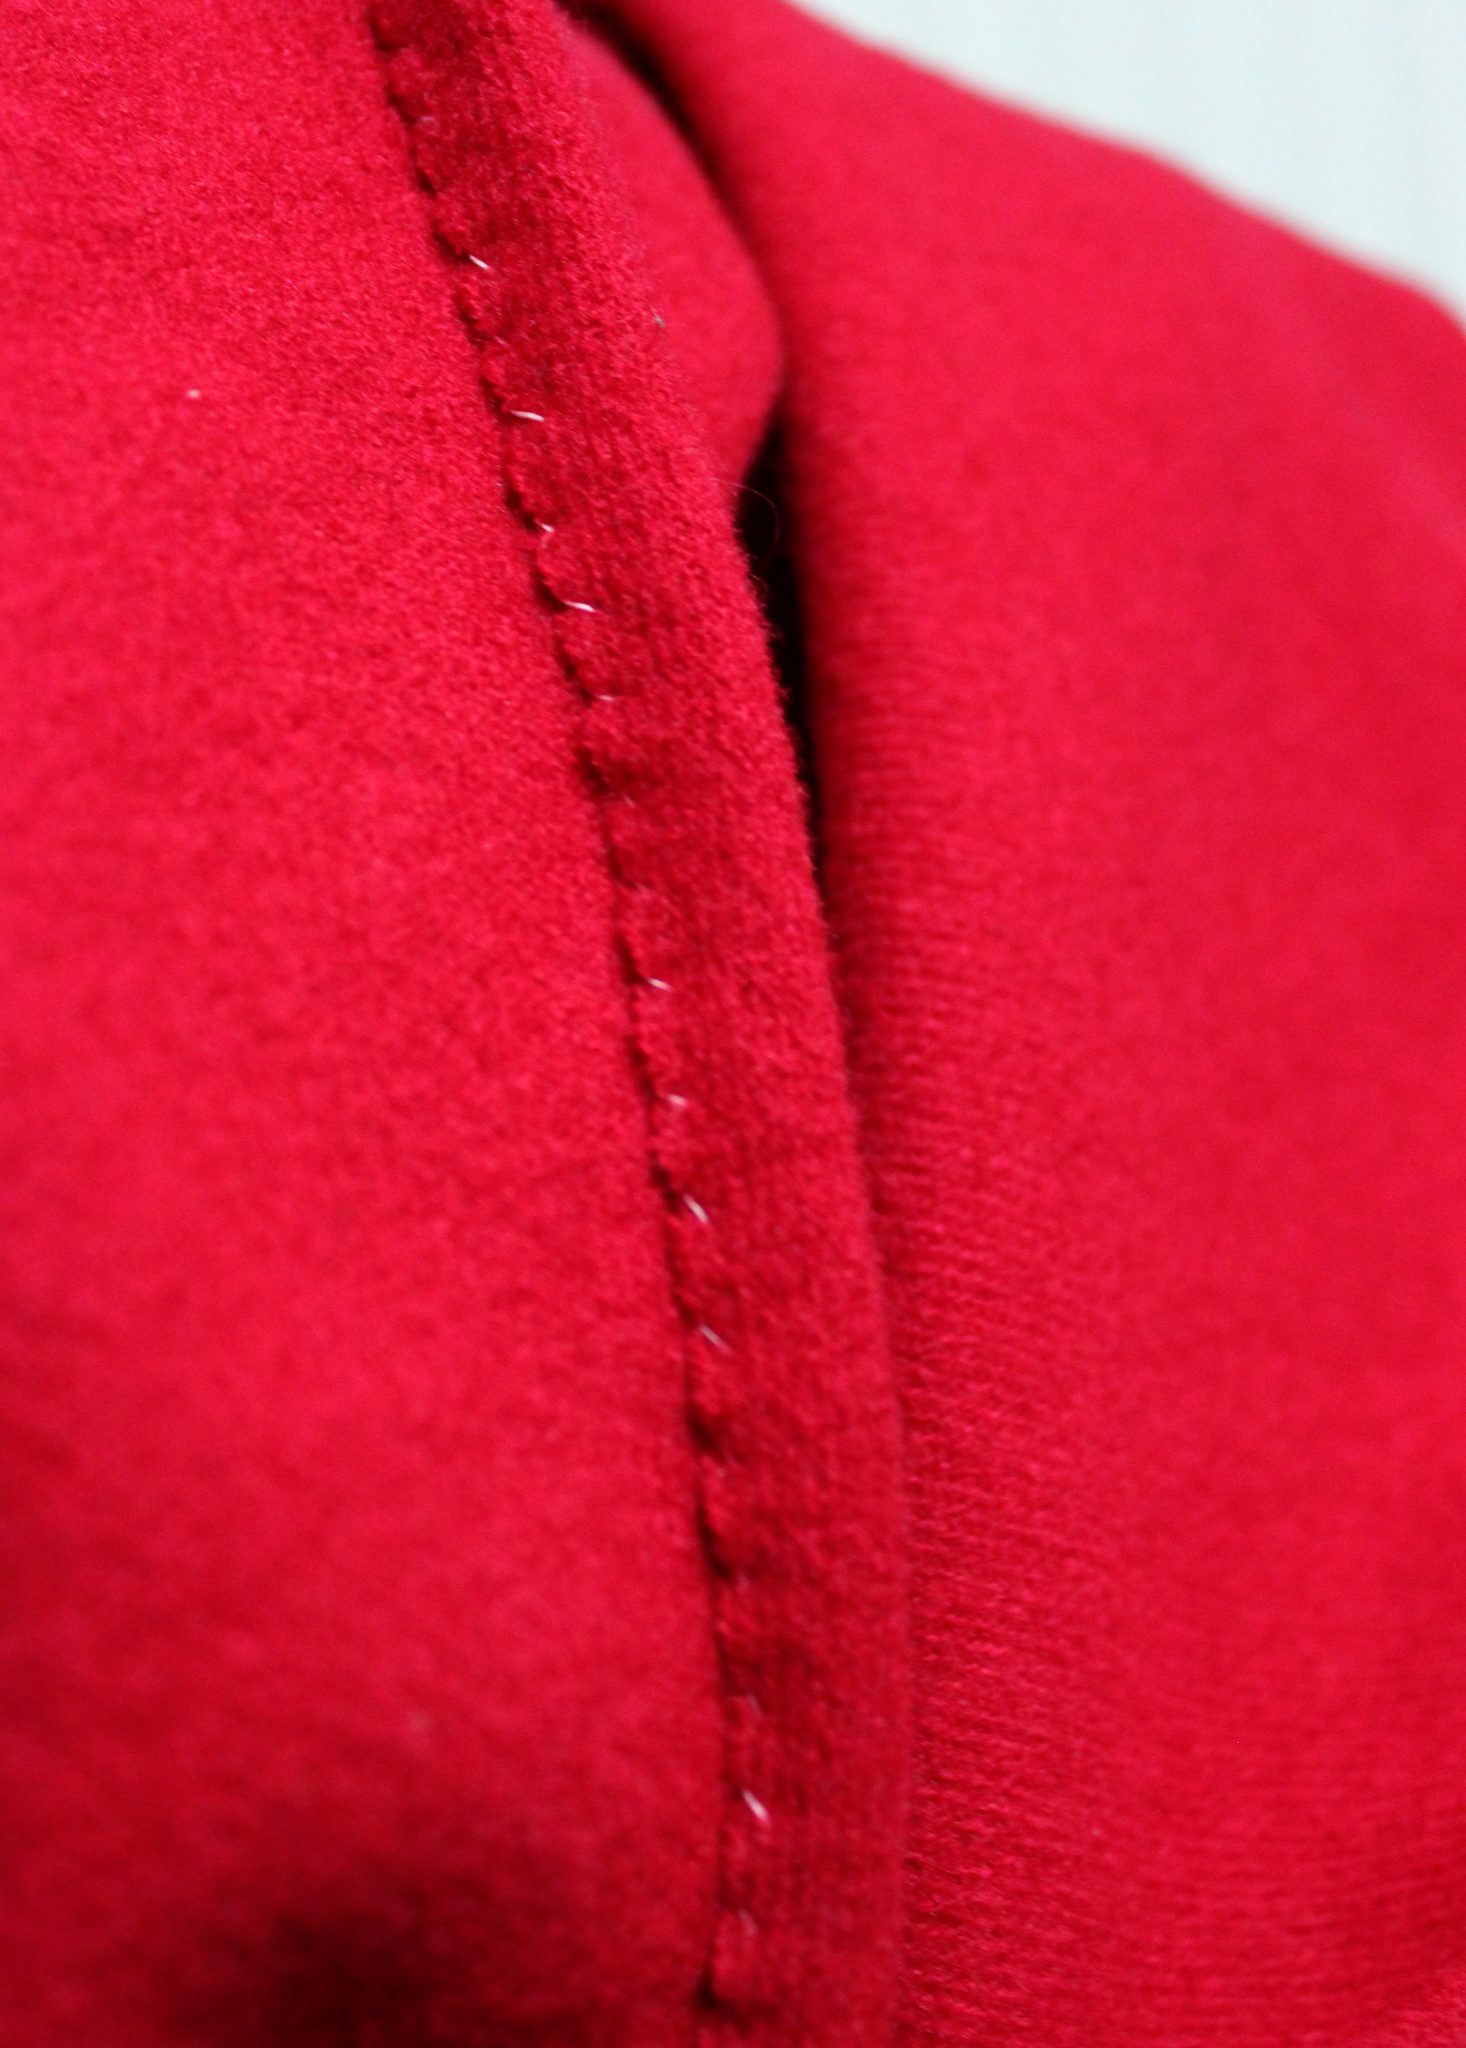
I left the skirt side seams open at the top so I’d have access to pockets. To finish the edge I just whip stitched the fabric down.
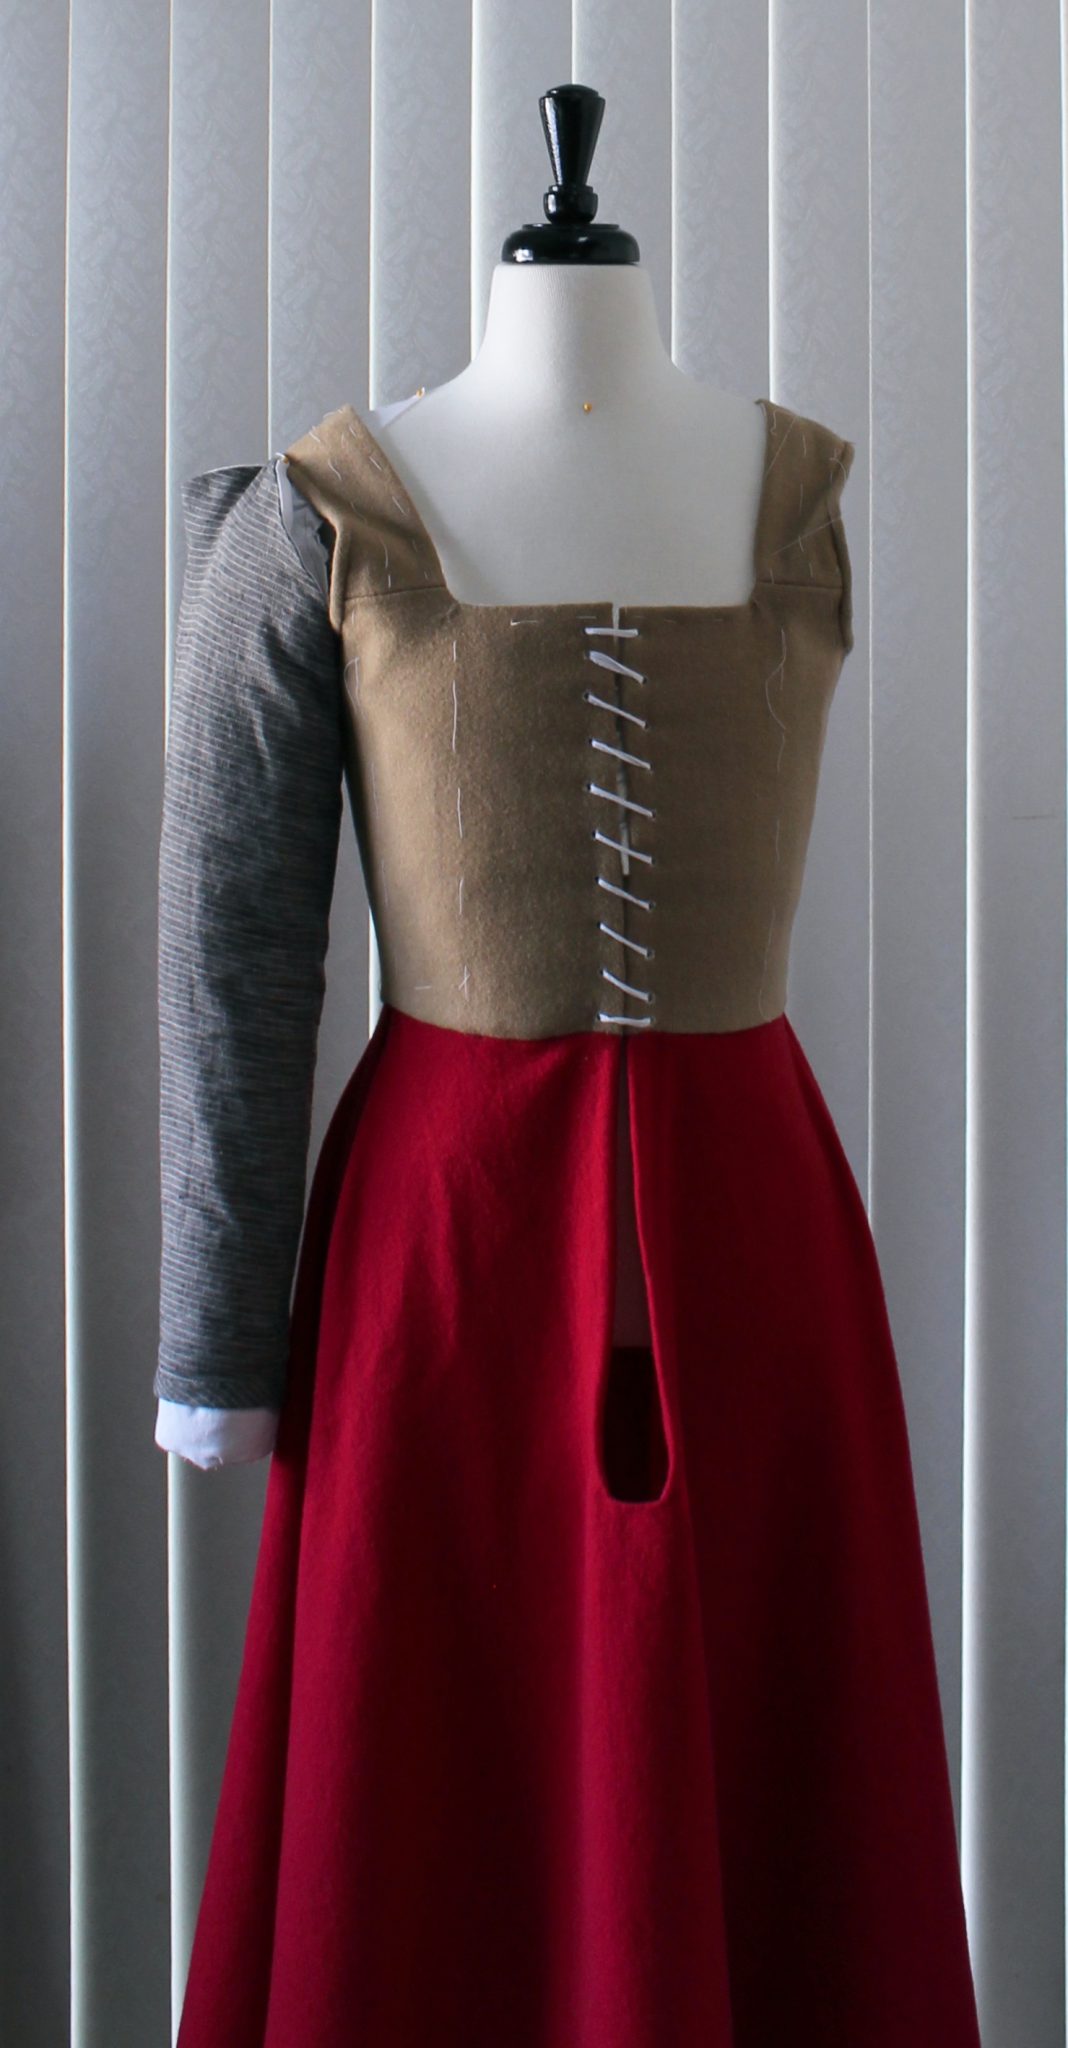
How it currently looks with at least one sleeve pinned on and the basting threads still in.
Up next, troubleshooting the armscye problem area! My experiment in using wool binding has made that area stiff + the seam allowances from where I pieced the strap. Pinning the sleeve on also caused some pulling. I may need to adjust the angle of the strap by unpicking the binding and adjusting where the strap and bodice meet. What do you guys think?
Leave a Reply