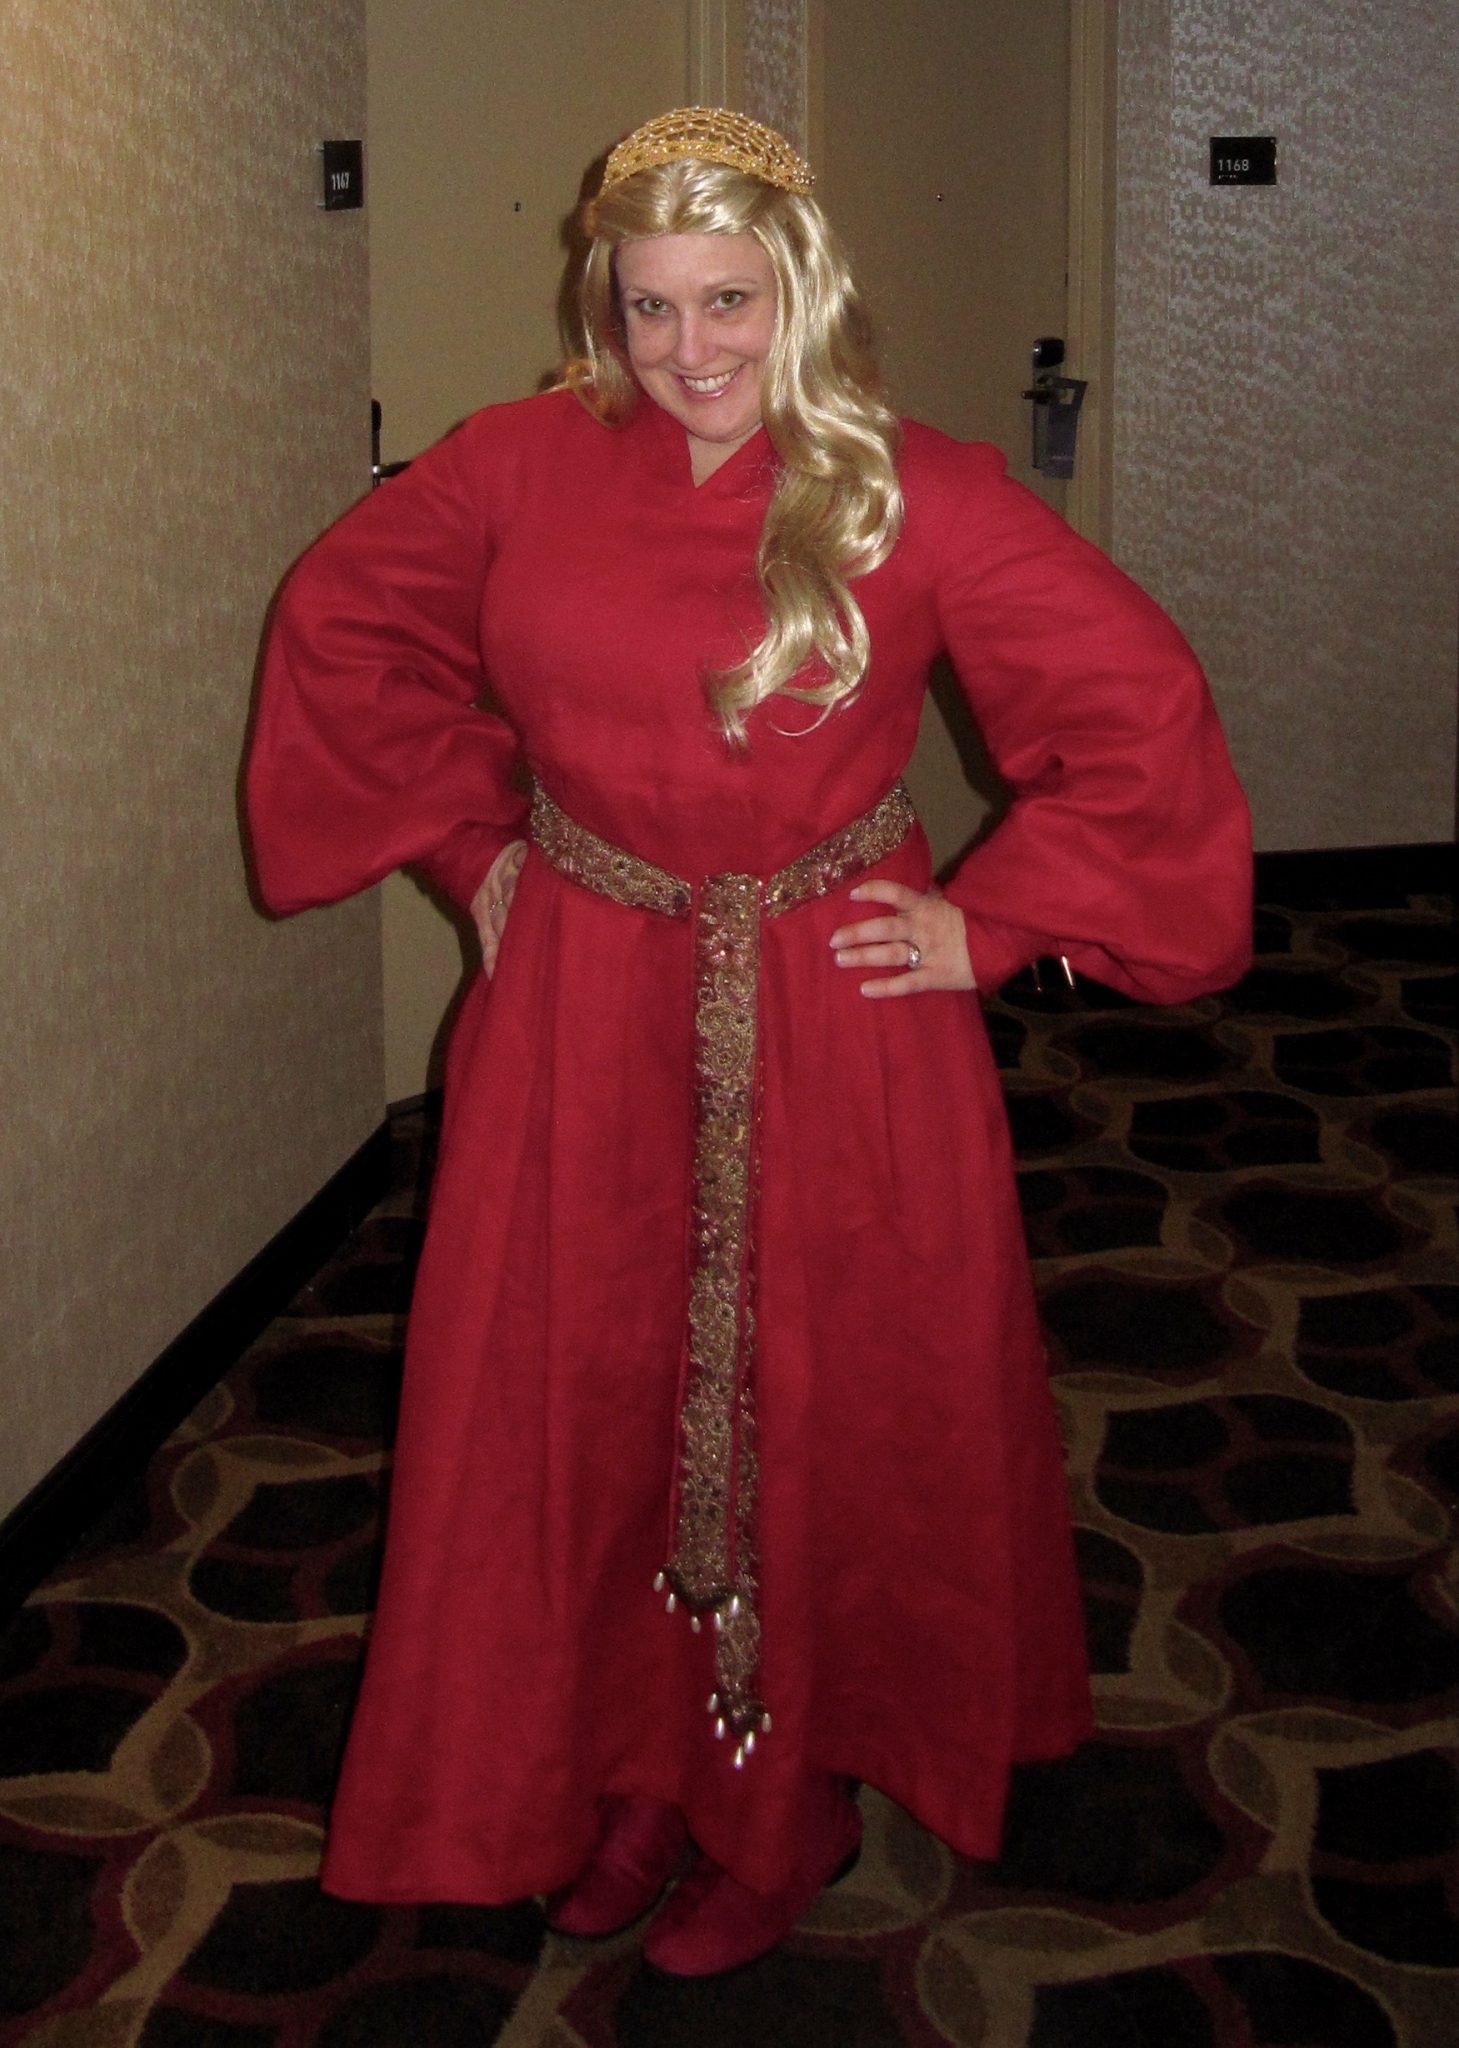
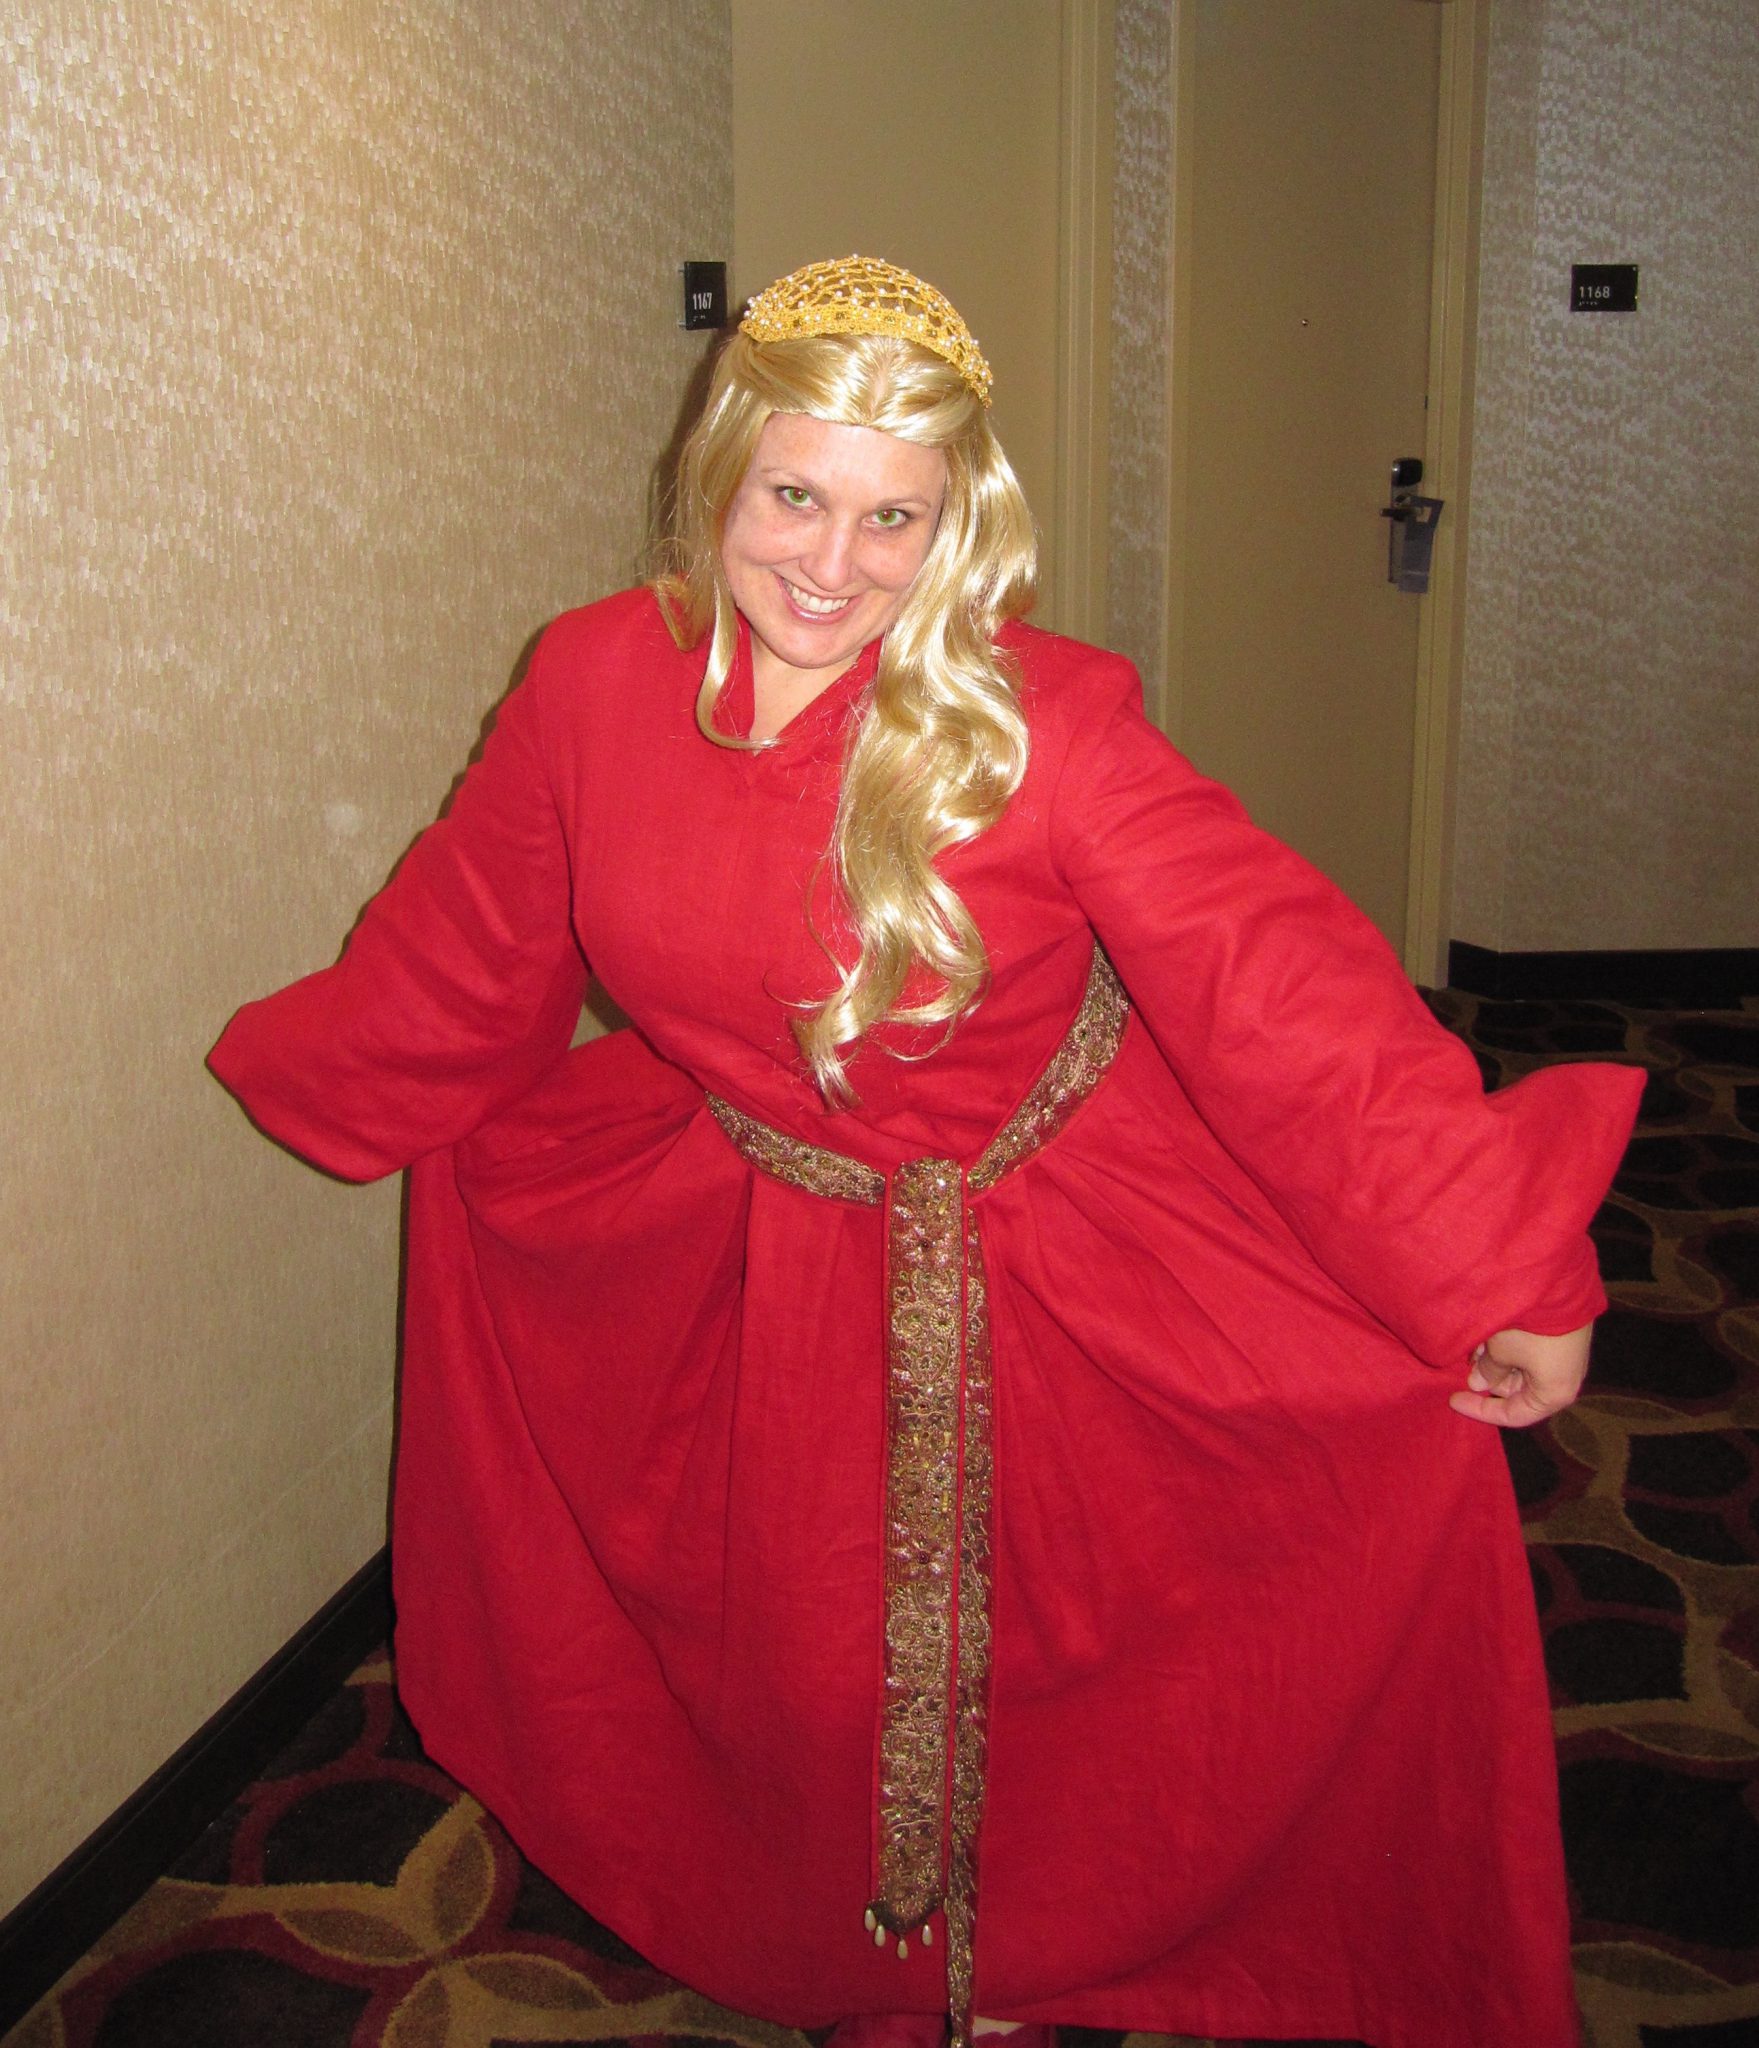
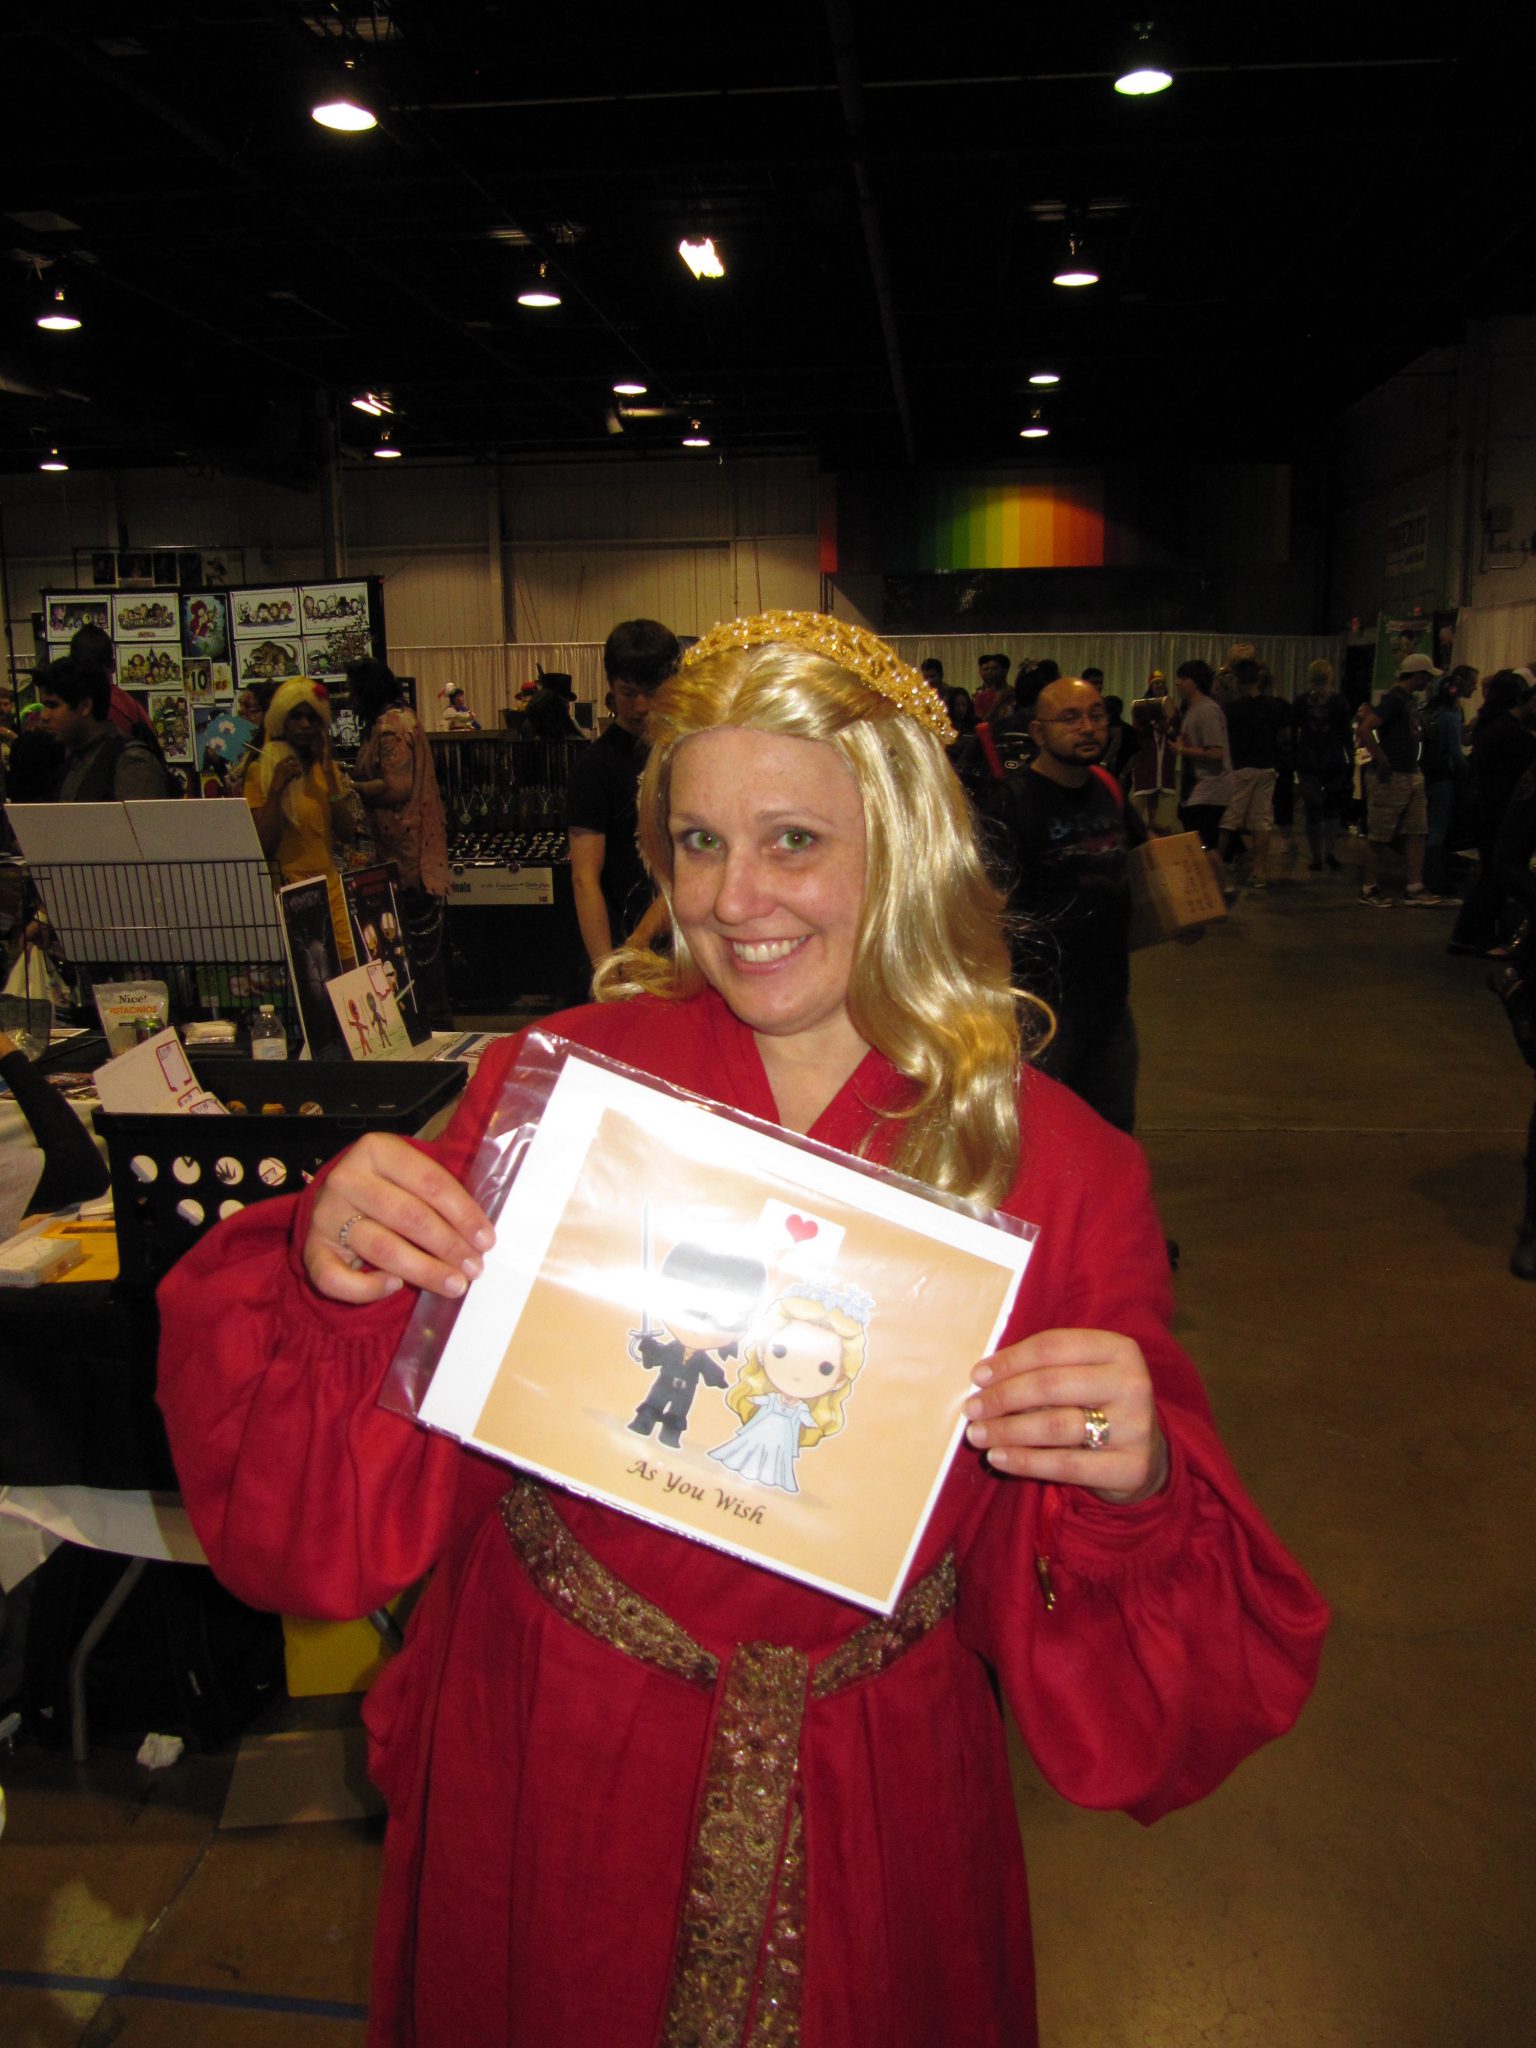
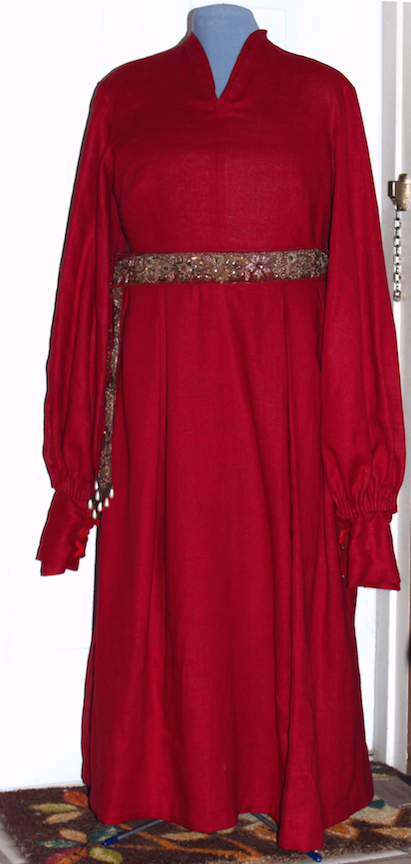
I have a friend who lives in the wilds of Oklahoma, her local medieval fair runs for only three days. She has needed a costume to attend just for fun but being a fellow history nerd wanted something that would work. Her fair set in 1360, it has a different flavor than my local fair that tends toward the 1540’s which means my go to comfy bodice and skirt kirtle wouldn’t really fit.
A few years before we got some lightweight wool suiting in plum color from Fabricmart and then I sat on it like an egg as we went back and forth over what style of dress she wanted.
Bliaut? (which we started to call a blablahblu because we were never sure of how to pronounce it..) It is earlier than the fair time frame, but she liked the look of them (Possibly watching too much Brother Cadfael at a young age.) Buuuut large flappy sleeves can get in the way and being able to get dressed by yourself is a good thing.
Go for an Elizabethan kirtle anyways cause I can make those in my sleep? Fashion forward!
We pinned a lot of photos, used historical doll makers to share ideas and when she came down in 2014 for my wedding I got her measurements, drafted a block, and fitted a mock-up.
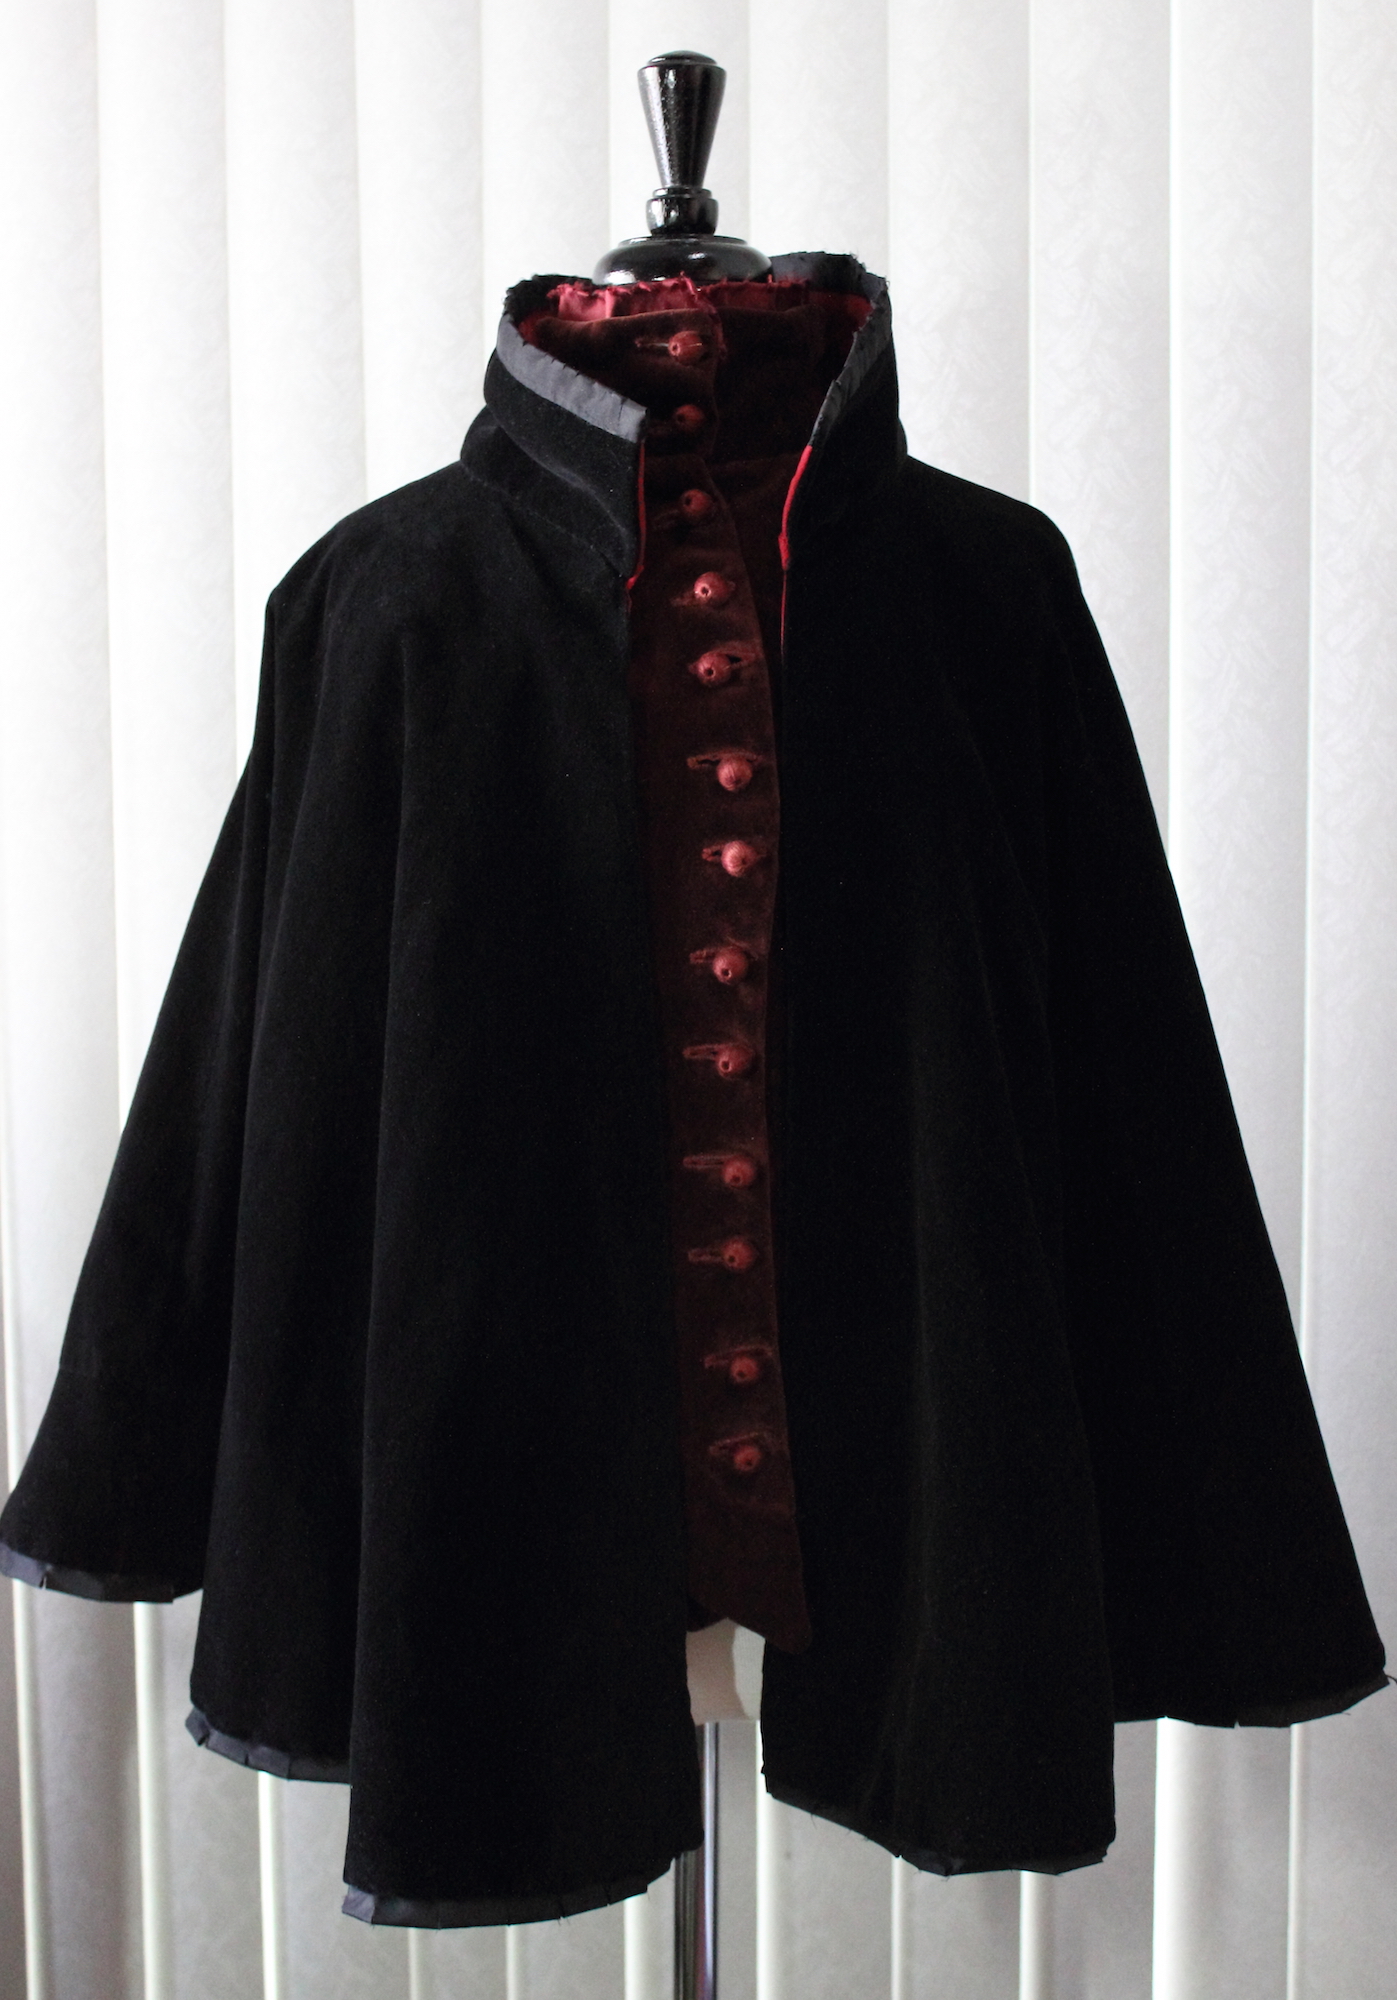
A very very old project (6+ years maybe?) has found a new home. It is based on the circle cloaks found in Patterns of Fashion, made from many scraps of black cotton velvet and a scarlet linen/cotton/rayon blend for the lining. It is a bit shorter than the ones in PoF, in part because as it sat in my closet and the outer fabric grew, the lining grew. I ended up hand-basting all around the outside of the cloak and trimming everything as even as I could make it. Which left me with an uneven lining in some areas.
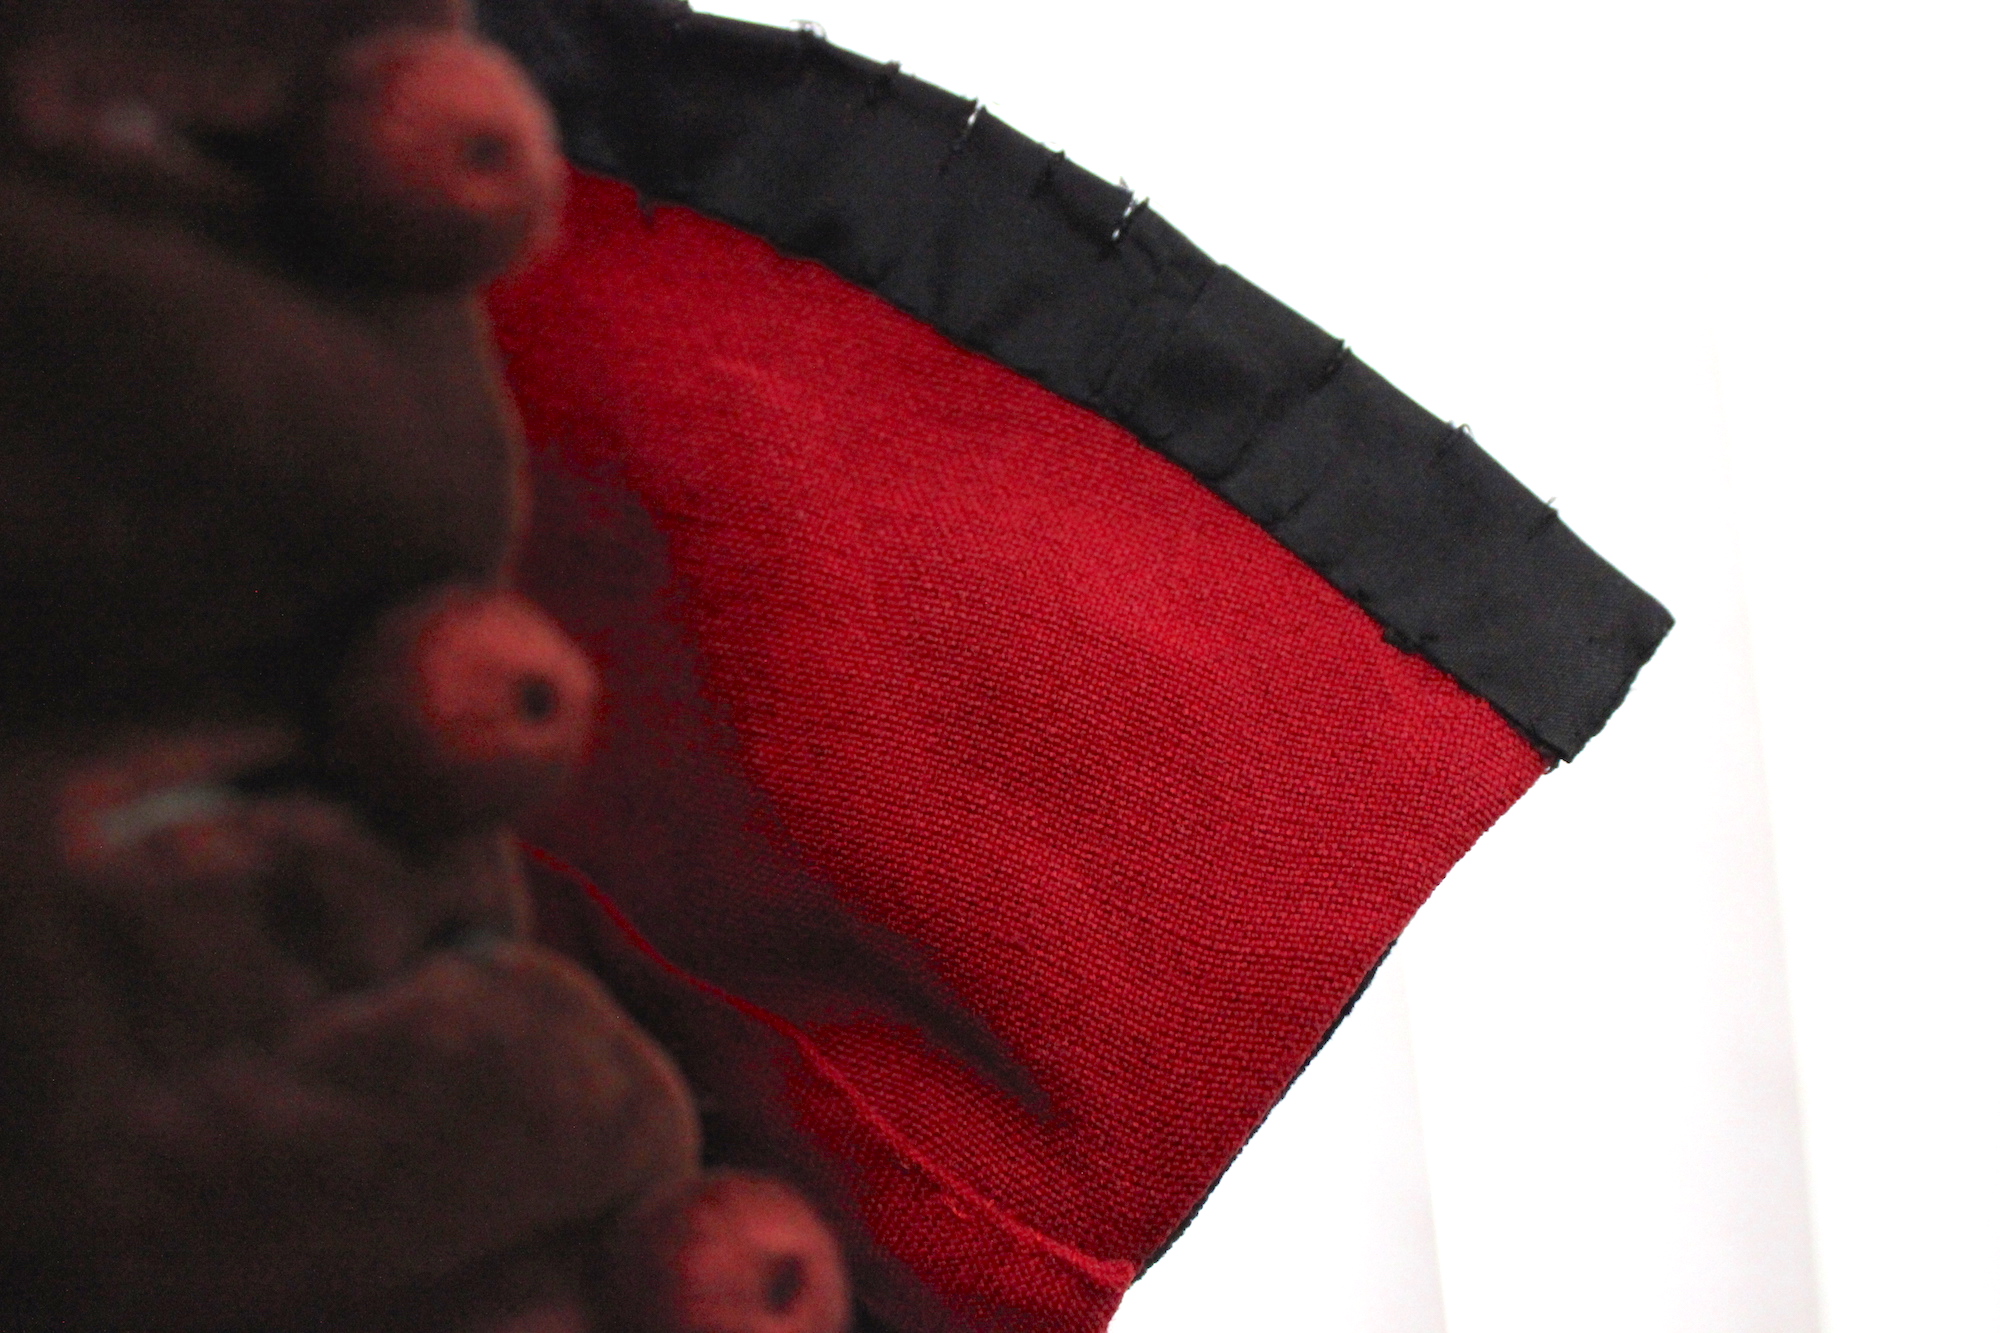
So I took the extra fabric I had from the lining (still had some!) and cut a very wide 4 1/2 yard long section of bias tape, sewed that through both the velvet and the lining, flipped it up, and hand sewed the folded edge down to the inner lining. (Phew!) That done I make a collar from the off cuts of the shortened cloak, lined it with more of the lining fabric and stitched it on.
But I was going through several layers of fabric, thankfully the whip stitch works great there, but it looked a bit messy and I didn’t want the stitched to rub. So I took more scraps of the lining fabric and made a narrow band to cover the join and hand sewed them on. Finally I bound the collar top with scraps of black silk taffeta, snipped along the edge to give it some texture.
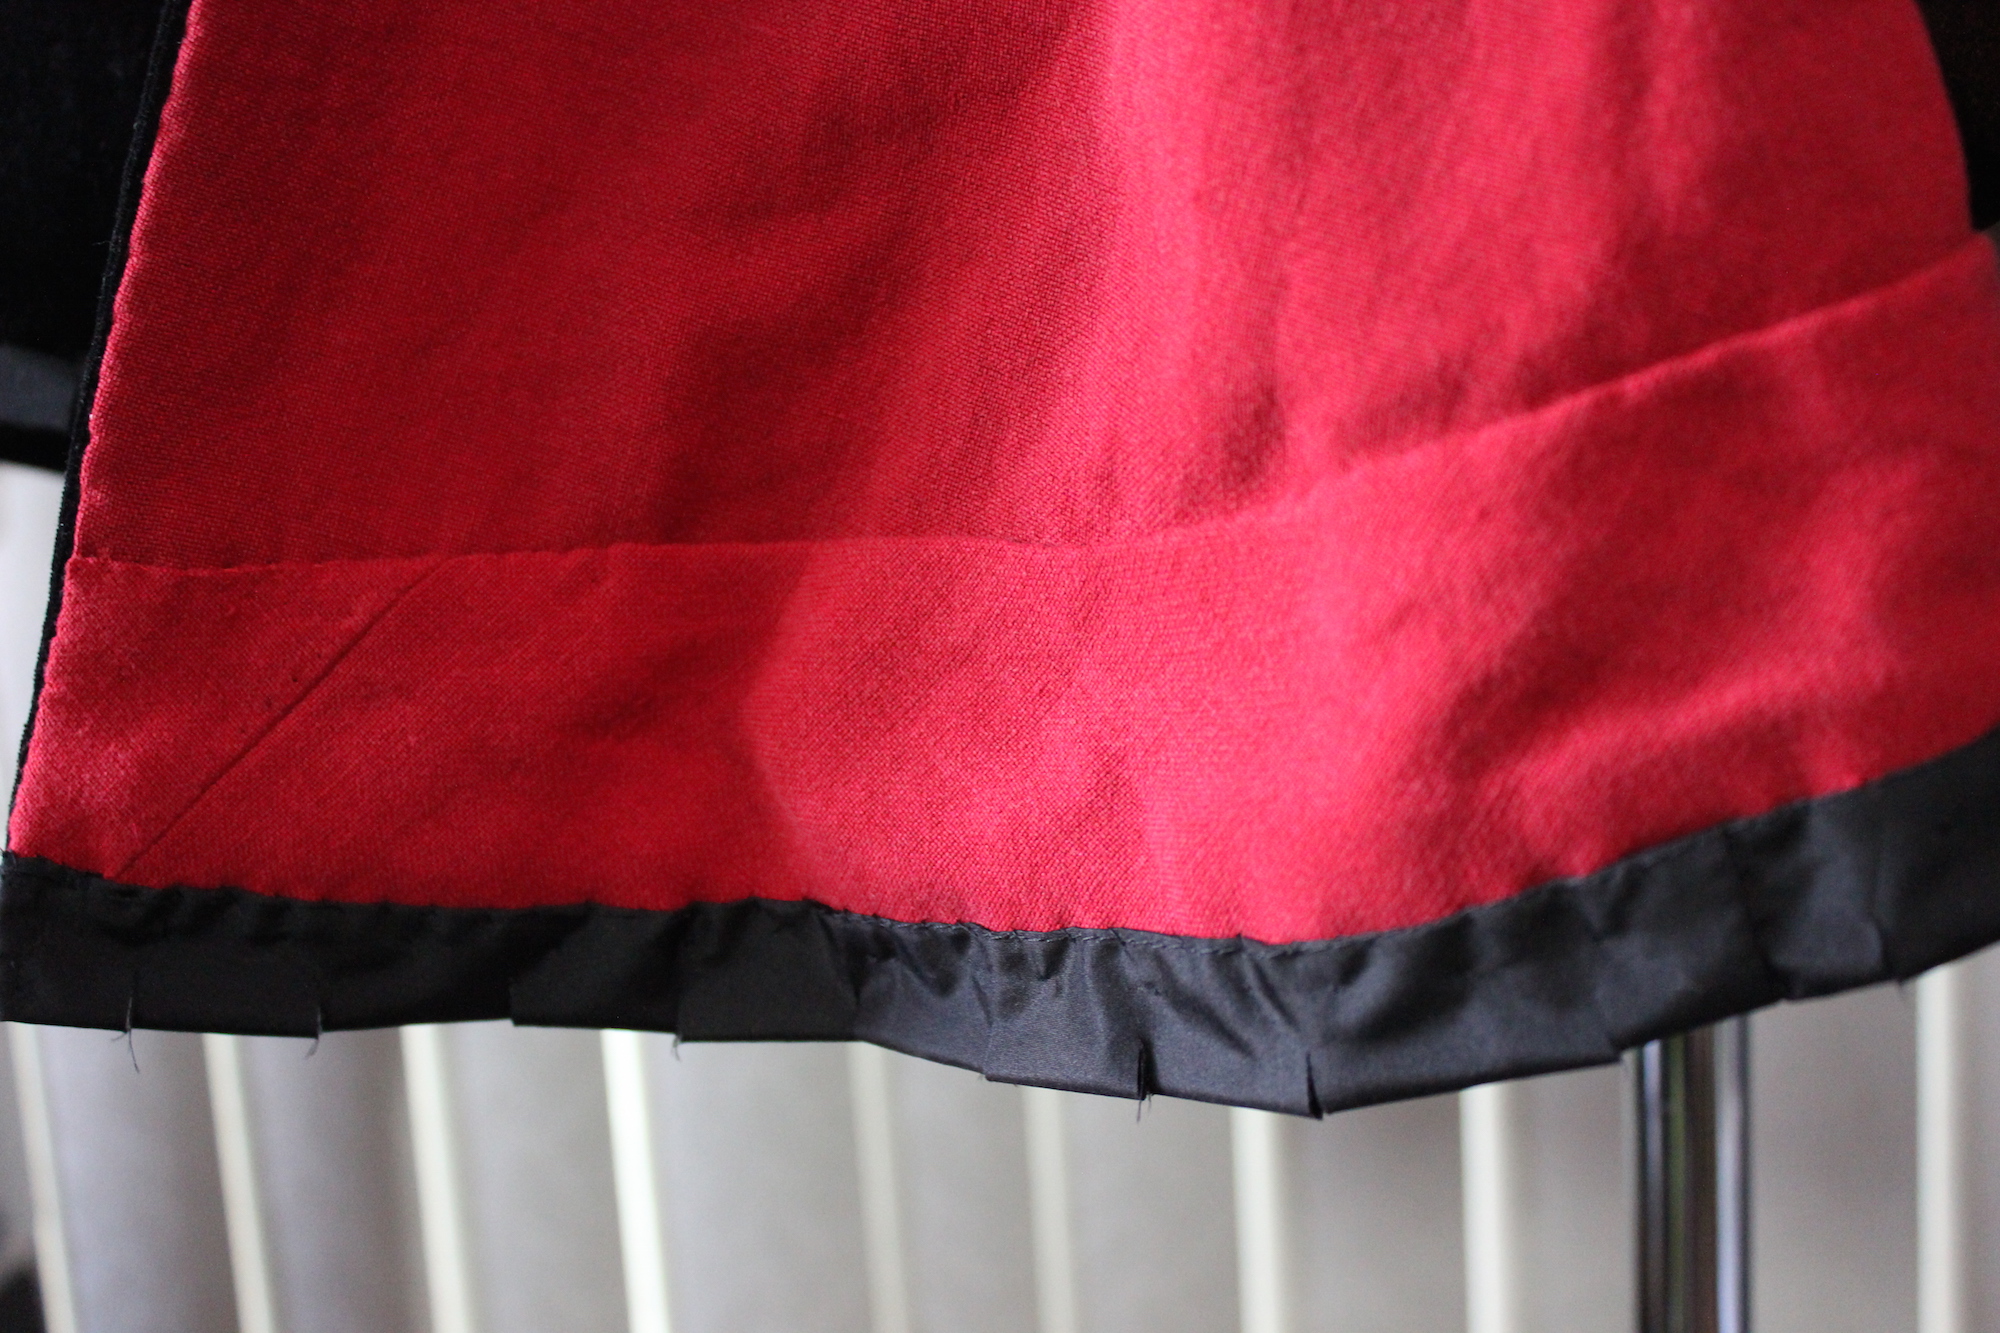
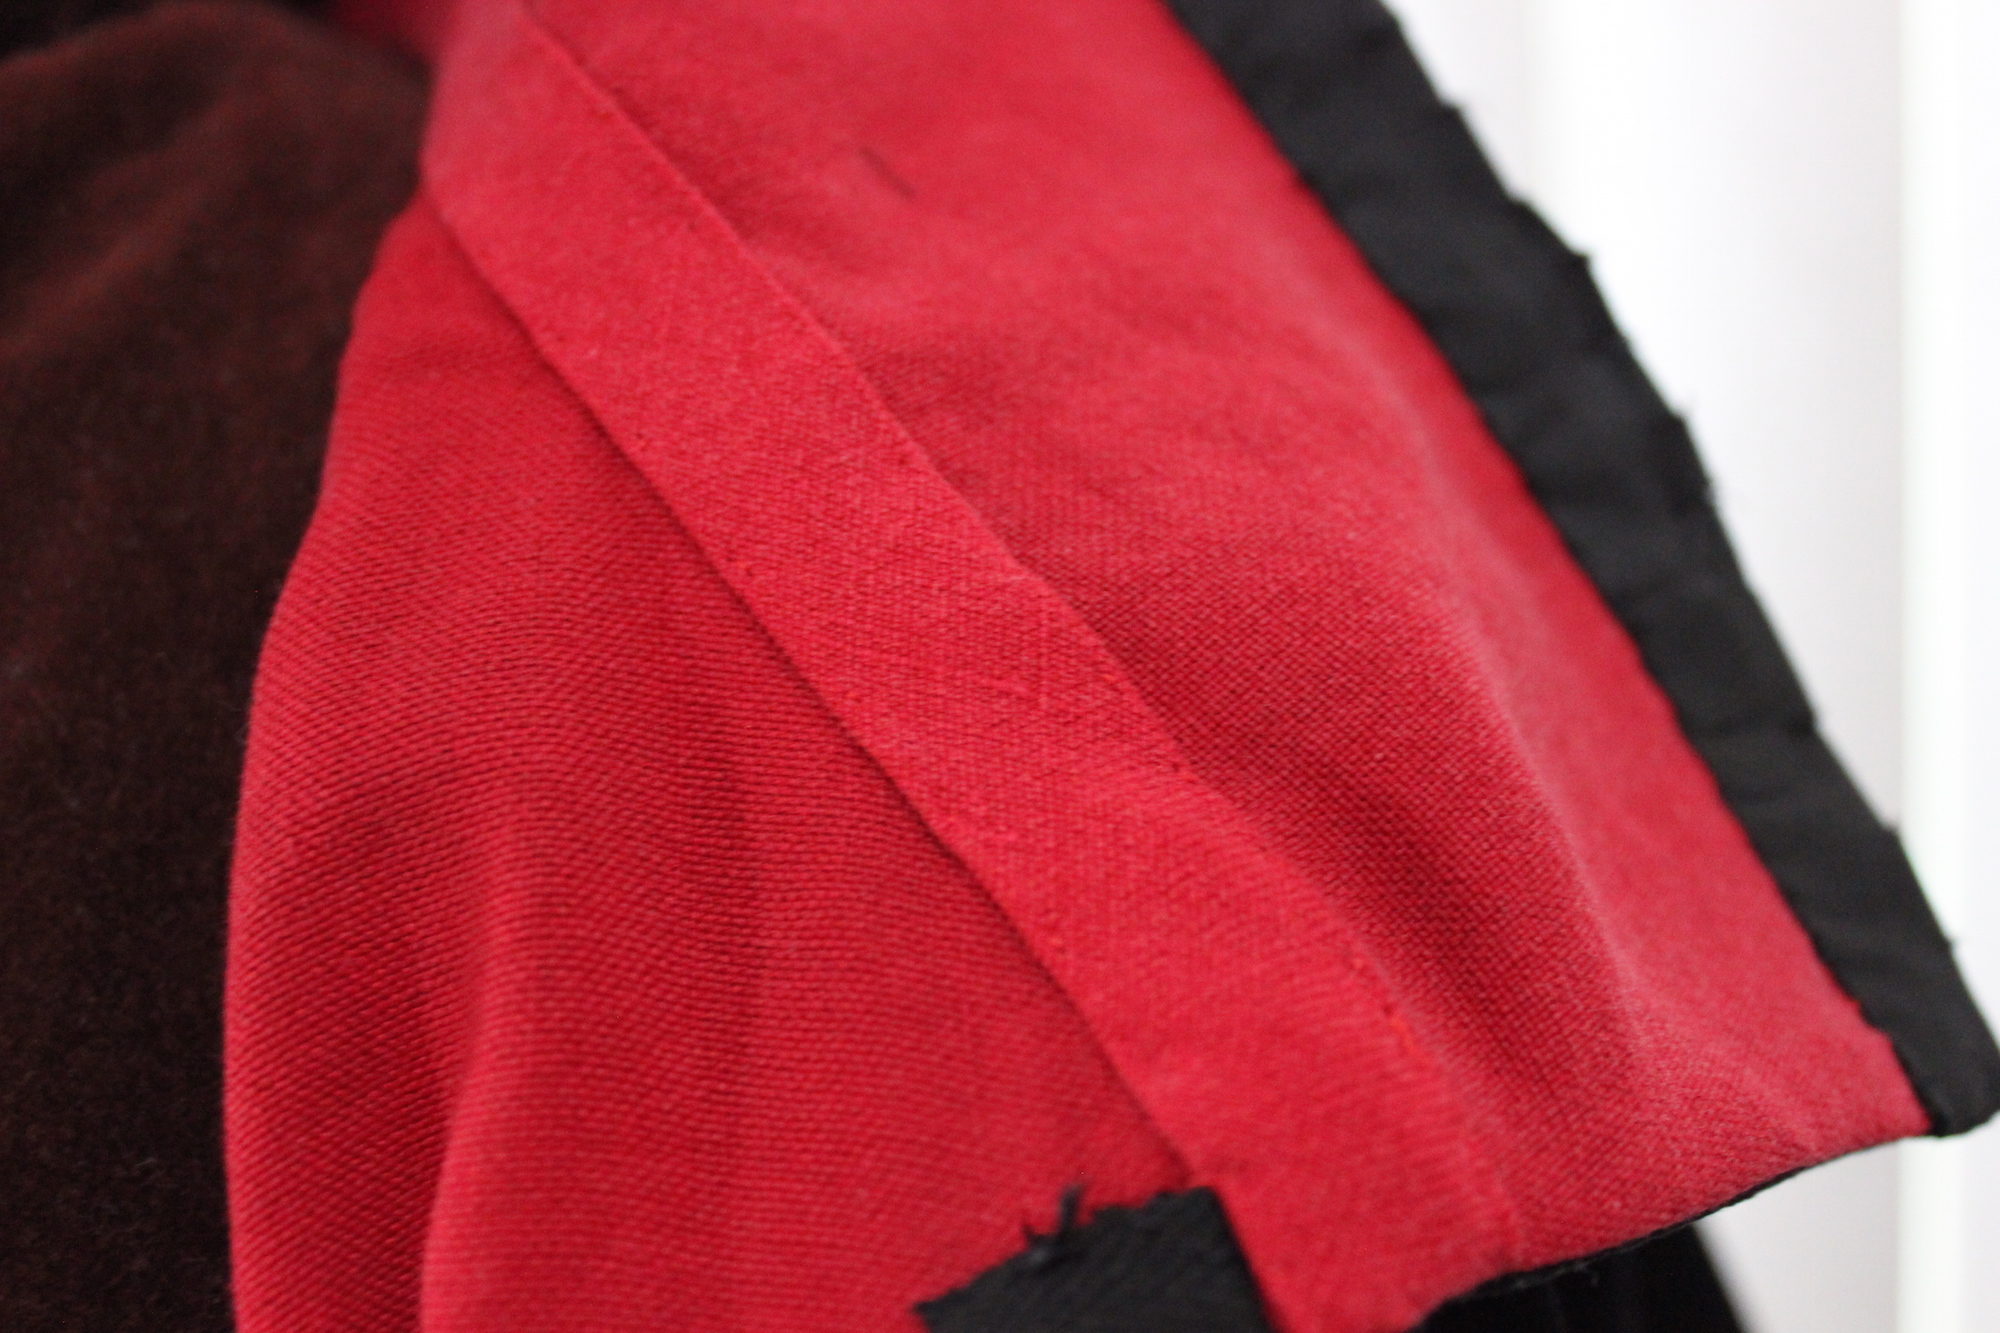
But then the hem of the cloak did not match the collar edge (and I wanted a stop gap in case the cloak lining decided to grow again). This meant more silk taffeta! I cut 4 strips of it about 4 inches wide, folded them horizontally and machine sewed them together. Then I hand sewed the strips down along the hem of the cloak twice. Once to the red lining and the second time through the velvet to keep the taffeta band from rolling up.
More edge snipping to match the collar, a set of twill tape ties and it was finally done.
Under side of the doublet front, canvas and pad stitched wool.
Doublet front basted and shaped.
Doublet insides before collar canvas
doublet binding and facing in black silk taffeta
Doublet buttons pinned on
The doublet inside out, back shot
The doublet inside out, front shot
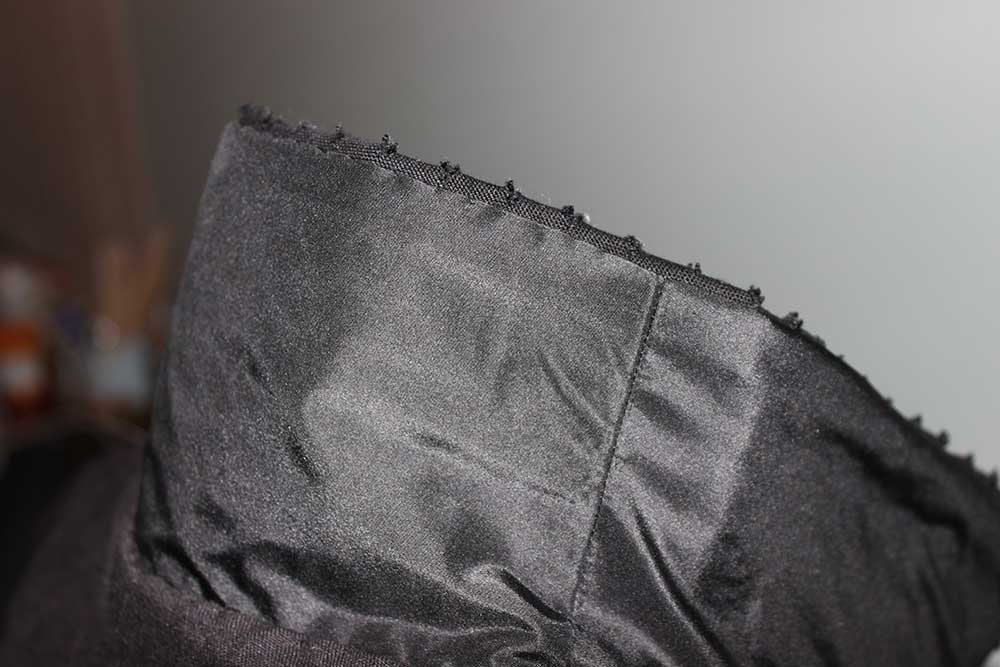
Pad stitched collar canvas
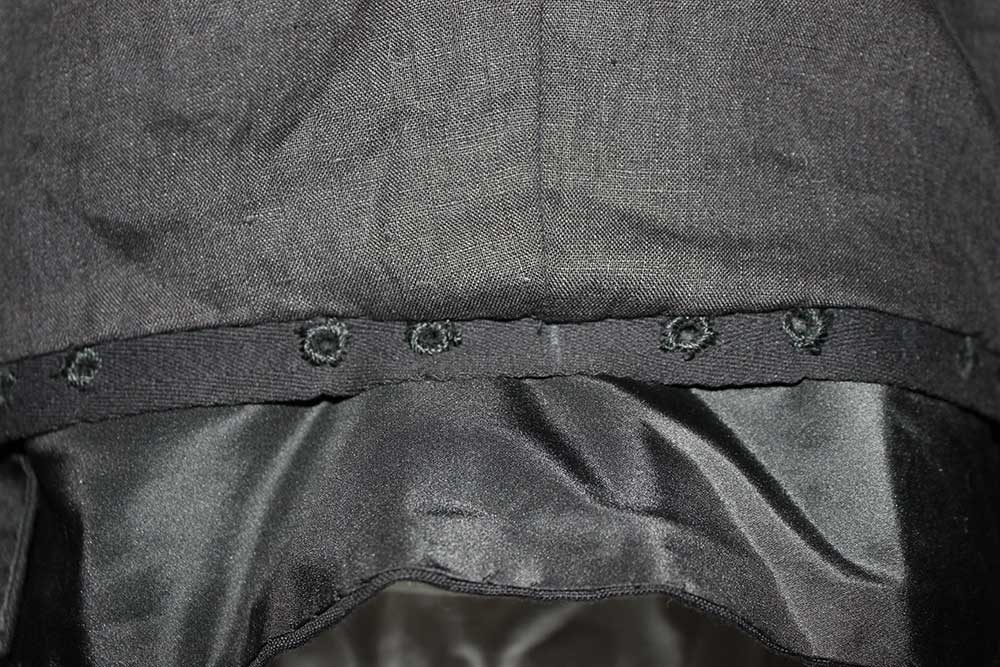
Doublet collar lined with black silk taffeta and edged with snipped linen
Eyelet band inside the doublet
Button attachment for easy replacement
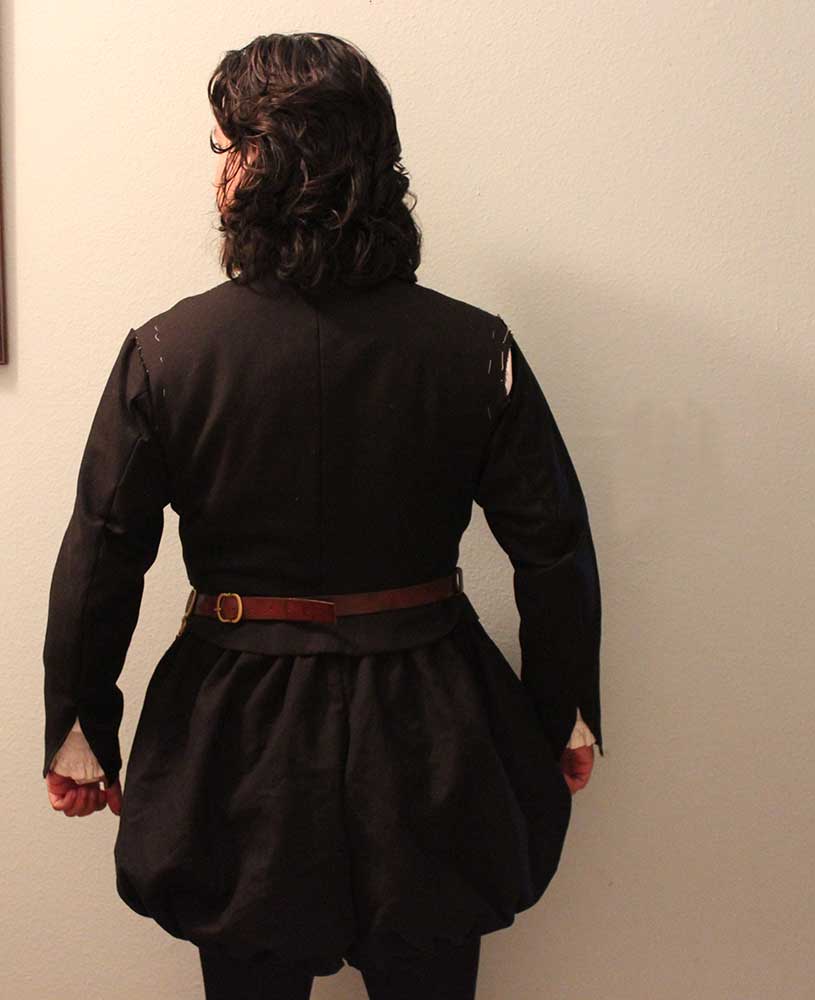
Back final fitting shot, sleeves basted and pinned in
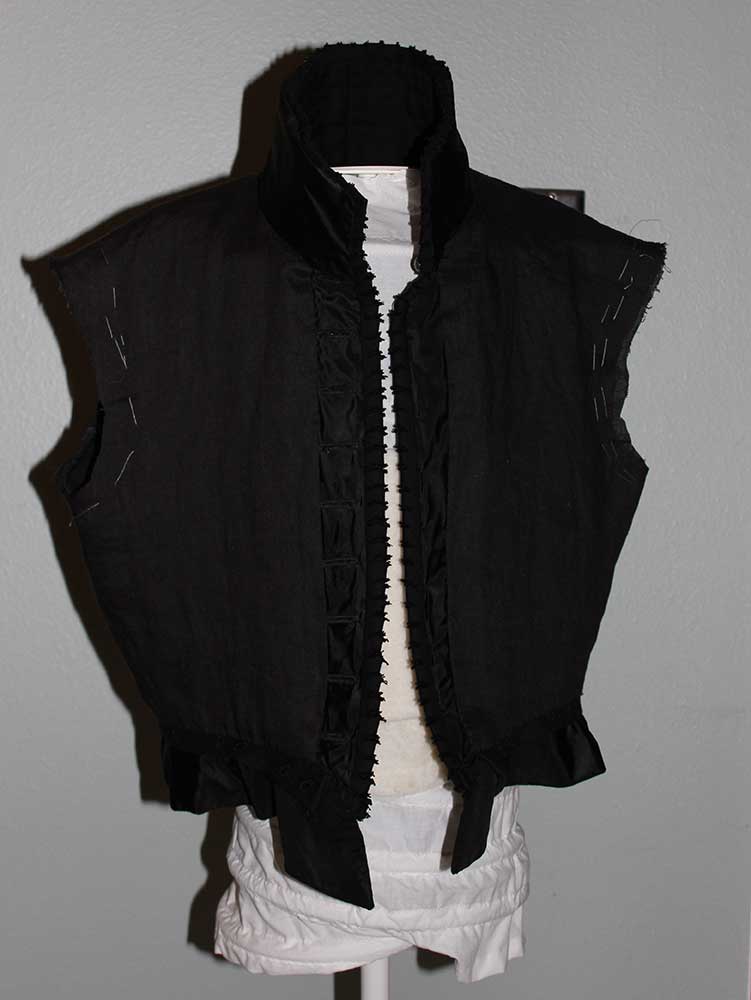
Black Linen Doublet and Trunkhose
This project started several months ago before I moved, got married and several life thing reared their head. So my recollection of the construction process is a little fuzzy. After a few late night fb conversations, a friend of a friend needed better clothing for 16th century interpretations. I needed practice doing some men’s wear and pretty much said throw the fabric and measurements at me.
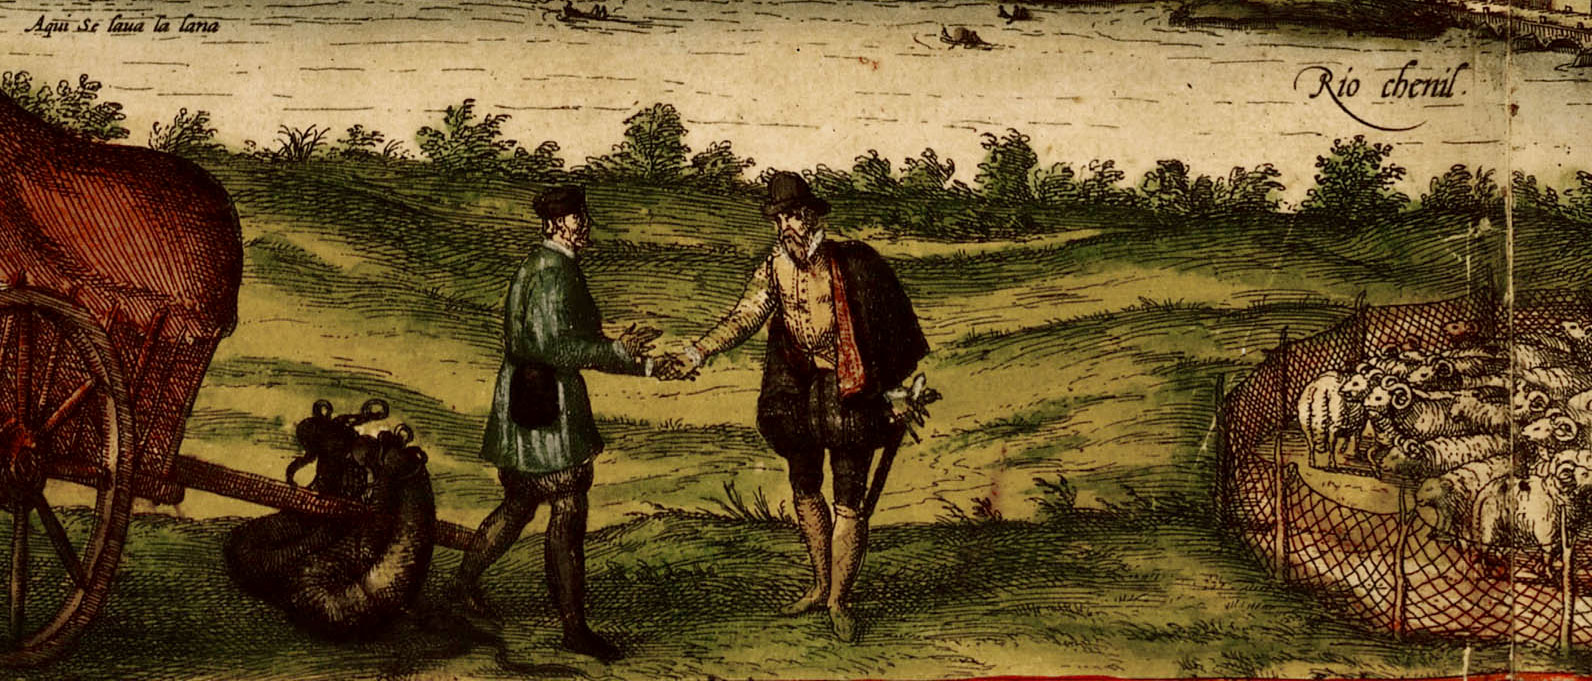
General inspiration from paintings and manuscripts:
Ecija from http://historic-cities.huji.ac.il/spain/ecija/maps/braun_hogenberg_I_5_2.html
Juan Pantoja De La Cruz – Philip II. Black paned trunkhose, with possibly Ropilla or long skirted jerkin in what looks like a wool satin.
1580ish from Kostume und Sittenbilder. Black trunkhose, with possibly Ropilla or long skirted jerkin.
Trunkhose
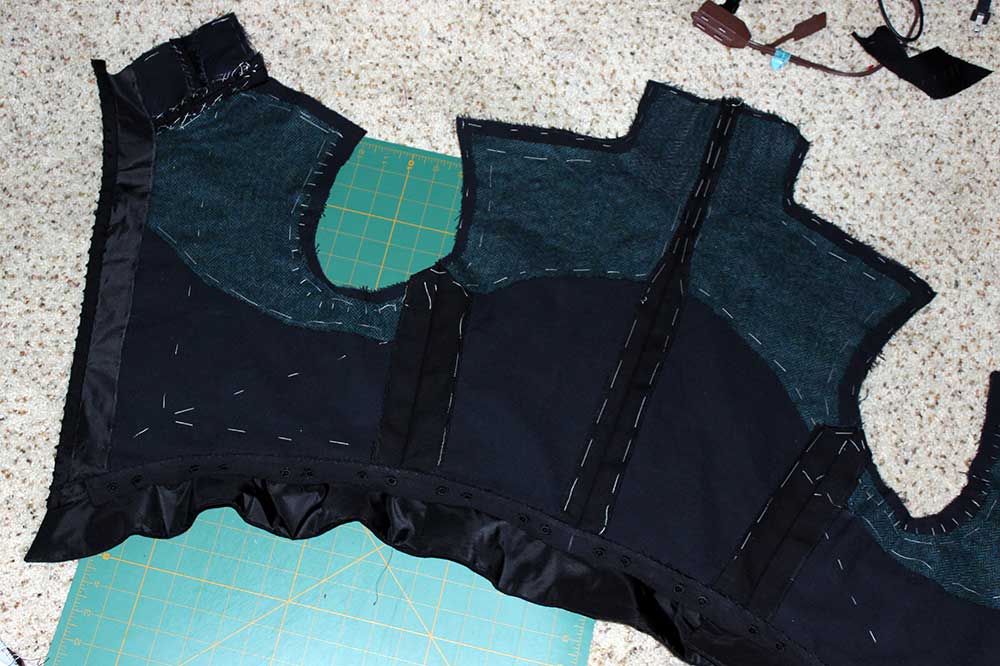
The unpaned trunkhose are roughly based on Don Garzia de Medici’s in Patterns of Fashion, and staring at the shapes from Reconstructing History’s trunkhose pattern. They are linen, lined in a linen blend that is cut shorter than the outer fabric to give them some poof.
They are not stuffed but there is a band of linen to act as interlining about the pleats. I cartridge pleated them at the waist and whip stitched each pleat to the waistband from the outside, as if I was making a ruff. This sandwiches the pleats between the waistband and makes them stand out when worn, the linen band interlining then supports them.
They close with hooks and bars with a wide fly flap underneath, ideally for this era there would be a cod piece, however I have not found much on unpaned trunkhose with a cod piece save for an italian painting or two.
The waistband is just a 2 inch rectangle of linen folded over and pressed down.
The bottoms are cartridge pleated to a linen band that is then folded up and whipstitched down inside to prevent the stitches from rubbing.
Special thanks to Daniel Rosen of http://oldenglandgrownnew.weebly.com/ and other Facebook folks who where kind enough to let me pick their brains on trunkhose fitting and rise depth.
The Doublet
The doublet I drafted from early instructions that would later become: http://www.amazon.com/The-Modern-Maker-Century-Doublets/dp/0692264841 . I cut a mock-up in cotton twill (which was about the same weight at the linen) and took it up to St. Augustine for a quick fitting. I scribbled some notes to myself on it and then had to put it aside as planning a wedding/holidays/unpacking from the move took up a ton of time.
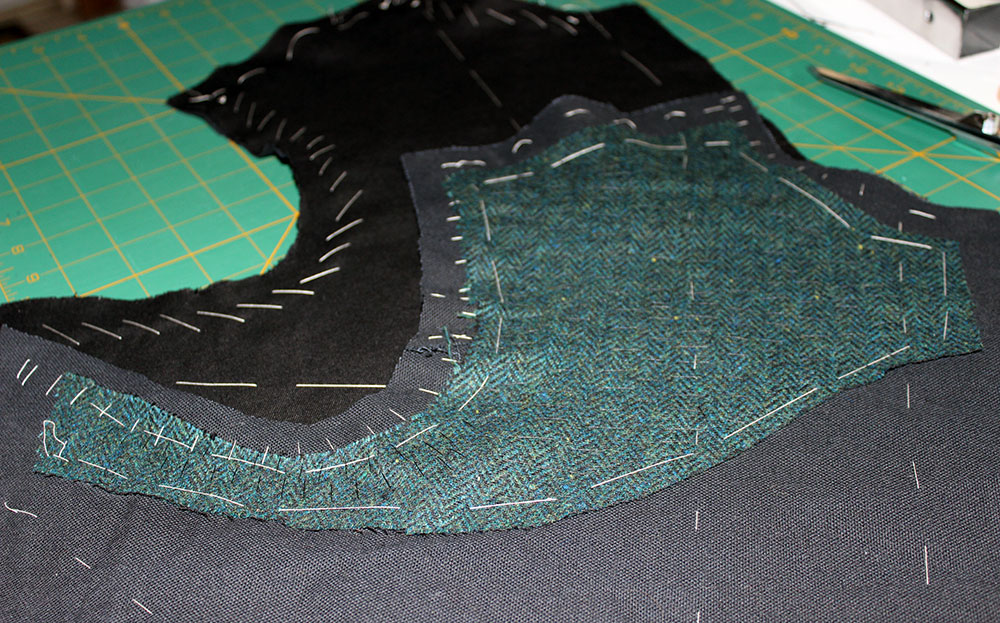
Fast forward a month or two and I take the mock-up back out and look at it, look over my notes and cut the linen with extra inlays and seam allowances. Fitting #2 everything is looking pretty good! I got my kickstarter copy of the doublet book in the mail and I sat down for a few days of cutting and pad stitching.
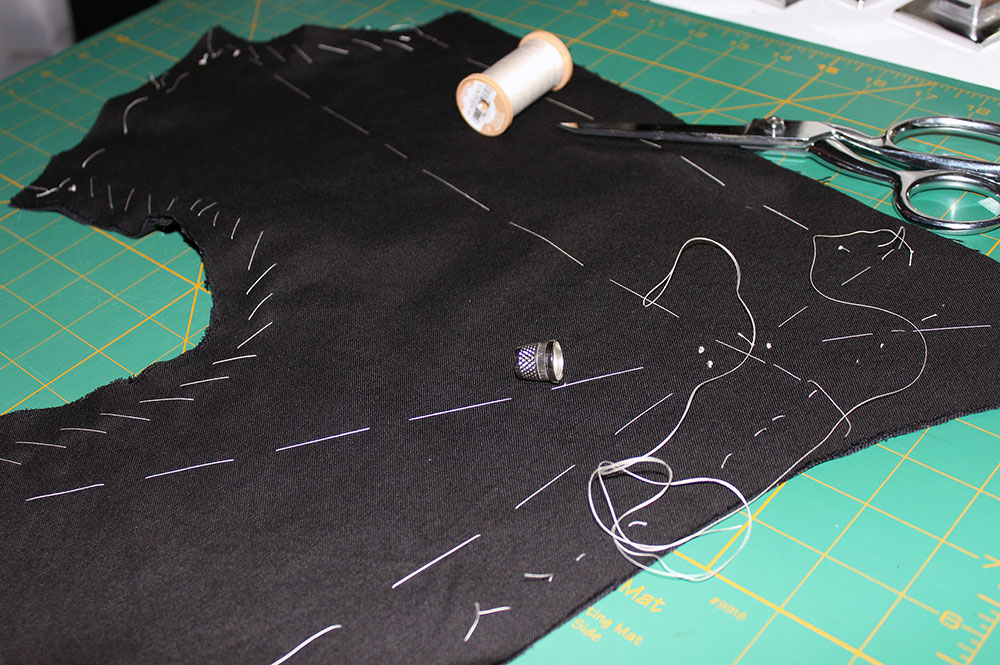
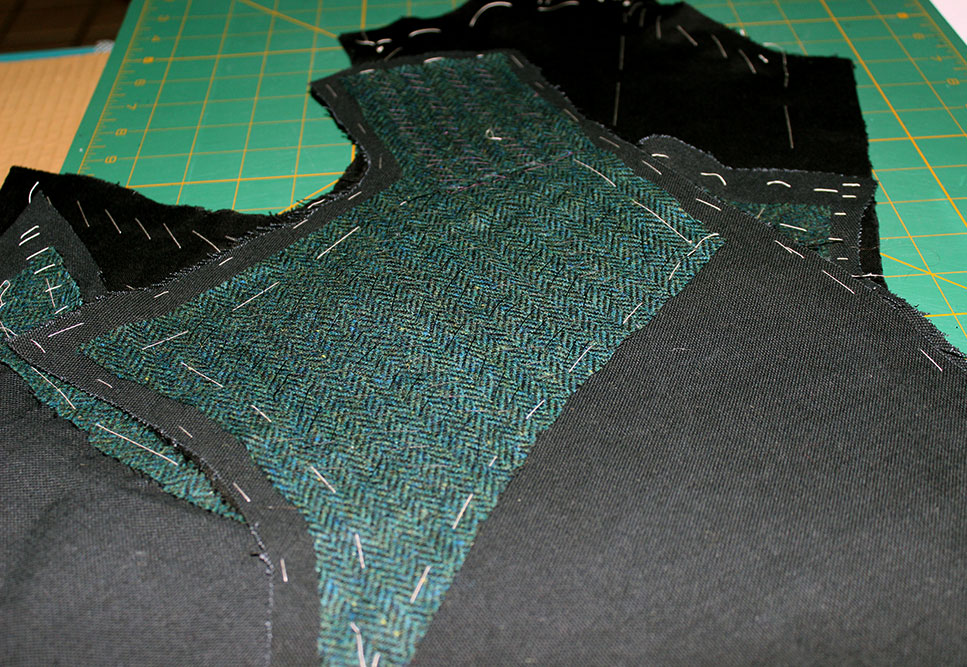
The wool in the chest area is left over medium suiting weight from one of my kirtles it has a lovely body, and I wish I could find more of it. That got pad-stitched to the canvas and in turn flatlined to the linen. I prepped the other pieces, over locked the parts that needed it and the deadline got moved up and I had about 5 days to finish everything.
Cue slamming out about 40 hand sewn eyelets in 2 days, a few 17 hour work days, more padstitching and eating lots of cherry tomatoes.
For the rest of the construction I followed most of the steps laid out in the doublet book.
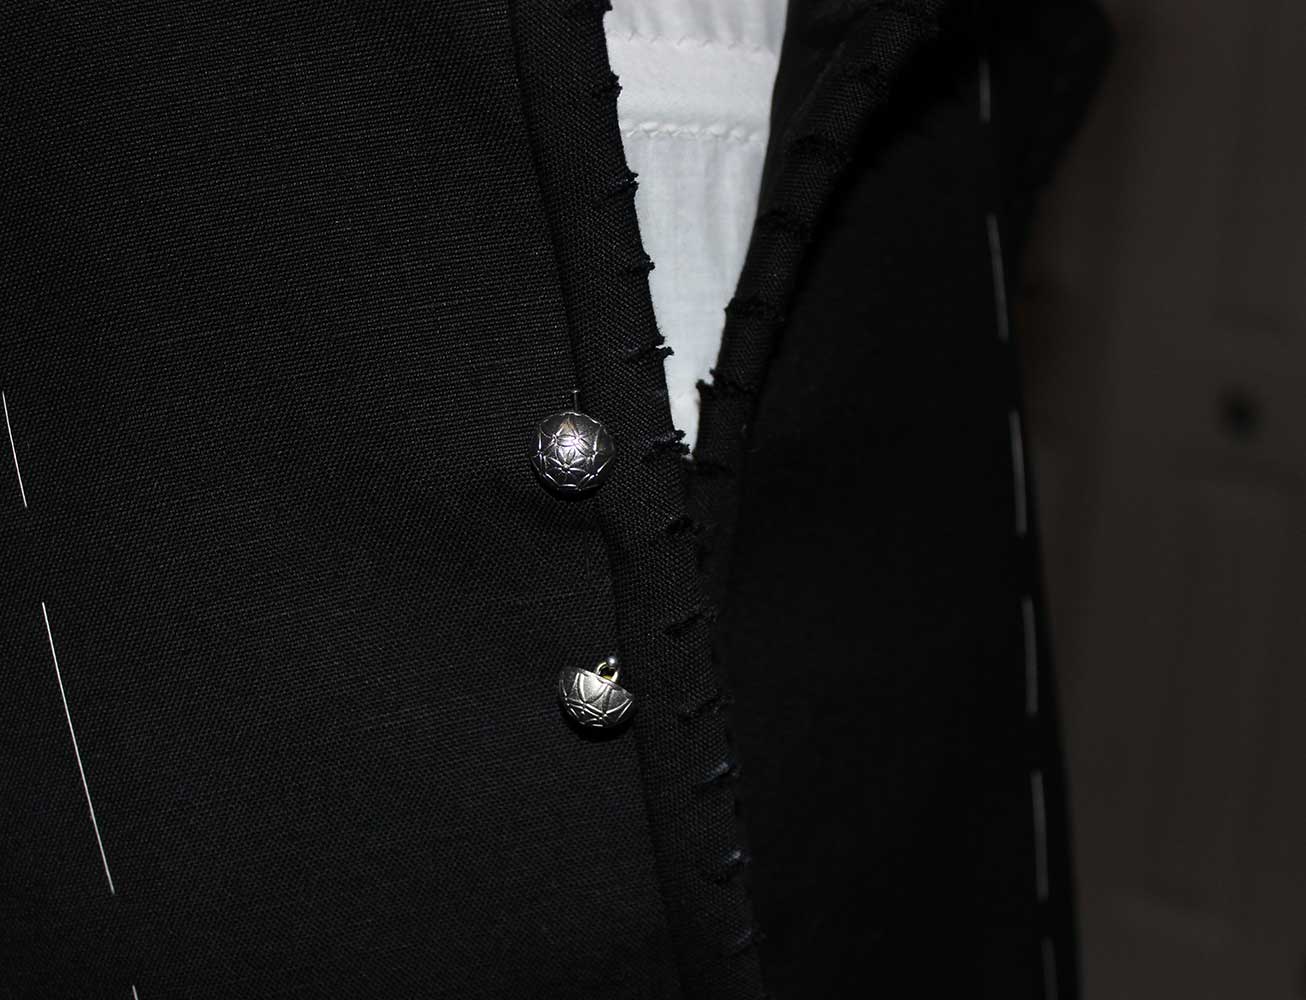
There is no visible machine stitching from the outside, save for the buttonholes.
All the main seams I machined save for setting the sleeves, I hand set the lining in place so it could be switched out later as needed. The buttons are sewn in using a technique similar to the leather jerkin in Patterns of Fashion, which will allow them to be replaced easily.
Button attachment for easy replacement
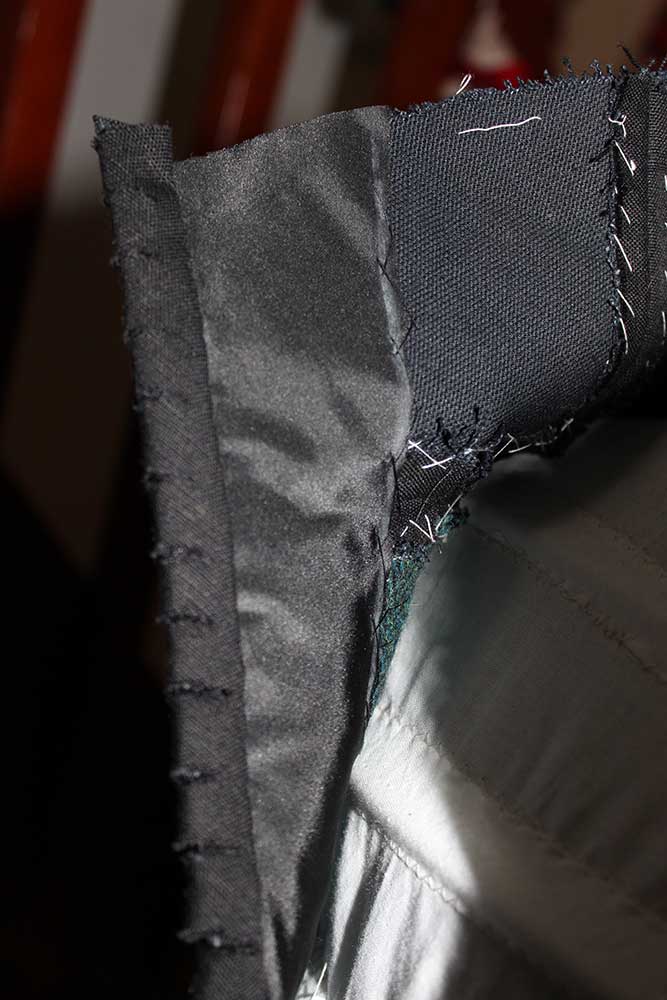
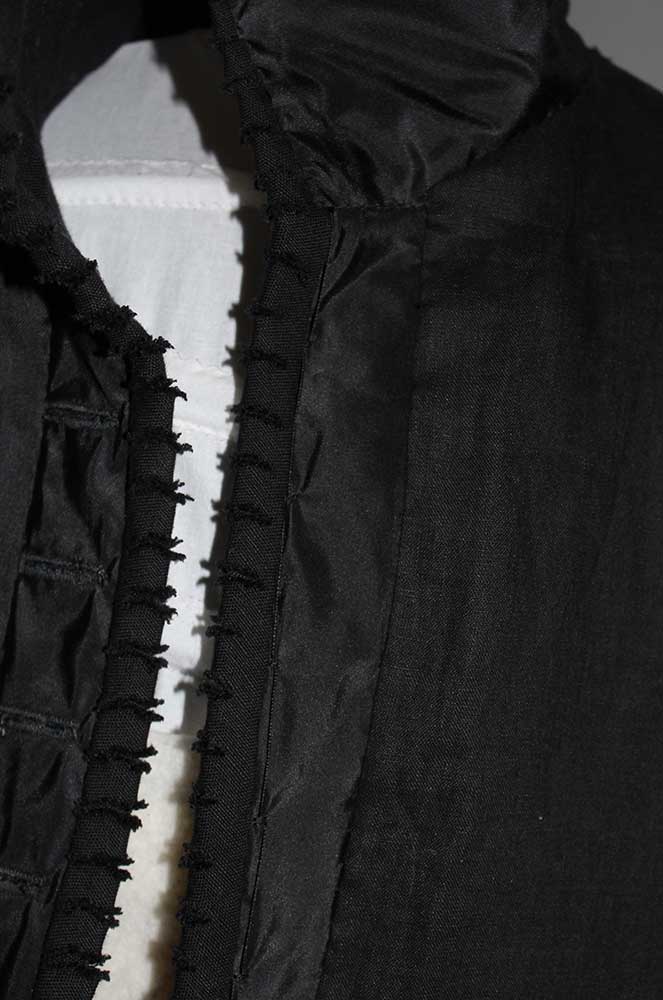
The facing fabric along the collar, edges and doublet skirt was going to be a blue rayon, but I changed that to a black silk taffeta, it looks better and will wear better with less bulk. The binding is bias cut strips of linen that I snipped every 1/2 inch to break up the solid color of the fabric and give it some texture. This treatment can also be found on Cosimo de Medici’s clothing.
And in a final fit of too much caffeine I fingerloop braided some points to lace the doublet and trunkhose together.
Over all I think I was successful using donated fabric and juggling several plates to get this project done. The fit is spot on, the use of linen as outerwear is something that is still being researched.
For my first crack at men’s wear I am pleased, I learned a lot and look forward to applying what I learned to the next project.
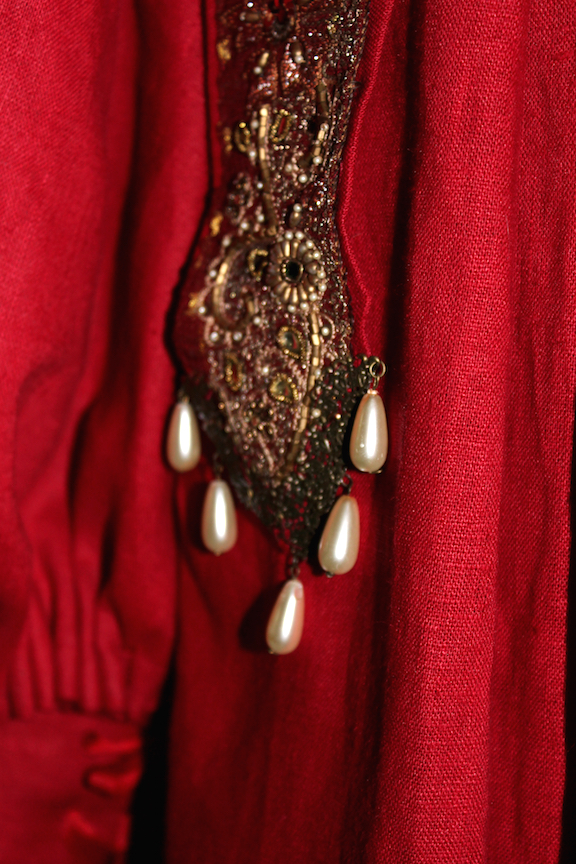
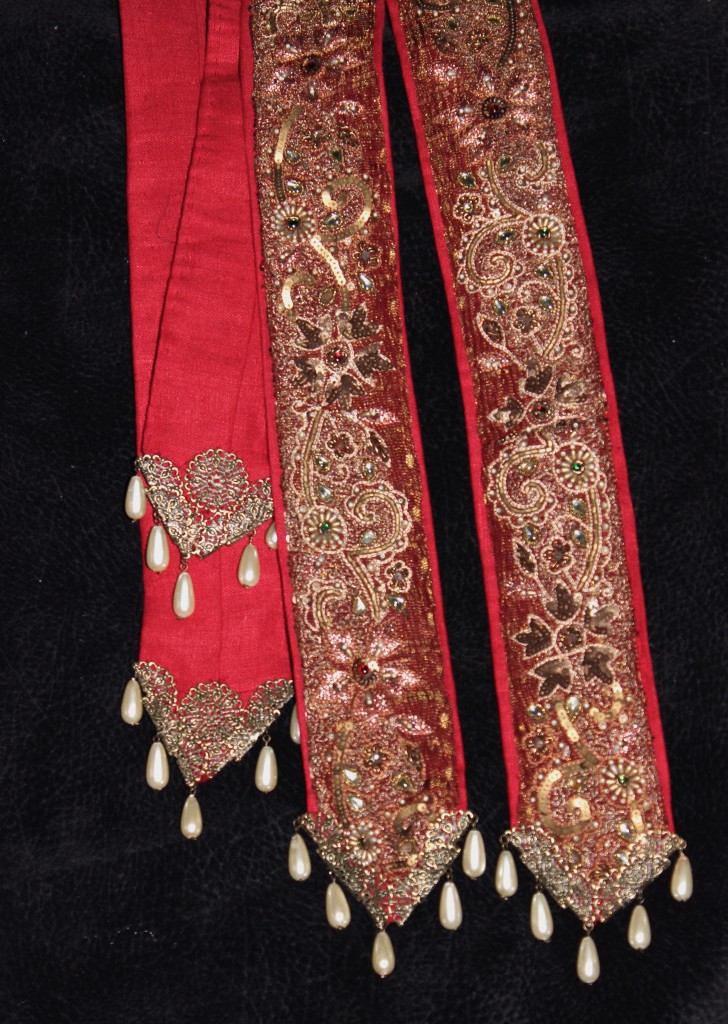
I finished the full Elizabethan ensemble (it does need some ruffs but that is for another day) for my friend’s birthday/Gift-mas/every other holiday in the world for the next 300 years. I am now going to sleep the sleep of the dead.
So starting with the bottom layers:
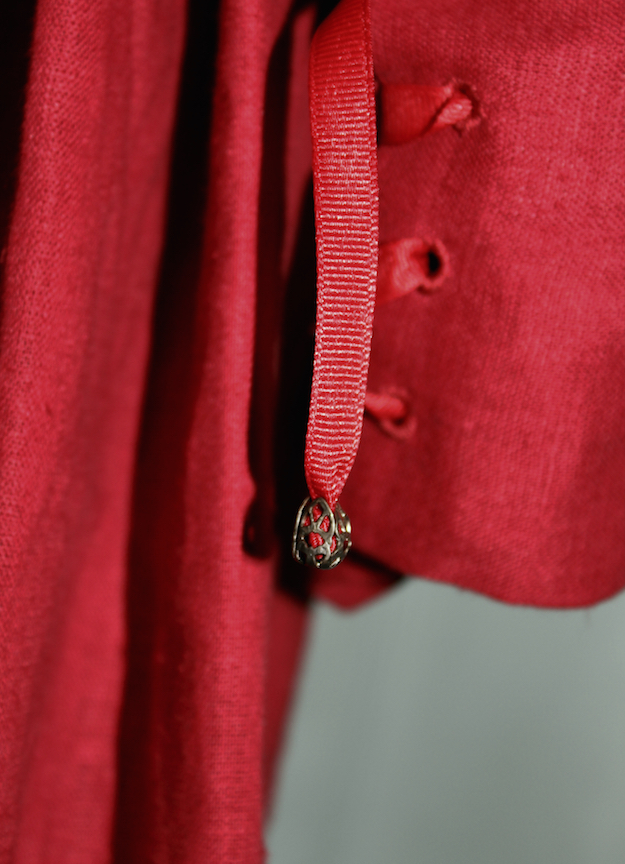
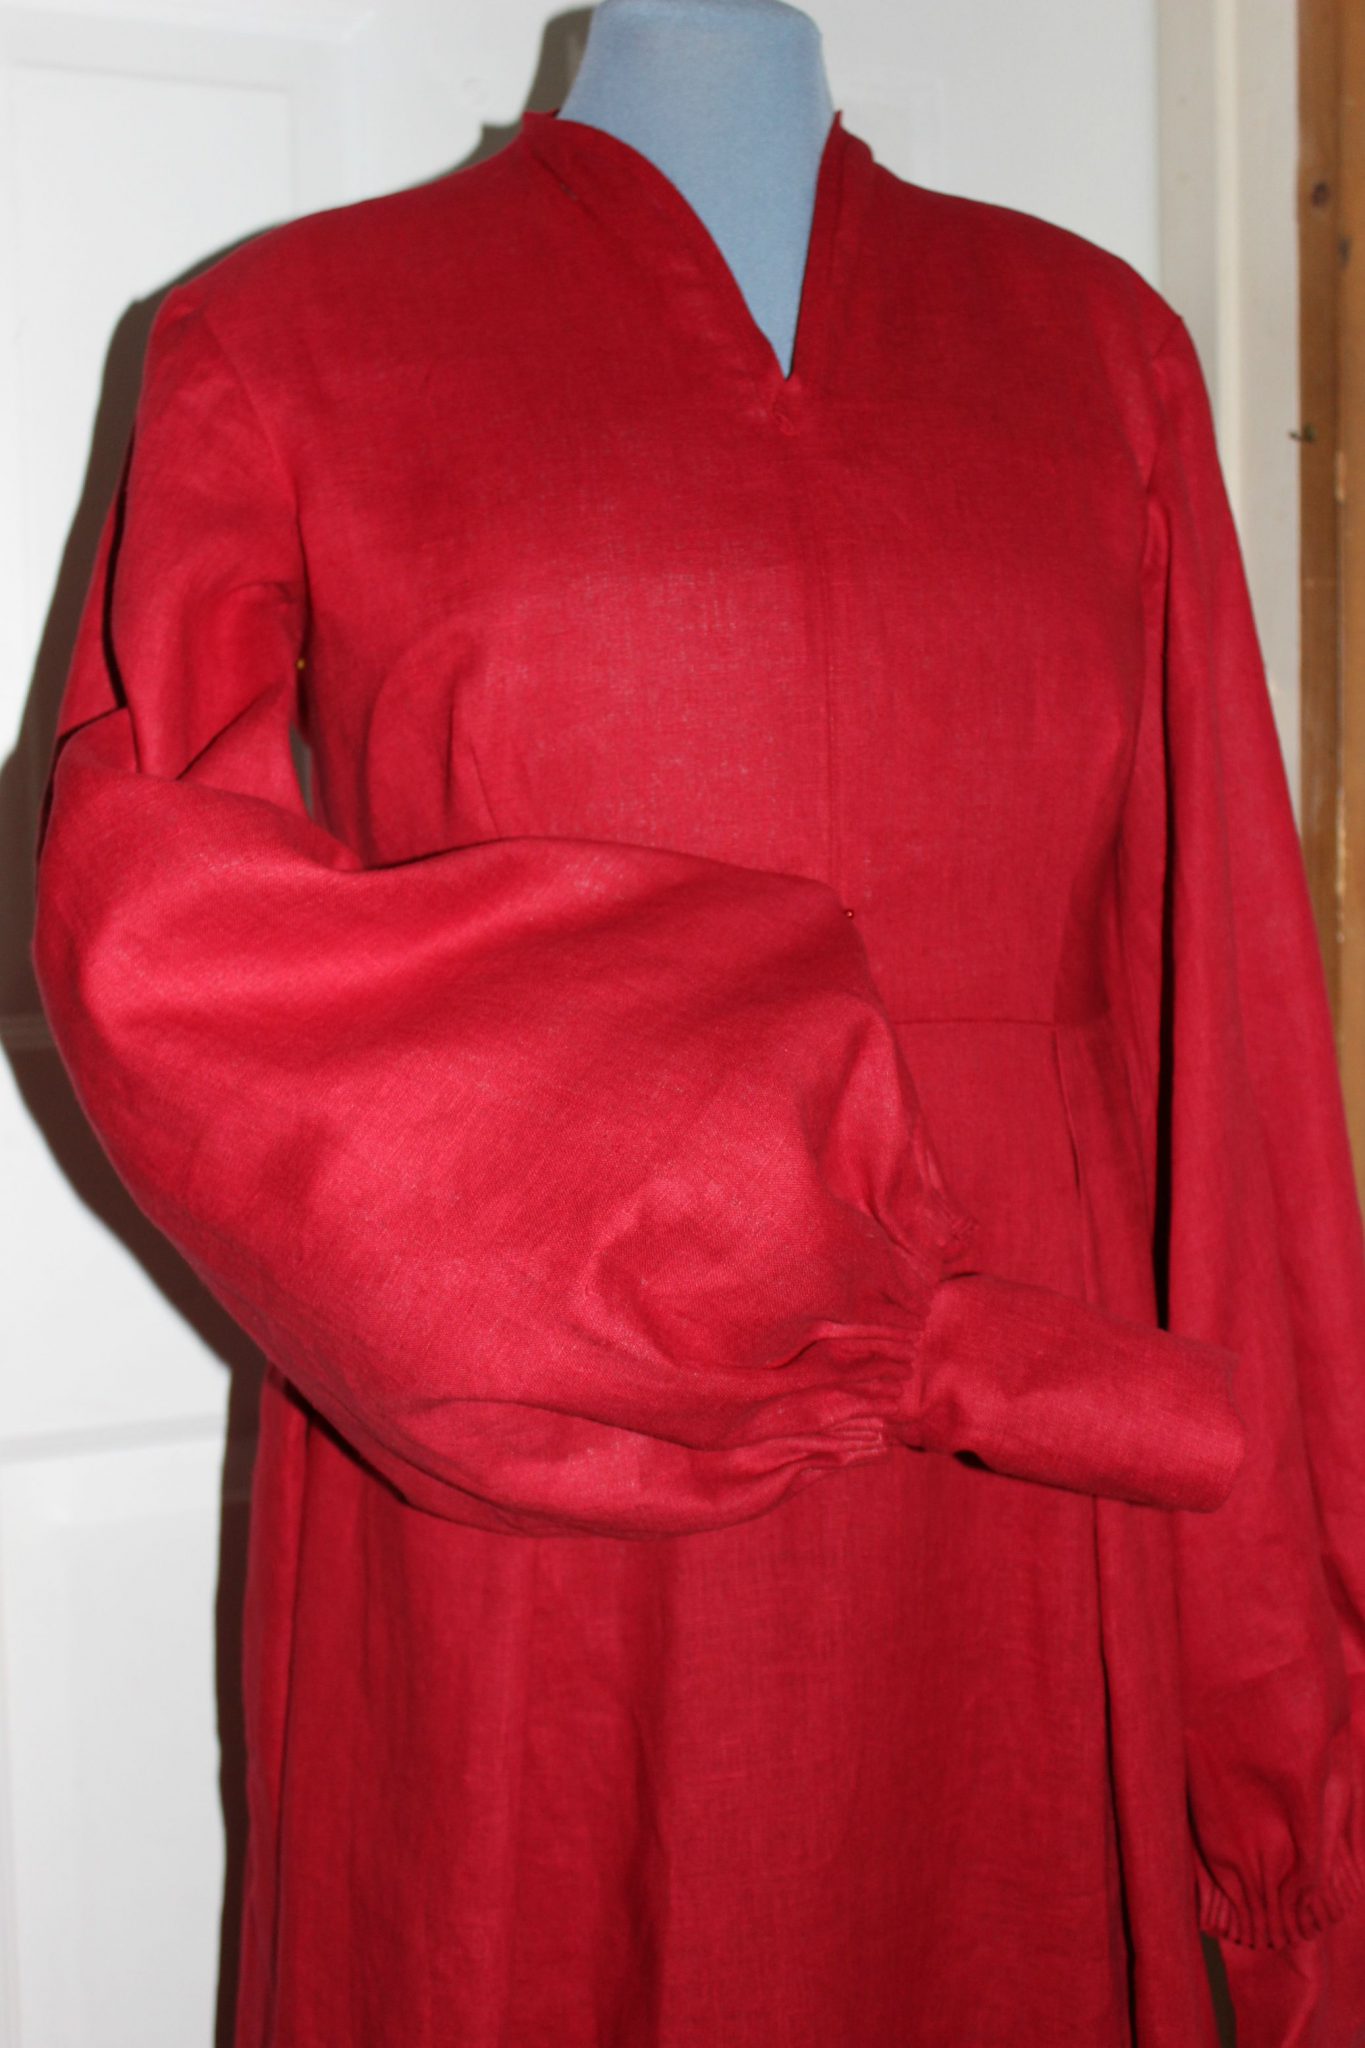
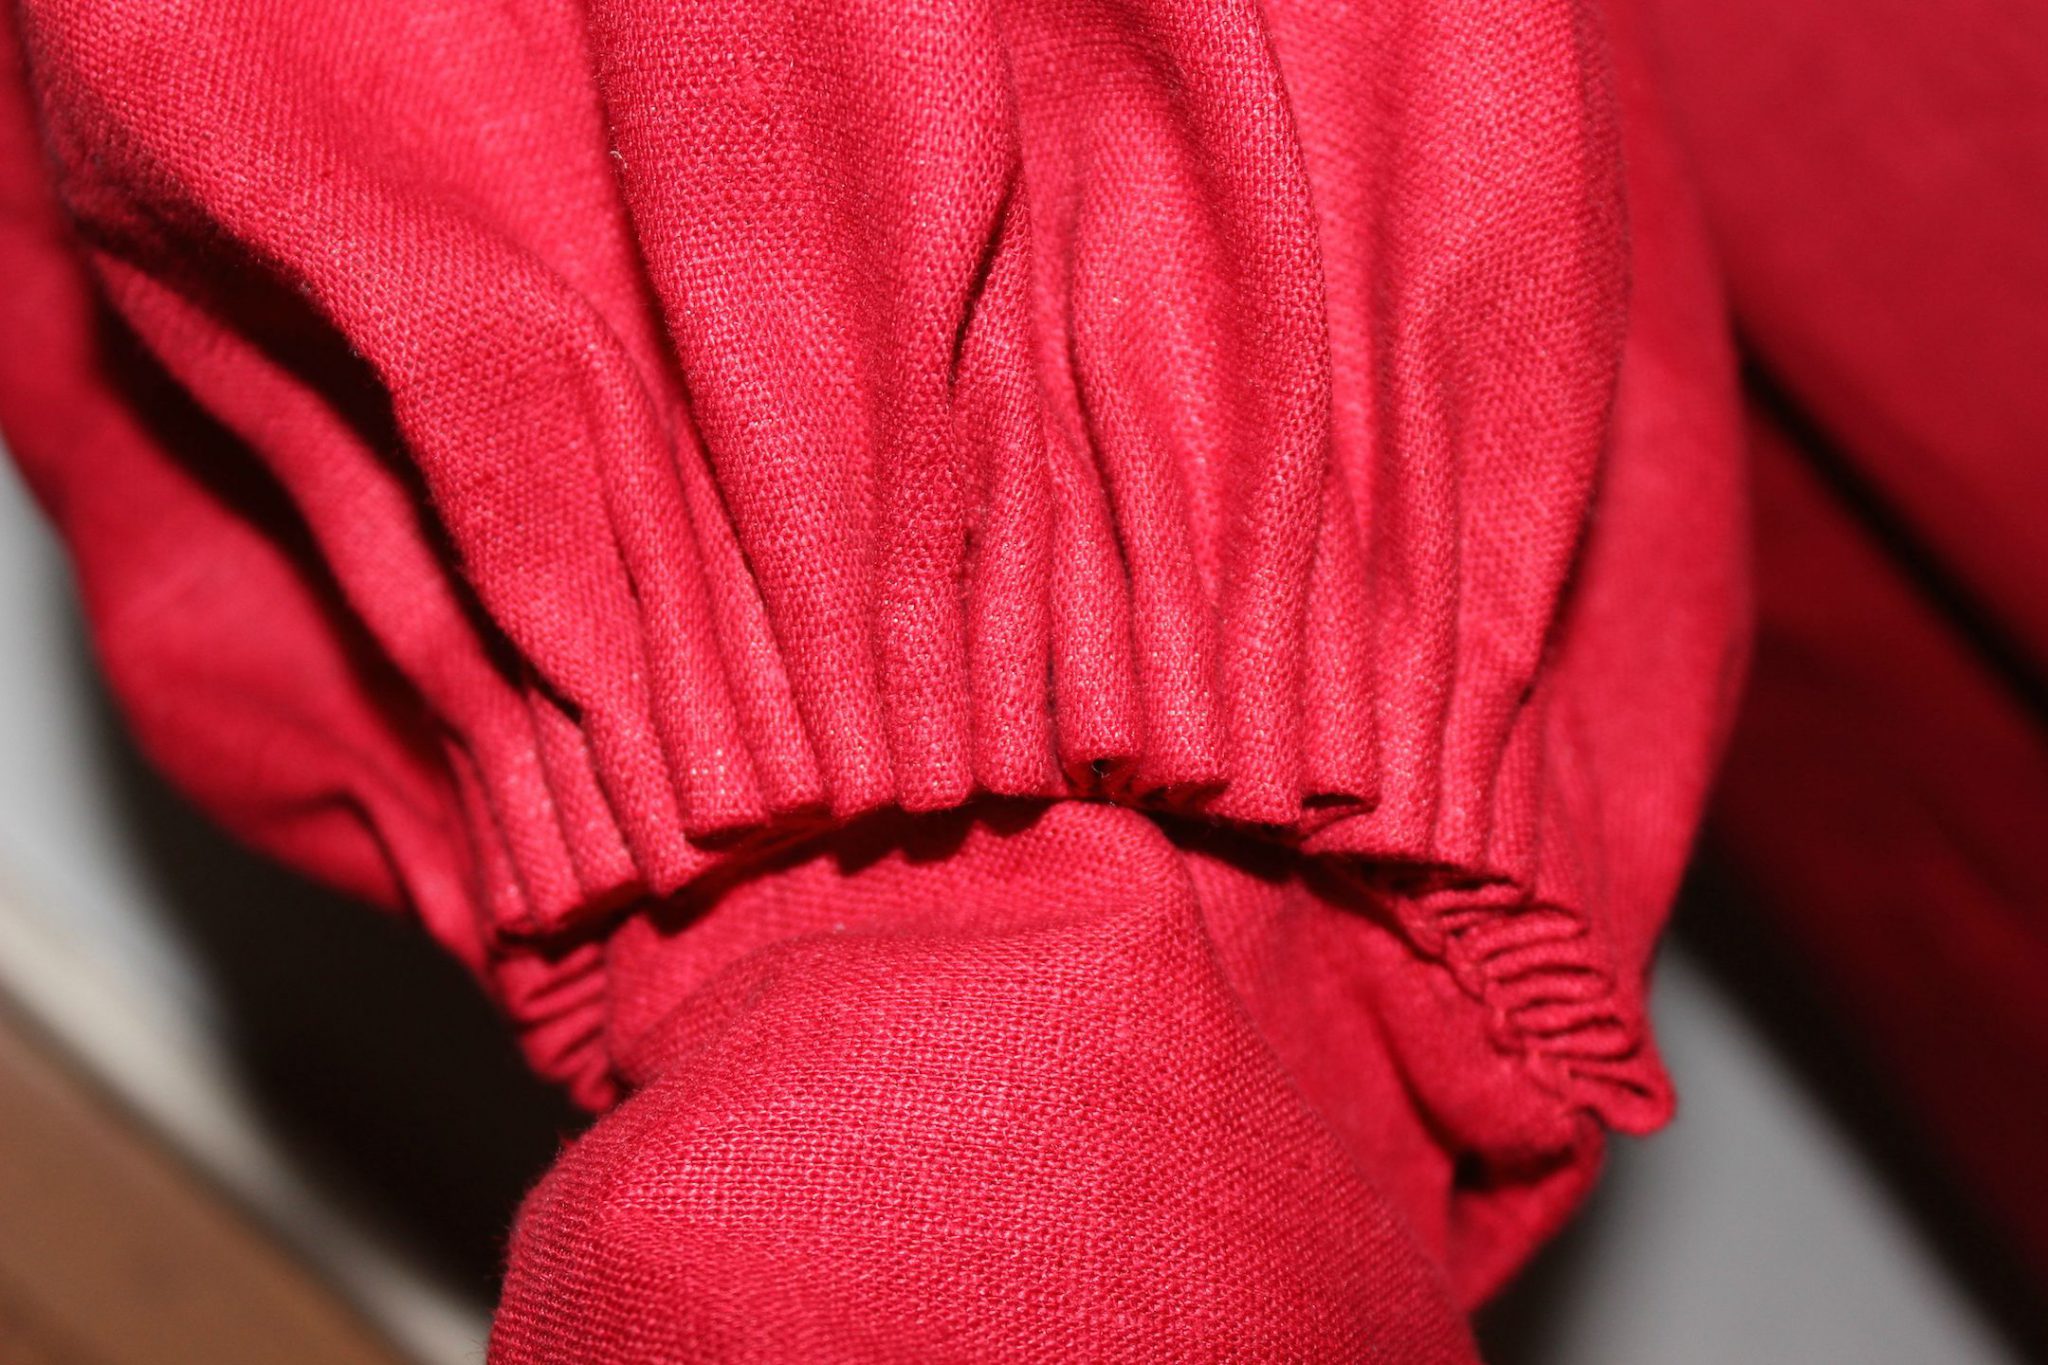
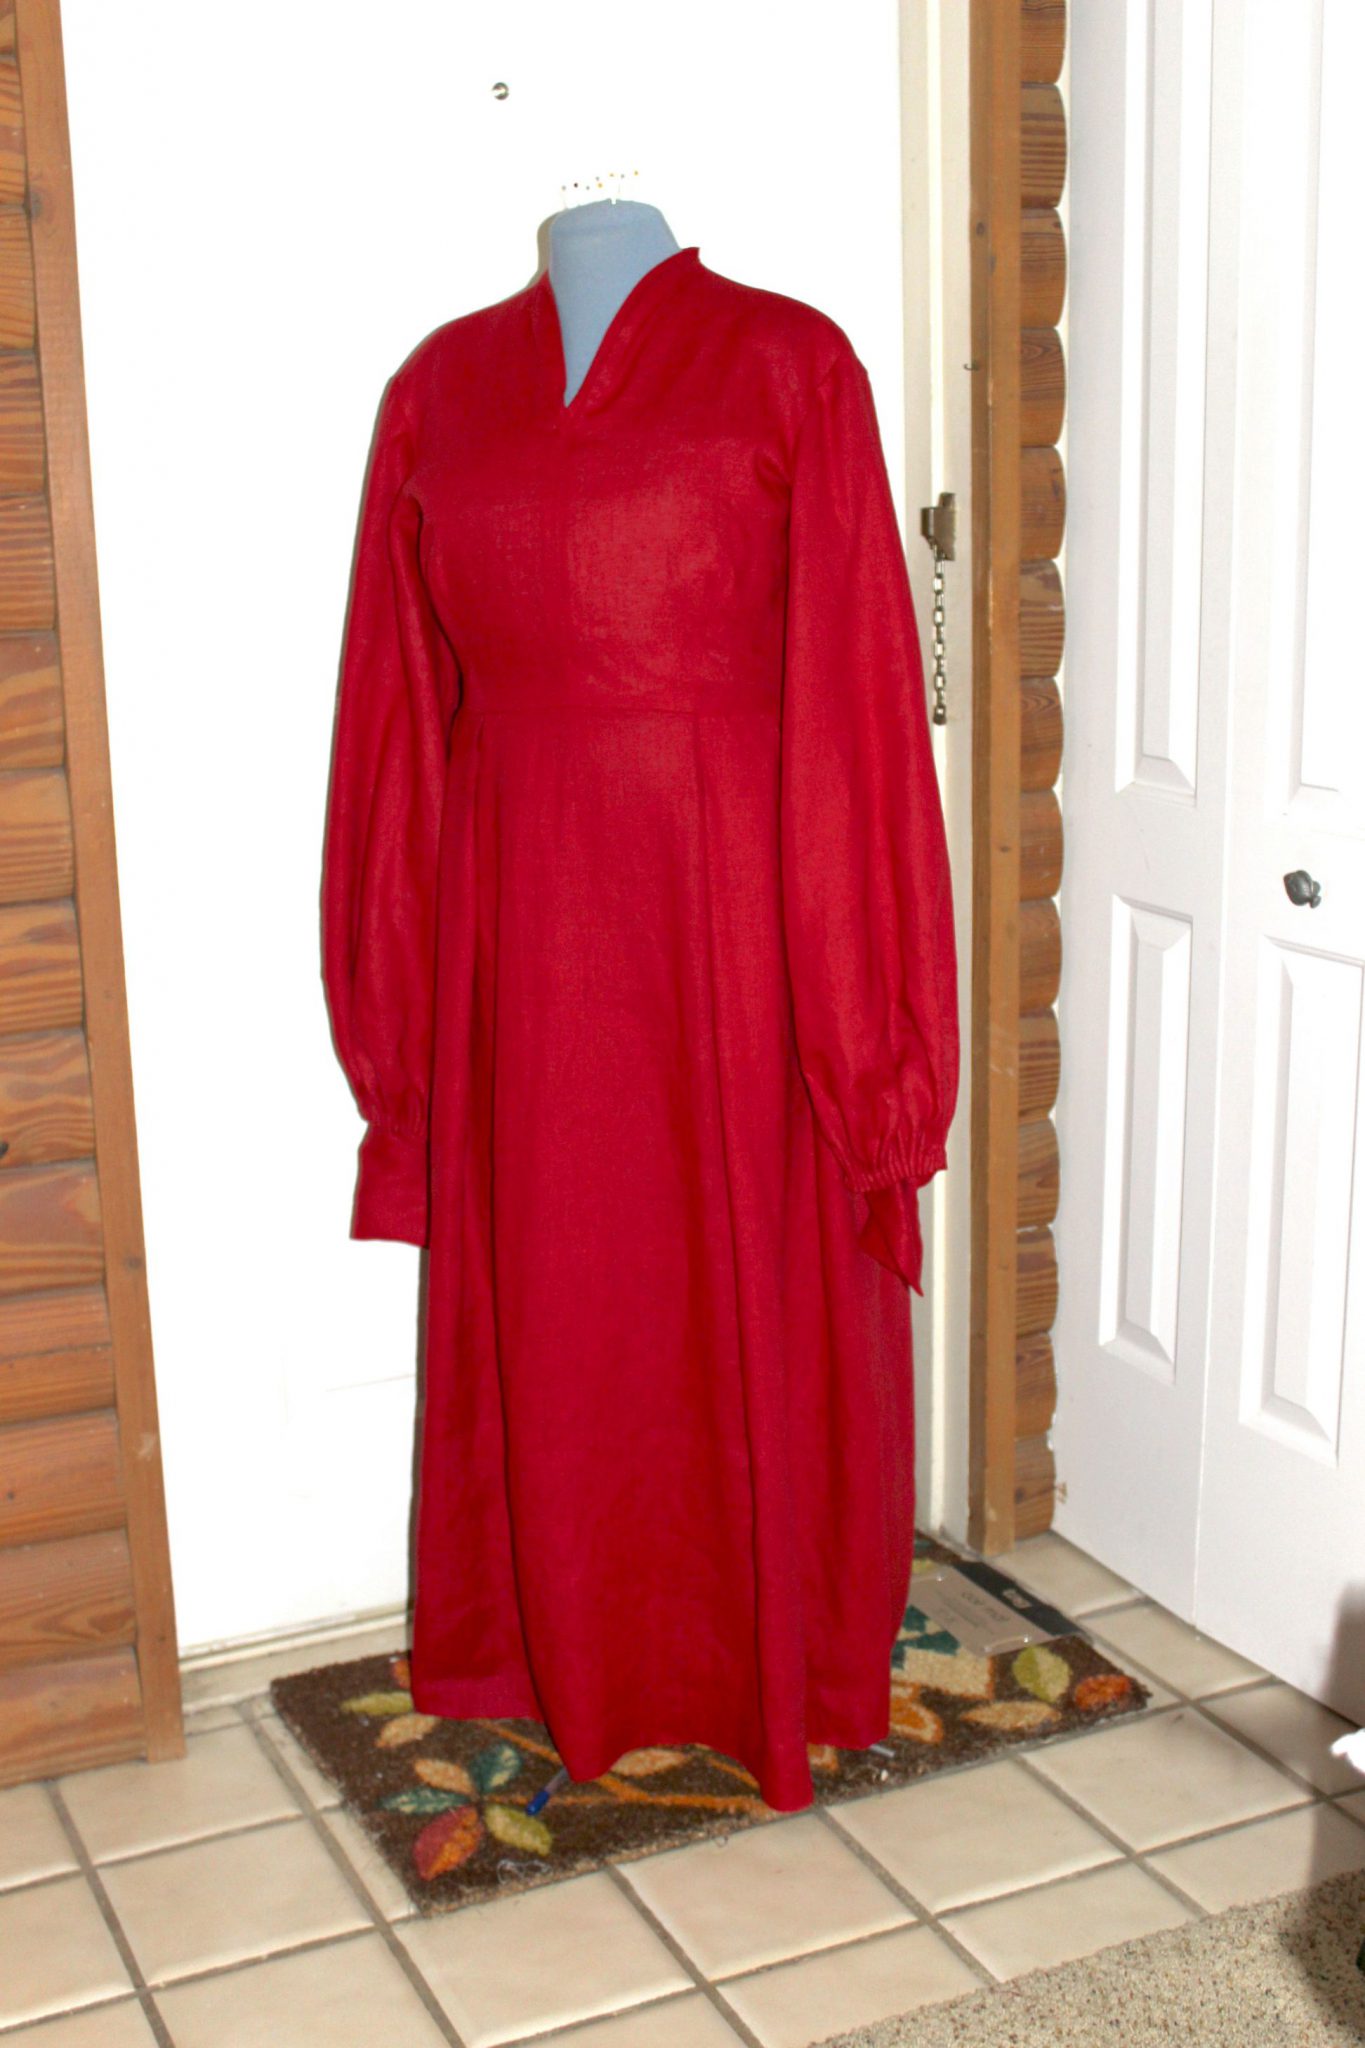
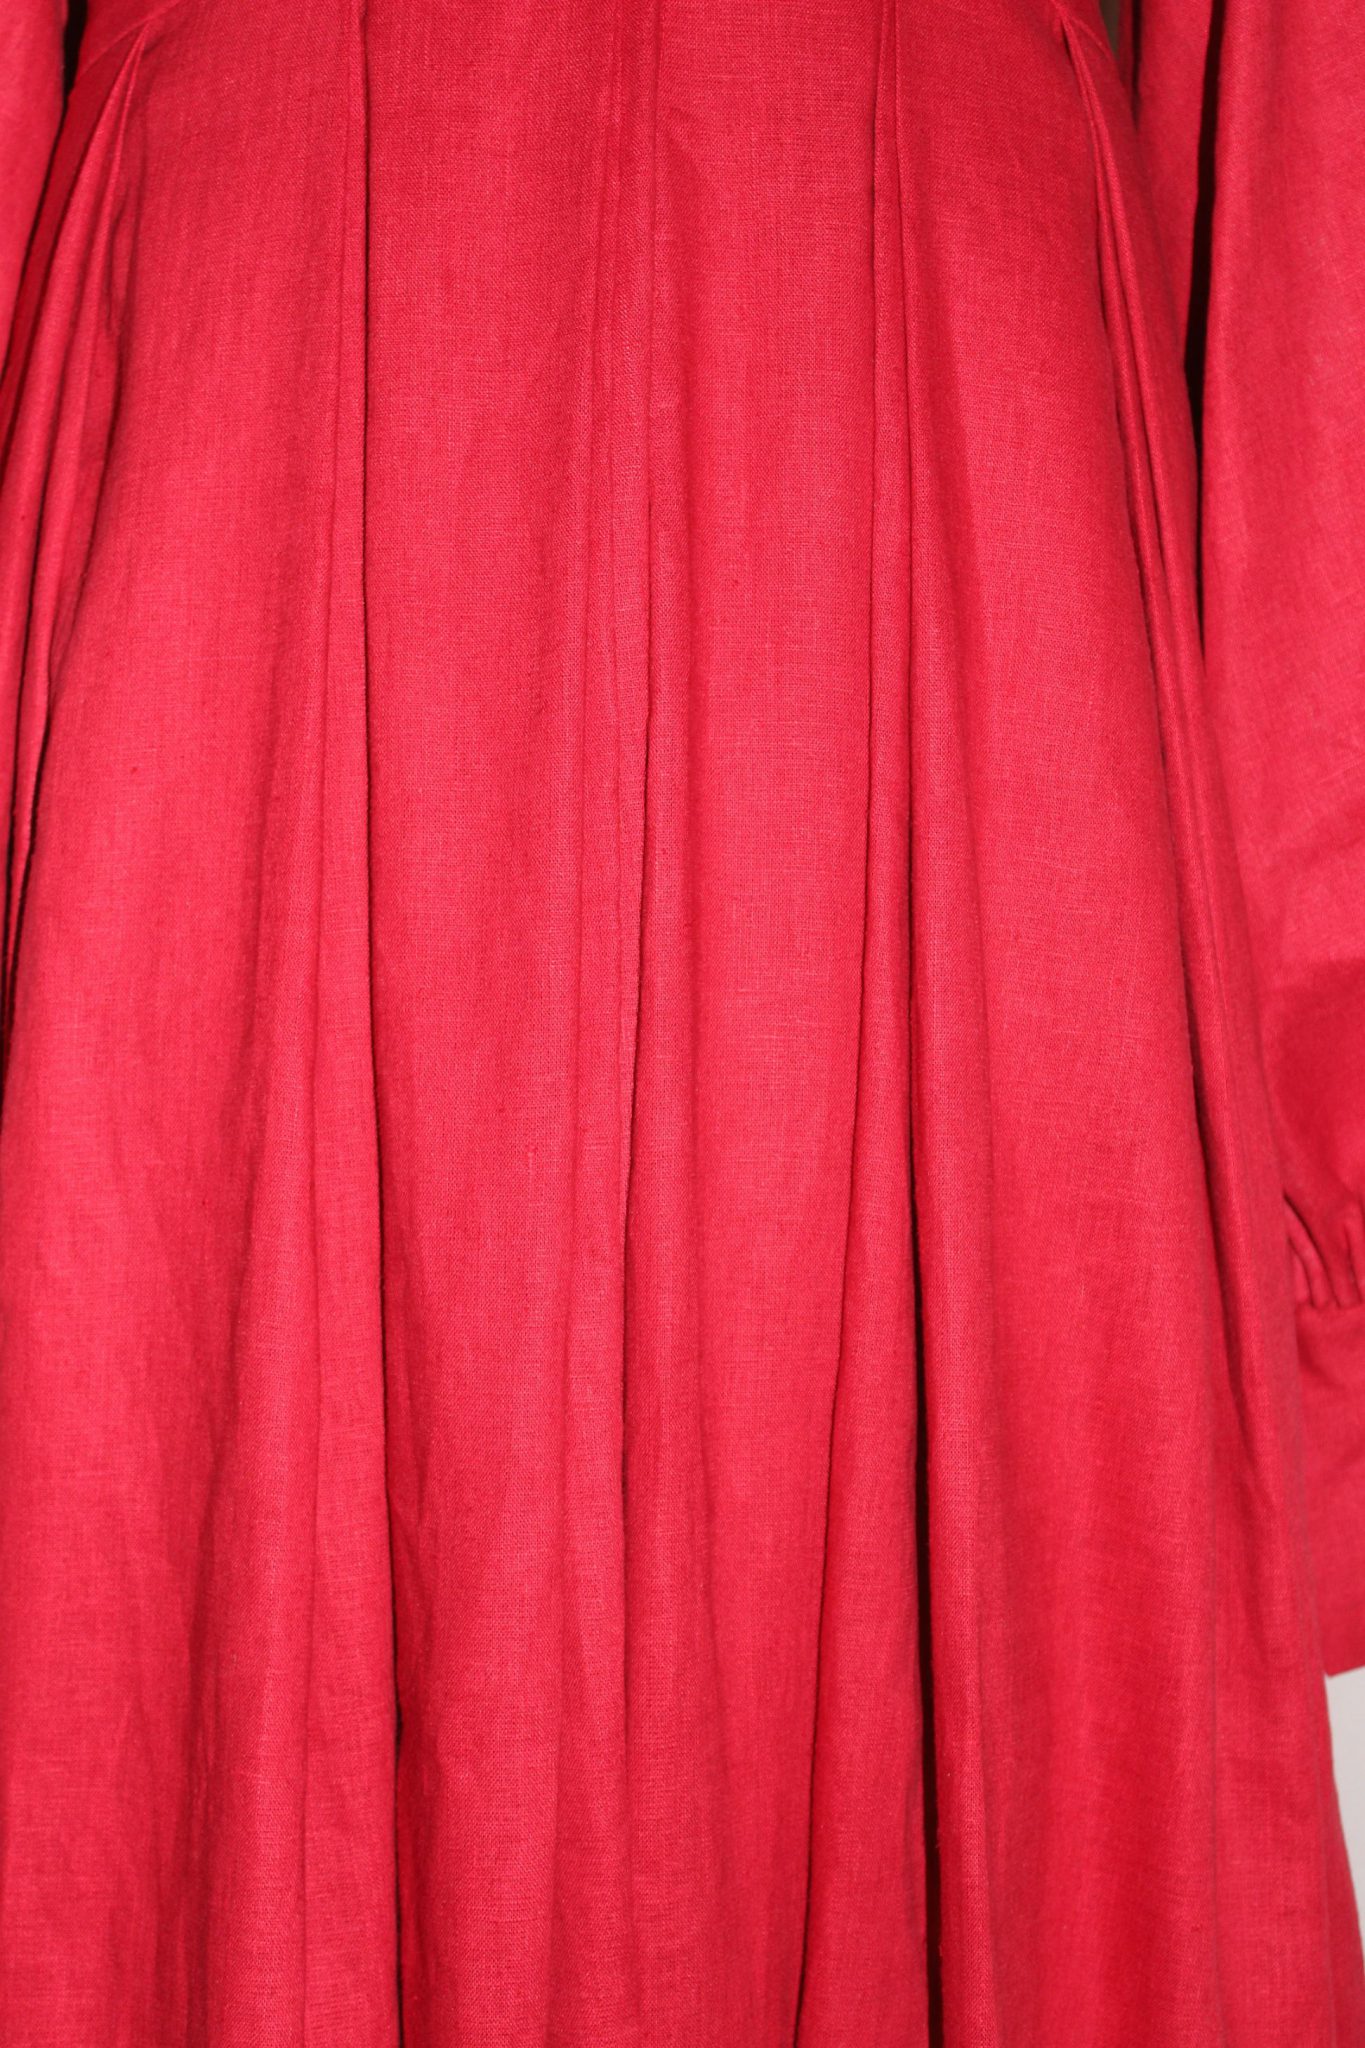
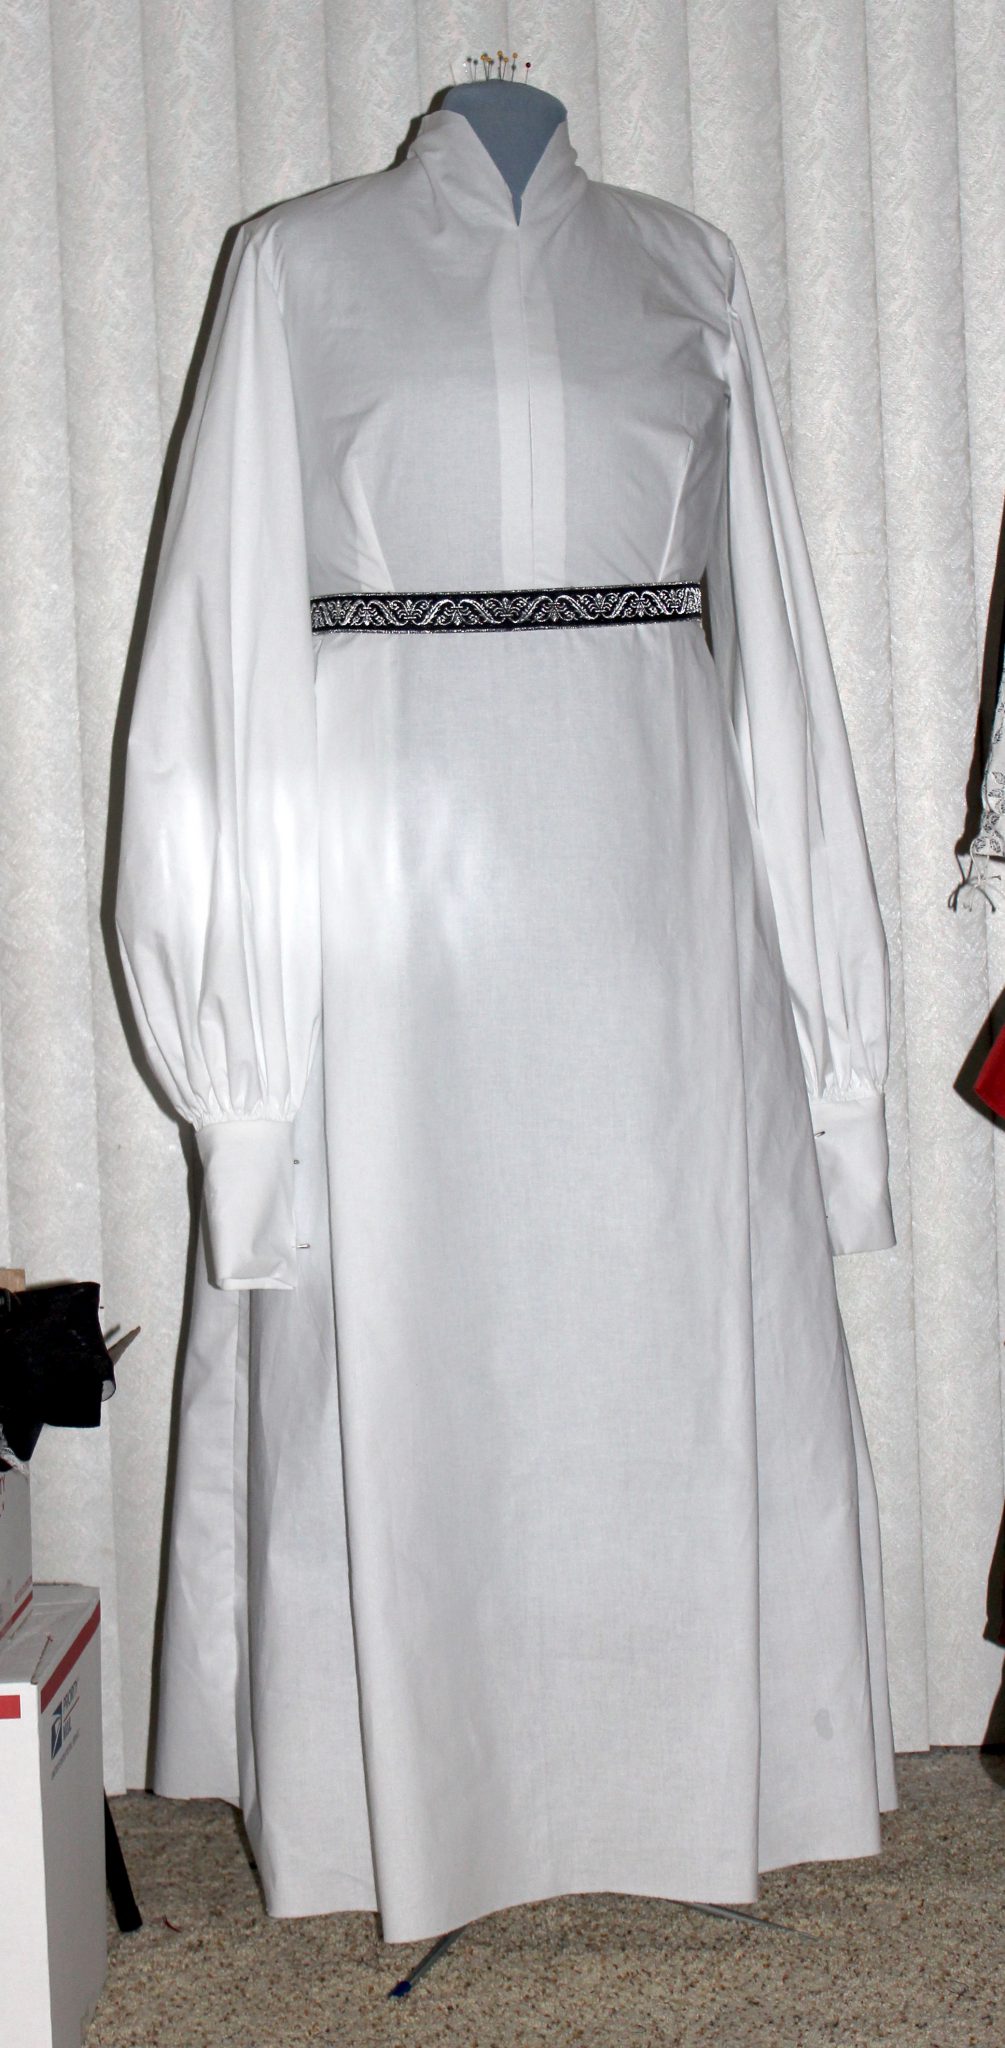
Linen/cotton blend shirt with reinforced french seams. Cranberry wool skirt with tucked hem, a pocket and fingerloop braided closing.