Centuries-Sewing

Category: Tutorials

  • How to Repair Lace Trim

    How to Repair Lace Trim

    Three weeks ago I purchased 4 yards of a wide black lace on Etsy. When it arrived I was happy with it, but on further inspection, I noticed it was torn badly over several of the motifs. I messaged the seller but never heard back. Now, I need every inch of the trim to go around the hem of a gown, getting more trim isn’t in my budget. The one I purchased was the right price and the right width.

    But I think I can rebuild it, with wash away stabilizer, some patience, and only a few broken needles.

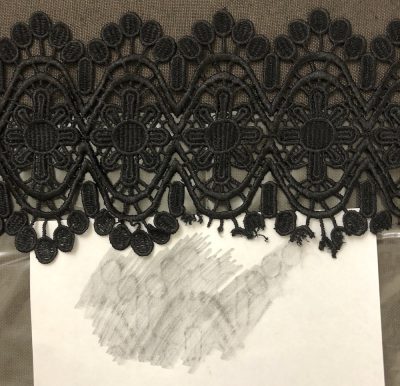
    Section of torn black lace

    Materials:

    • Paper
    • Pencil
    • Thread
    • Embroidery or Top Stitch Needles (depending on the size of your thread)
    • Heavy Duty wash away stabilizer
    • Metallic Sharpie or Pen you can see easily


    First I made a rubbing of the lace. Just like a grade school nature project I put the paper on the lace and rubbed away with the pencil until I had the pattern of the lace showing through.

    Black lace and white paper rubbing

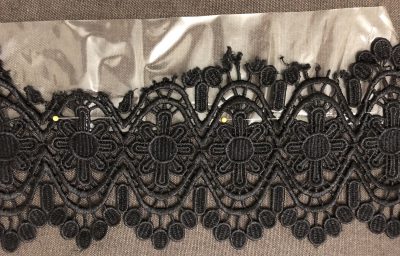
    Next, I cut 3-inch strips of the wash away stabilizer and pinned them to the lace. This was zig-zag stitched to the lace on the machine, along with a strip of muslin to make sure nothing would slip around in the embroidery hoop.

    Wash away stabilizer pinned in place to the black lace

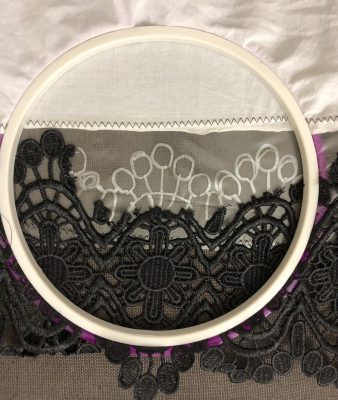
    Then I positioned the lace rubbing under each motif, lining the design up. On top of the stabilizer, I used the silver sharpie to draw in the missing elements along the edge of the lace.

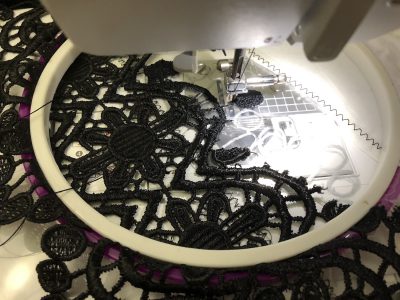
    Black lace in hoop with stabilizer

    Now it was time to start rebuilding the lace. It took a few tries to find the right needle and thread combination.

    I started out with a rayon thread in the spool and a fine polyester in the bobbin. The needle shredded the top thread, so I switched to a topstitching needle and silk buttonhole twist for the top thread and a cotton thread in the bobbin. The silk twist kept getting pulled down into the bobbin casing.

    So finally I switched back to the rayon thread, kept the topstitch needle and the cotton thread in the bobbin and had no problem with it.

    First, take a few stitches into the lace itself and then start your outline, going around at least 4 times.


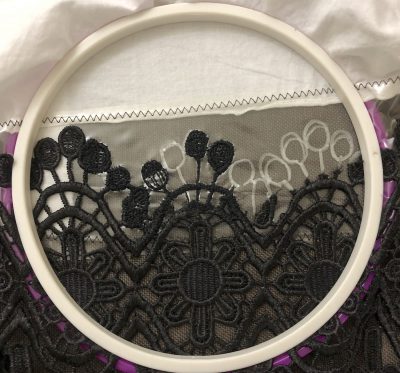
    I filled in each outline with a grid of threads going up and across several times to make a support lattice. Then I started filling in over the grid, keeping the stitches close until very little of the stabilizer can be seen.

    Once each “bubble” was filled I sew around the outside of it with a narrow small zig-zag stitch. This neatened the edge and locked the other stitches in place.

    Some of the black lace outlines filled in

    For the “stems” I ran three or four rows of stitching from the bubble to the lace, making sure to anchor it in place. I then went over the rows with the same zig-zag stitching. The process was the same for the rest of the lace, rebuilding or blending in new sections with existing ones and trimming off any parts that were too far gone.

    Section of black lace filled in

    My final step was to make sure each bubble was connected to its neighbor, is did this with a few stitches in each one and the same zig-zag stitching. I worked on the lace over the course of three days an hour or two at a time, until all the lace was rebuilt and looked like this:

    Repaired black lace with stabilizer

    Then it was time to trim away the excess stabilizer and see if all that time and effort held up.


    It did! Here is the final lace drying in the sunshine. Can you spot the repairs? A few bits are a little rough due to trying to blend the old lace with the new but from a foot away it will never show.
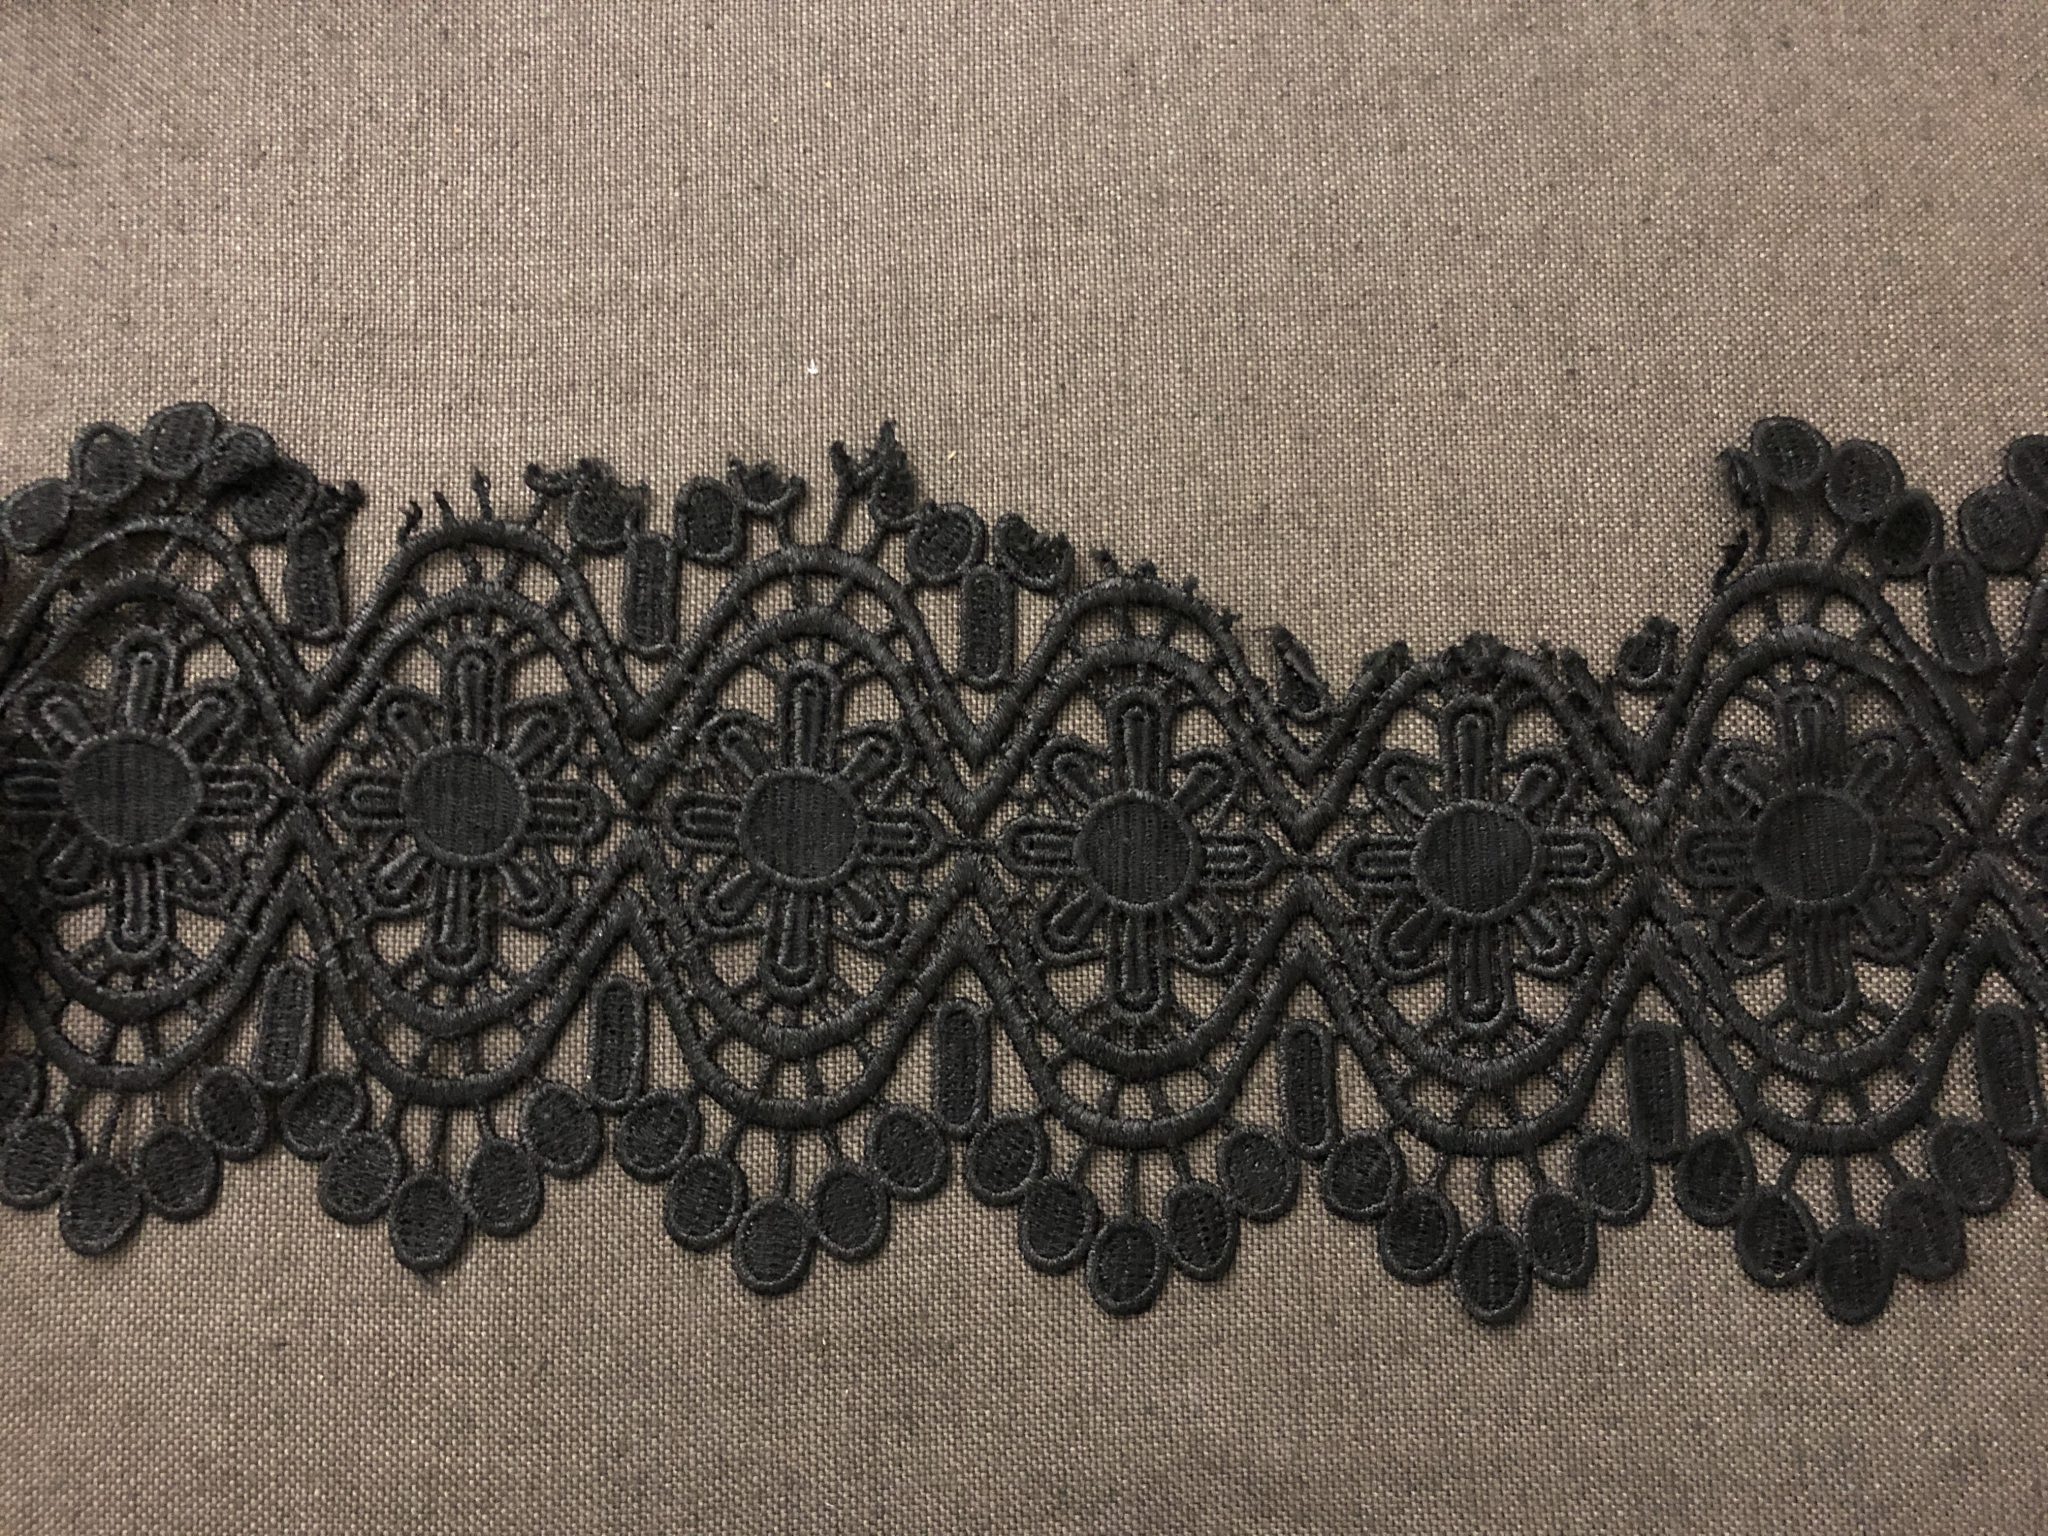
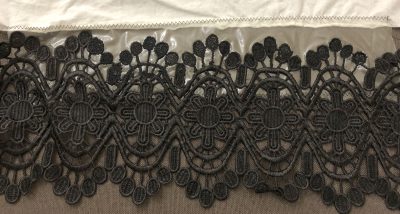
    Repaired black lace

  • 16th Century Shoe Hack: Painting Shoes

    16th Century Shoe Hack: Painting Shoes

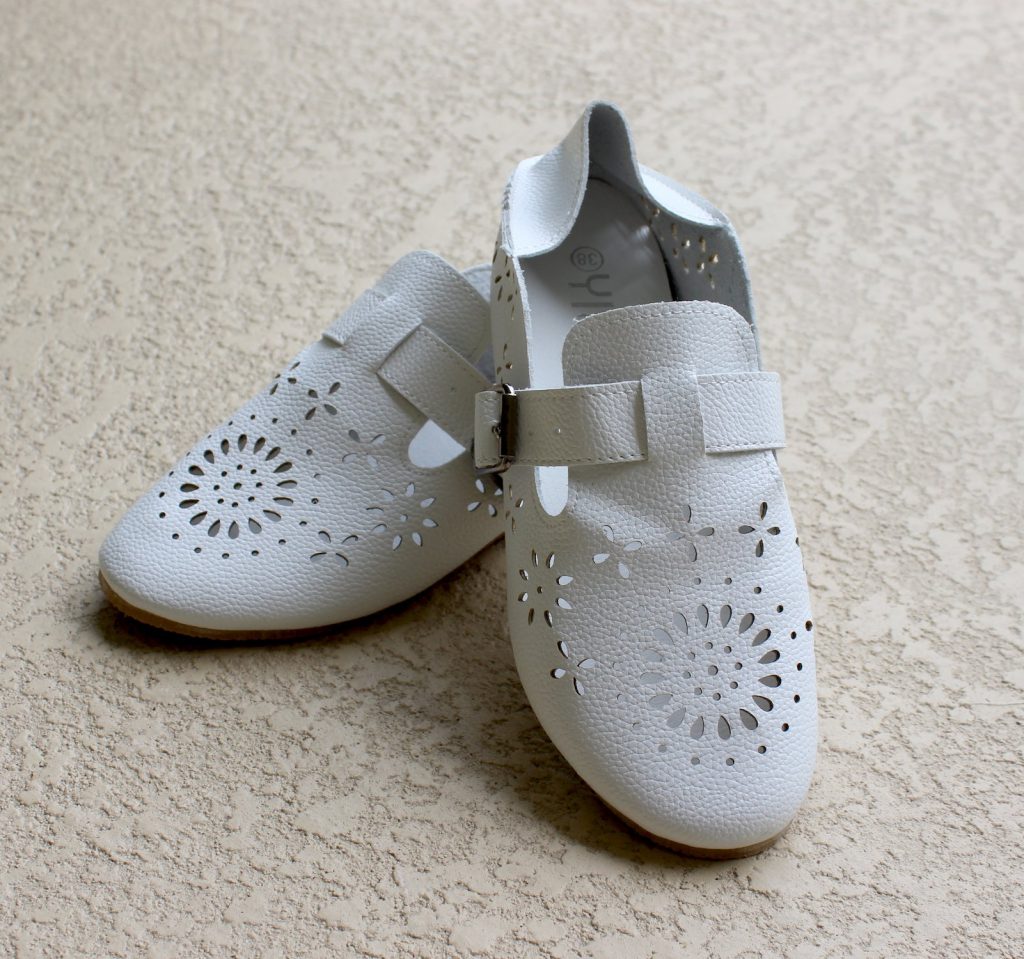
    A month ago a Facebook post on Elizabethan Costume showed me some inexpensive* shoes (non-affiliated link)  that looked very similar to cutwork shoes found in period.

    The price was right, but they came in only one color: white.

    White cutwork style shoes before painting

    I ordered 2 pairs, not seeing the FB thread till much later about sizing up (and again if you are a half size). It took about 2 weeks for them to get to me but they were true to size for me with a few exceptions.

    I have wide feet, high arches, and a rectangular toe box shape. This makes shopping for shoes online hit or miss. Often the toe box is not wide enough and there is not enough width across the ball of my foot.

    When I tried the shoes on they highlighted these issues, but since they are faux leather I knew I could you a hair dryer to stretch them out. I put on thick socks, wrapped my foot in a face cloth, and then managed to get the shoes on.

    Then I took the hairdryer and slowly heated the areas that were too tight or rubbing. While doing this I wiggled my toes and shifted my feet around in the shoe to speed things along while being very careful not to burn myself.

    Once the material was warmed and my toe wiggling done, I switched the temperature to cool to help set it.

    Painting the Shoes

    Before I broke out the paintbrushes I prepped the shoes for painting. I used rubbing alcohol all over the surface of the shoe to remove any factory finishing or random grease or oils.

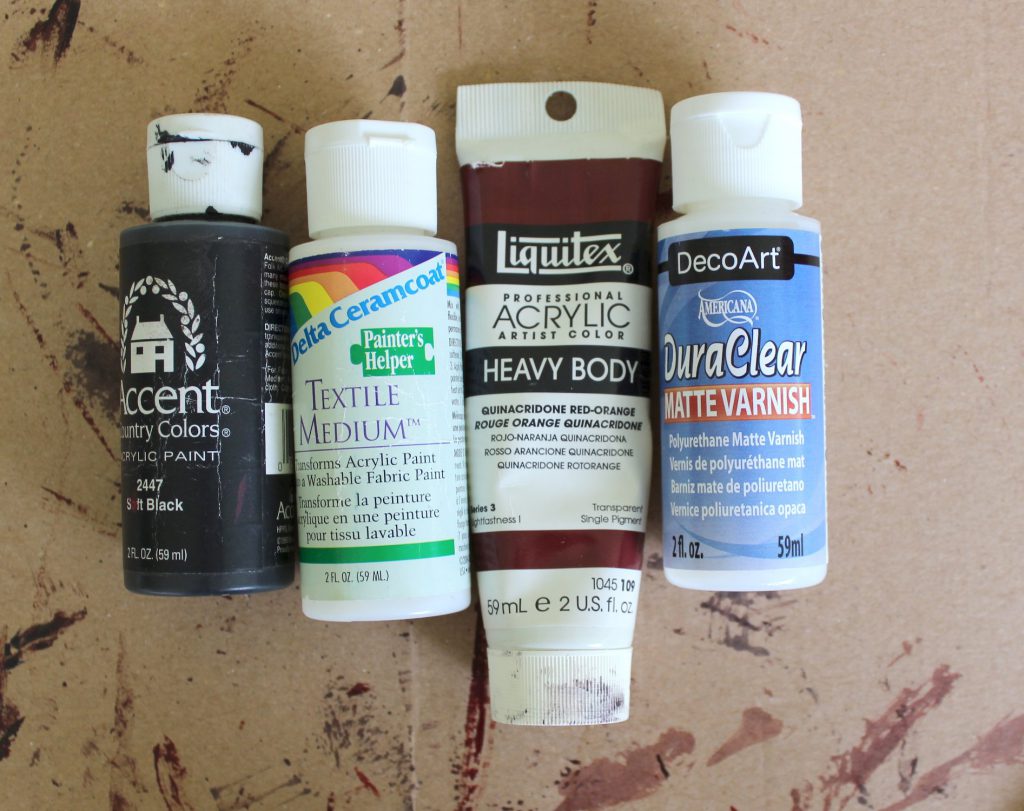
    While they dried I got all my supplies and materials together:

    Acrylic paint and textile medium

    Materials

    • Acrylic paints, textile medium, and matte varnish
    • Soft paint brushes
    • Disposable gloves
    • Paper towels
    • Cardboard to paint the shoes on
    • Plastic bags
    • Paper plate to use as a pallet and something to use as a mixing tool

    I stuffed the shoes with the plastic bags so they would keep their shape while painting and to keep the paint off the inside.

    The textile medium calls for 2 parts paint to one part medium. I kept to this ratio, adding a small amount of water to thin the paint out.

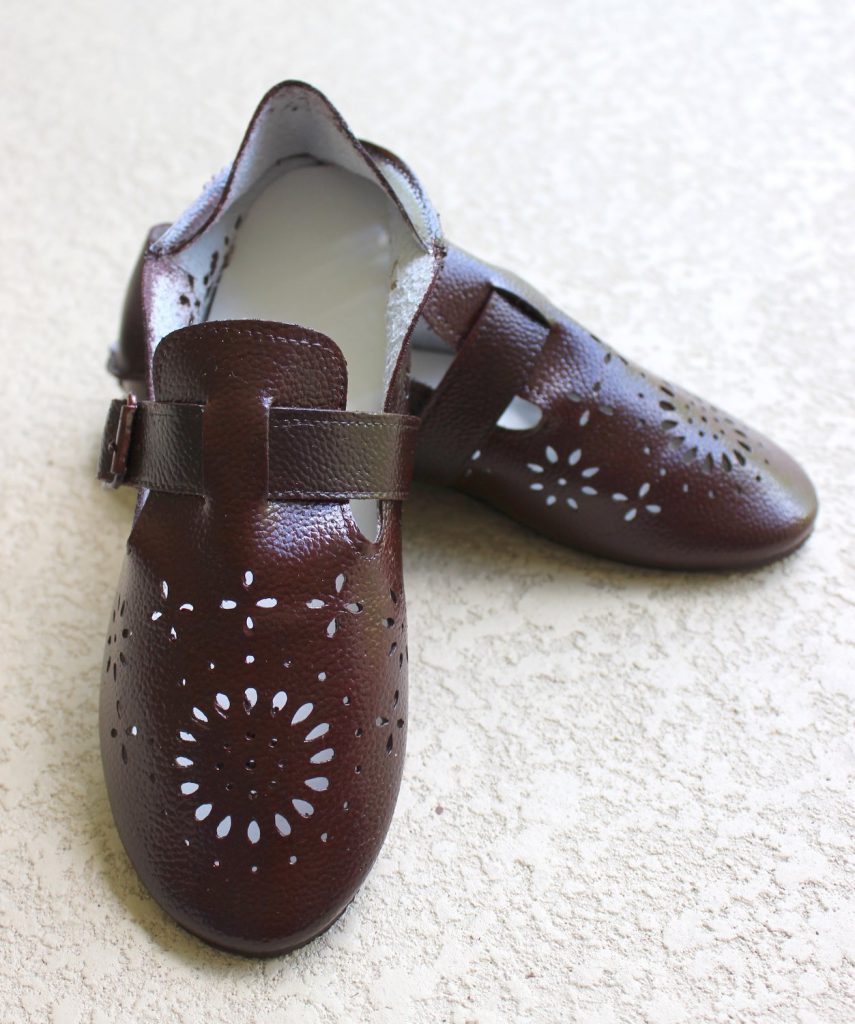
    For an oxblood color I added only a few drops of black to the Quinacridone red-orange to deepen the shade. I had to remake the color several times as I painted and learned it is easy to go overboard on the black.

    I started painting the shoes in with thin layers to start with, wanting to “stain” the material to keep the white from showing through later. After the first three layers of paint (which unfortunately I don’t have photos of) I thinned the paint out less and concentrated on coverage.

    This is where the soft brush is very useful it will help keep brush strokes to a minimum, but be sure to watch out for brush hairs getting stuck in the paint. There are a few in mine that I wasn’t able to remove in time.

    The last two layers of paint I thinned out again, working on shifting each shoe to a similar color. As I remixed the paint color several times there were some subtle variations in tone.

    My last pass on the shoes was around the edges and along the back of the strap. This was to keep any of the white material from being glaringly obvious.

    Painted shoes in an oxblood color

    I let the shoes dry for a few days just to make sure the paint was set. The acrylic and the textile medium dried to a glossy shine and also left the shoes slightly tacky (enough that they tried to stick to each other). As I was not able to heat set the shoes as the textile medium suggested I decided to seal them instead with a matte varnish.

    I gave them several thin coats which worked well to seal them (no more tackyness yay!) but done very little to knock back the gloss. Once I wear them the gloss may on longer be an issue, but it is something to keep in mind when working with textile medium.

    All I have left is some final clean up. I need to clean out the cutwork sections that filled up with paint and take some steel wool to the buckles.

    Other Painting Options

    For anyone who wants to paint their shoes with less fuss I have heard very good things about Angelus Leather Paints for shoes but have not tried them.

    *These shoes were very inexpensive, there was some loose thread that needed to be clipped and a few specks of glue to remove. They are not perfectly period shoes but would pass the 10-foot rule. For indoor events a few times a year I think they will hold up fine. For outdoor use, I would add insoles and change out the buckles.


  • How to Make a Velcro Corset Busk for Fittings and Mock-ups

    How to Make a Velcro Corset Busk for Fittings and Mock-ups

    Trying to fit a corset mock-up on your own body, by yourself, calls for patience and flexibility. I wanted something I could sew on quickly so I could check the general fit of a corset, without having to worry about busk length, zippers, or safety pins.

    The Velcro Corset Busk

    supplies

    Supplies

    • 2 lengths of flat steel boning
    • 2 sturdy strips of fabric, wide enough to fold in half. this will make your boning channels.
    • Velcro, either the sew on kind or the industrial strength adhesive kind
    • Sewing machine, pencil, scissors

    (more…)

  • Part 5 of the Elizabethan Kirtle Sew-Along Renaissance

    Four videos today, this weekend I’m going to shoot some more.

    Pressing and prep for the sleeve seam allowances


    Pressing the seam allowance with a seam roll when the sleeve is too narrow for the board.

    Sewing in the lining at the top of the sleeve.

    Hand sewing the bottom of the sleeve shut.


  • Part 4 of the Elizabethan Kirtle Sew-Along Renaissance


    Marking the eyelets out for spiral lacing

    Cutting out the sleeves (the wool is from my stash and the wrinkles would not steam out)

    First pass of sewing the sleeves together.


  • Part 3 of the Elizabethan Kirtle Sew-Along Renaissance


    Sewing in the lining around the top edge

    Clipping into corners and trimming

    Edge stitching the seam allowance to the lining along the top

  • Part 2 of the Elizabethan Kirtle Sew-Along Renaissance

    Pleating the skirt down with knife pleats and a box pleat in the back


    Basting the pleats in place

    Ironing the pleats down to keep things from moving around when I sew the skirt to the bodice

  • An Elizabethan Kirtle Sew-Along Renaissance

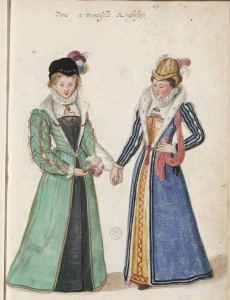
    Lucas DeHeere sketchbook #71 English women
    “Yeah, we look Awesome and Swag!”

    It has been 3 or 4 (mumble) years since I was going to do the kirtle sew-along. Life, family medical issues and changes got in the way.  My skill set has improved, how I break down projects has improved, but that does not mean I’m not still learning.

    So I set up the video camera, I balanced my tripod on the printer that-may-work-but-I-really-just-use-it-as-a-scanner, shoved my social anxiety into a box and hit record.

    I’m making kirtles. I’m making several kirtles that I plan to donate to Much Ado about Sebastopol. I don’t think I will get them all done in time for this years run, but there is always next year. If they get used, or auctioned off in a fundraiser, or end up in a school theater closet that is fine.

    I have several yards of wool, pattern blocks, and a chunk of time to make something out of it all.

    The playlist: https://www.youtube.com/watch?v=LTne9pSn75A&list=PL-5opaHvhlOkbr8K8buX1OpZm_4kHPPgU

    The first three videos: