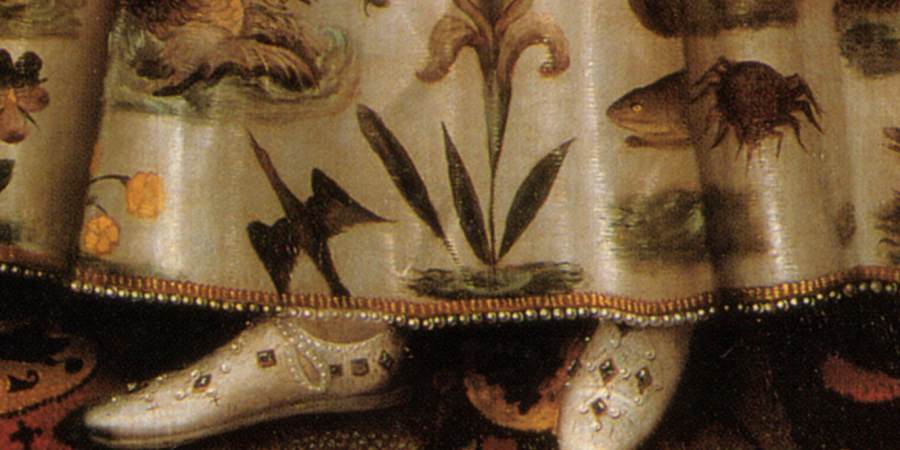
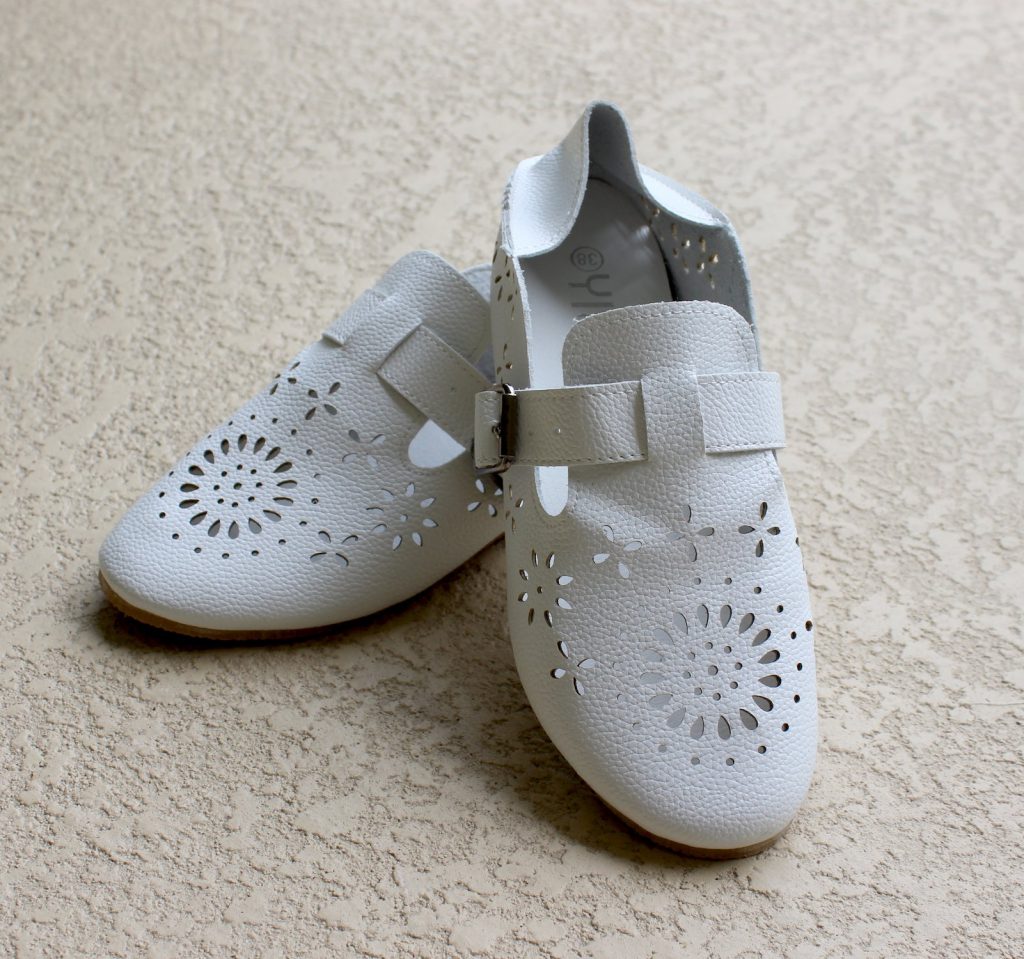
A month ago a Facebook post on Elizabethan Costume showed me some inexpensive* shoes (non-affiliated link) that looked very similar to cutwork shoes found in period.
The price was right, but they came in only one color: white.
I ordered 2 pairs, not seeing the FB thread till much later about sizing up (and again if you are a half size). It took about 2 weeks for them to get to me but they were true to size for me with a few exceptions.
I have wide feet, high arches, and a rectangular toe box shape. This makes shopping for shoes online hit or miss. Often the toe box is not wide enough and there is not enough width across the ball of my foot.
When I tried the shoes on they highlighted these issues, but since they are faux leather I knew I could you a hair dryer to stretch them out. I put on thick socks, wrapped my foot in a face cloth, and then managed to get the shoes on.
Then I took the hairdryer and slowly heated the areas that were too tight or rubbing. While doing this I wiggled my toes and shifted my feet around in the shoe to speed things along while being very careful not to burn myself.
Once the material was warmed and my toe wiggling done, I switched the temperature to cool to help set it.
Painting the Shoes
Before I broke out the paintbrushes I prepped the shoes for painting. I used rubbing alcohol all over the surface of the shoe to remove any factory finishing or random grease or oils.
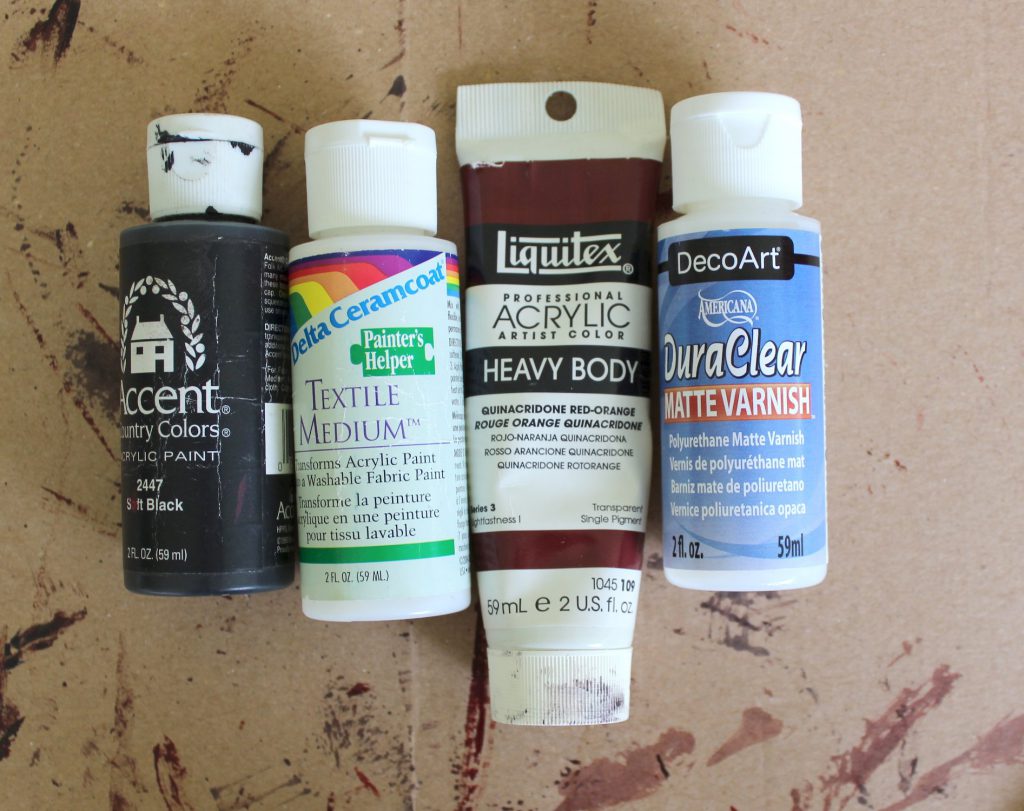
While they dried I got all my supplies and materials together:
Materials
- Acrylic paints, textile medium, and matte varnish
- Soft paint brushes
- Disposable gloves
- Paper towels
- Cardboard to paint the shoes on
- Plastic bags
- Paper plate to use as a pallet and something to use as a mixing tool
I stuffed the shoes with the plastic bags so they would keep their shape while painting and to keep the paint off the inside.
The textile medium calls for 2 parts paint to one part medium. I kept to this ratio, adding a small amount of water to thin the paint out.
For an oxblood color I added only a few drops of black to the Quinacridone red-orange to deepen the shade. I had to remake the color several times as I painted and learned it is easy to go overboard on the black.
I started painting the shoes in with thin layers to start with, wanting to “stain” the material to keep the white from showing through later. After the first three layers of paint (which unfortunately I don’t have photos of) I thinned the paint out less and concentrated on coverage.
This is where the soft brush is very useful it will help keep brush strokes to a minimum, but be sure to watch out for brush hairs getting stuck in the paint. There are a few in mine that I wasn’t able to remove in time.
The last two layers of paint I thinned out again, working on shifting each shoe to a similar color. As I remixed the paint color several times there were some subtle variations in tone.
My last pass on the shoes was around the edges and along the back of the strap. This was to keep any of the white material from being glaringly obvious.
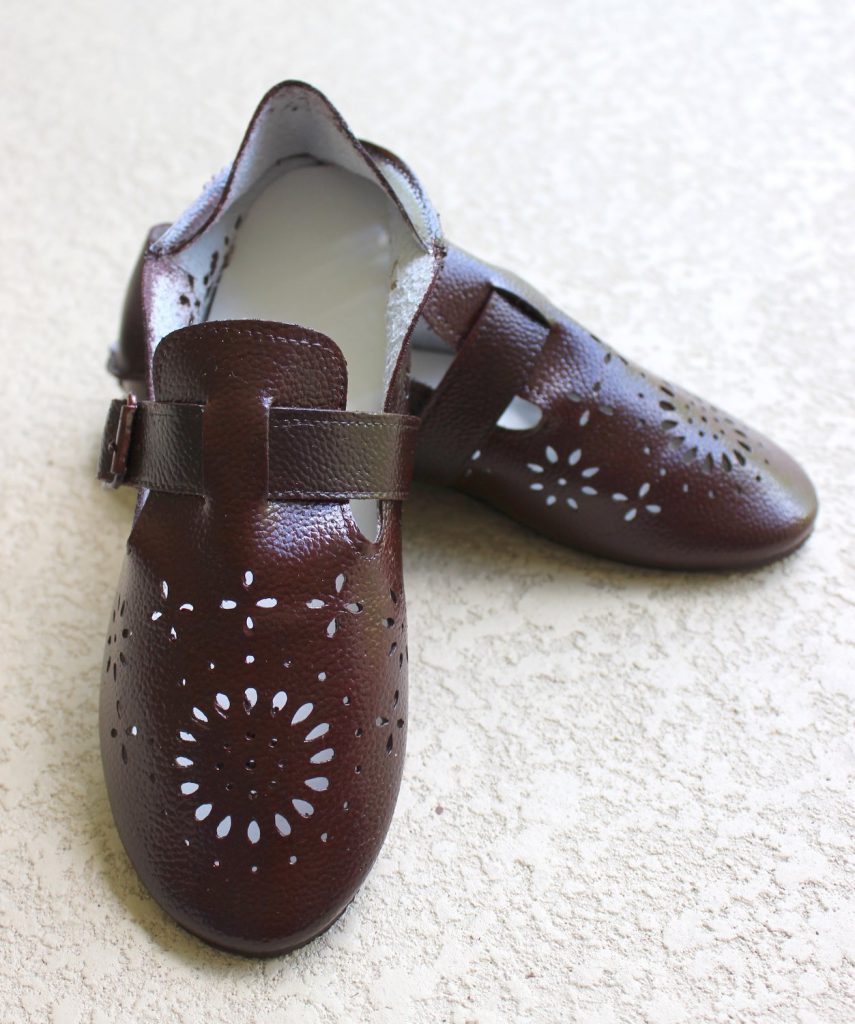
I let the shoes dry for a few days just to make sure the paint was set. The acrylic and the textile medium dried to a glossy shine and also left the shoes slightly tacky (enough that they tried to stick to each other). As I was not able to heat set the shoes as the textile medium suggested I decided to seal them instead with a matte varnish.
I gave them several thin coats which worked well to seal them (no more tackyness yay!) but done very little to knock back the gloss. Once I wear them the gloss may on longer be an issue, but it is something to keep in mind when working with textile medium.
All I have left is some final clean up. I need to clean out the cutwork sections that filled up with paint and take some steel wool to the buckles.
Other Painting Options
For anyone who wants to paint their shoes with less fuss I have heard very good things about Angelus Leather Paints for shoes but have not tried them.
*These shoes were very inexpensive, there was some loose thread that needed to be clipped and a few specks of glue to remove. They are not perfectly period shoes but would pass the 10-foot rule. For indoor events a few times a year I think they will hold up fine. For outdoor use, I would add insoles and change out the buckles.


I just finished painting mine black with the Angelus leather paint. I originally tried dyeing them with leather dye a while back. The color didn’t stick well, so I decided to try the paint this time. I’m considering removing the buckle and turning the strap into something of a latchet.