Centuries-Sewing

Tag: 16th Century

  • A 16th Century Kirtle in Olive Wool with Caramel Oversleeves

    A 16th Century Kirtle in Olive Wool with Caramel Oversleeves

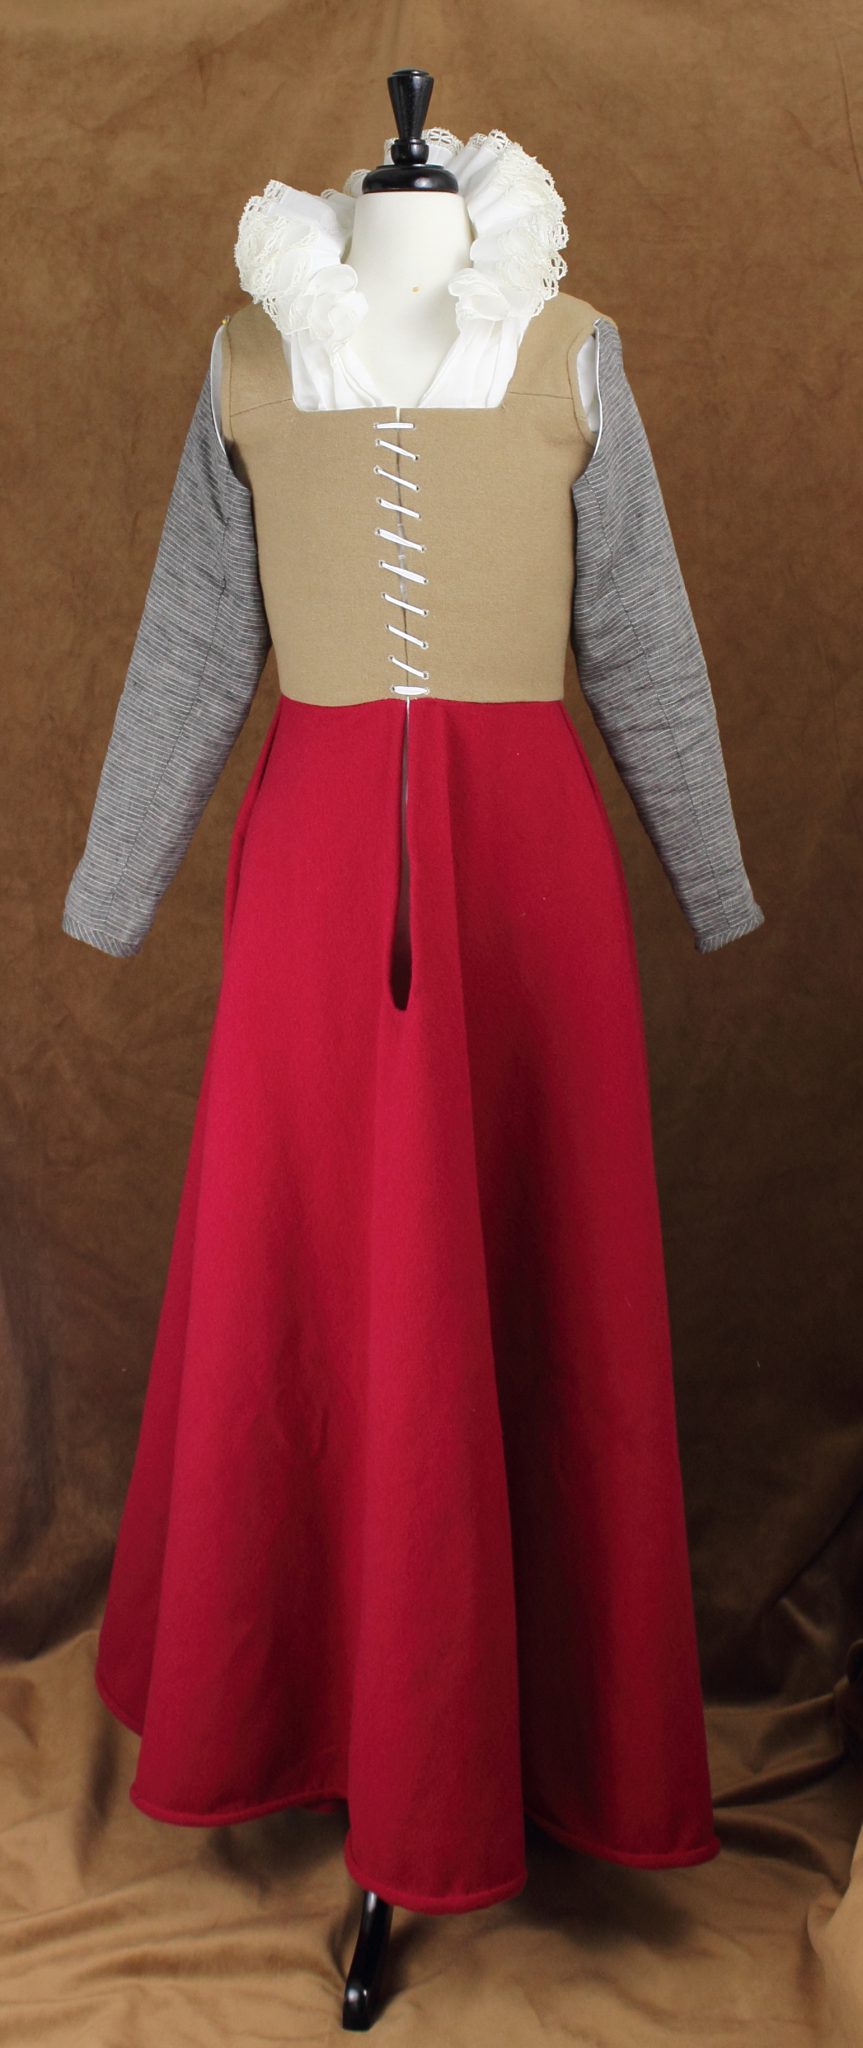
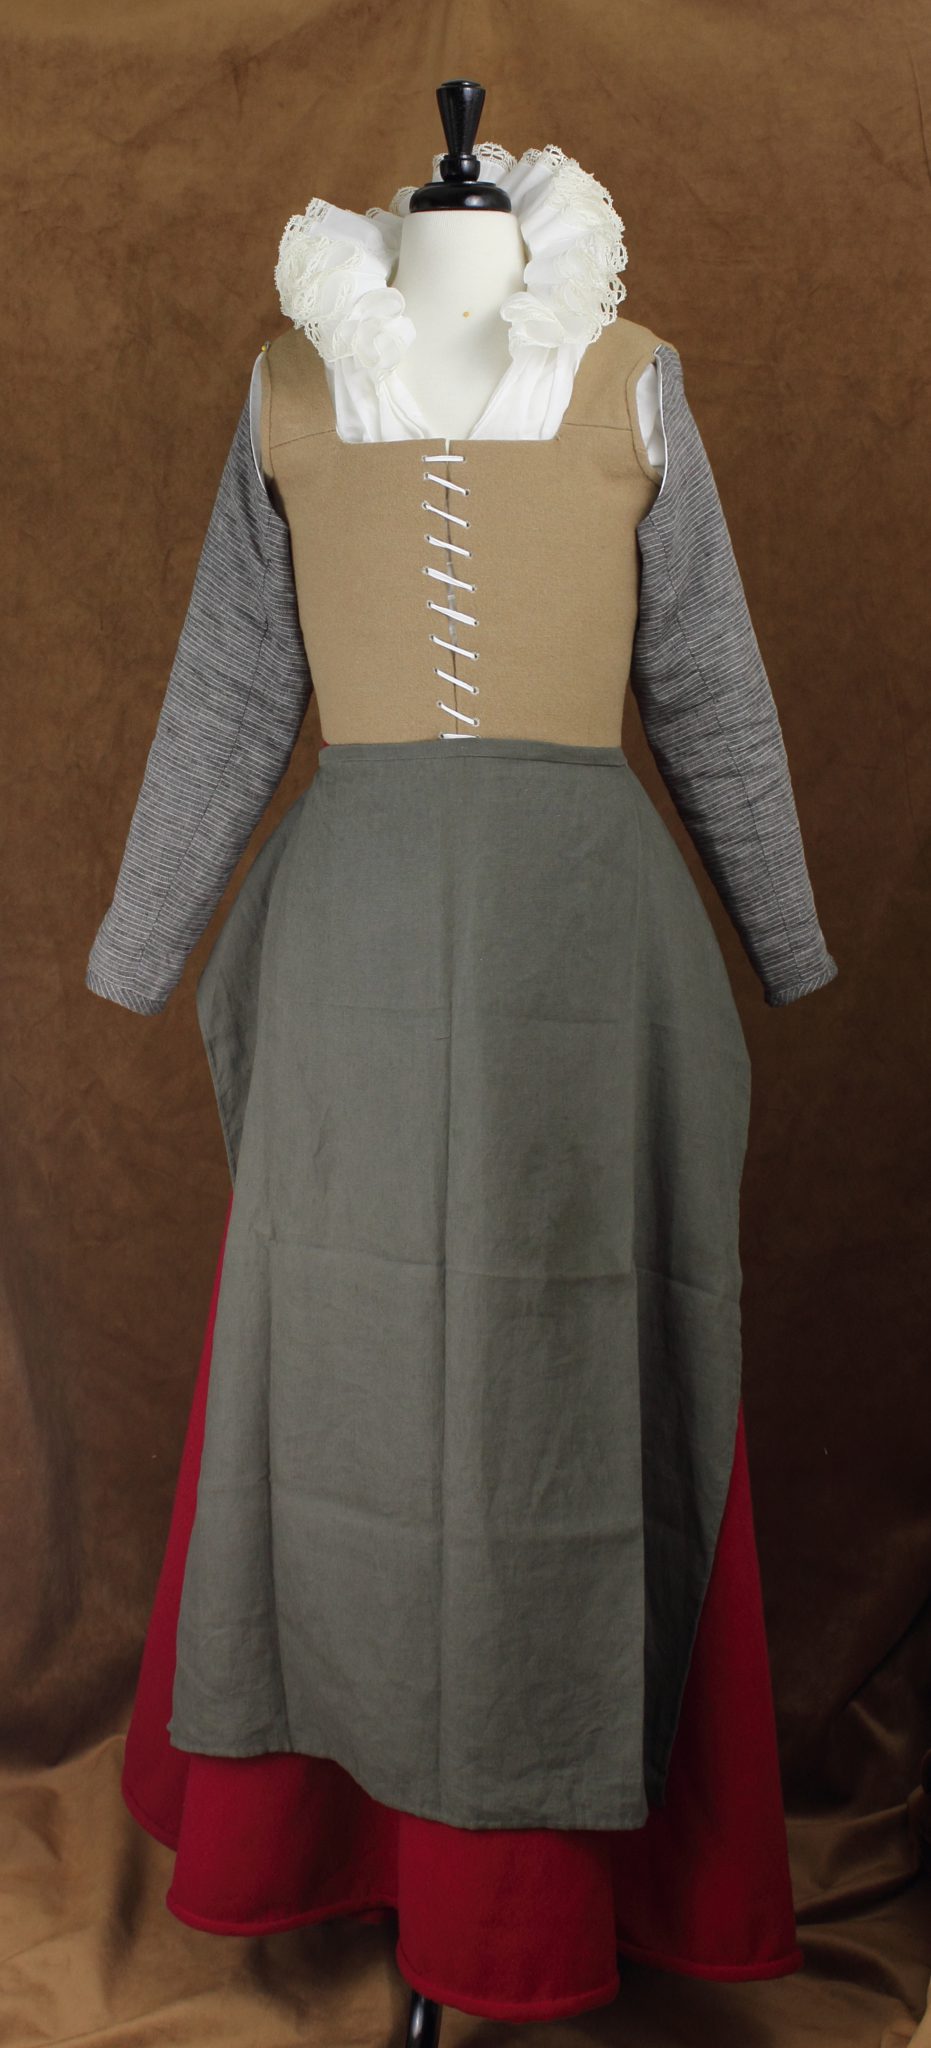
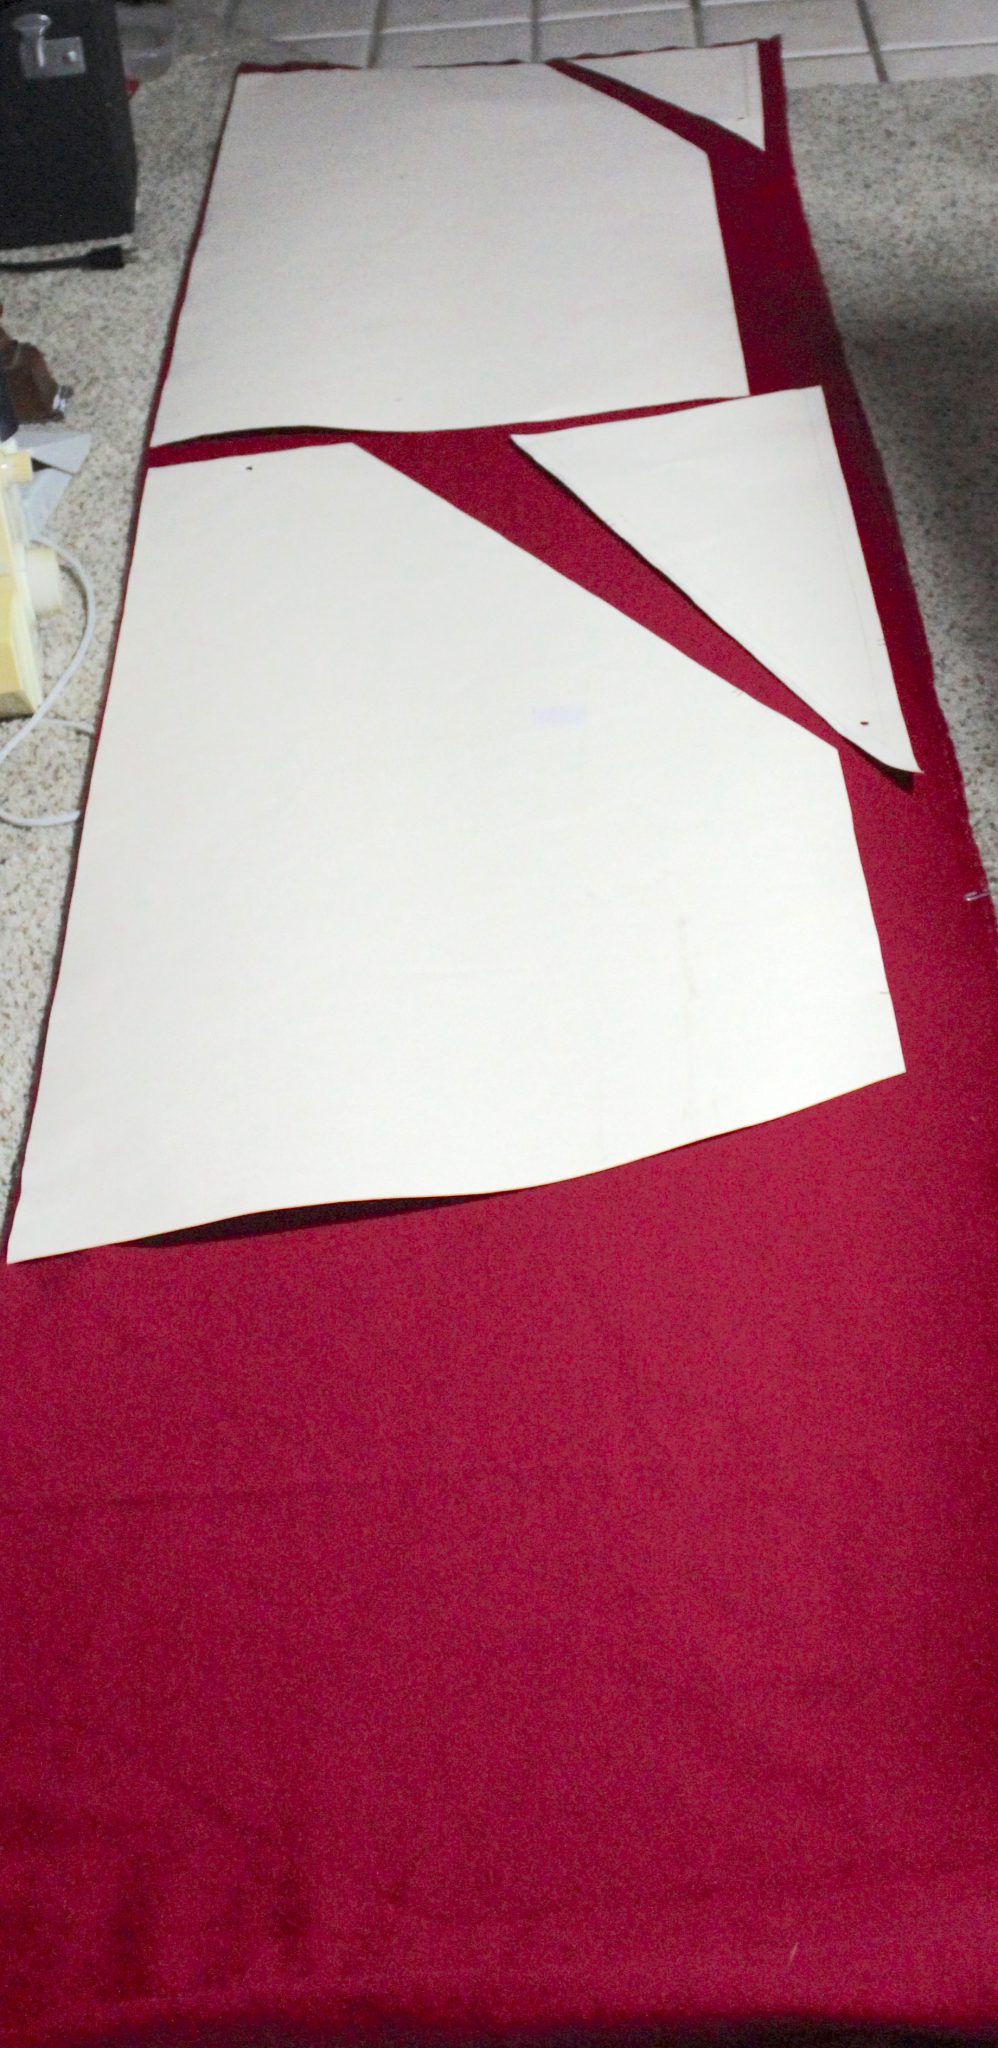
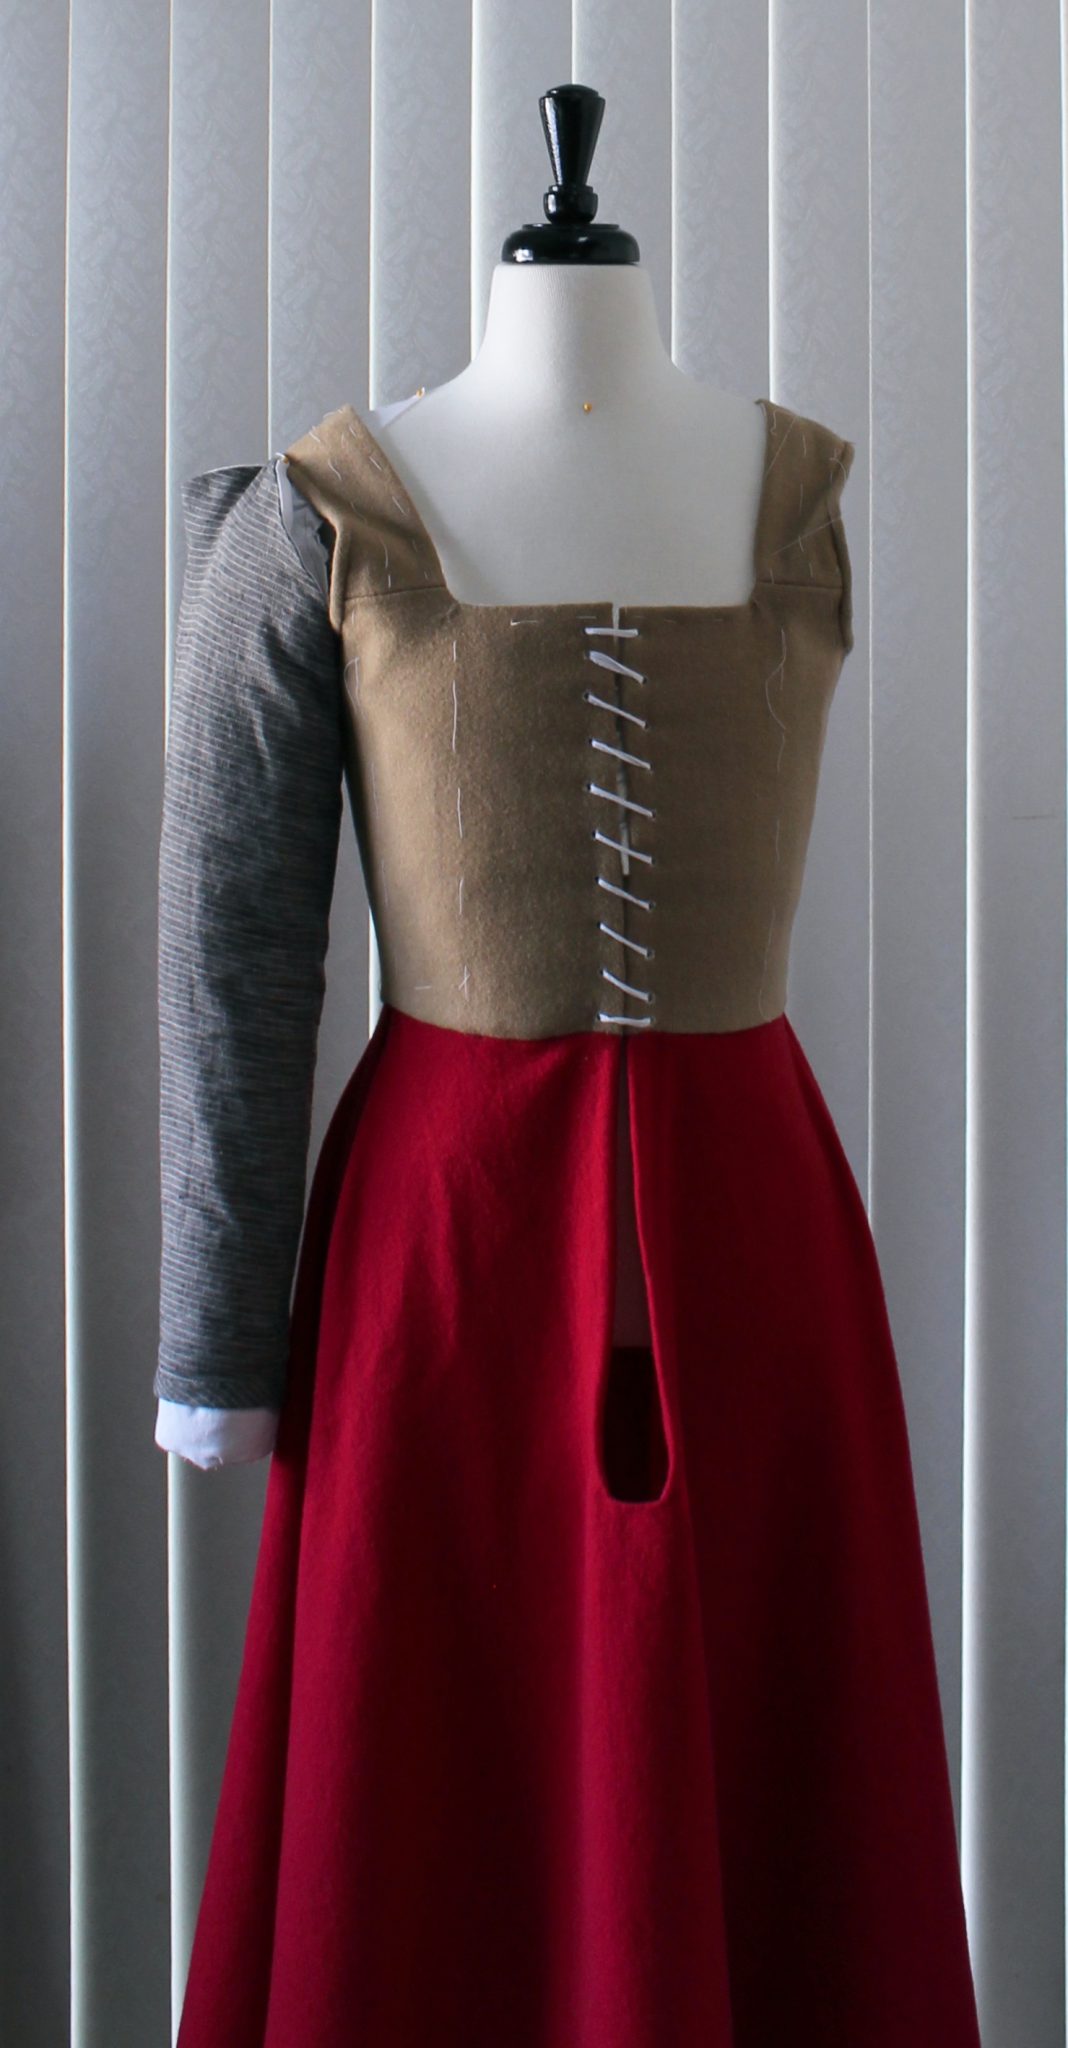
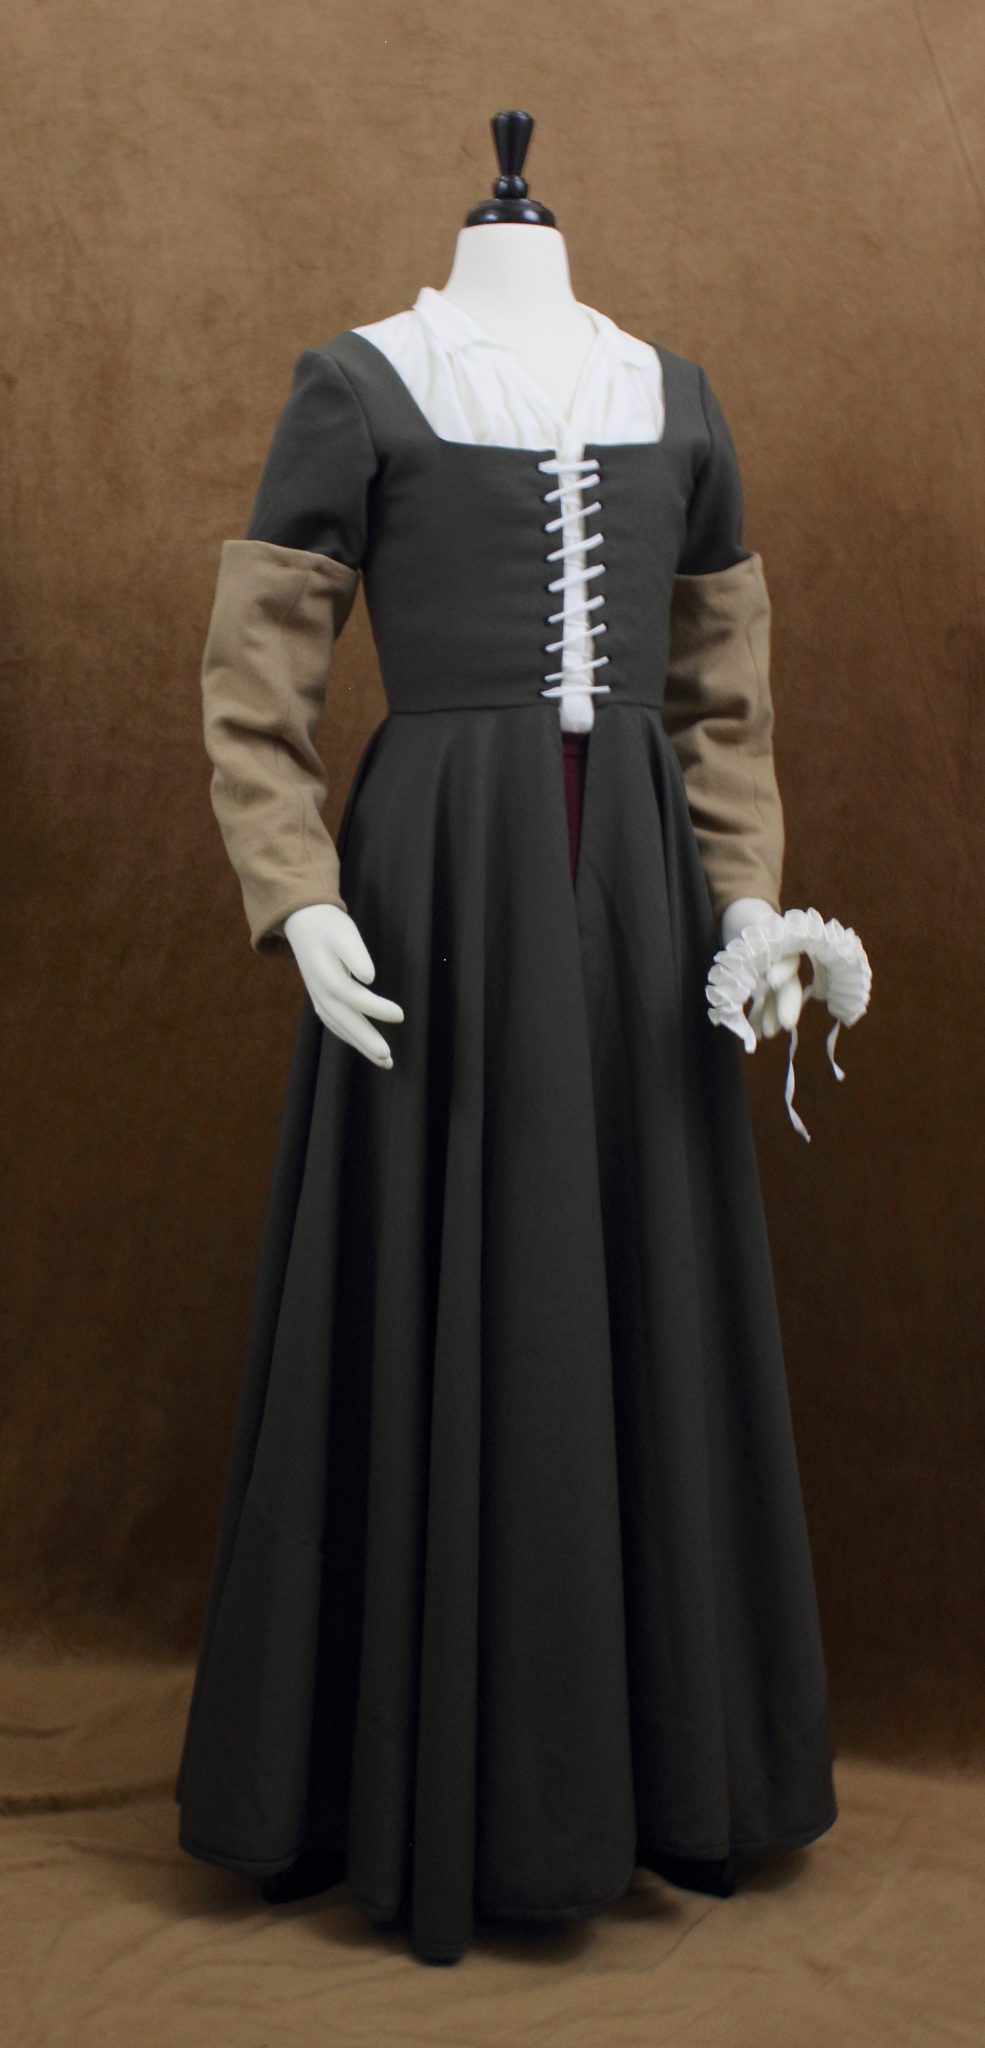
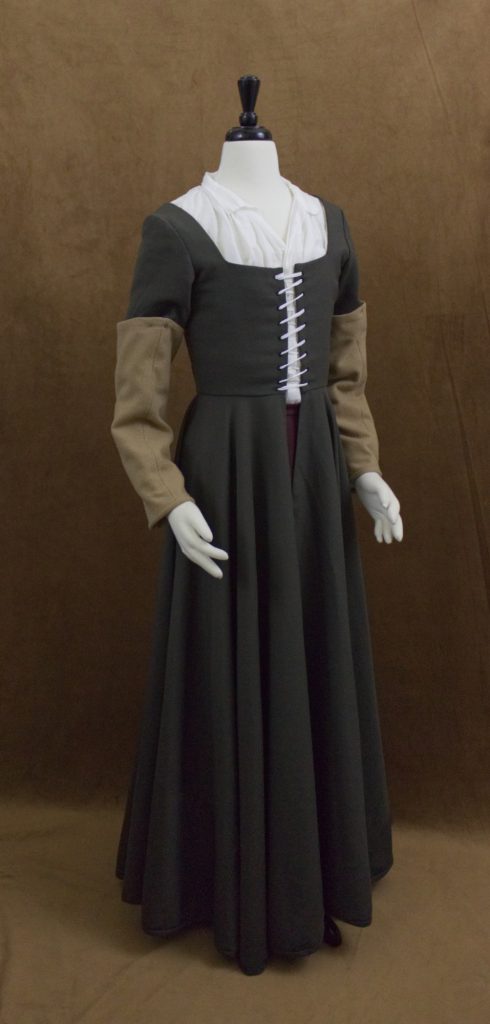
    I started this kirtle in 2014/2015 cutting it from the leftover yardage of the olive fitted gown and an old bodice block I drafted on newspaper. This kirtle differs from ones I’ve made before in that it has a very full skirt (possibly too full) and half sleeves.

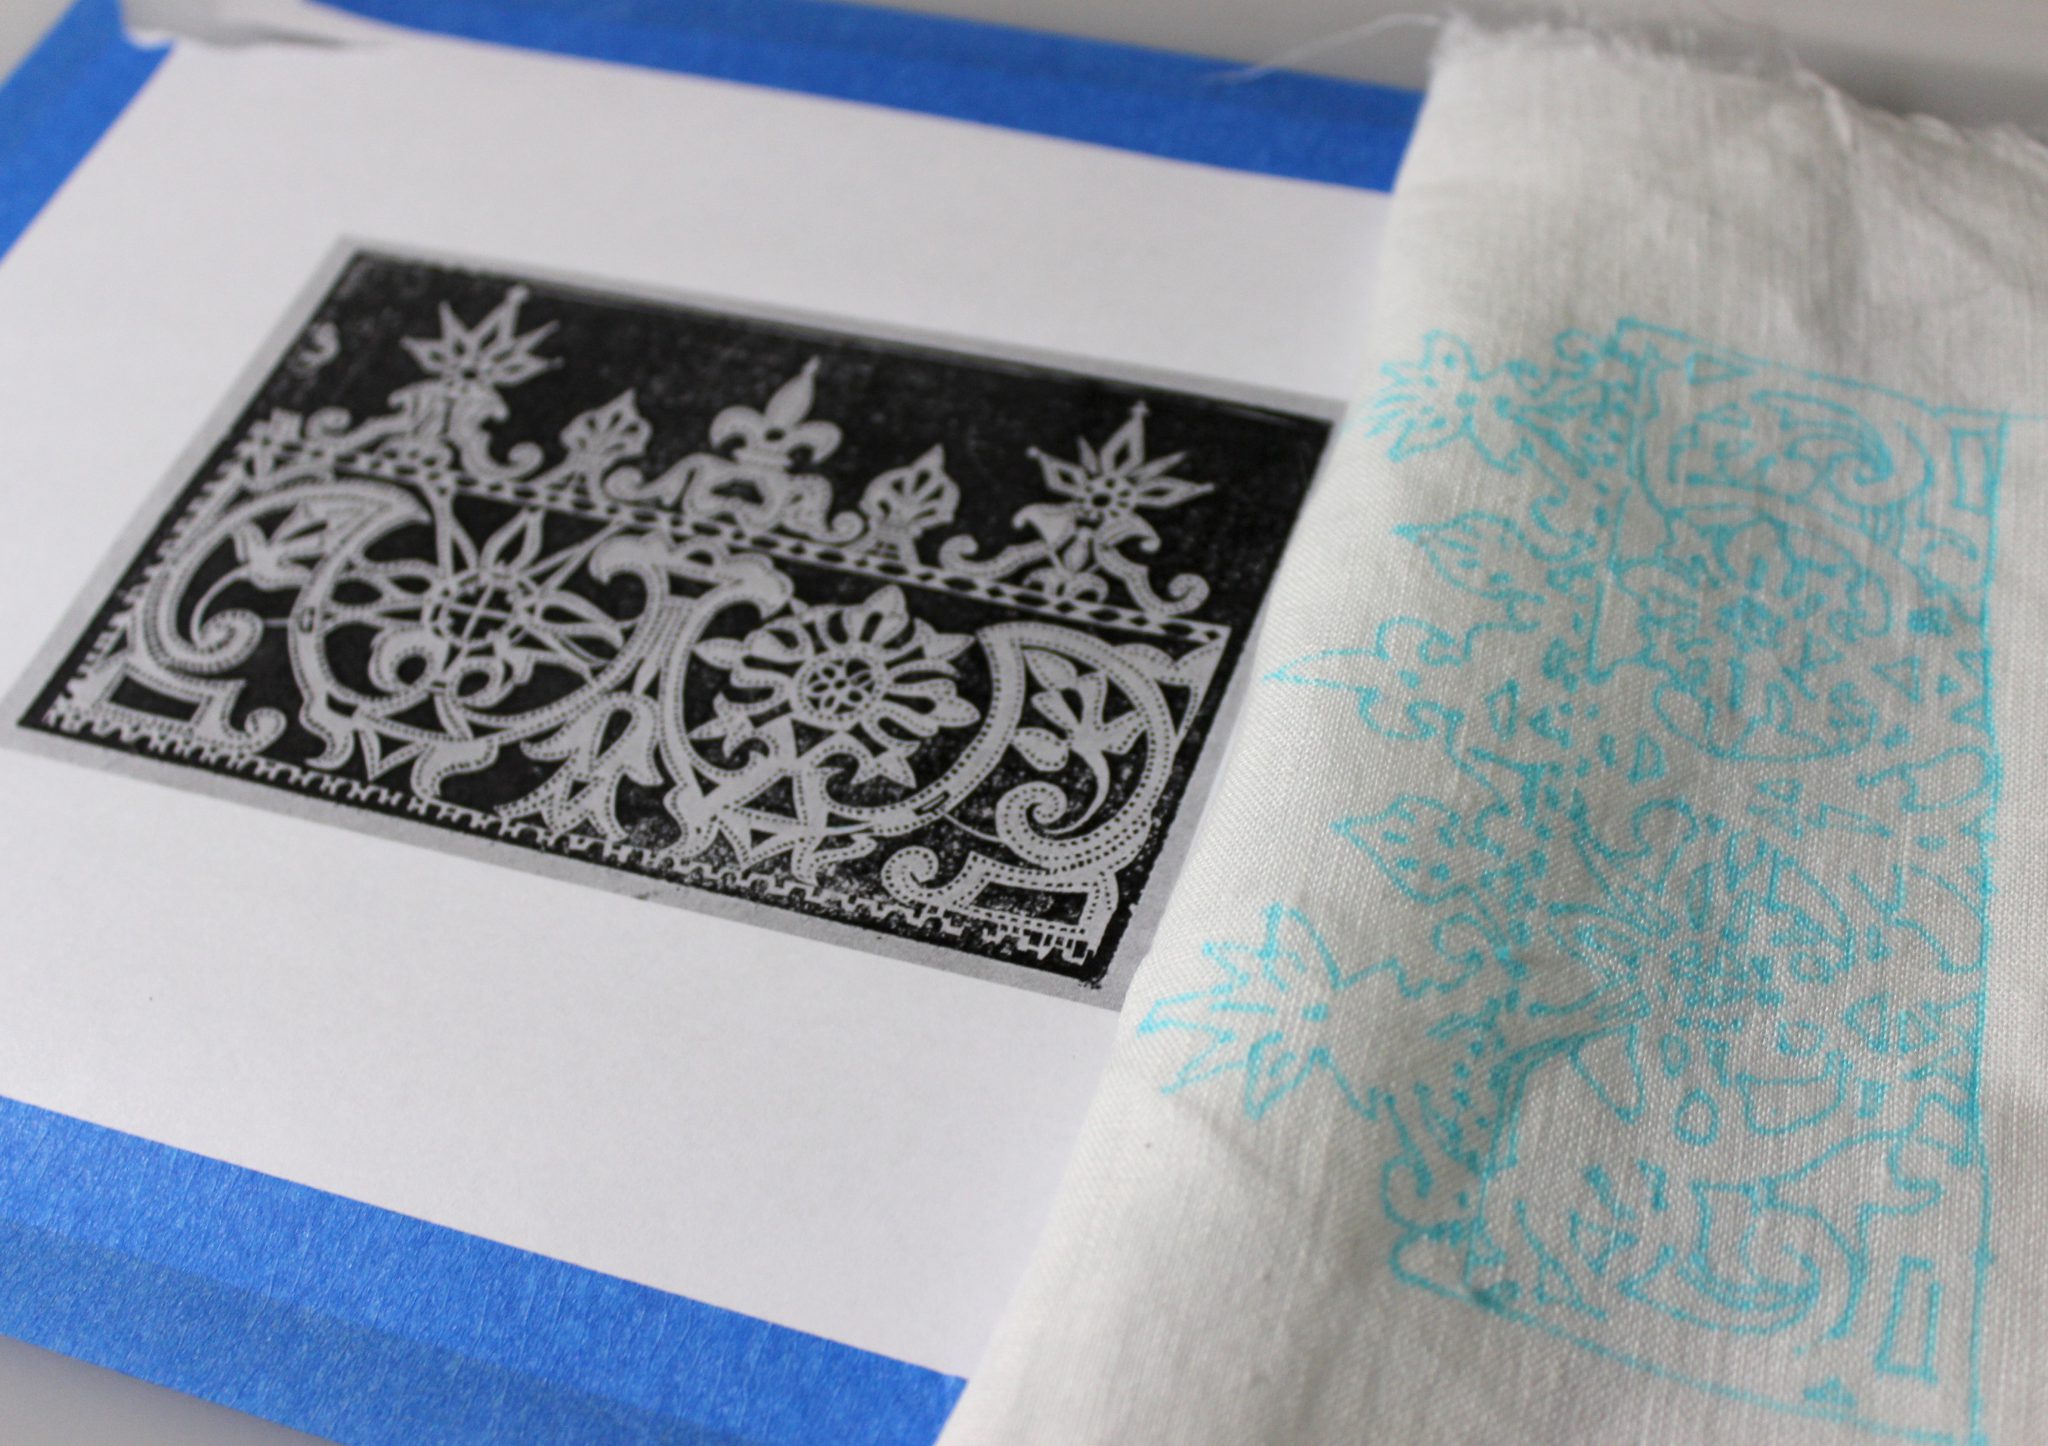
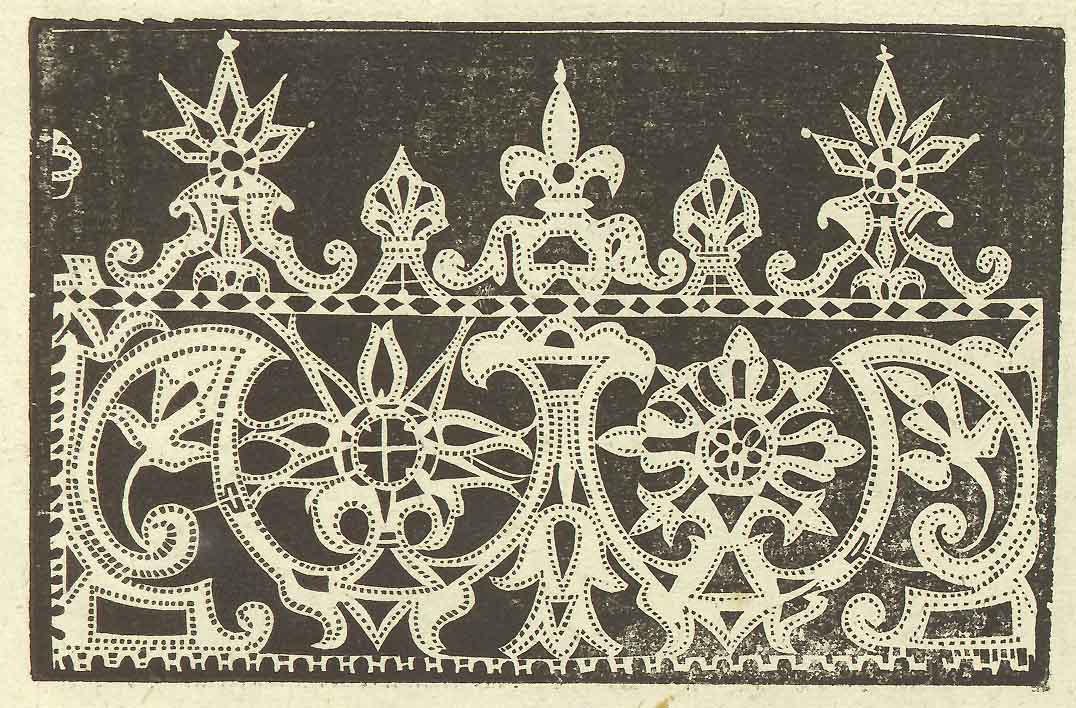
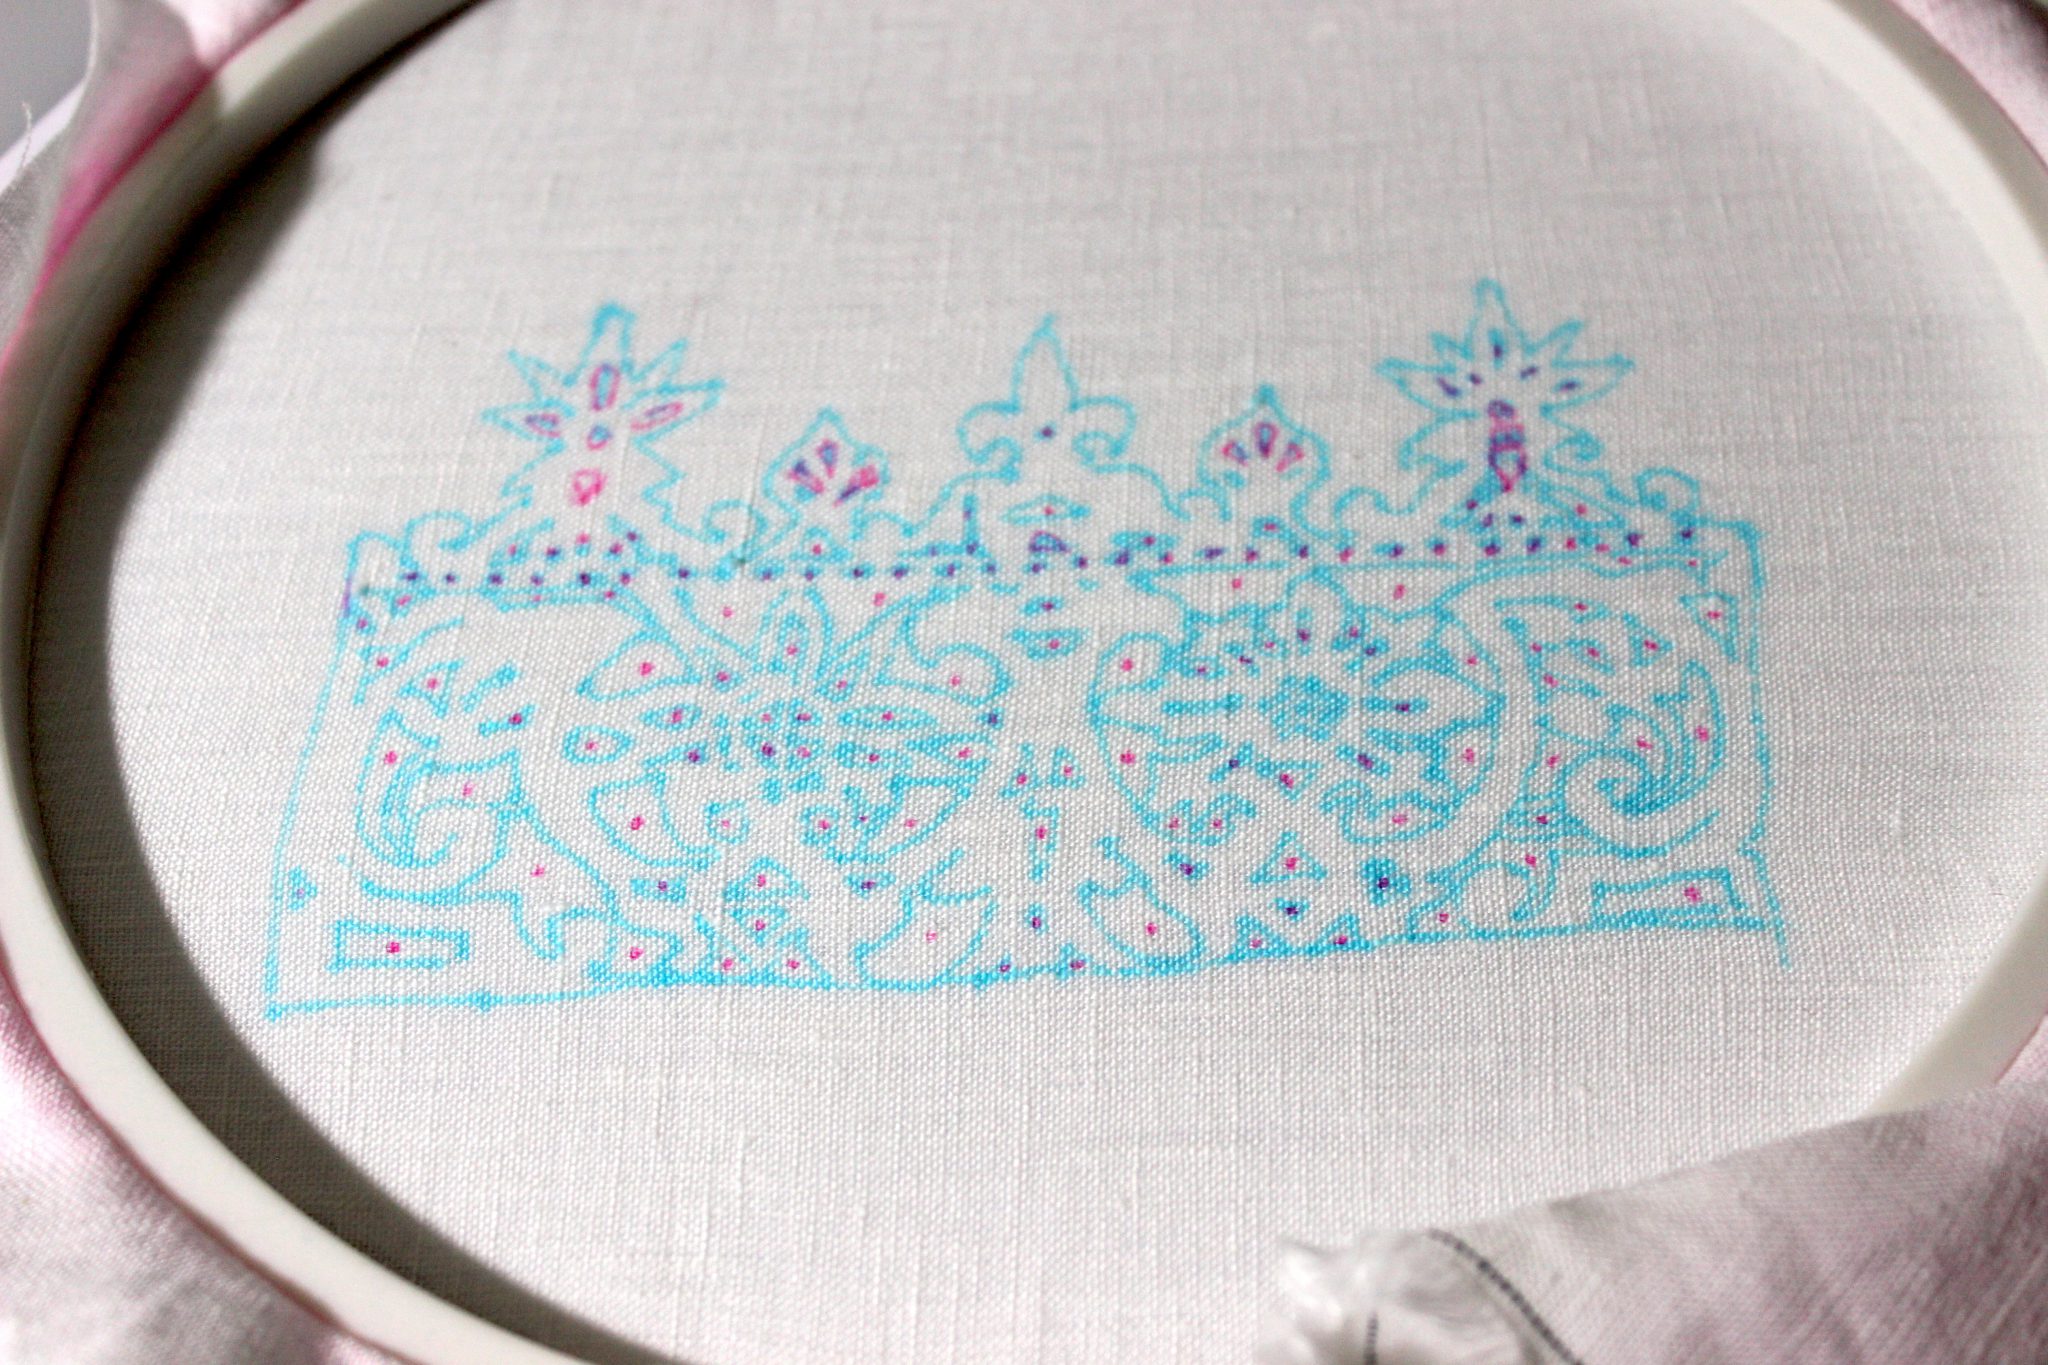
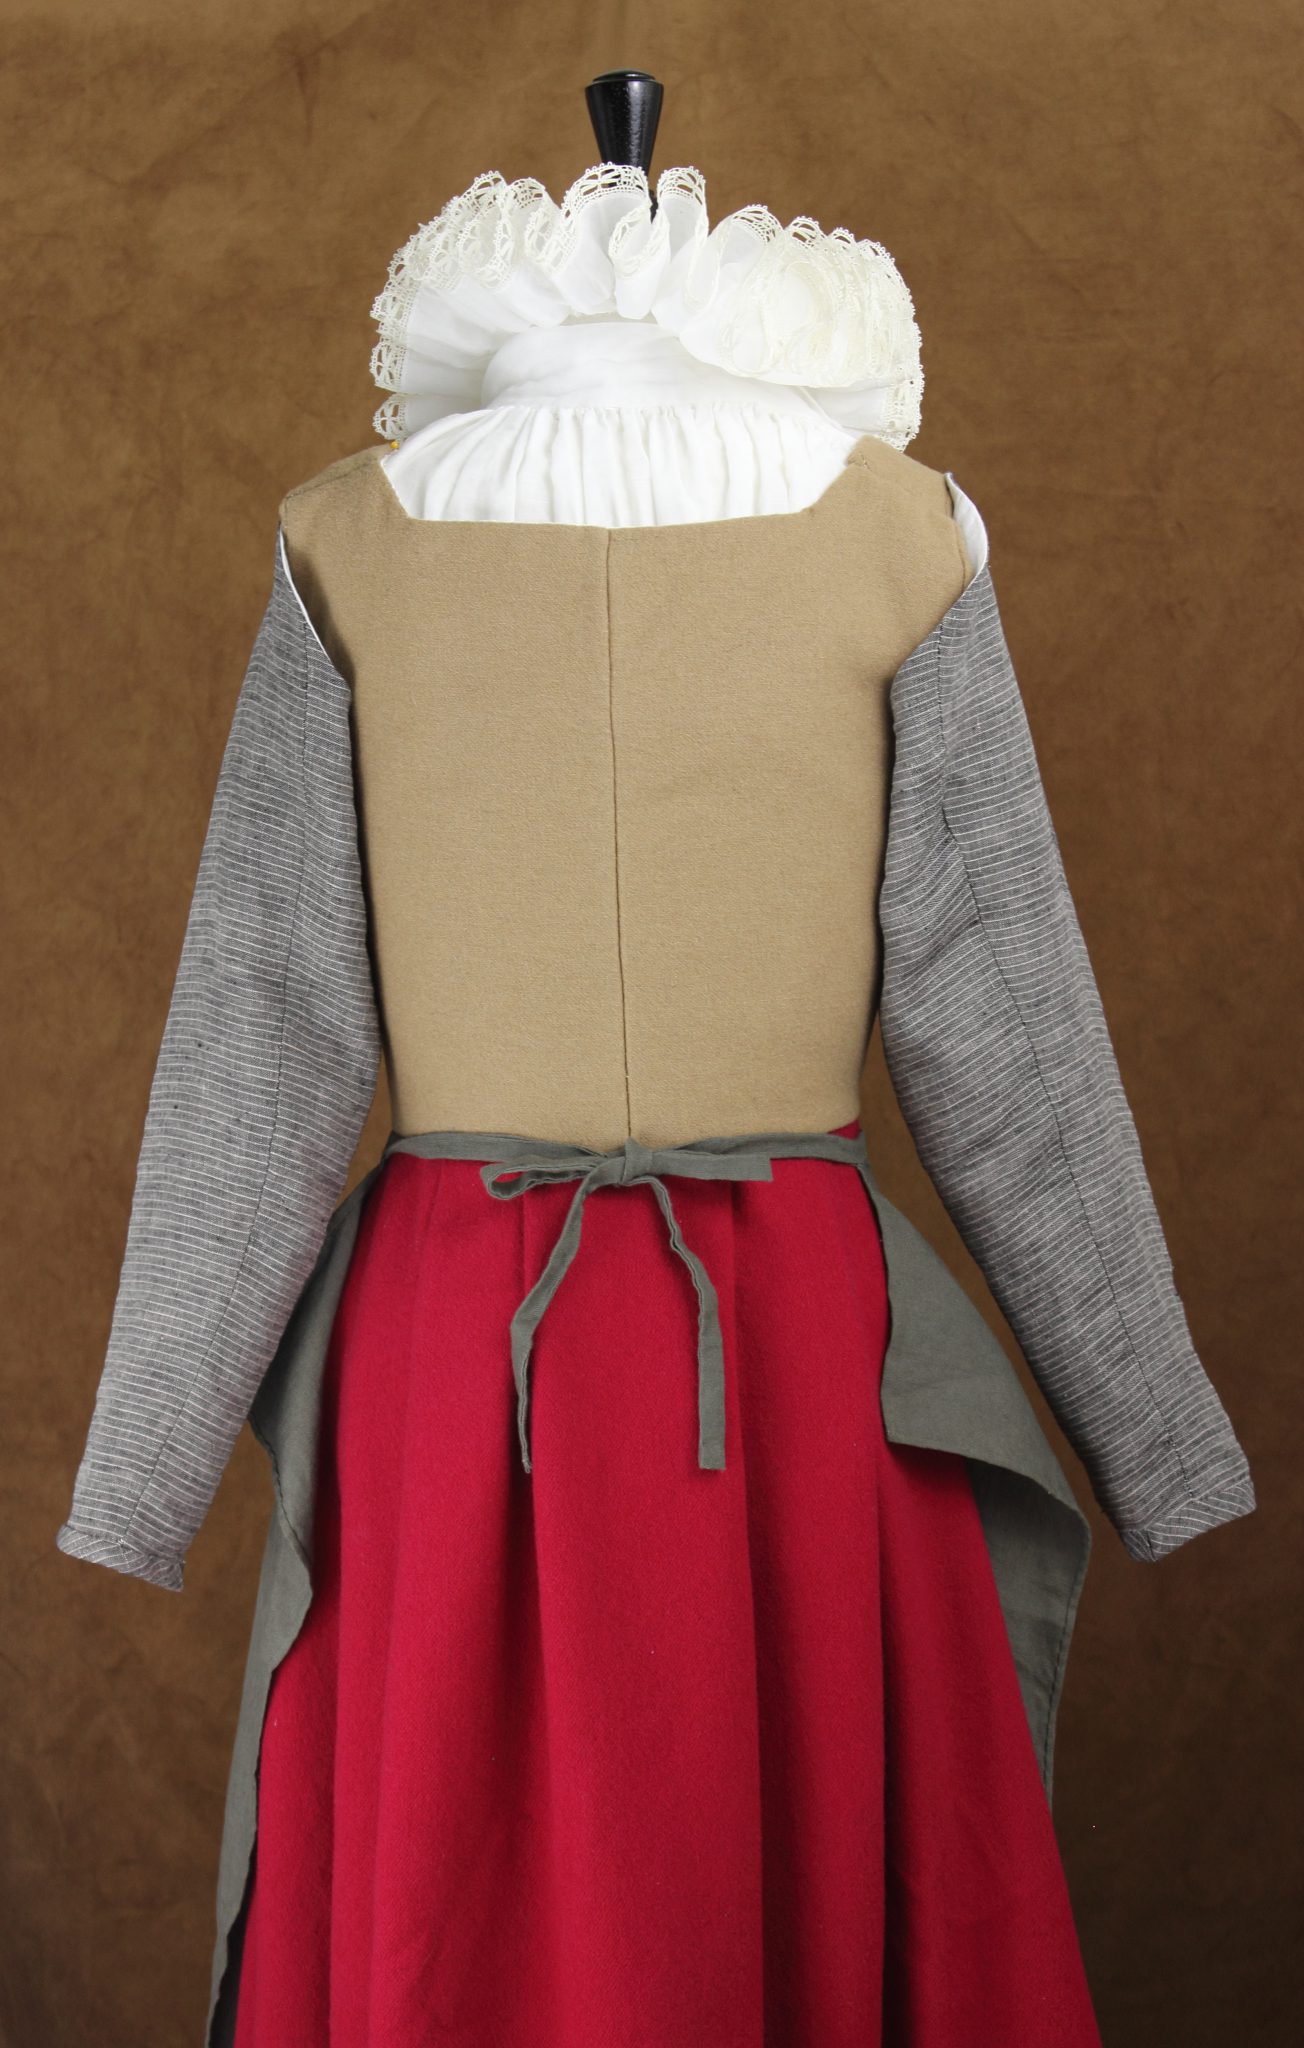
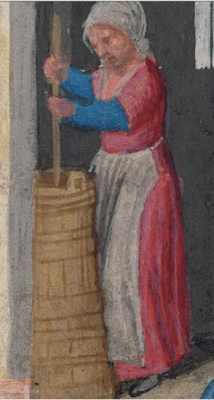
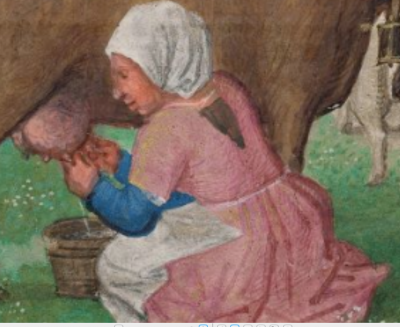
    Images from the Da Costa Book of Hours at the Morgan Library and Museum served as my main inspiration for the half sleeves. I did not try for the deep V back neckline, I have sloped shoulders and have had issues with the straps pulling if I go too low in the back.

    The whole project lived in a large shoe box through two moves, getting taken out from time to time, worked on and then returned to the box.

    This year I was determined to finish it. If only to make sure I wouldn’t misplace the half sleeves again.

    I already sewed the skirt together, so that left me with the bodice to wrangle.

    Building the Bodice

    • Pad stitch interlinings by hand
    • Flatline to bodice
    • Cut bodice linings
    • Baste bodice and try it on
    • Adjust the bodice to fit and piece shoulder seams
    • Sew the bodice
    • Hand sew in the bodice lining
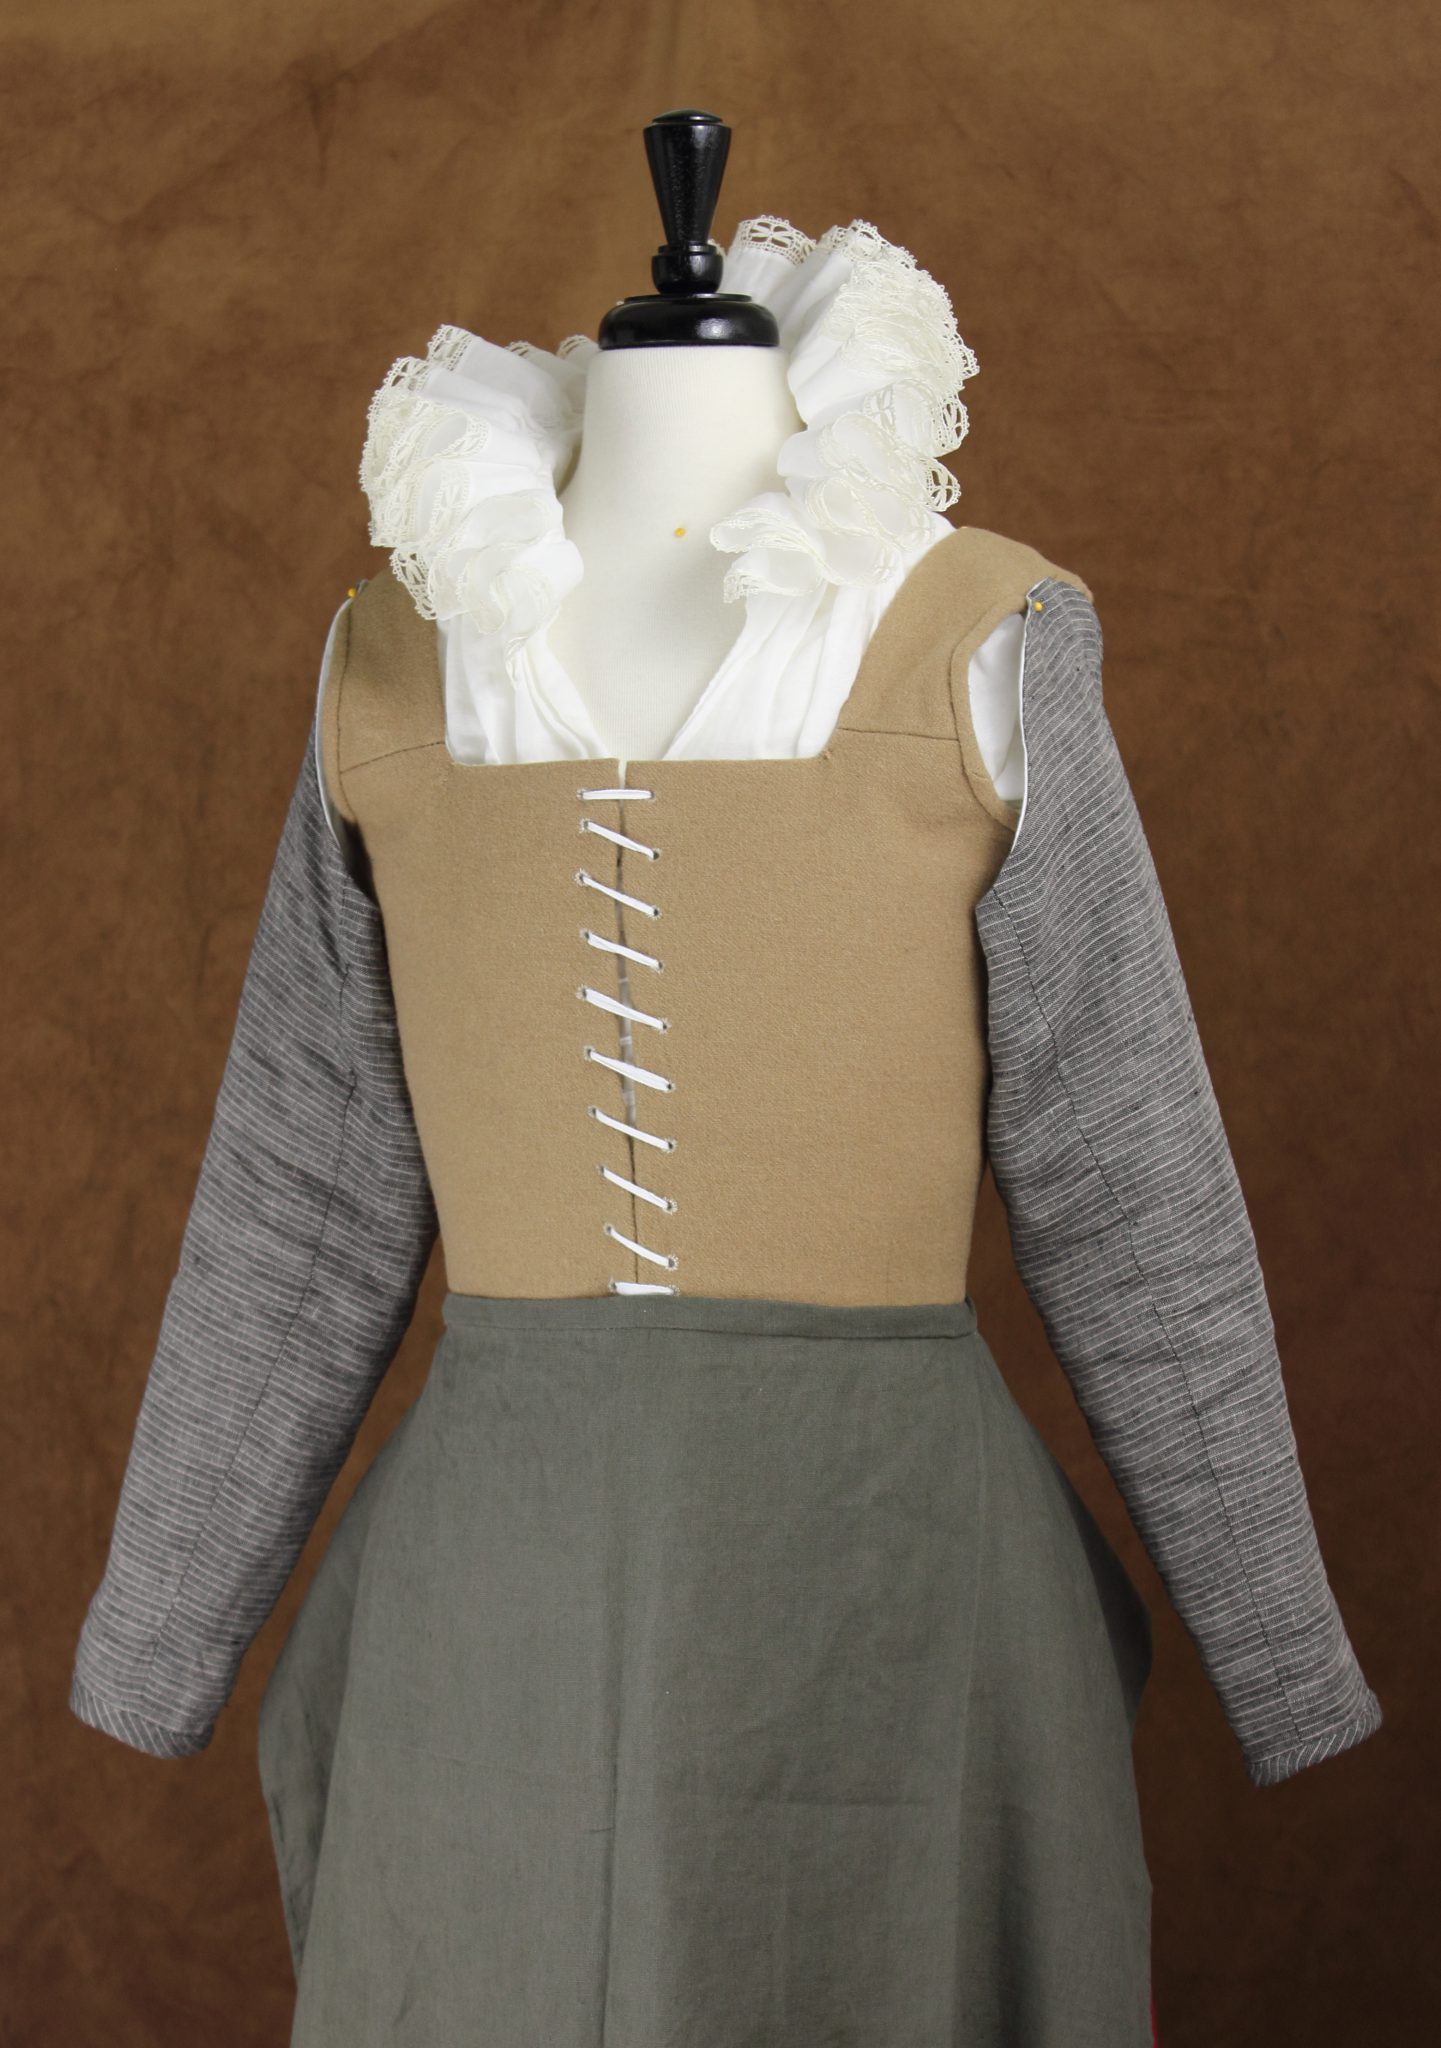
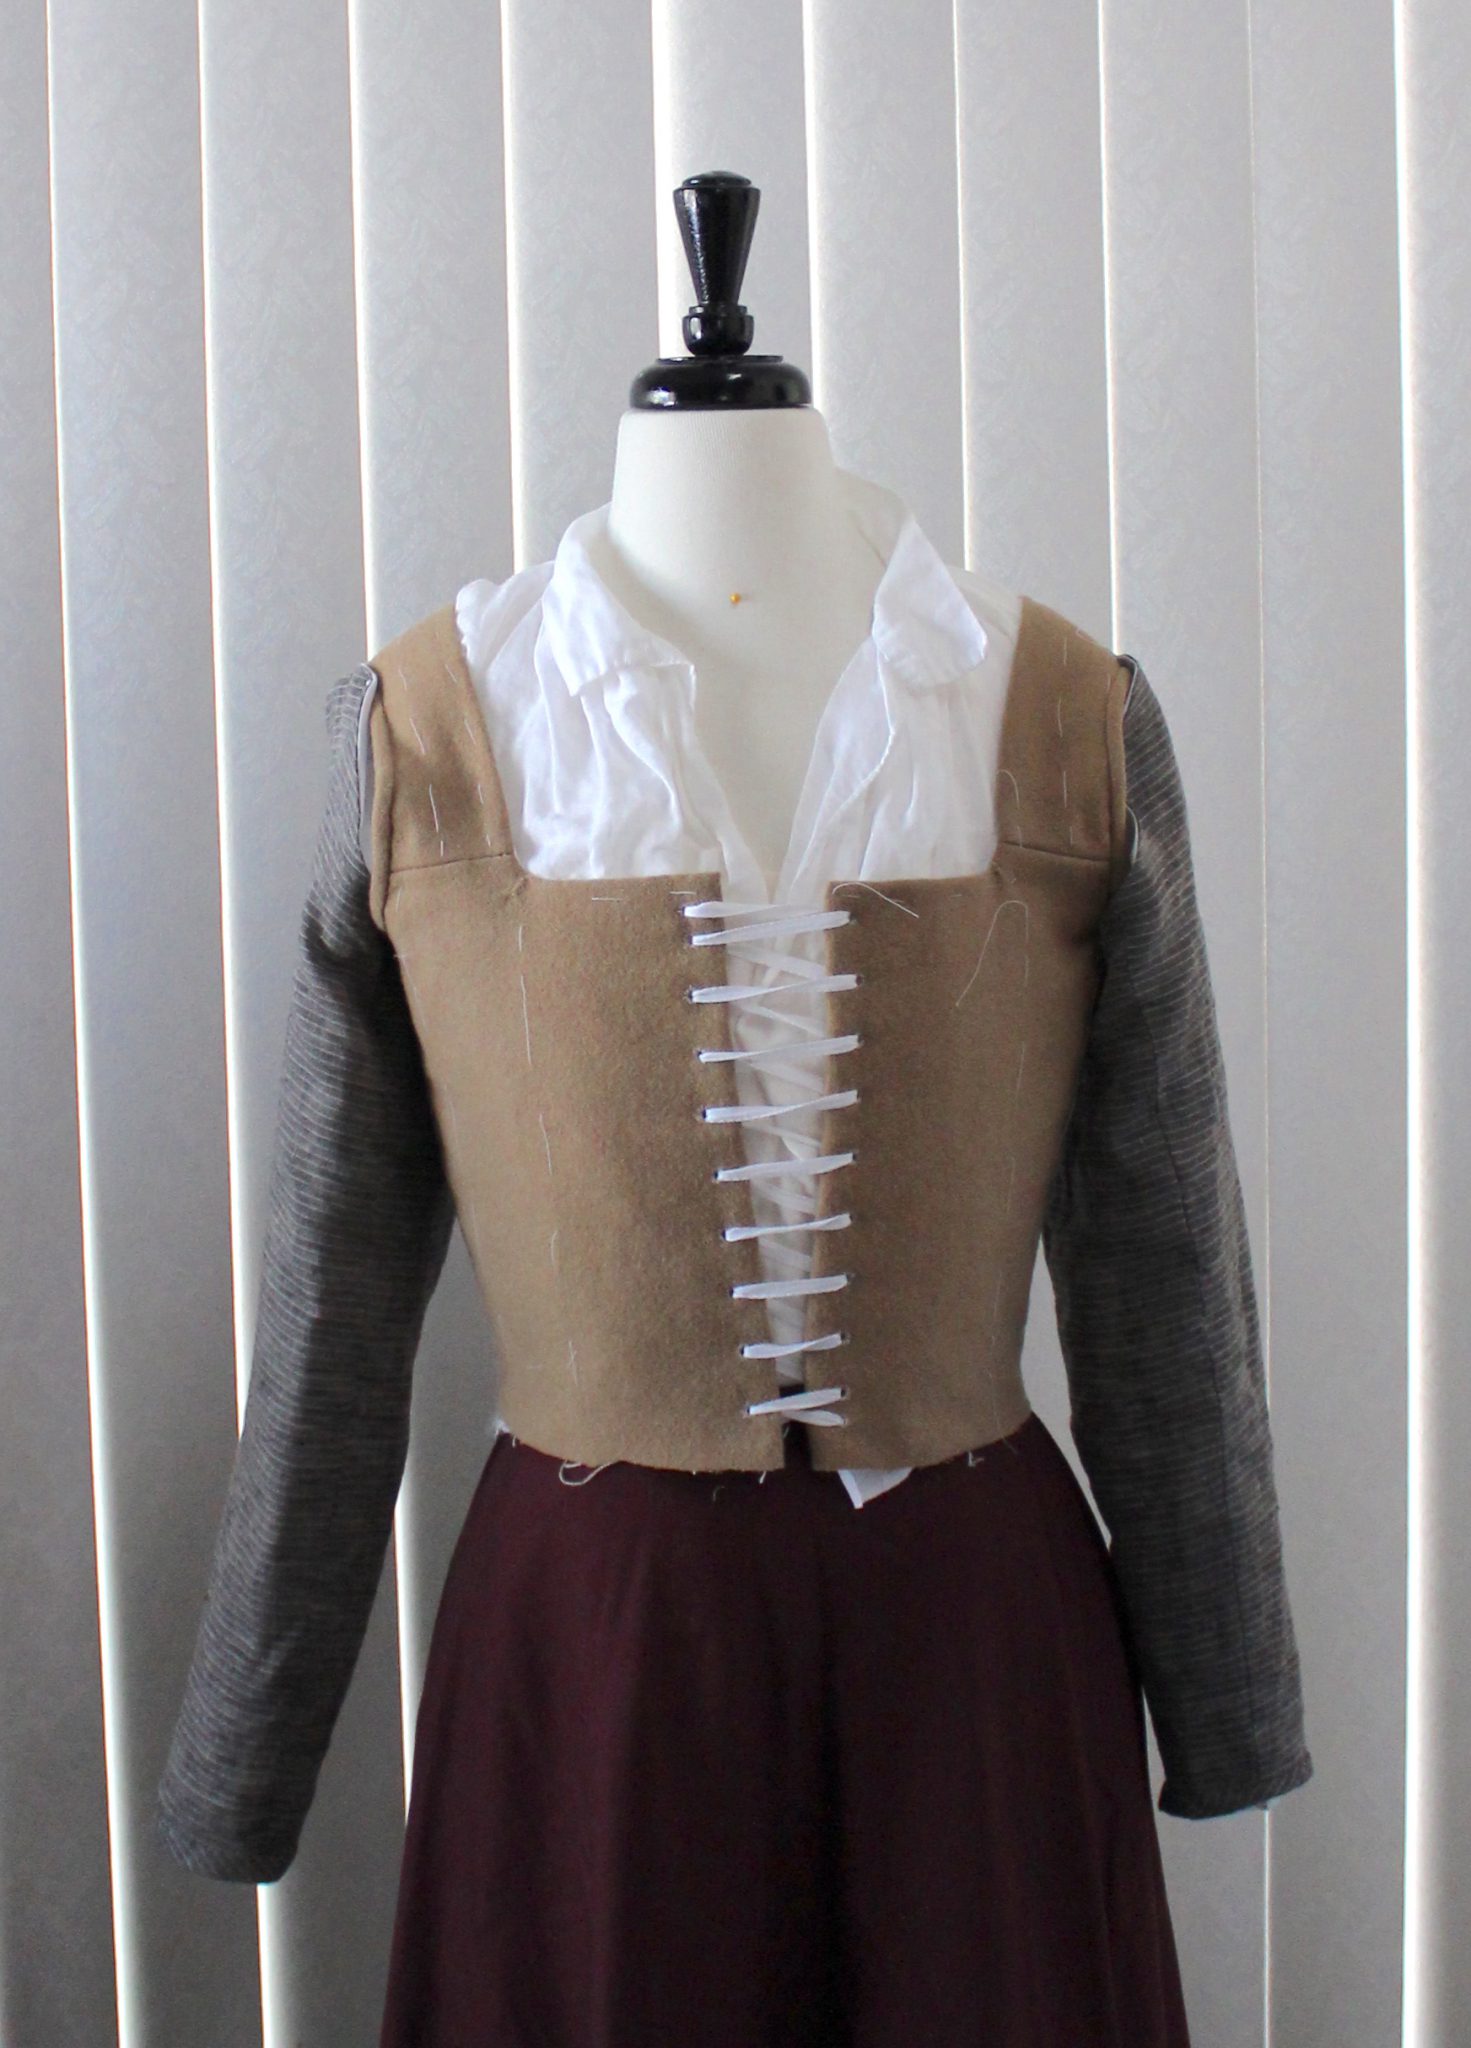
    • Hand sew the eyelets in black silk twist
    • Sew shoulder straps
    • Test fit sleeves and cut the lining
    • Sew sleeves
    • Set the sleeves
    • Bind the armscye

    To piece the shoulder straps I made small lined rectangles and whip stitched them in by hand. I’ve done this a few times before, but I’m not fond of how bulky the area becomes with all the seam allowances building up in that small area.

    shoulder strap piecing

    The sleeve head is looking a little sad in the photos because I have mannequin arms stuffed and pinned onto a dressform they did not come with.

    Once the bodice was together I attached the skirt by hand and folded over the bodice lining to hide the join. When I got ready to level out the skirt I realized in my excitement to get every bit of skirt out of the fabric I had I went a little overboard. I was looking at a 6 yard hem to level and bind.

    Speaking of binding, I was down to a handful of scraps.

    This became frankenbinding. Some strips were on the straight, some on the bias, the widths varied and once I had all the binding sewn on I was still 6 inches short. So I pulled some slightly darker wool from the stash and used that.

    skirt seaming

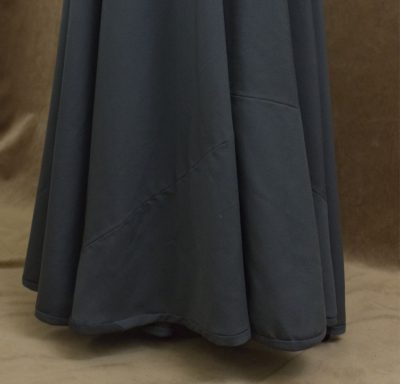
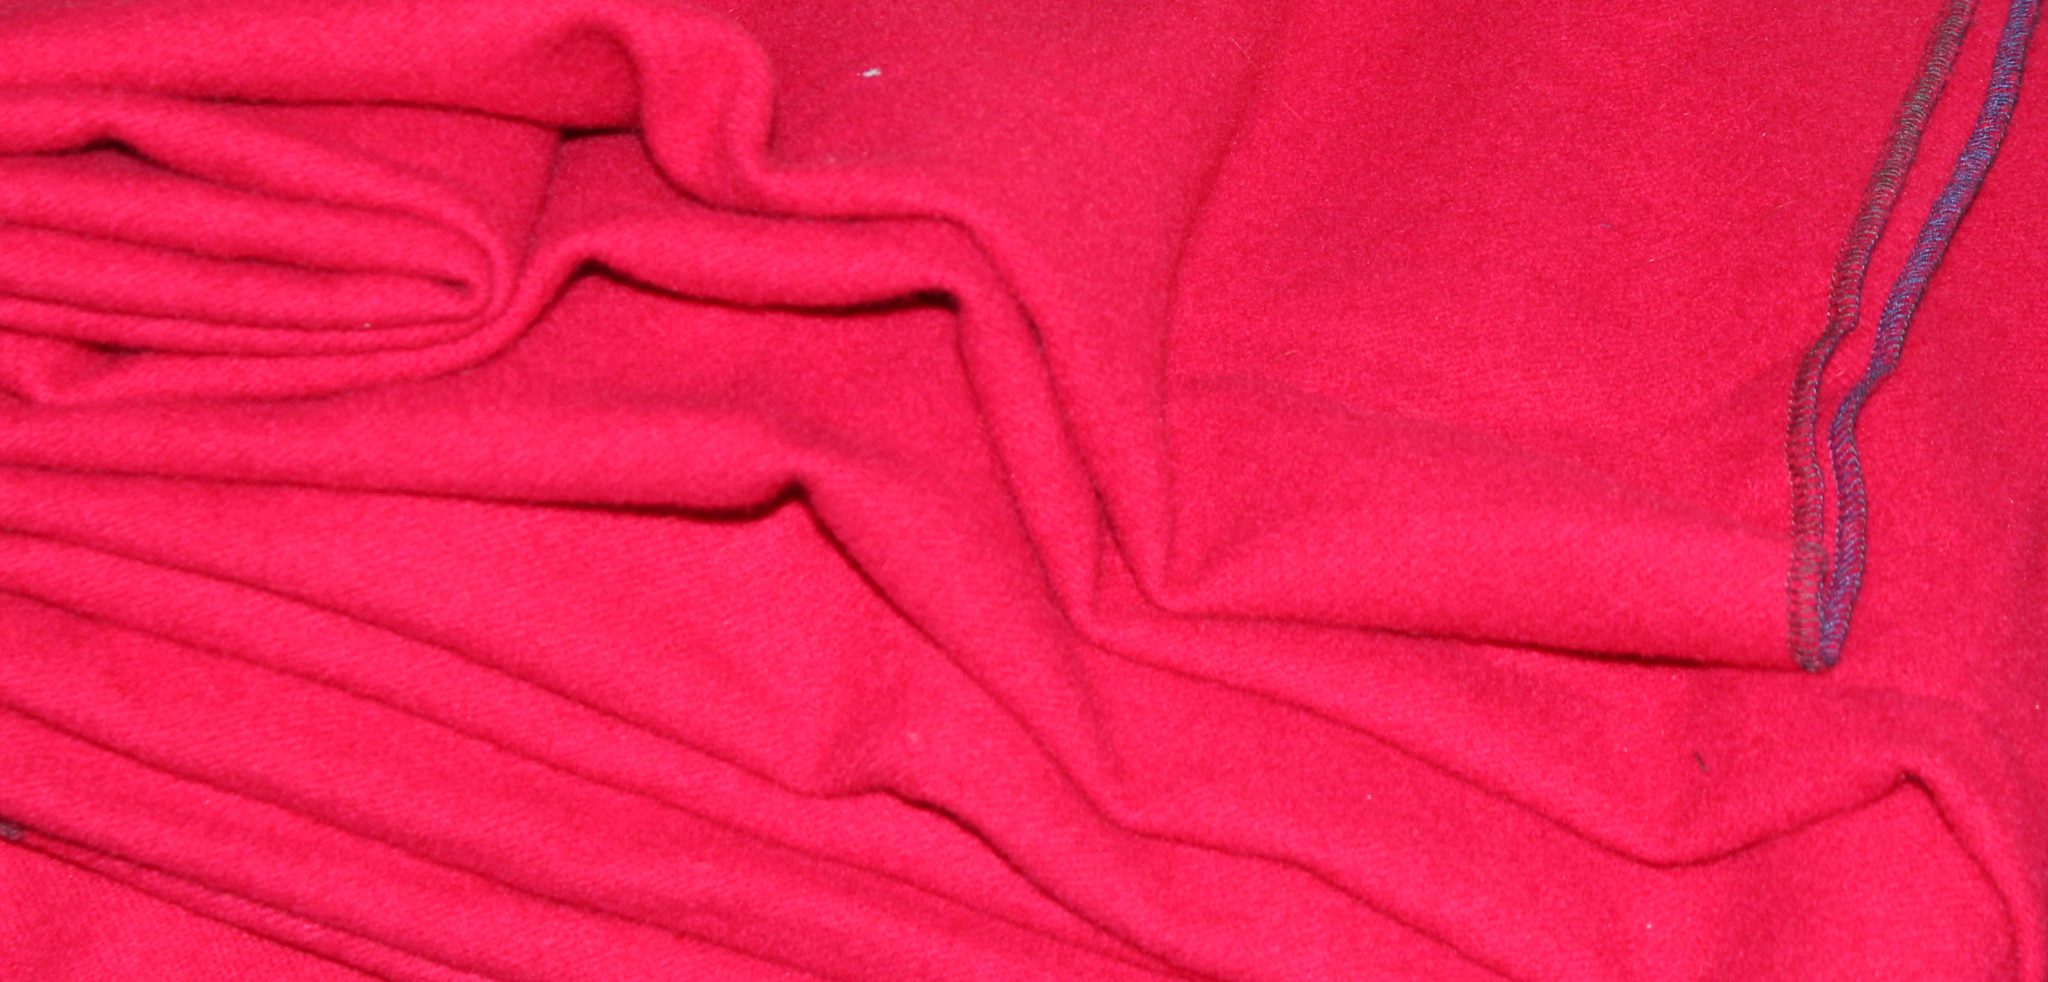
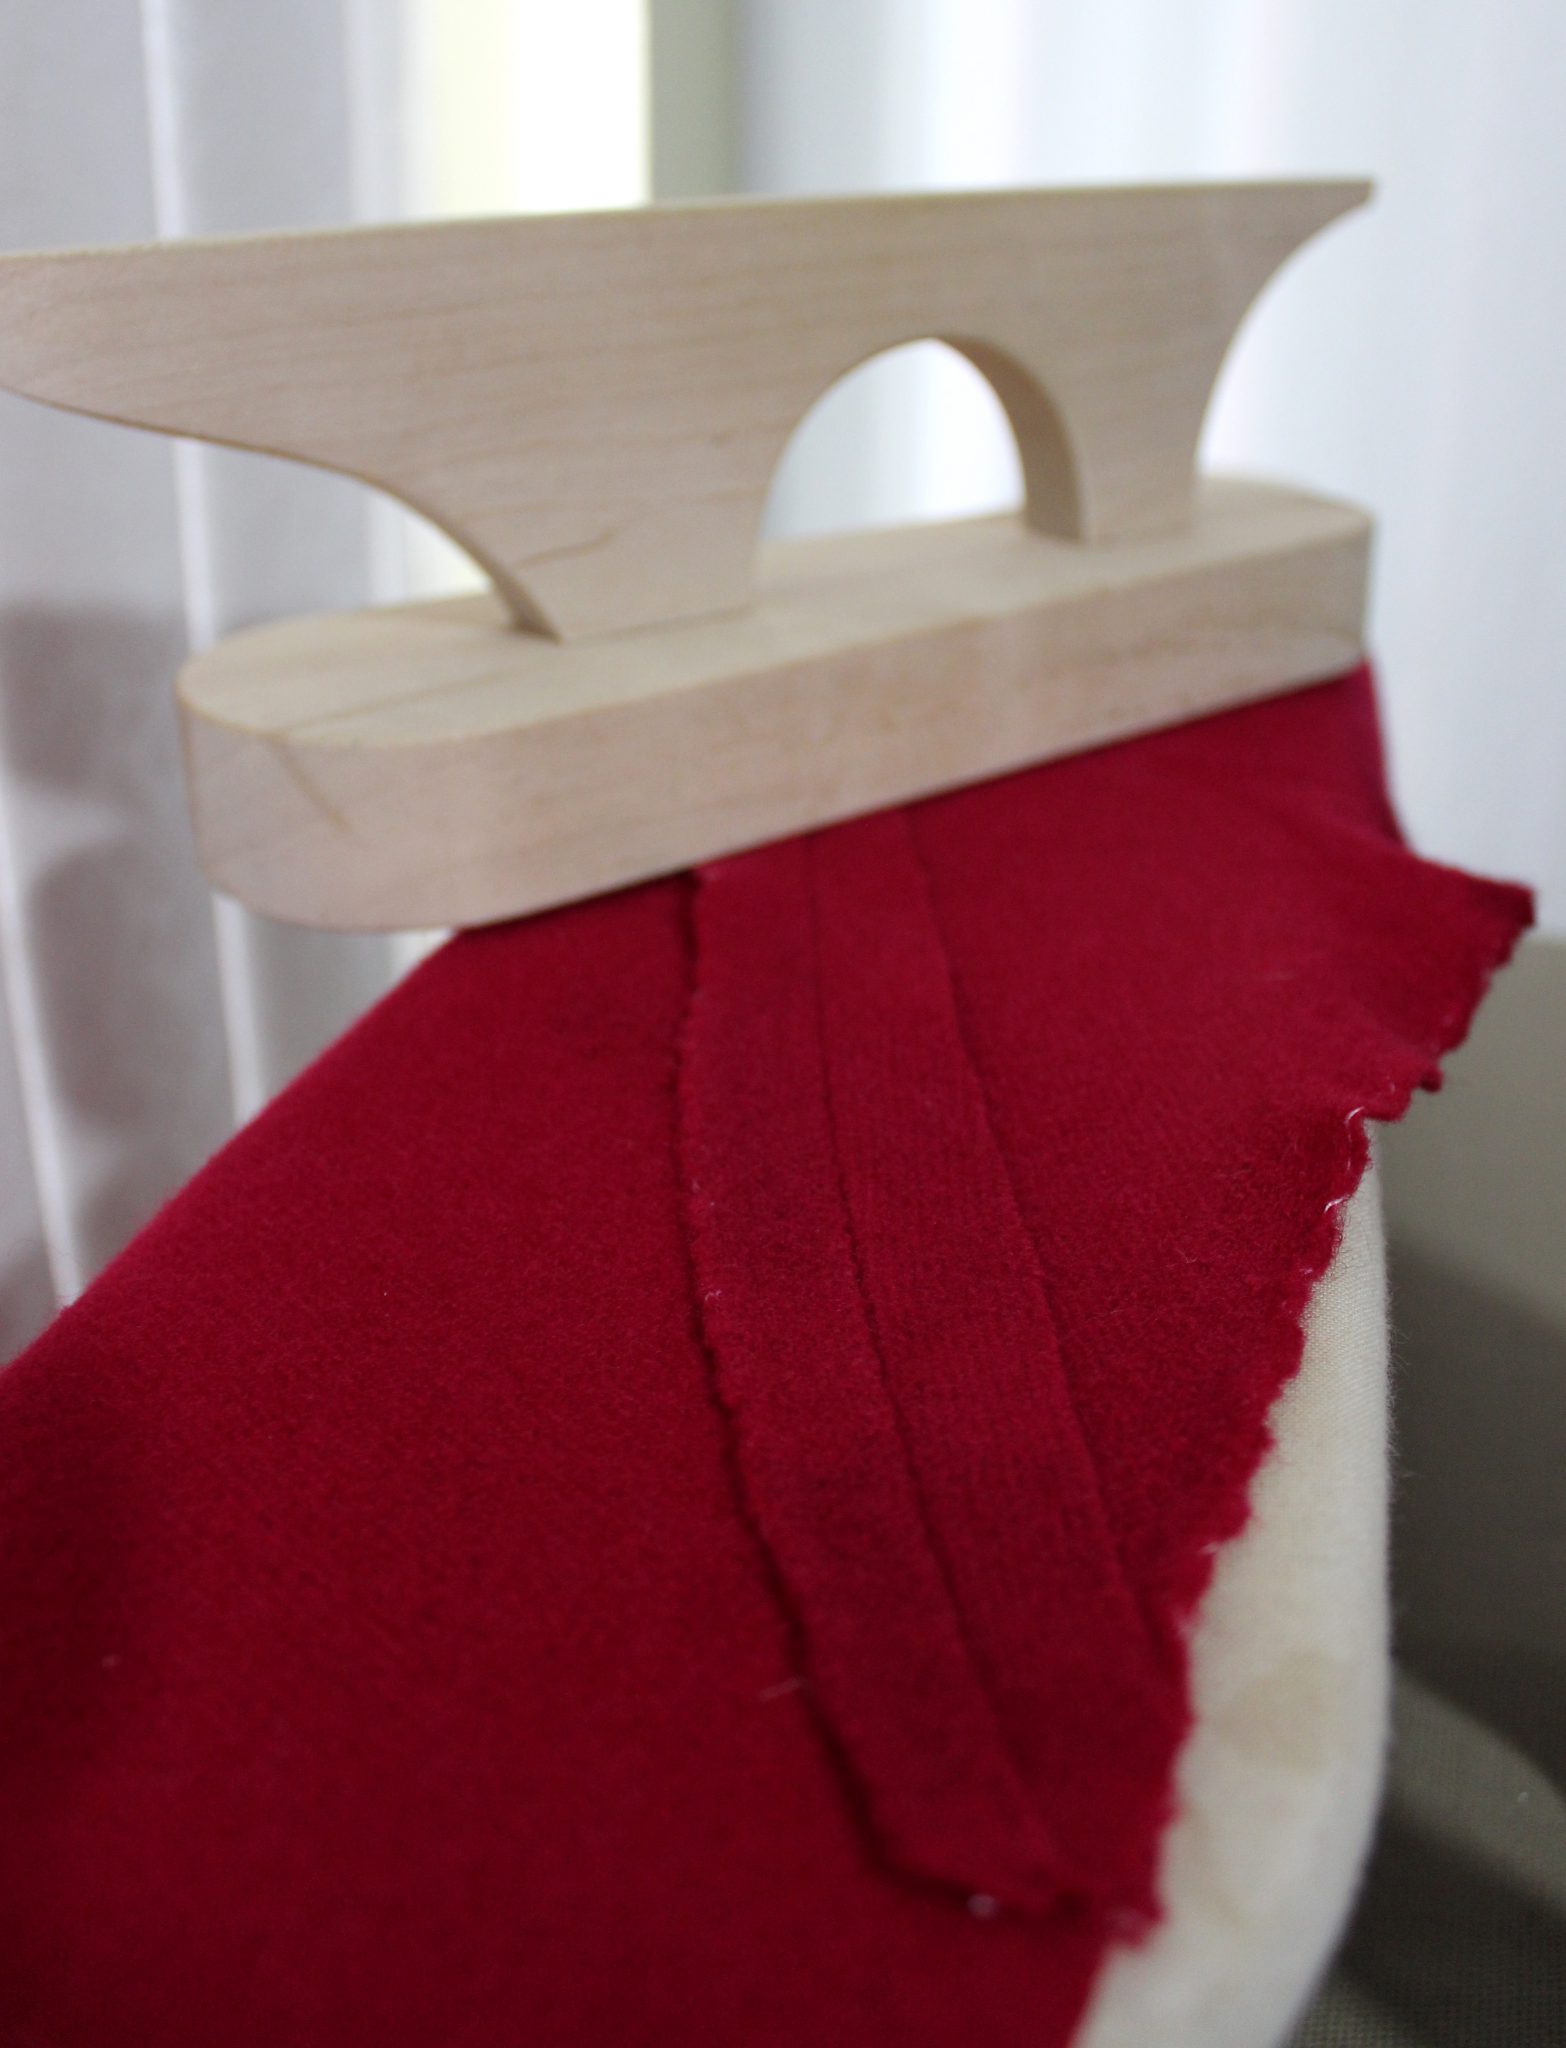
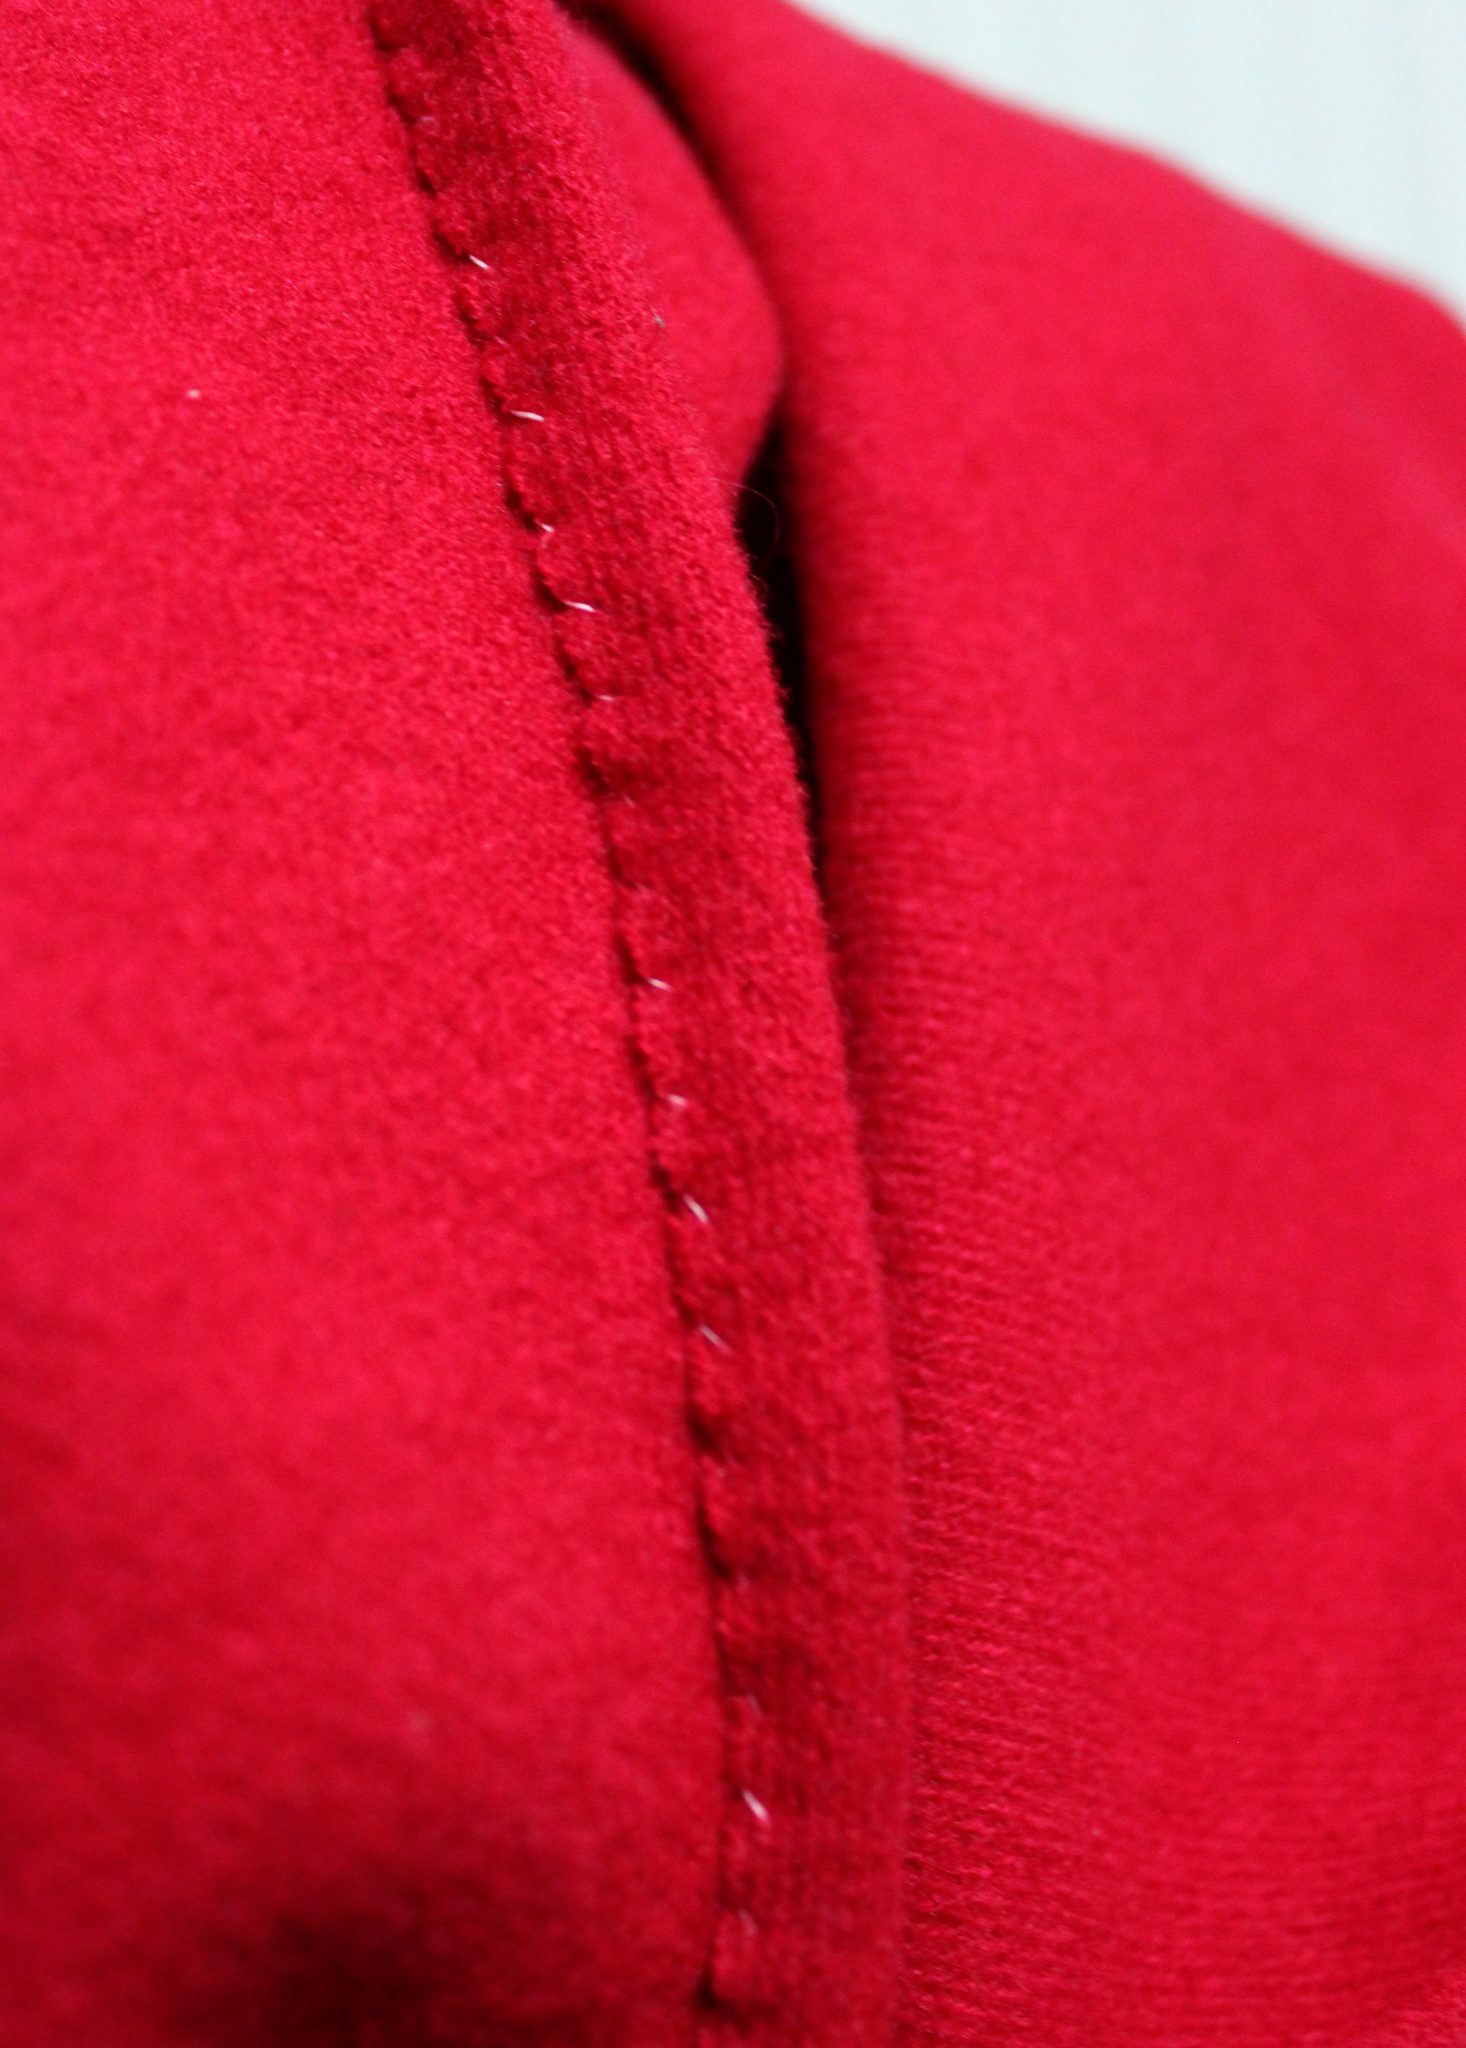
    Once the hem was bound, pressed, steamed and clapped into submission I faced the cold hard reality that leaving my skirt unlined was a mistake. The wool I used for the kirtle is tropical suiting weight, this makes it very breathable and easy to wear but it does like to fray when cut along the straight. Now it was not fraying like some brocades do when you look at them, but it was enough that clipping the threads that worked their way lose would be bothersome.

    Skirt seams starting to fray

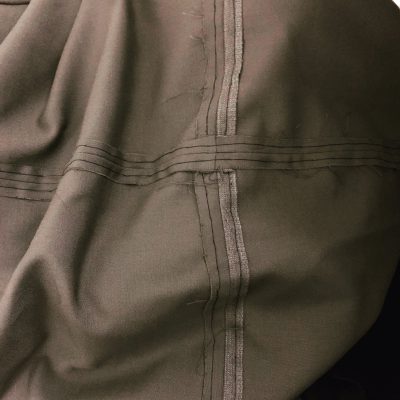
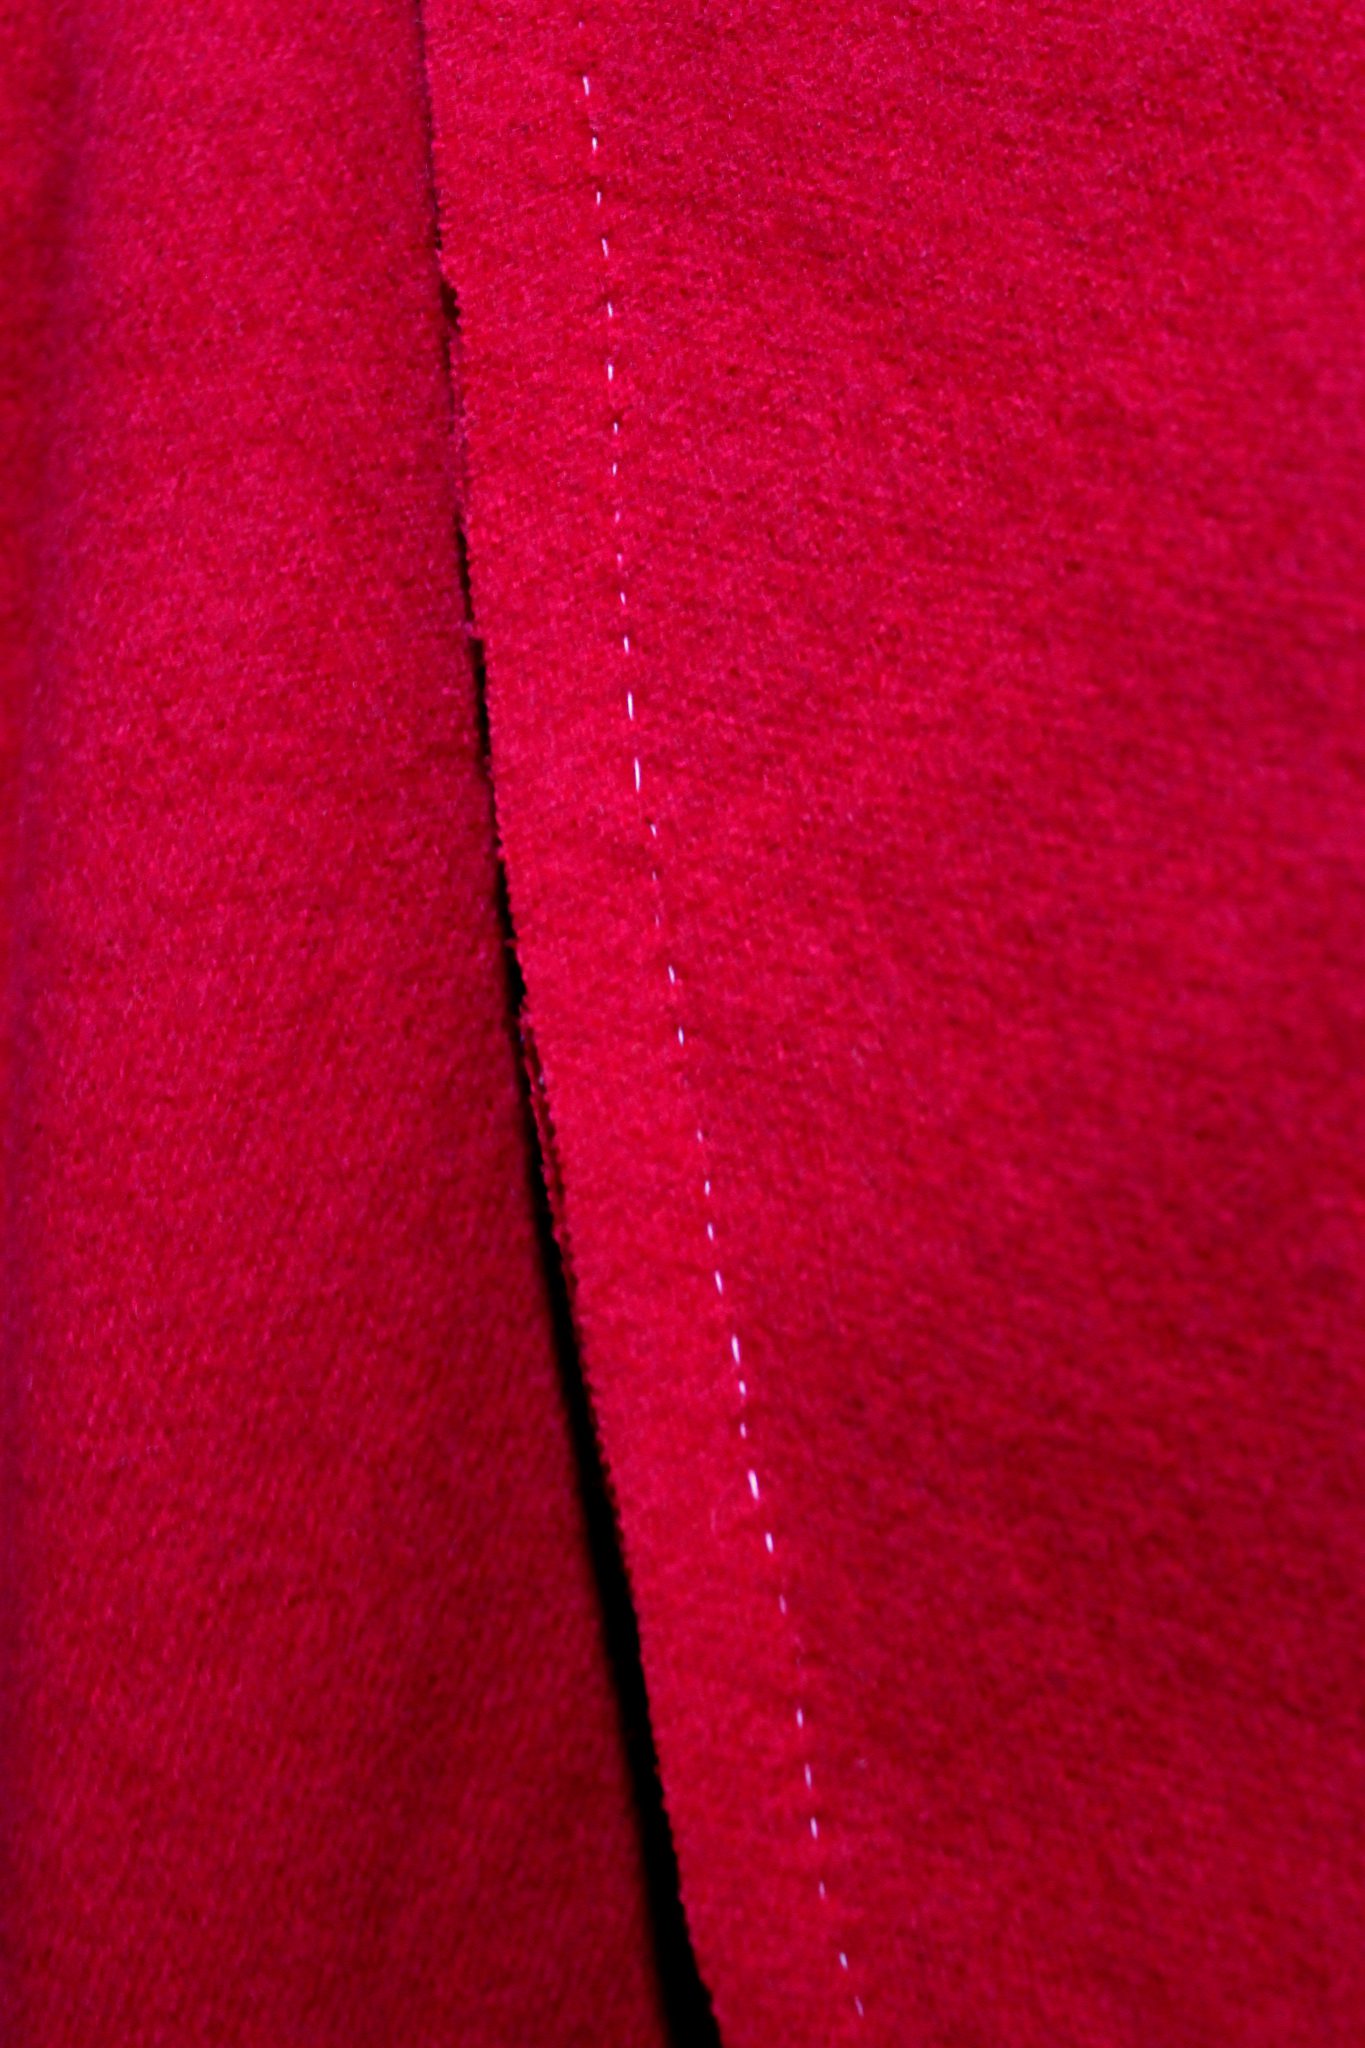
    So I hand sewed the seam allowances down in a bastardized stitch that is a mix of the prick stitch, the running stitch and the back stitch in black silk thread.

    Reenforced bodice corner

    The final finishing was reinforcing the stress points along the kirtle with a very fine whip stitch at the corners of the bodice front and back and at the front skirt seam opening.
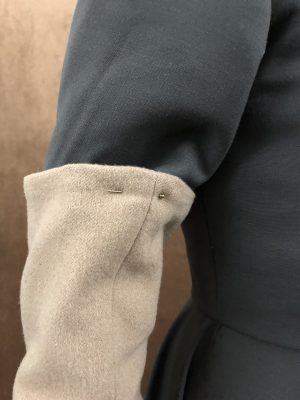
    The Half Sleeves

    Sleeve fabric choices
    Sleeve fabric choices

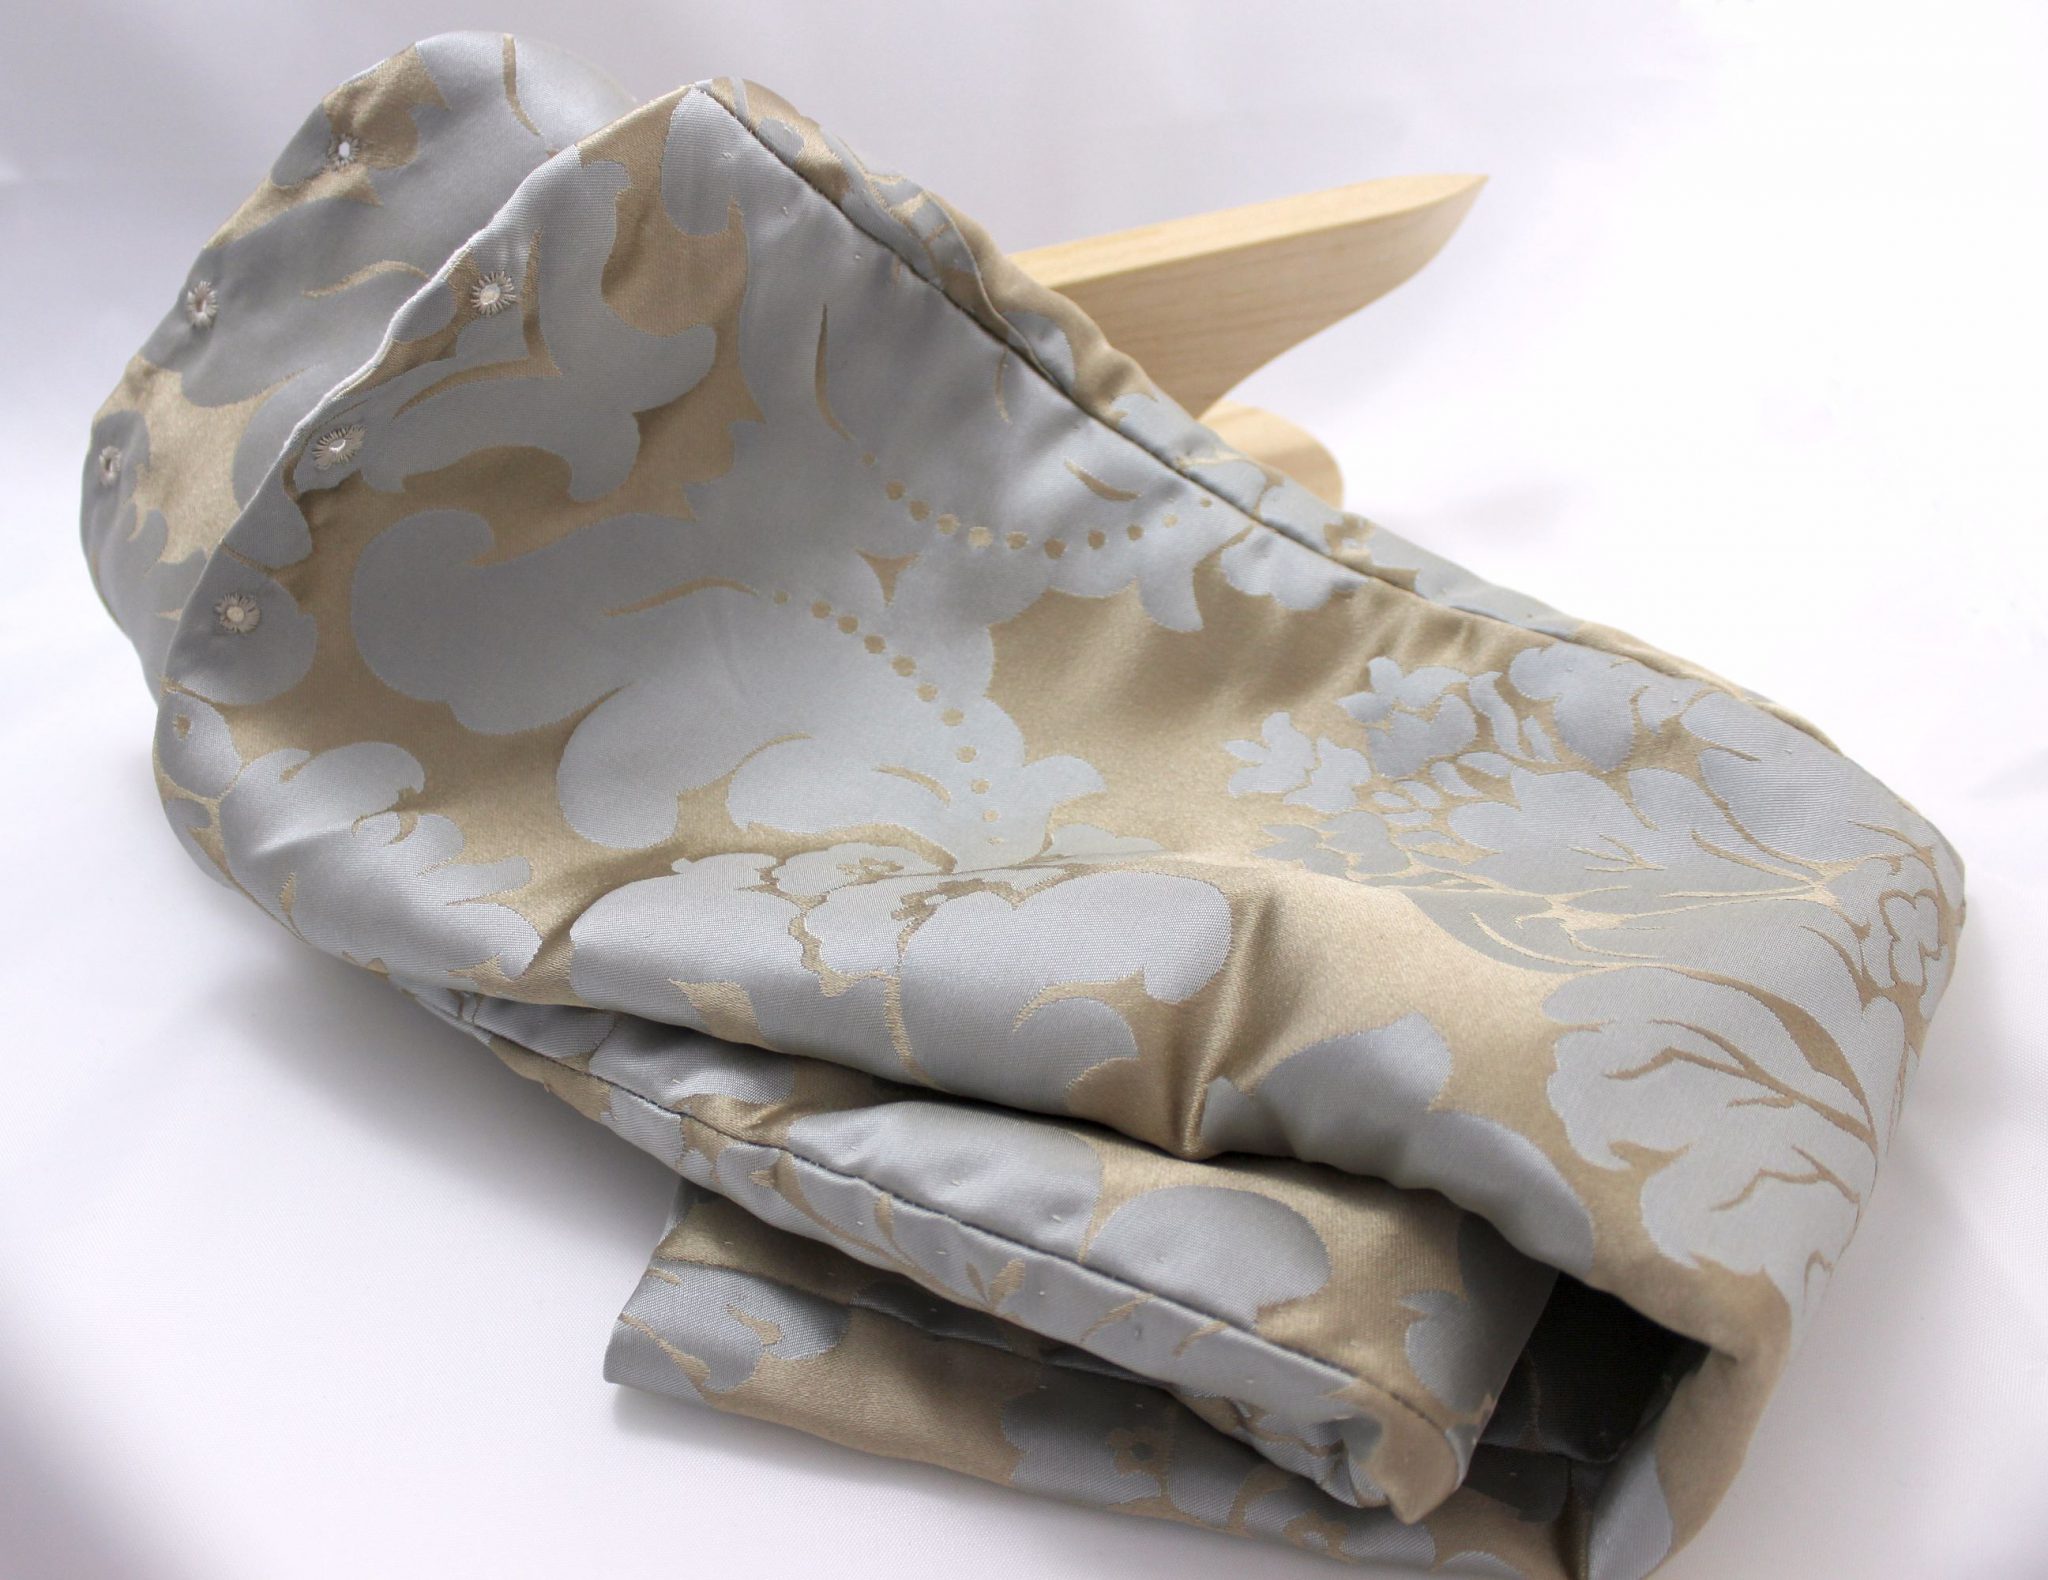
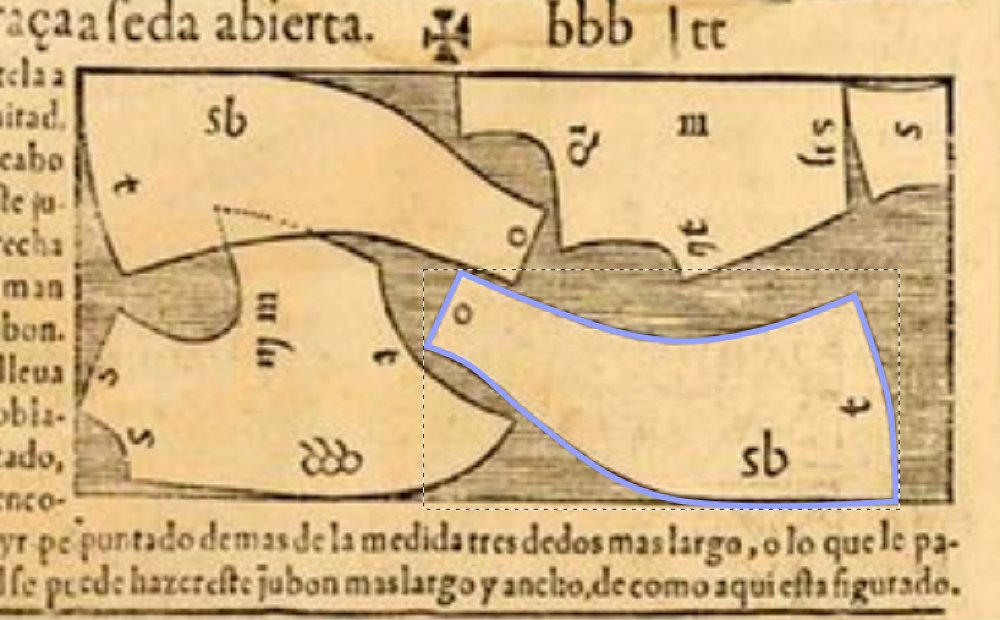
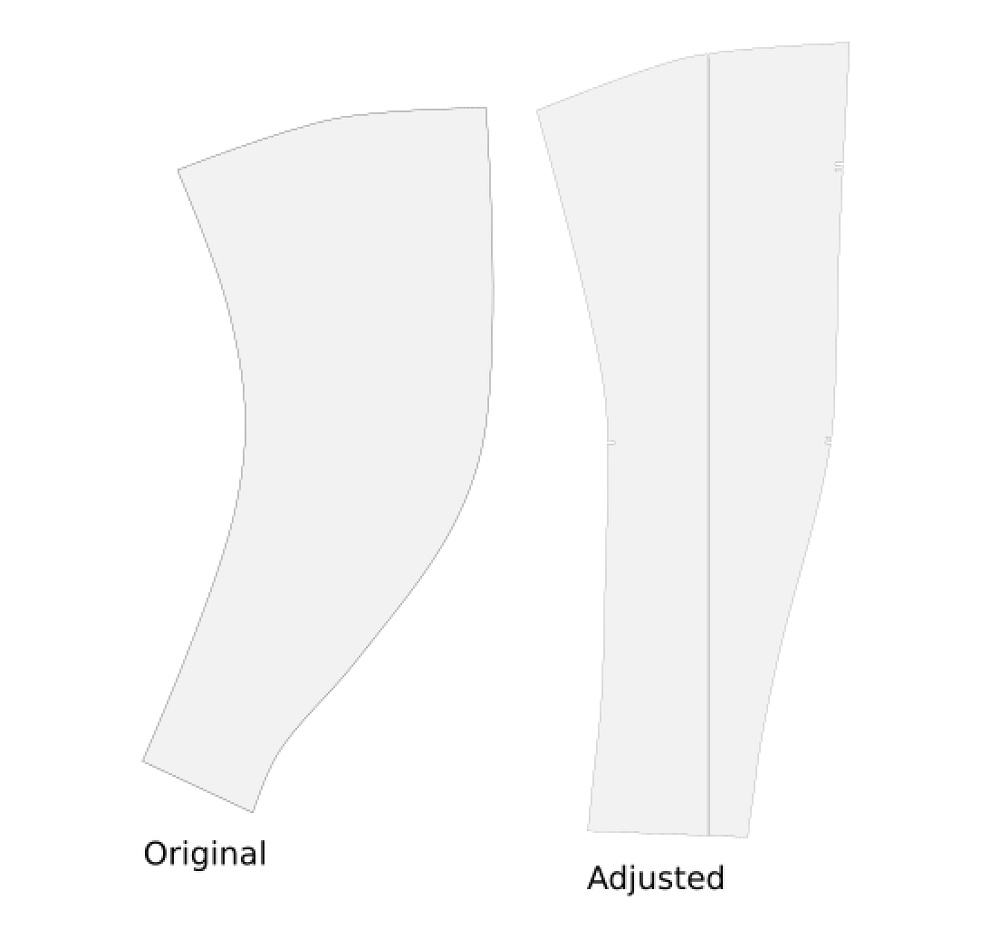
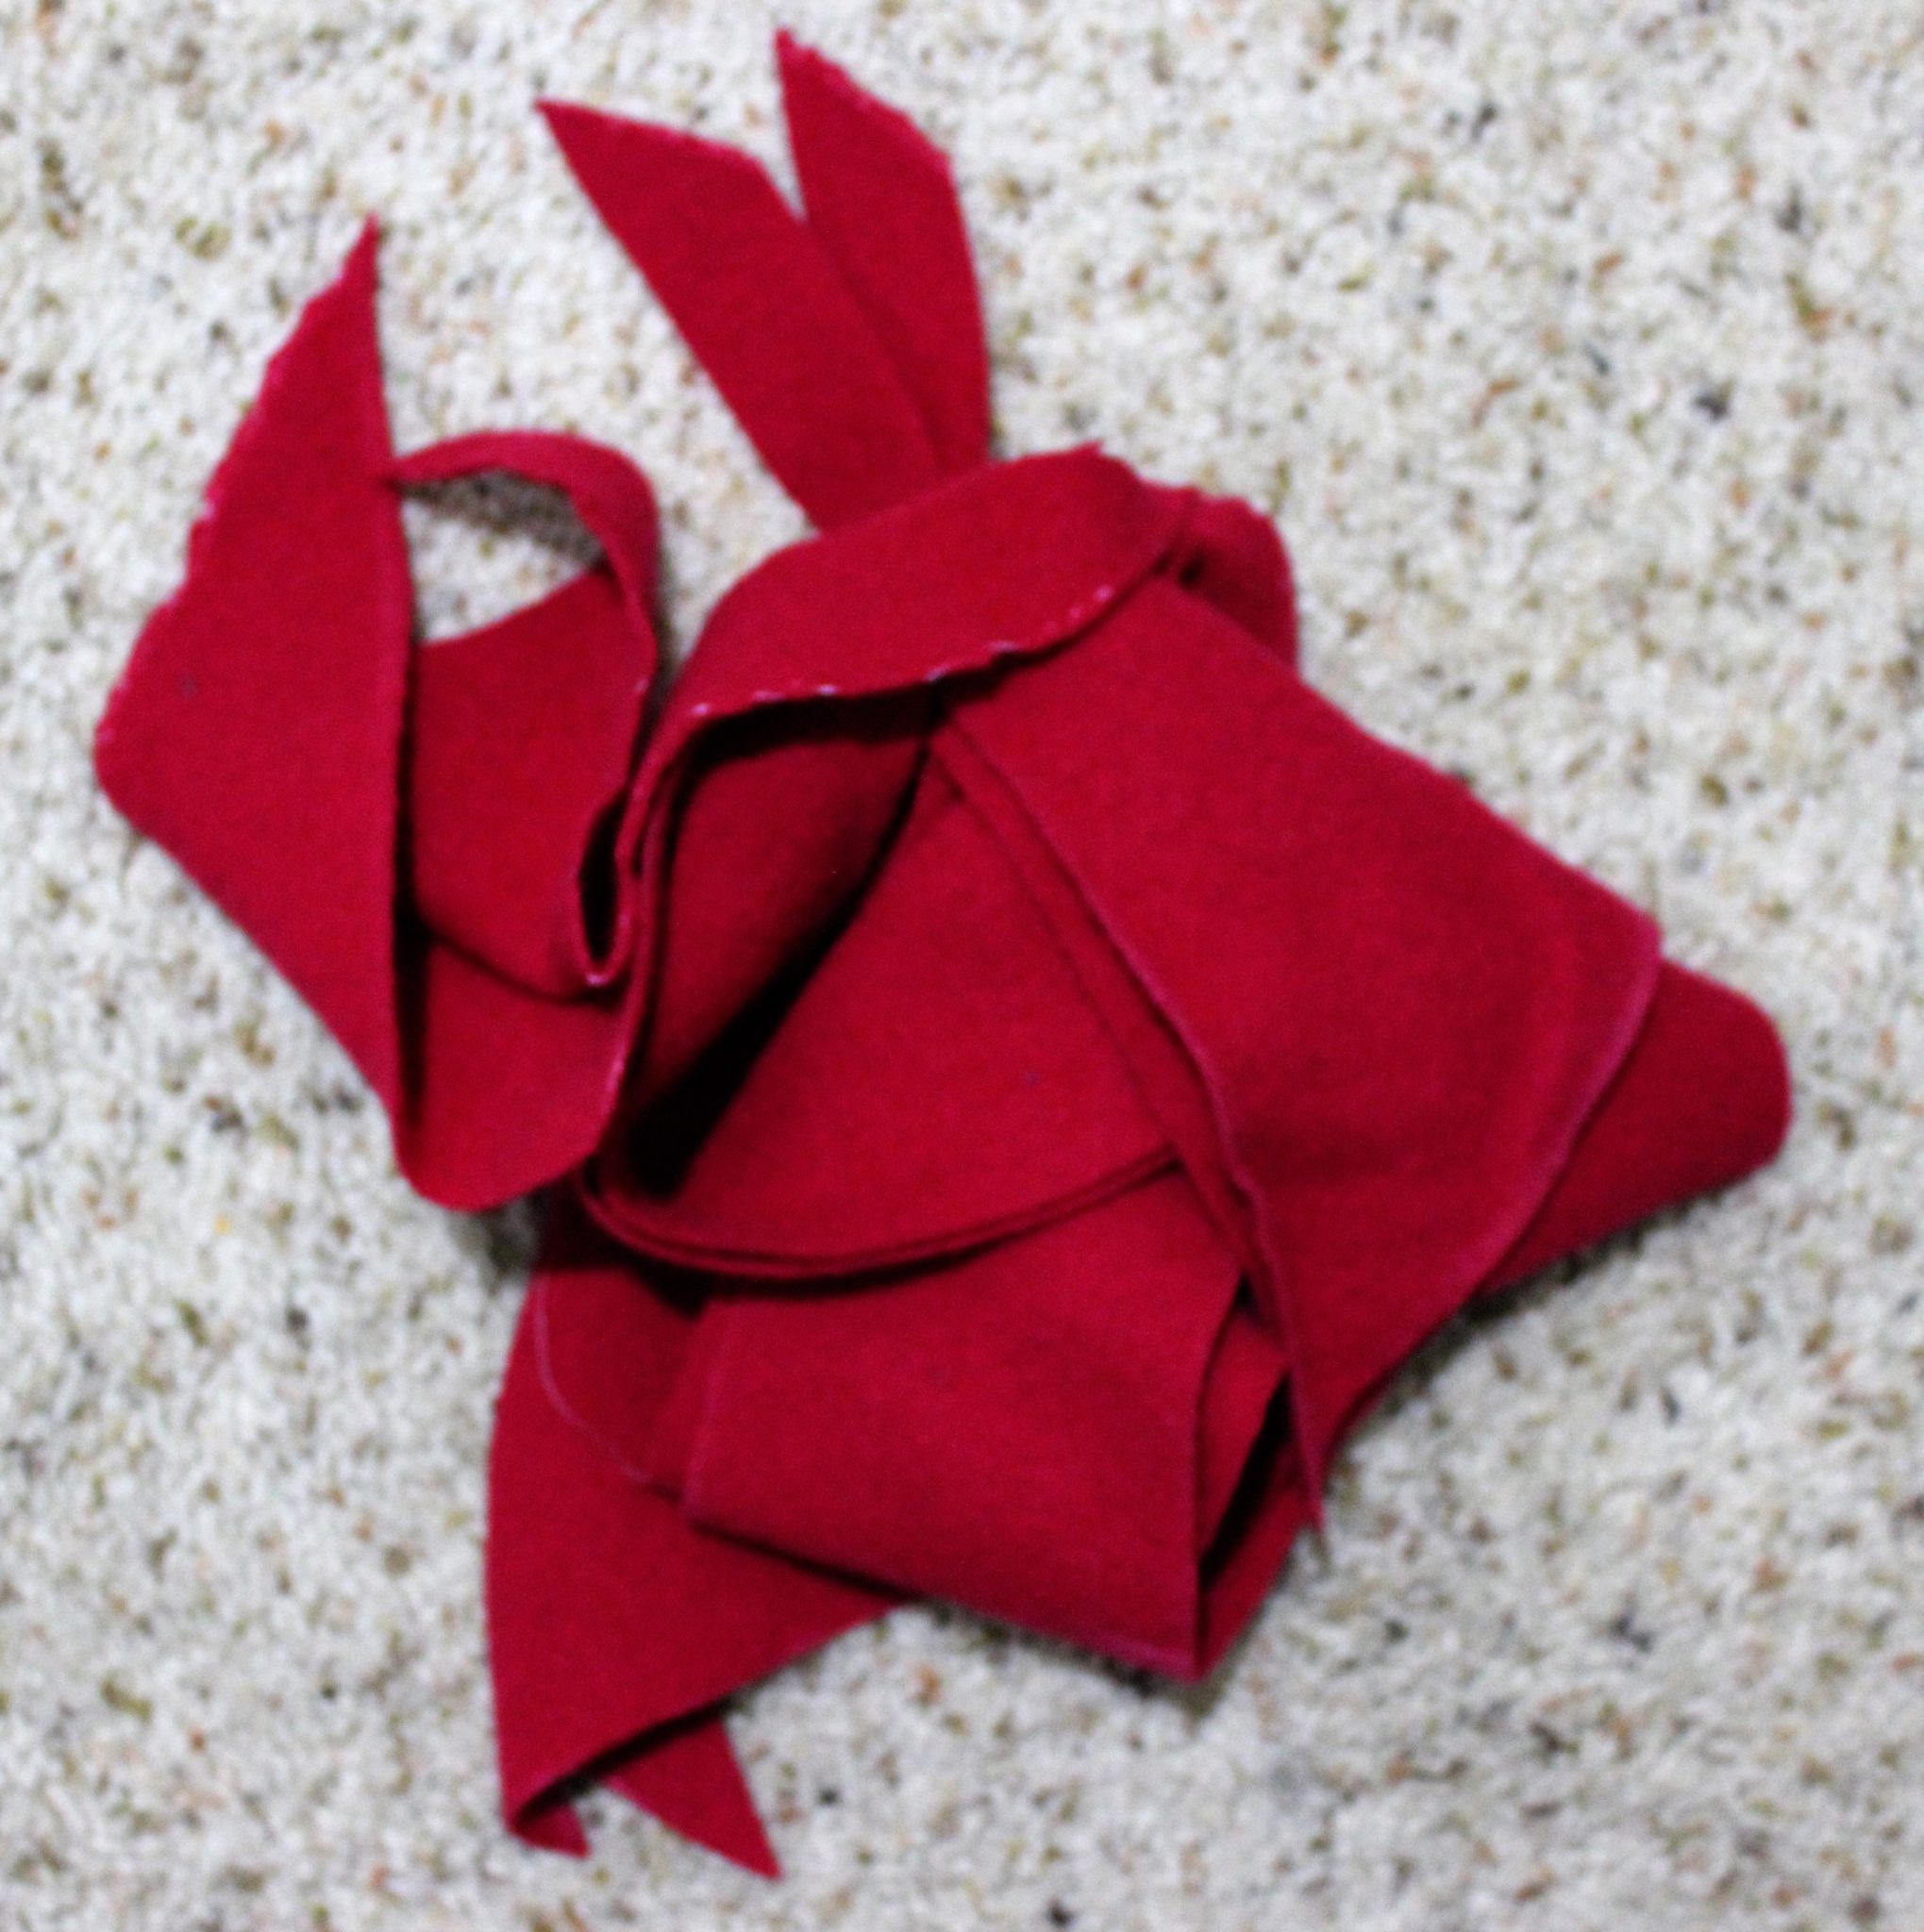
    The caramel wool over sleeves are a mixture of machine and hand sewing. I used my green half sleeves as a pattern and made them a little longer and a little roomier. All in all it is just a two part tapered rectangle. I sewed the wool and the linen lining up on the machine. Pressed. Matched the seams at the top and sewed the tubes together and turned them out. To finish hem off I bound the bottom edges in stripes of the wool and finished them by hand. I decided on the bottom edge as that is where these will get the most wear and tear over time and the binding is easy to replace.

    The sleeve pin on to the upper sleeve with my handmade brass pins.

  • My First Cut Work Lace Project with Free Motion Embroidery

    My First Cut Work Lace Project with Free Motion Embroidery

    I’ve fallen in love with free motion embroidery. it doesn’t require a fancy machine, digitizing software, or hunting down designs that might not be quite right. I’ve been working on several different projects trying to push the bounds of what I can do.


  • WiR: Hand Sewn Silk Sleeves Done!

    WiR: Hand Sewn Silk Sleeves Done!

    Gold and blue silk sleeves

    16th-Century Handsewn Silk Sleeves

    This week I finished the silk sleeves, yay! The last few steps ended up being very fiddly, as I needed to change the curve of the underarm section of the armscye and take it in by an inch.

    The last few steps ended up being very fiddly. I needed to change the curve of the underarm section of the armscye and take it in by an inch. One sleeve was finished when I decided this, so I spent some quality time with the seam ripper unpicking the main handsewn seams and the prick stitching I put in to control the fraying.

    Once I adjusted the armscye all I had left was the sleeve hem. Match seams, finger press the linen down by 1/2 an inch, pin and fold silk down to match.

    Done.

    gold and blue silk sleeves with eyelets

    Everything else on my worktable has been eyelets this week.

    The Eyelet Countdown

    • 4 eyelets left on the early 16th-century olive wool kirtle
    • 12 on my 14th-century cotehardie
    • 18 on the black silk taffeta kirtle
    • 6 on the silk sleeves
  • WiR: A Pair of 16th Century Silk Damask Sleeves

    WiR: A Pair of 16th Century Silk Damask Sleeves

    The main project this week was revising my 16th-century sleeve pattern and making up a pair of test sleeves. I was not happy with how my sleeves turned out in the caramel wool petticoat bodies. Some of that was from how thin and lightweight the fabric was, and some of it was from the pattern I used.

    I plan on revisiting those linen sleeves to fix some of the issues, but knew I needed a new base pattern that didn’t cause so many headaches.

    A New Sleeve Pattern

    Over the years I’ve drafted a lot of sleeve patterns. I’ve drafted them using modern drafting methods, using diagrams in costumes books and at least one-time using aluminum foil. Sometimes they have been successful, other times they have been a hot mess.

    This time around I turned to Juan de Alcega’s Tailors Pattern Book but instead of breaking out the bara strips, I opened up Inkscape and traced the sleeve shape.

    Alcega Sleeve Pattern Tracing

    From there I adjust the pattern shape to have less of a dramatic curve and match my arm measurements with some ease included.

    Sleeve Pattern Adjusted

    I printed out my digital pattern, cropping it to fit on two sheets of paper and taped it together. Then I made a mock-up out of some rough linen, giving myself some extra wide seam allowances for adjustment. It took some back and forth in front the mirror with pins until I was happy with how the pattern was shaping up.

    Measure 400 Times Cut Once

    Gold and blue silk sleeves with clapper press

    A few weeks ago I ran across a very good deal on some scrumptious silk damask, it was dirt cheap due to a flaw in the weave. Into my shopping cart it went along with some linen to use for various projects. I figured I could cut around the flaws.

    When the fabric arrived I found the weave flaw ran all the way down the yardage. The thought crossed my mind to try and reweave the damage, but I decided I was not *quite* that dedicated.

    I cut out my linen lining first and then jigsaw puzzled my way down the silk trying to pattern match where I could. Not having the missing thread run through the main part of the sleeve was a challenge as I wanted to use as little of the fabric as possible.

    To make everything fit I ended up piecing the upper back of the left-hand sleeve.

    Blue and Gold Silk Damask Sleeve Pieced

    It took me at least an hour to cut out the sleeve, due to not wanting to mess up a very nice fabric. I also cut it flat so each pattern piece needed to be flipped over while I triple checked that I did not somehow cut two left sleeves (which has happened before).

    Once everything was cut out I sewed the linen lining together using the running stitch with a small section of backstitching at the elbow points to reinforce that area. Next, I sewed the silk together using cream silk thread with the back stitch.

    Blue and Gold Silk Damask Sleeve Back Stitched Seam

    As I handled the fabric it started to fray. Usually, I would overlock or zig zag the raw edges to prevent it. But I was worried about the extra bulk of the threads shadowing through the silk.

    Instead, I prick stitched the seam allowance down, taking tiny stitches through the outer fabric, this also meant I did not need to worry about ironing the seam flat.

    Blue and Gold Silk Damask Sleeve Seam Allowance Sewn Down

    Once all the sleeves were together I put the linings in and basted along the top of the sleeve cap. Then I tried them on with a kirtle, pinning the top of the sleeve to the shoulder strap and looking at where the wrinkles formed. They needed some adjustment.

    That is where I am now. There is a pin stuck in where the underarm curve needs to dip down a little more. I have some narrow bias tape cut from scrap linen to bind the edges and some braid should be arriving in a week or two to trim the seams.

  • Early Morning Patterning for the Leather Jerkin

    What my tools do while I’m sleeping 😉


  • Petticoat Bodies Done!

    Petticoat Bodies Done!

    I’ve had the petticoat bodies done for a few weeks now and completely forgot to post the finished photos here.

    Opps.

    In my defense I haven’t been able to get photos of me in them yet, part of me wants to go out and rent a chicken (can one rent a sweet-tempered chicken for photos?) and get a semi-period looking backdrop going on, but right now that doesn’t look like it is going to happen.

    Where we last left off I had things to fix in the bodice, and after pinning sections, unpinning them, and squinting in the mirror I realized the shoulder straps had stretched out despite my efforts at steaming the bias stretch out of them. I took them up at the back shoulder seam and everything fell into place.

    Petticoat bodies and green apron Petticoat bodies front with no apron close up Petticoat bodies front with no apron full shot Petticoat bodies front with apron full shot Petticoat bodies back

  • Finishing up the Petticoat Bodies

    Finishing up the Petticoat Bodies

    The holidays are over, I’ve eaten my own weight in cookies and it is time to finish up the petticoat bodies.

    Last time I posted I finished the bodice and put in the lining. Over the holidays I cut out the skirt, hand sewed it together, and bound the hem.

    Red wool fabric for the petticoat bodies skirt

    My camera did not like this shade of red most of the time.

    Petticoat skirt pattern laid out on the red wool fabric

    Still not the correct shade of red.

    The skirt only took 2 yards and 7 inches of fabric and I was able to use the off cuts and scraps for hem binding.

    Scraps used to bind the petticoat skirt hem

    My handful of scraps before making the binding.

    Running stitch used on the petticoat skirt hem with linen thread

    I used the running stitch for skirt construction with the occasional backstitching where gores met for extra strength. The fabric is a lightweight flannel and doesn’t fray so I don’t need to worry about finishing the edges.

    Flattening the petticoat skirt seams with a wooden clapper

    Clapping the seams!


    Whipstitching the petticoat skirt edges down with linen thread

    I left the skirt side seams open at the top so I’d have access to pockets. To finish the edge I just whip stitched the fabric down.

    Petticoat bodies and sleeve on the dress form

    How it currently looks with at least one sleeve pinned on and the basting threads still in.

    Up next, troubleshooting the armscye problem area! My experiment in using wool binding has made that area stiff + the seam allowances from where I pieced the strap. Pinning the sleeve on also caused some pulling. I may need to adjust the angle of the strap by unpicking the binding and adjusting where the strap and bodice meet. What do you guys think?