I’ve had the petticoat bodies done for a few weeks now and completely forgot to post the finished photos here.
Opps.
In my defense I haven’t been able to get photos of me in them yet, part of me wants to go out and rent a chicken (can one rent a sweet-tempered chicken for photos?) and get a semi-period looking backdrop going on, but right now that doesn’t look like it is going to happen.
Where we last left off I had things to fix in the bodice, and after pinning sections, unpinning them, and squinting in the mirror I realized the shoulder straps had stretched out despite my efforts at steaming the bias stretch out of them. I took them up at the back shoulder seam and everything fell into place.
The holidays are over, I’ve eaten my own weight in cookies and it is time to finish up the petticoat bodies.
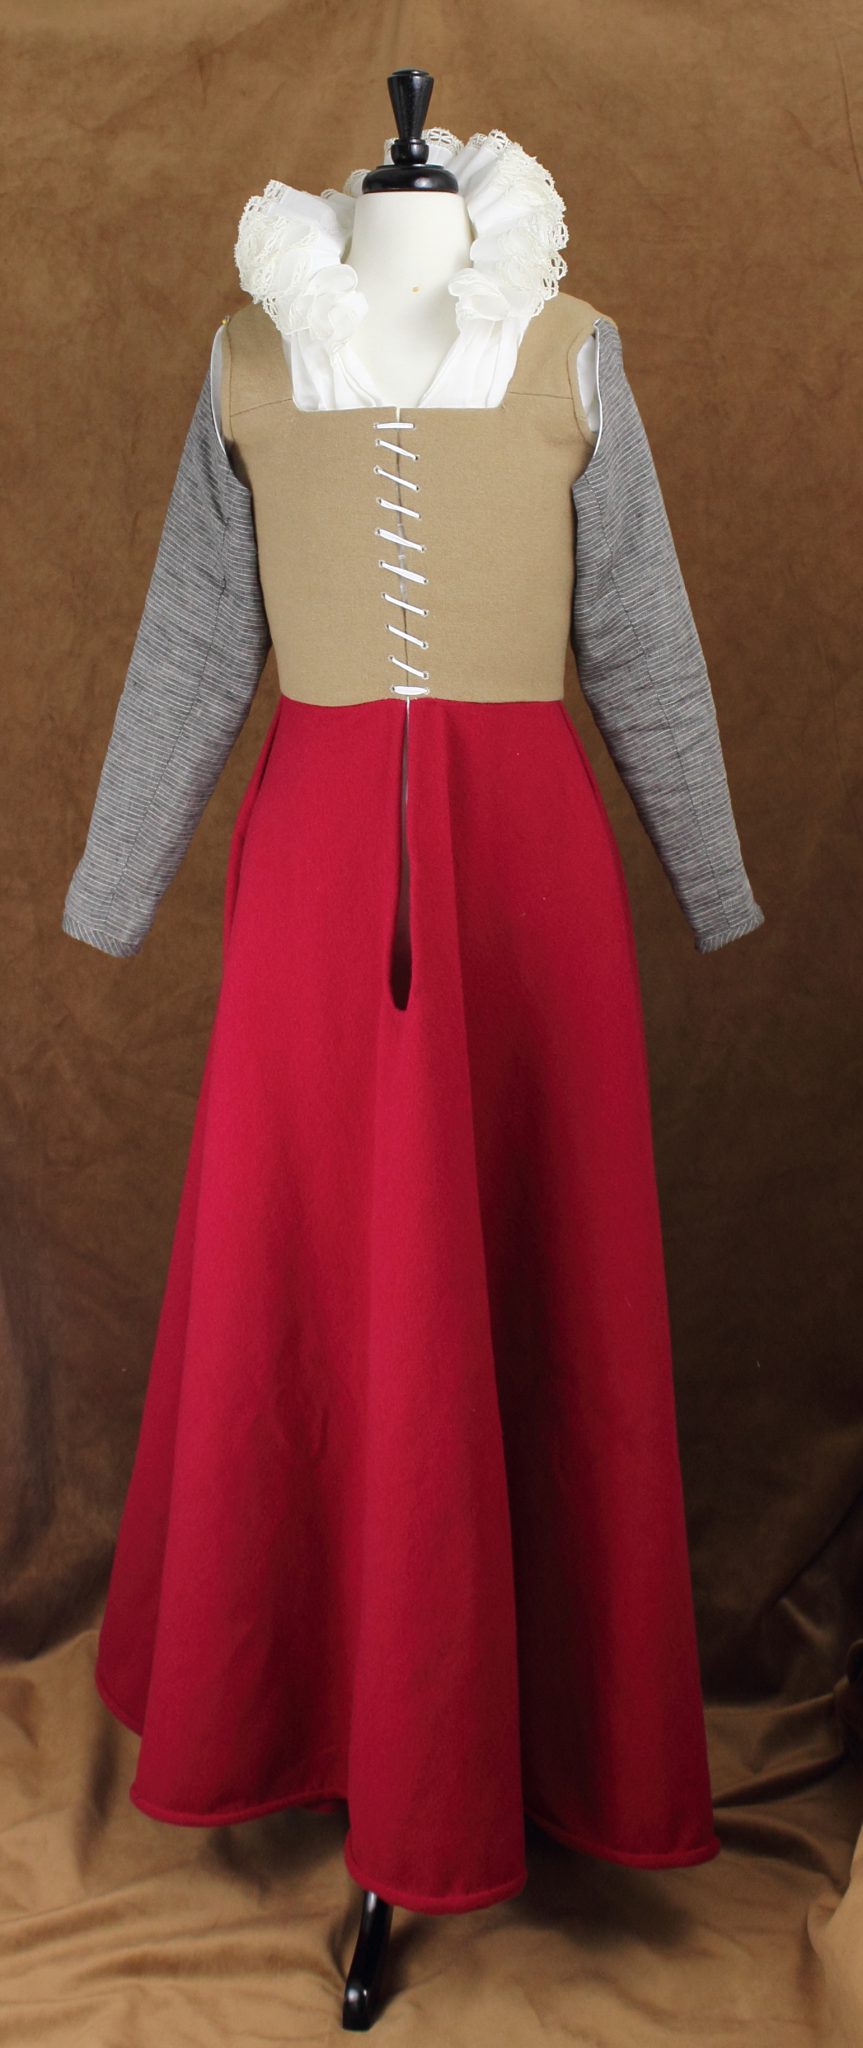
Last time I posted I finished the bodice and put in the lining. Over the holidays I cut out the skirt, hand sewed it together, and bound the hem.
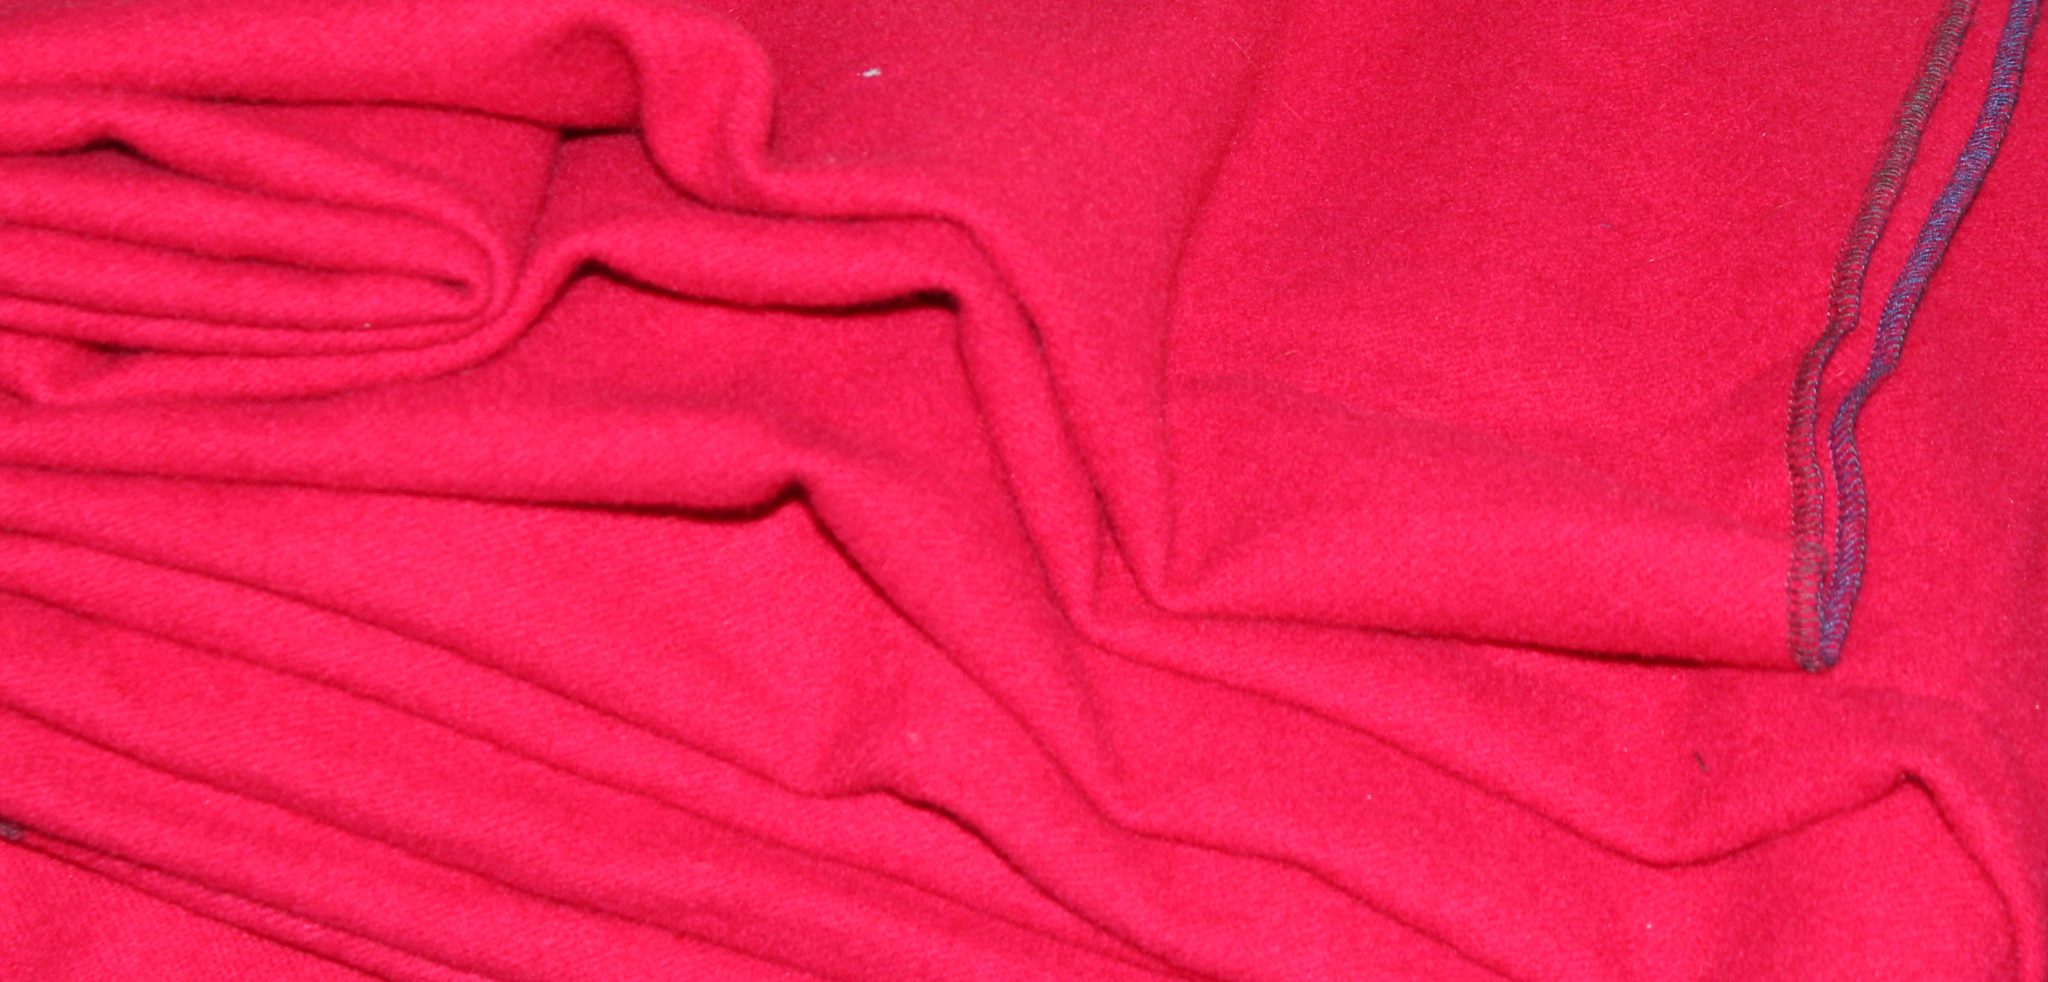
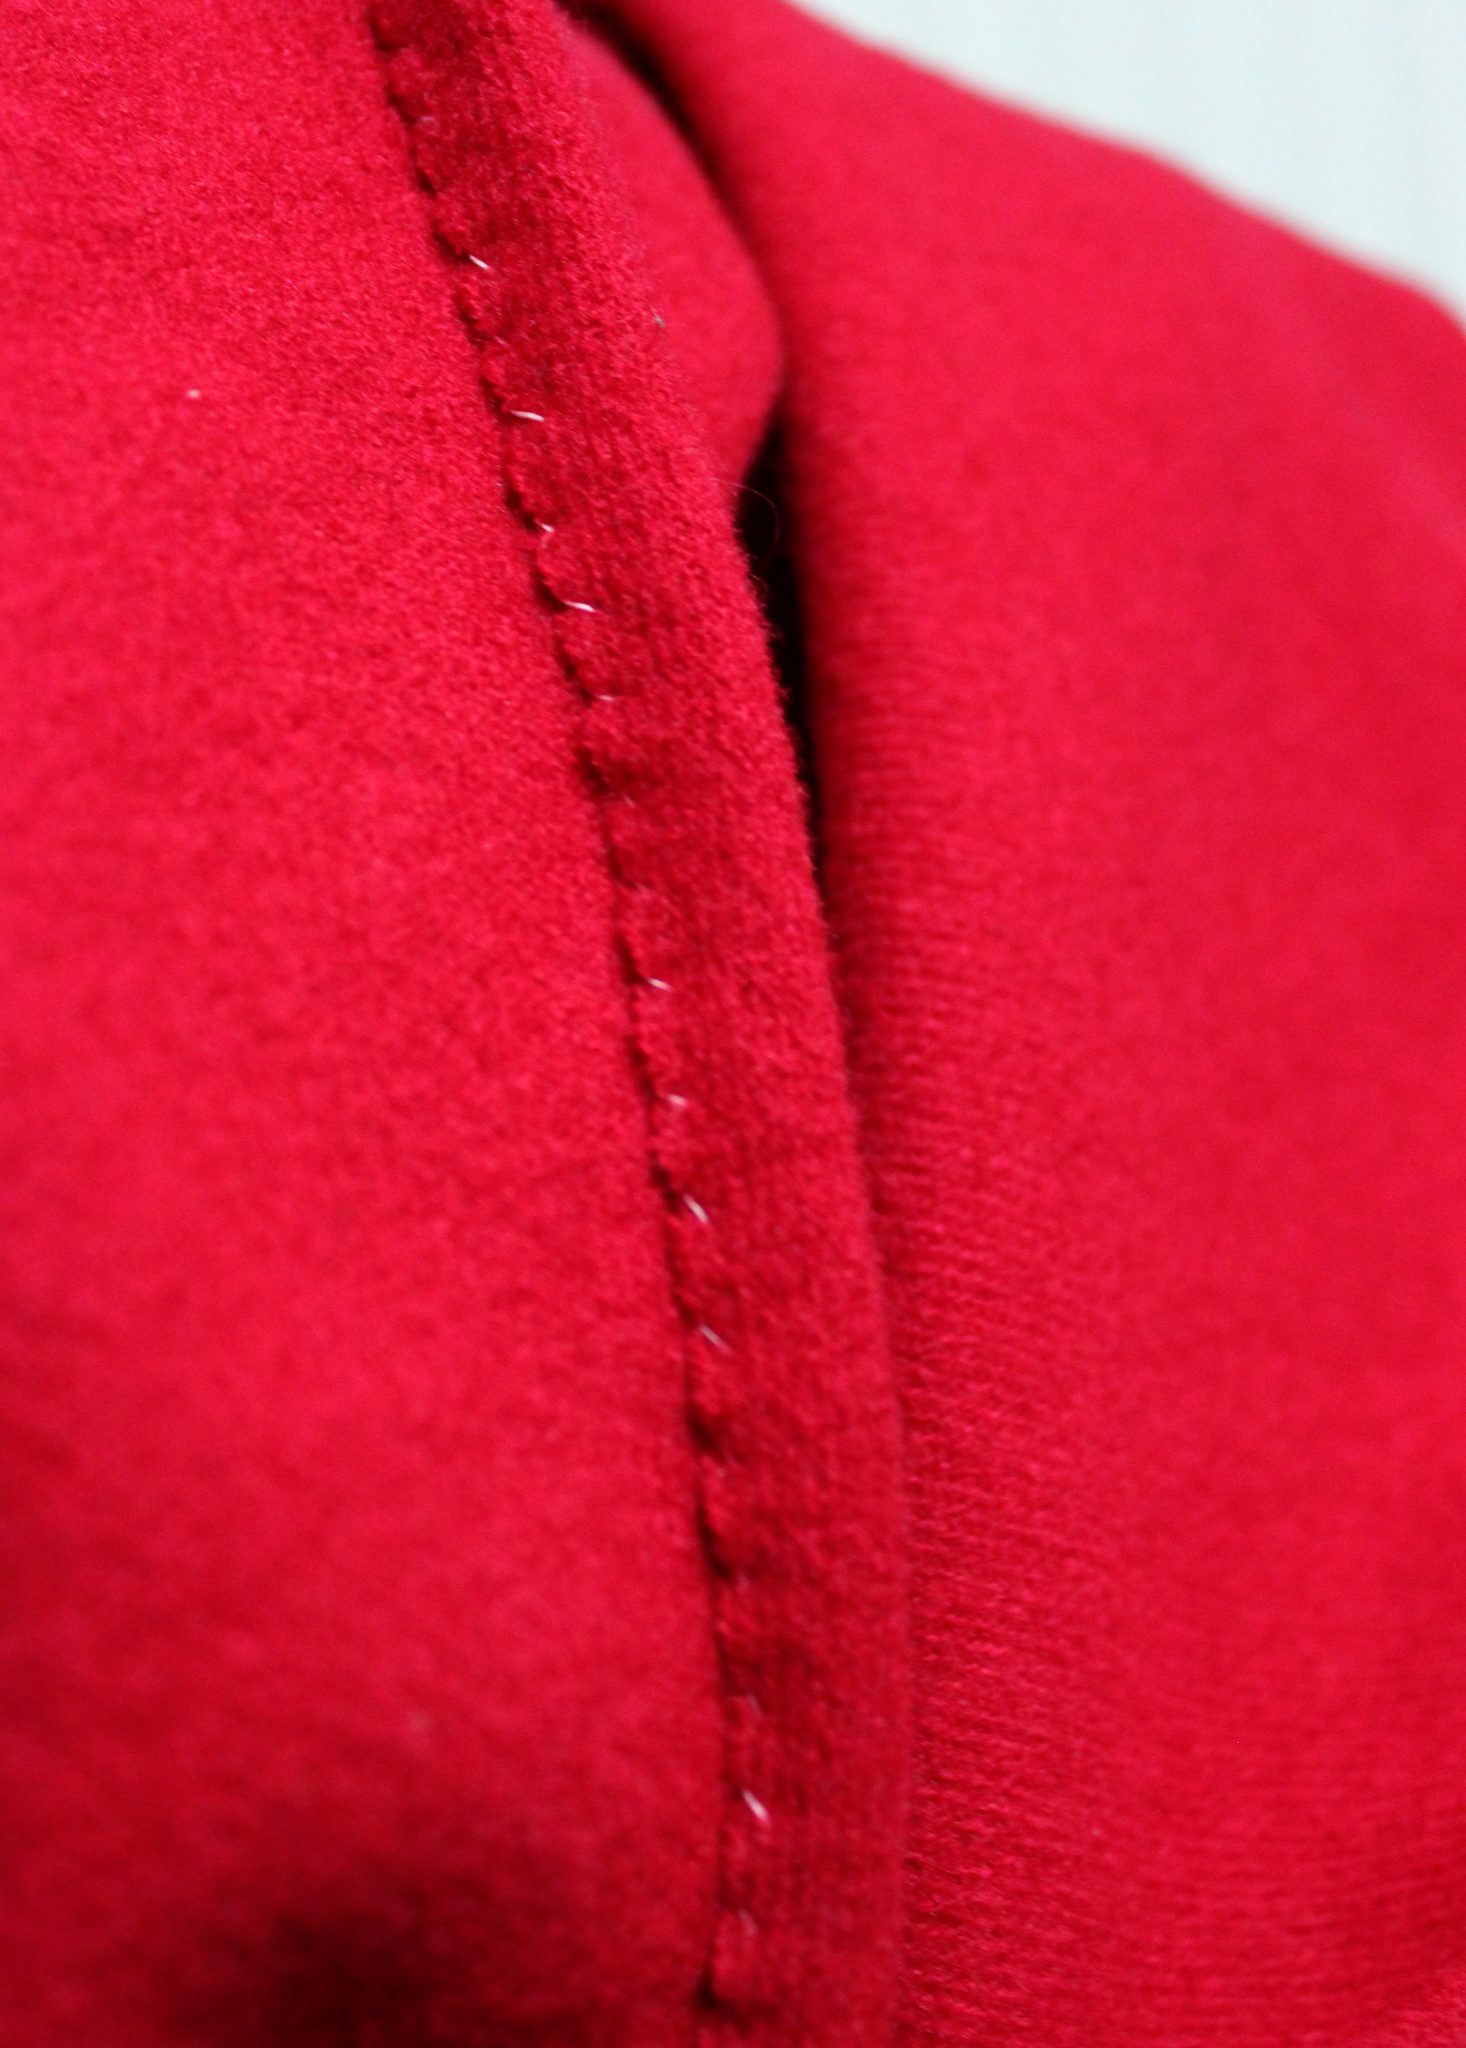
My camera did not like this shade of red most of the time.
Still not the correct shade of red.
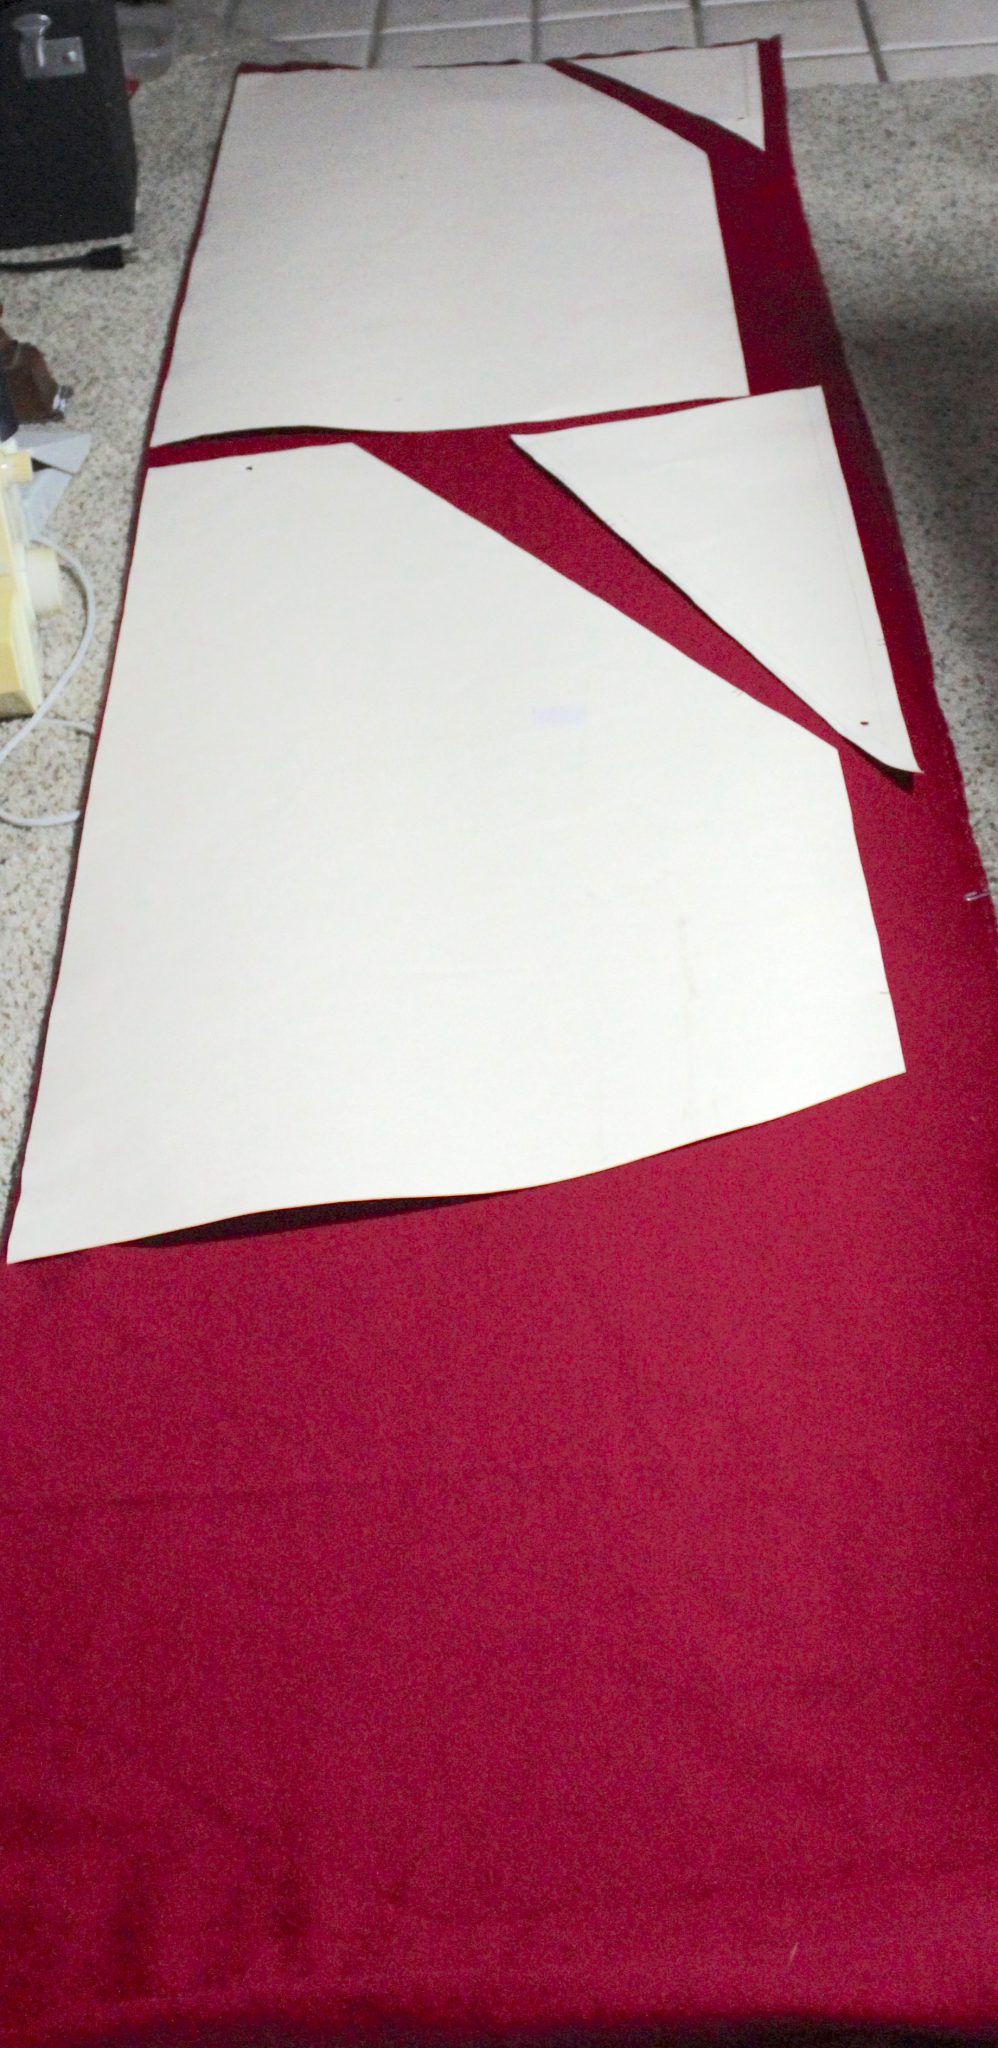
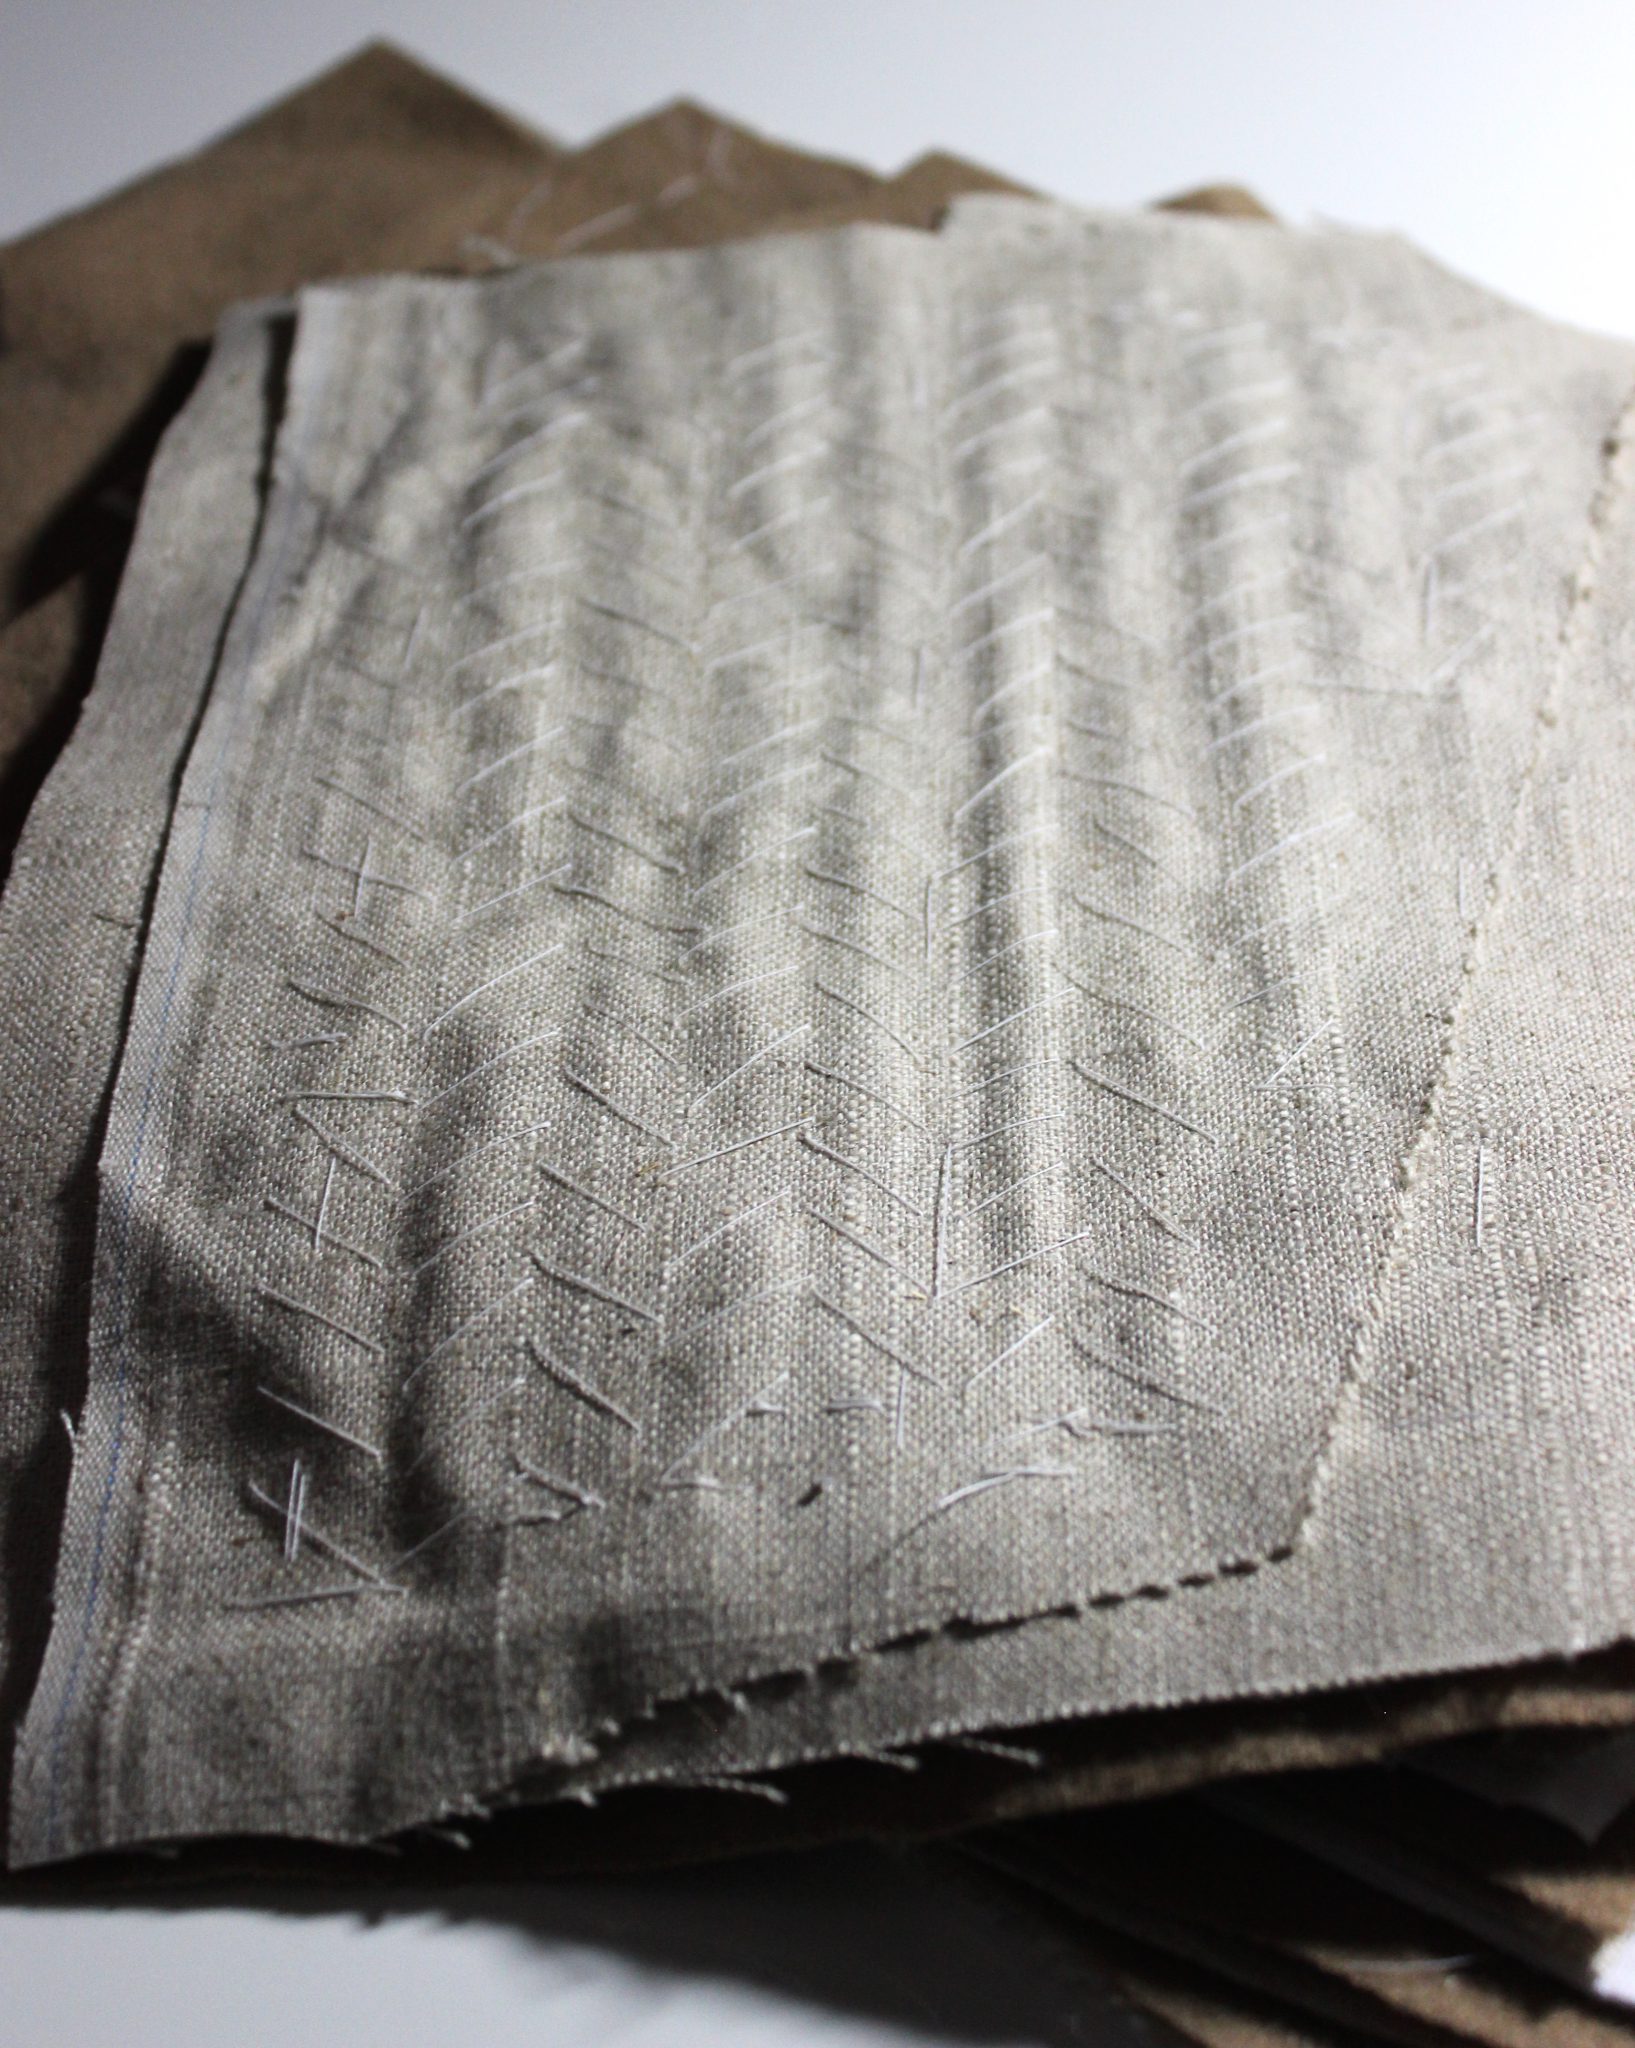
The skirt only took 2 yards and 7 inches of fabric and I was able to use the off cuts and scraps for hem binding.
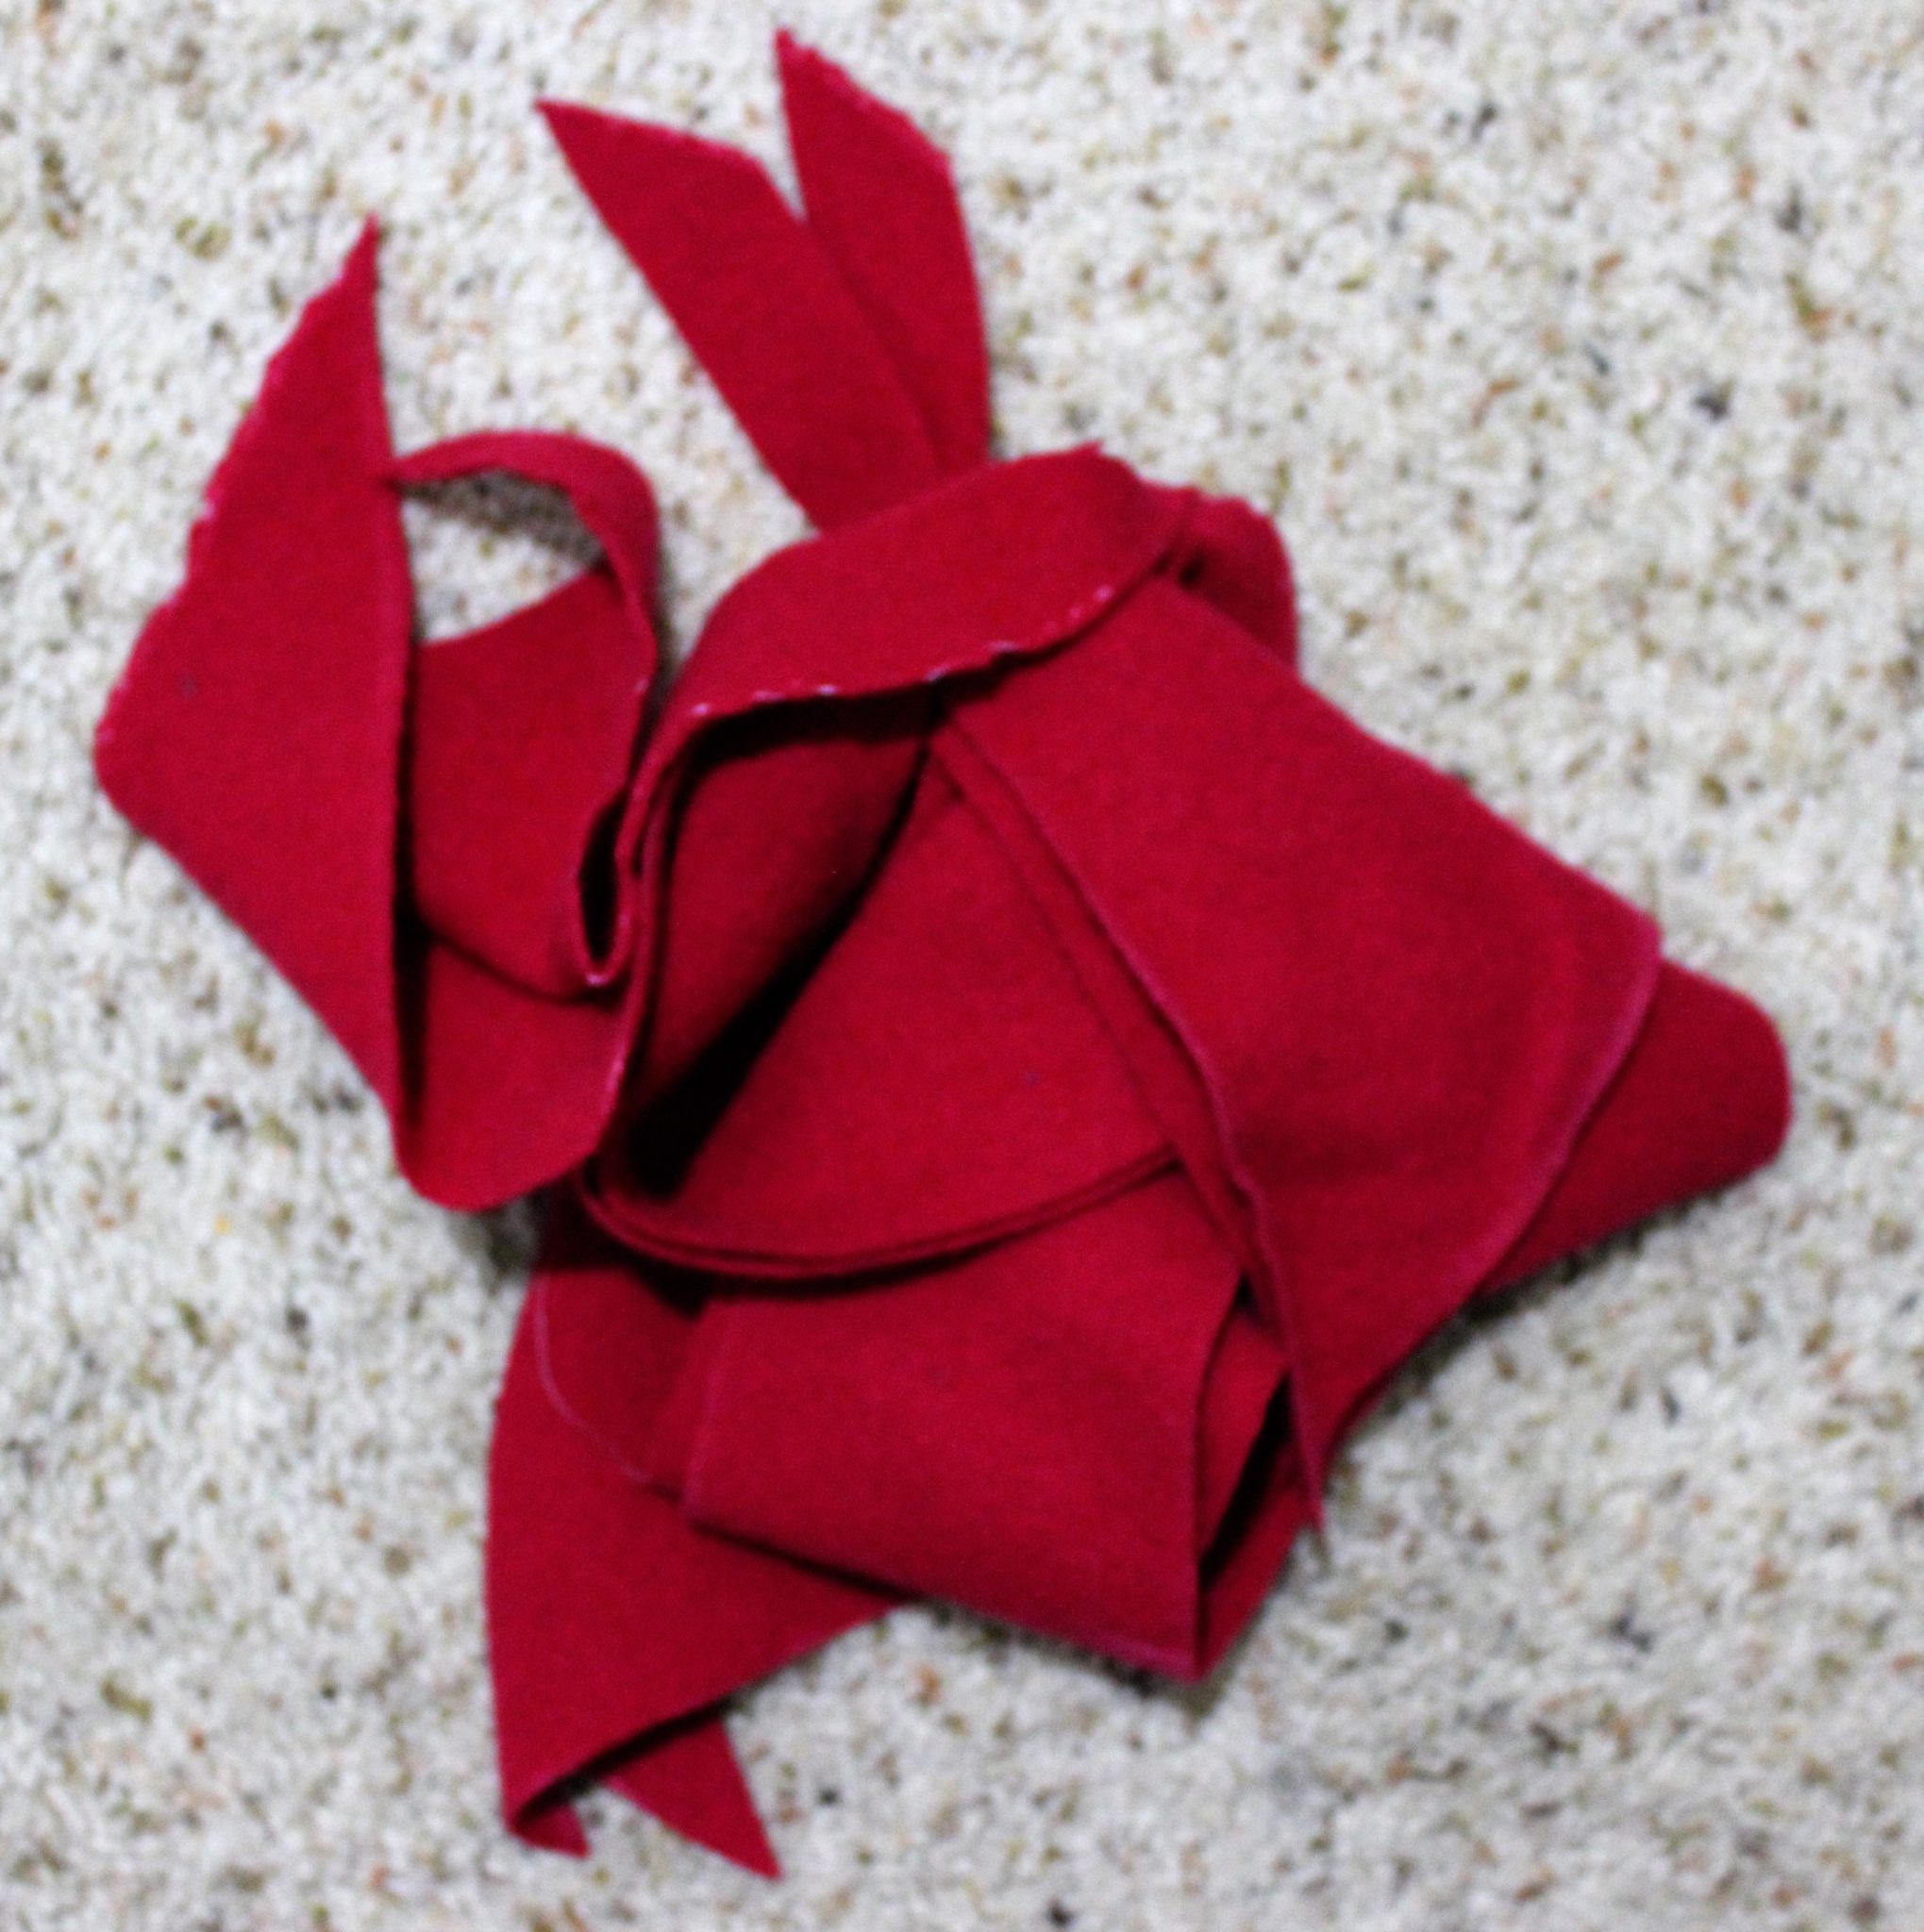
My handful of scraps before making the binding.
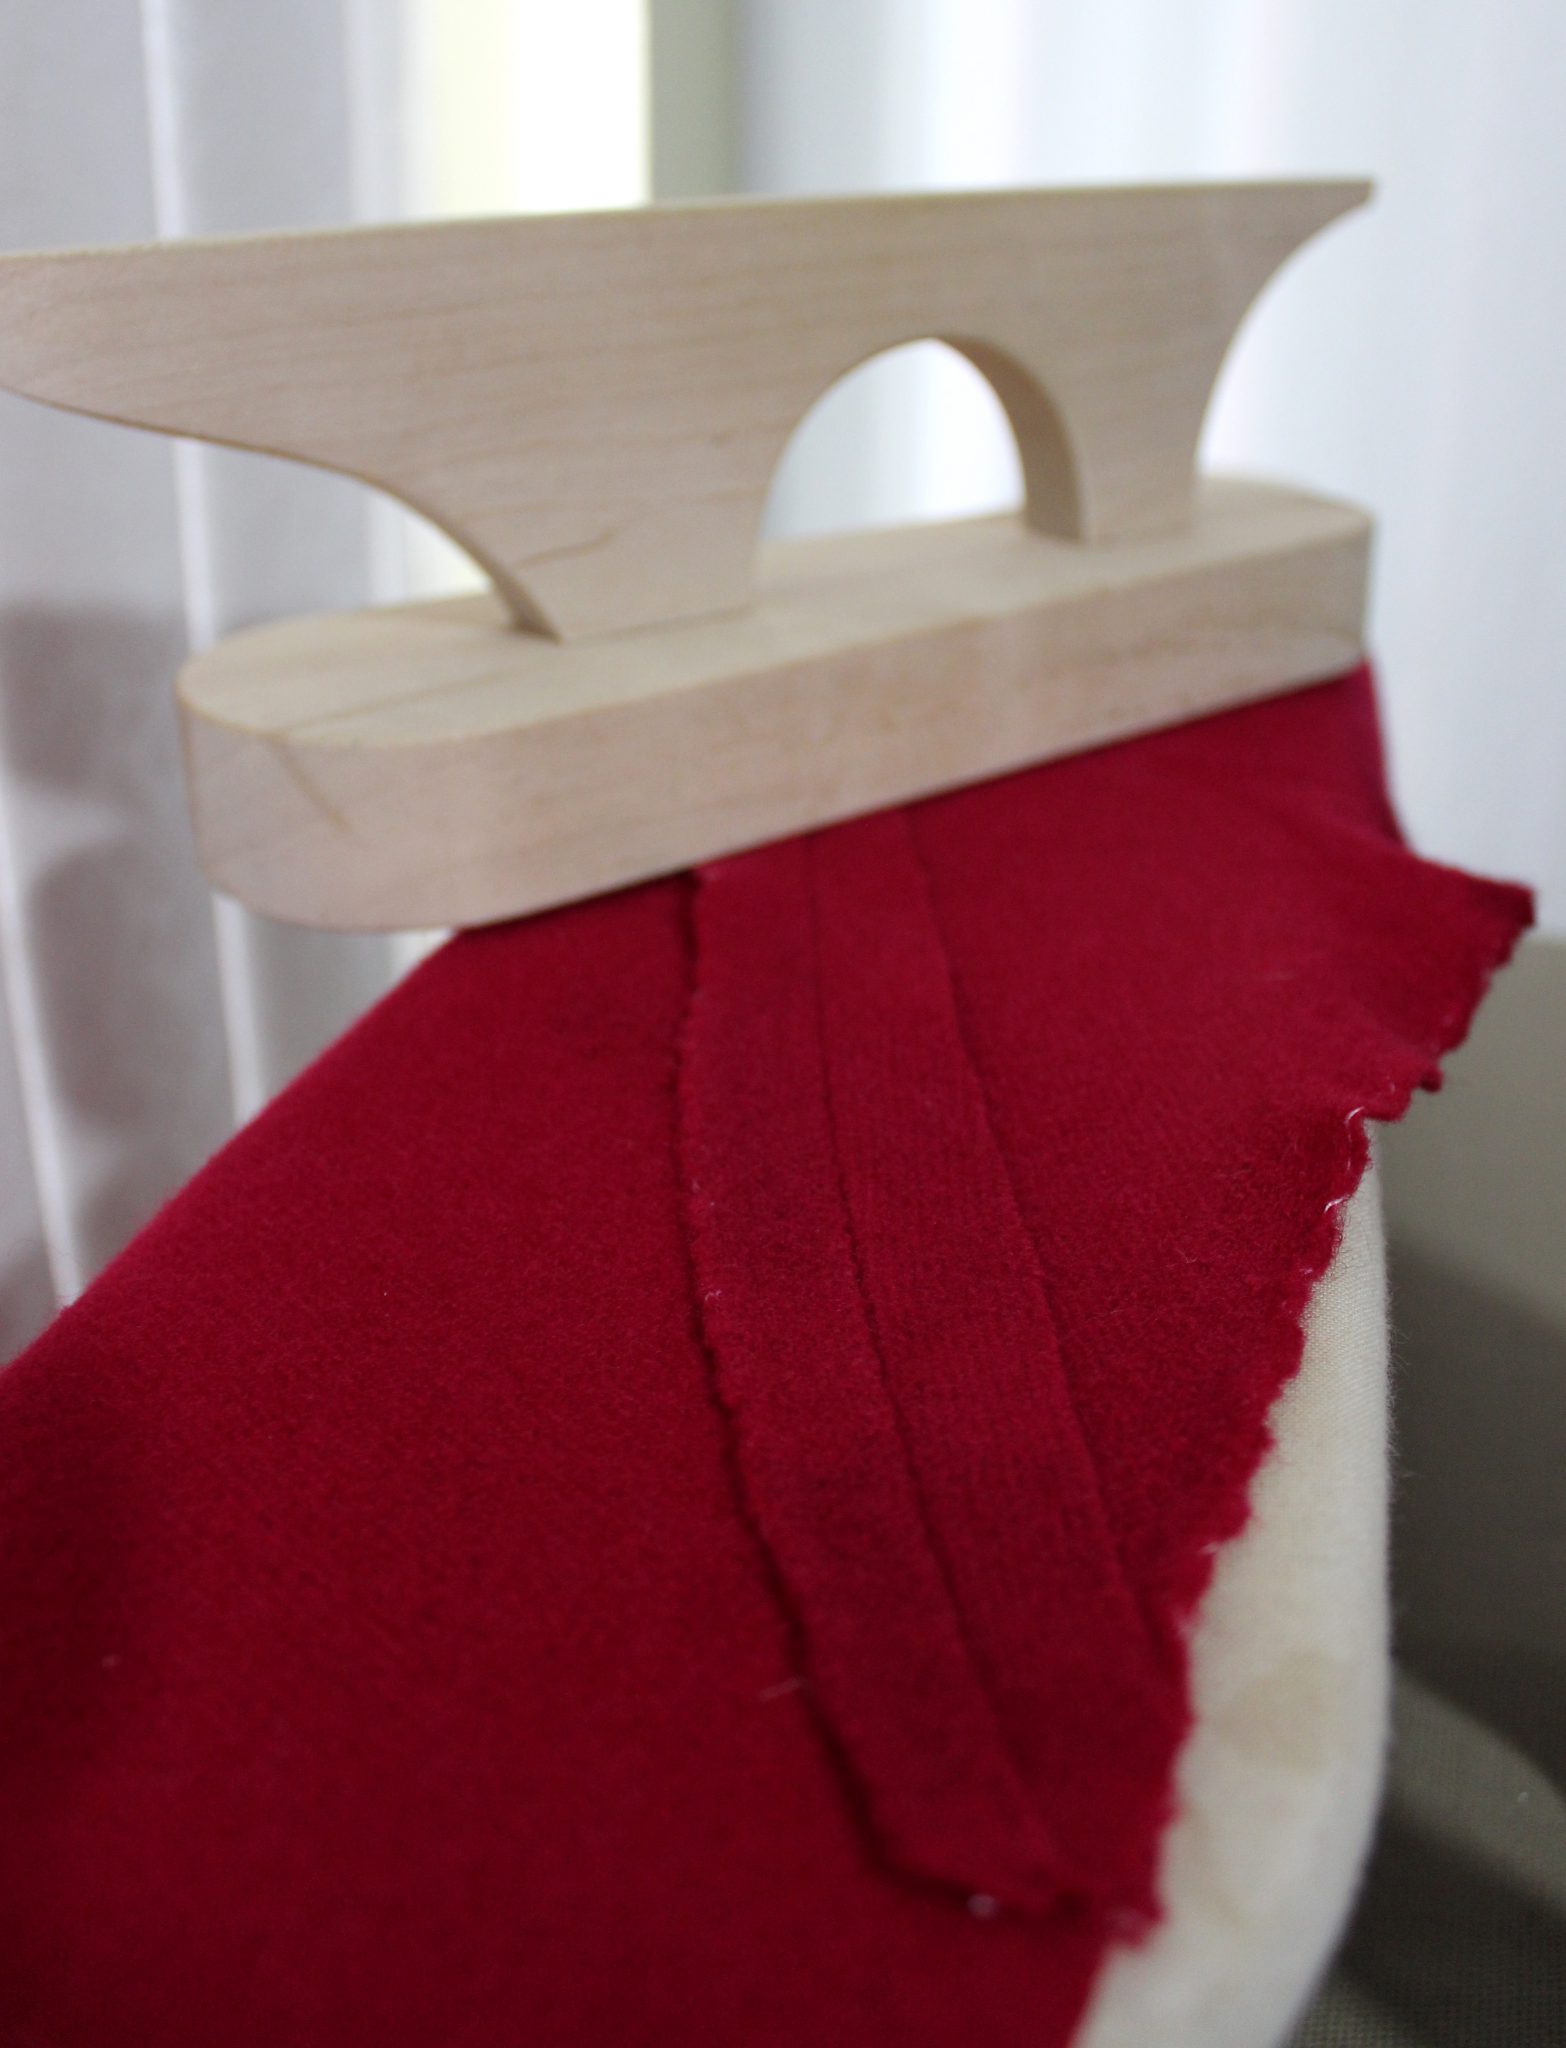
I used the running stitch for skirt construction with the occasional backstitching where gores met for extra strength. The fabric is a lightweight flannel and doesn’t fray so I don’t need to worry about finishing the edges.
Clapping the seams!
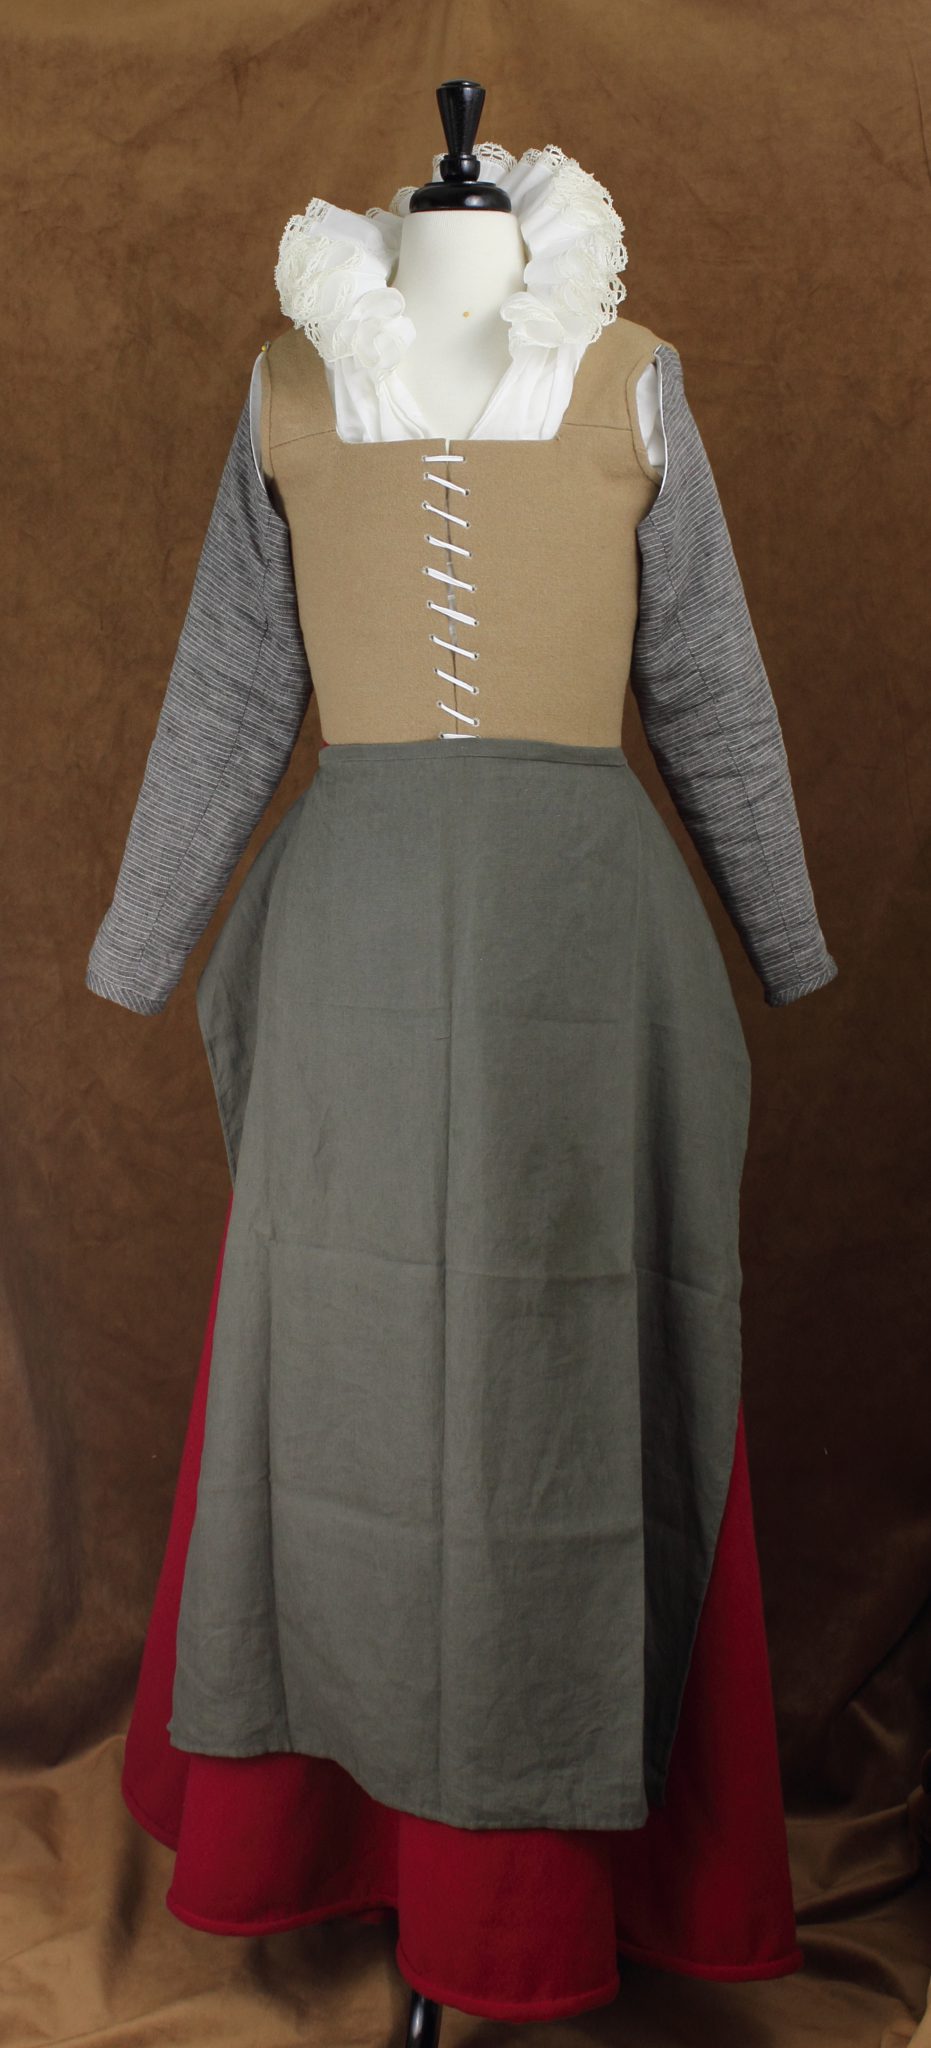
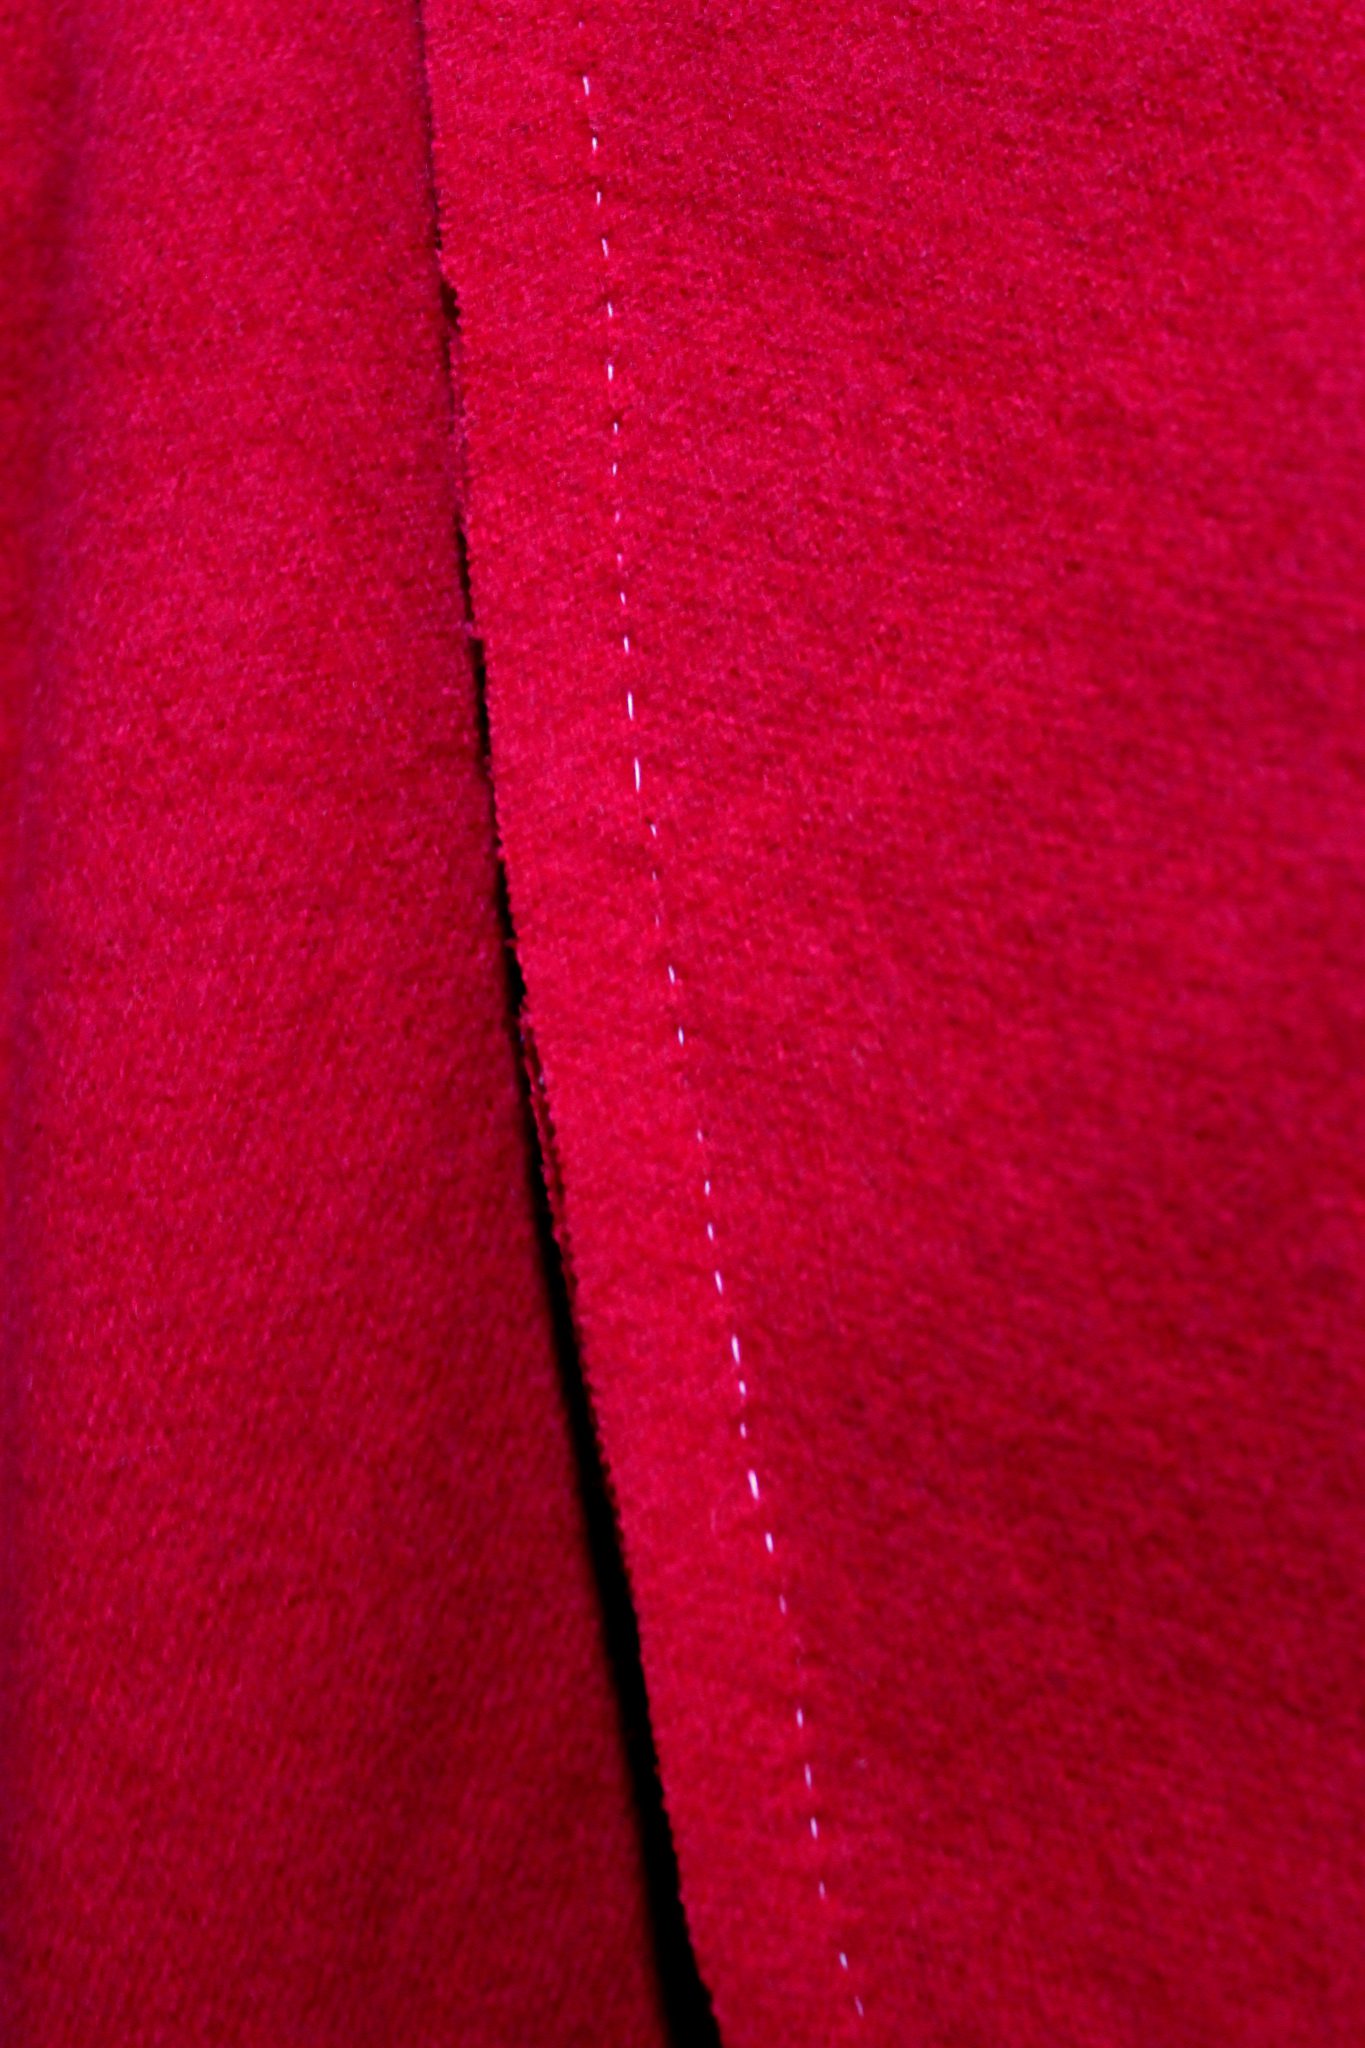
I left the skirt side seams open at the top so I’d have access to pockets. To finish the edge I just whip stitched the fabric down.
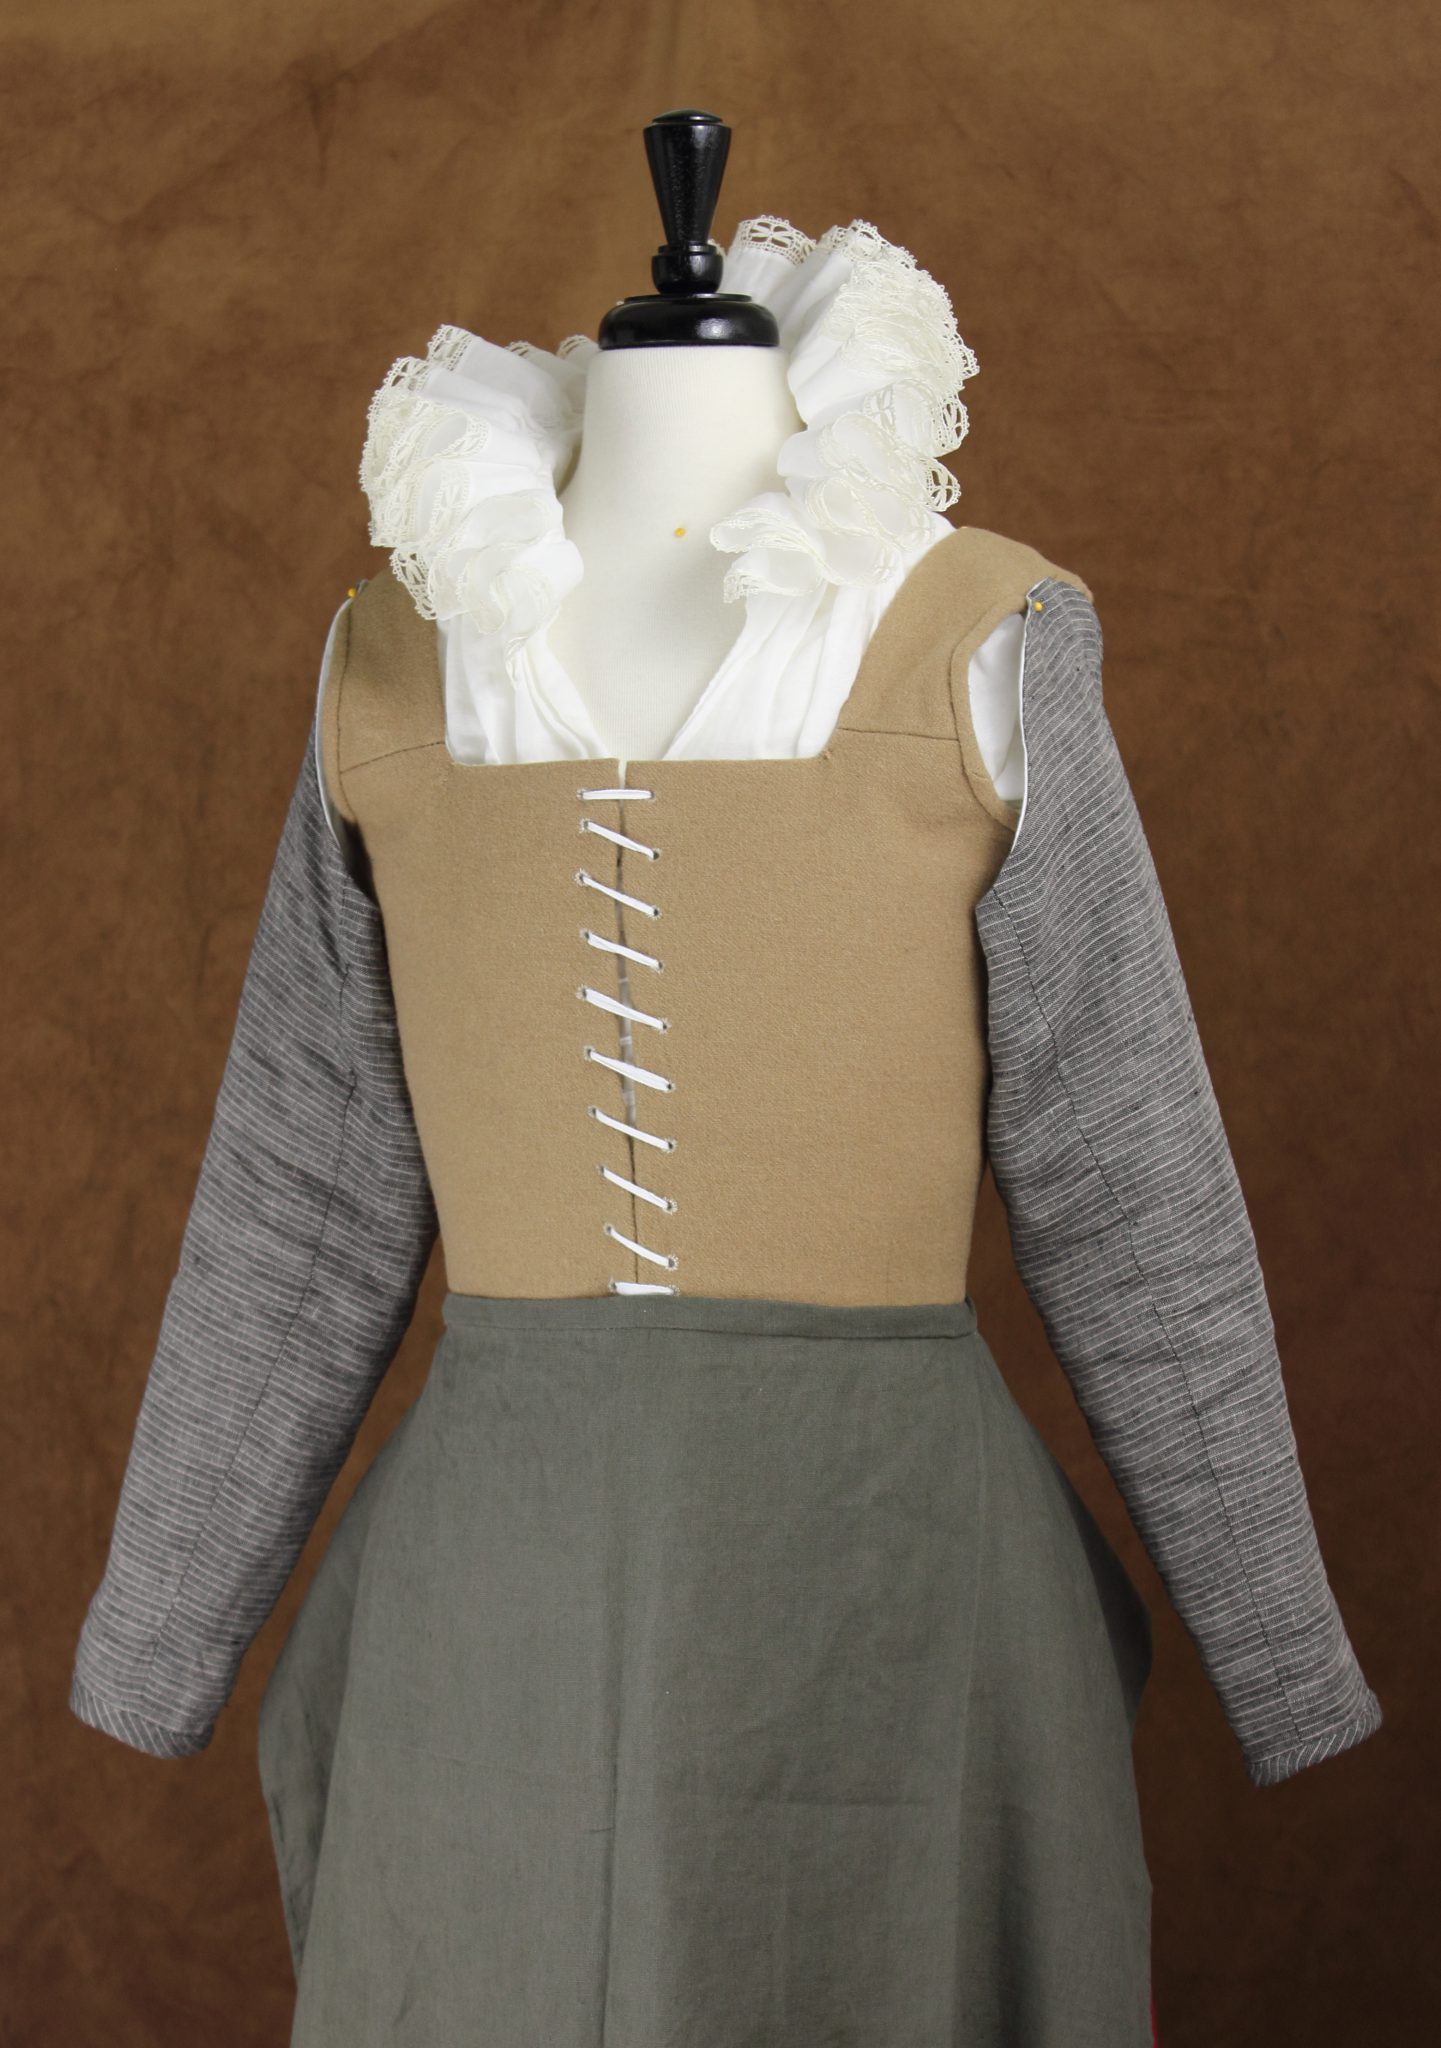
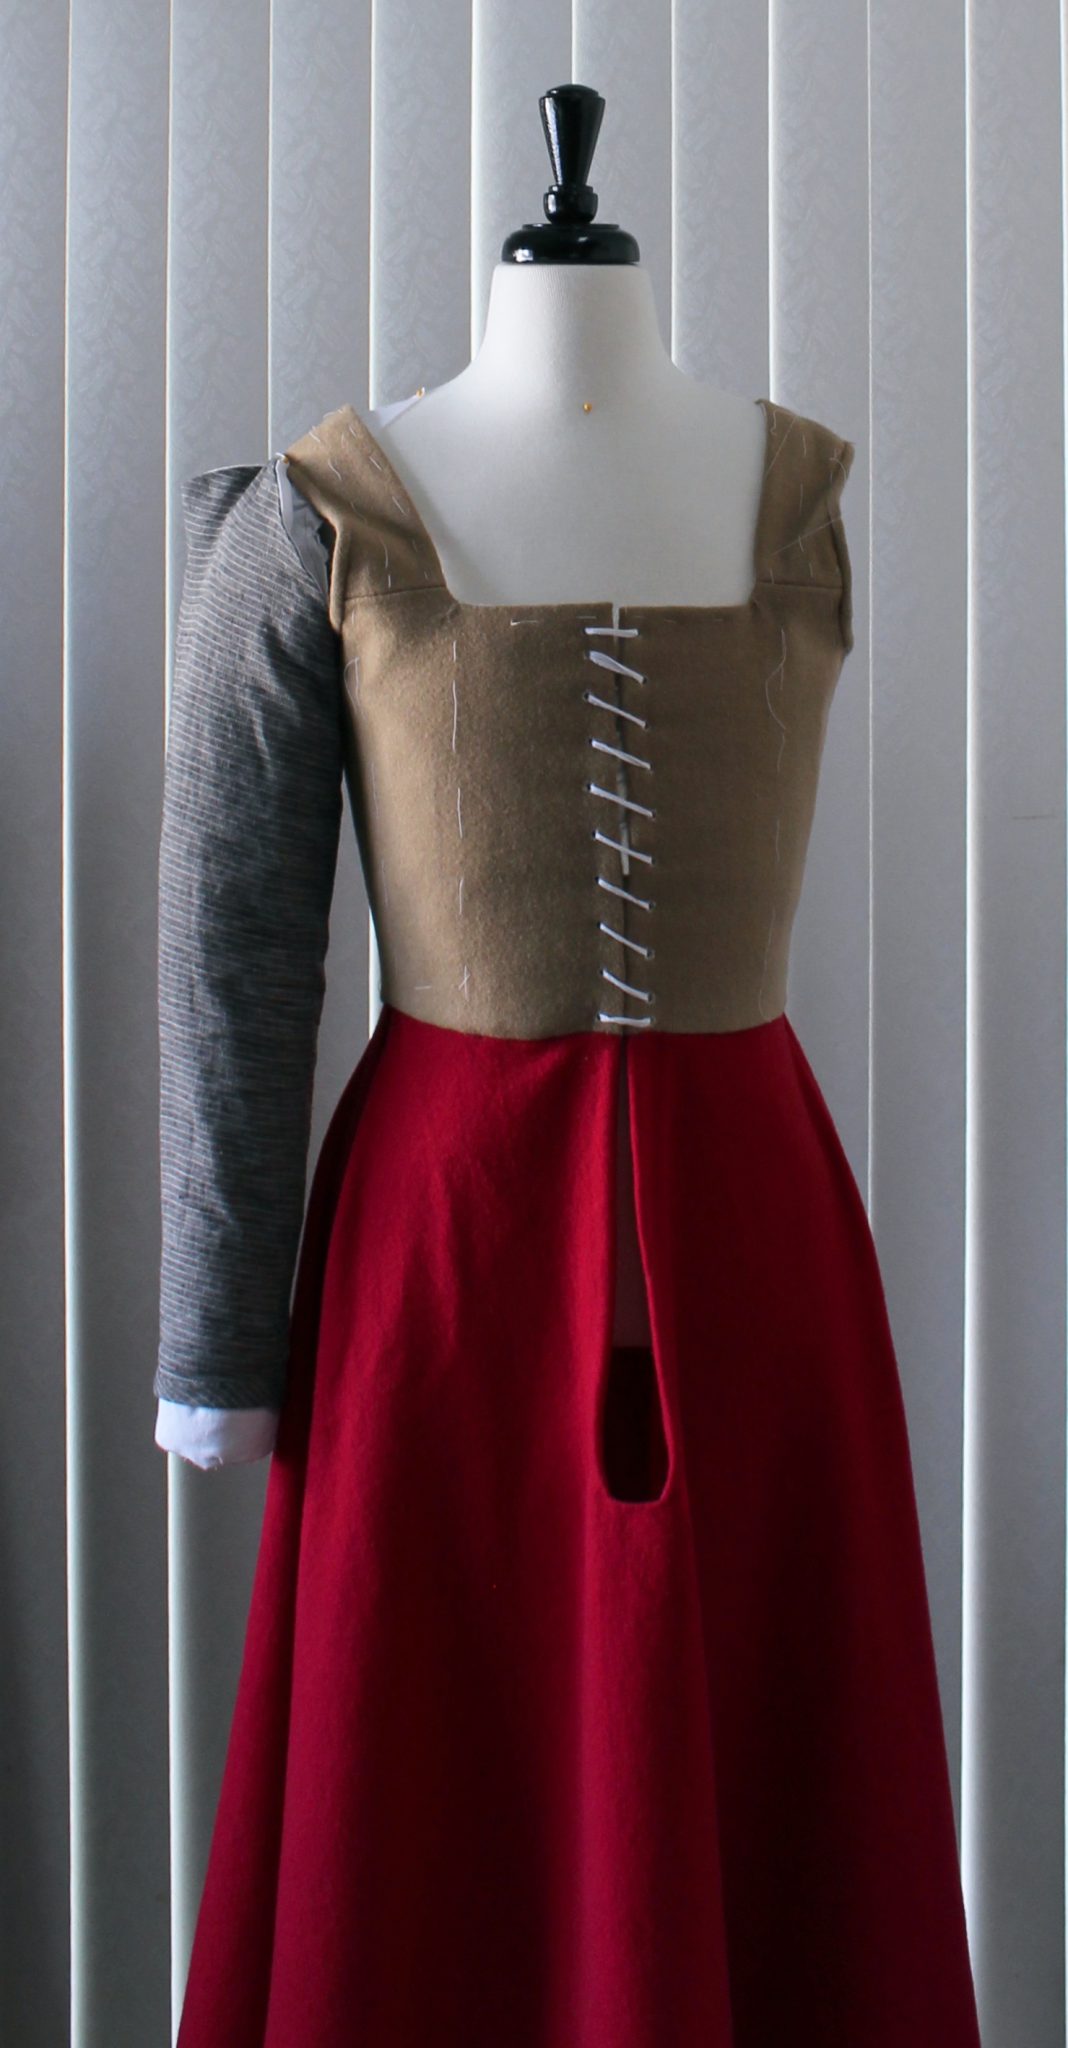
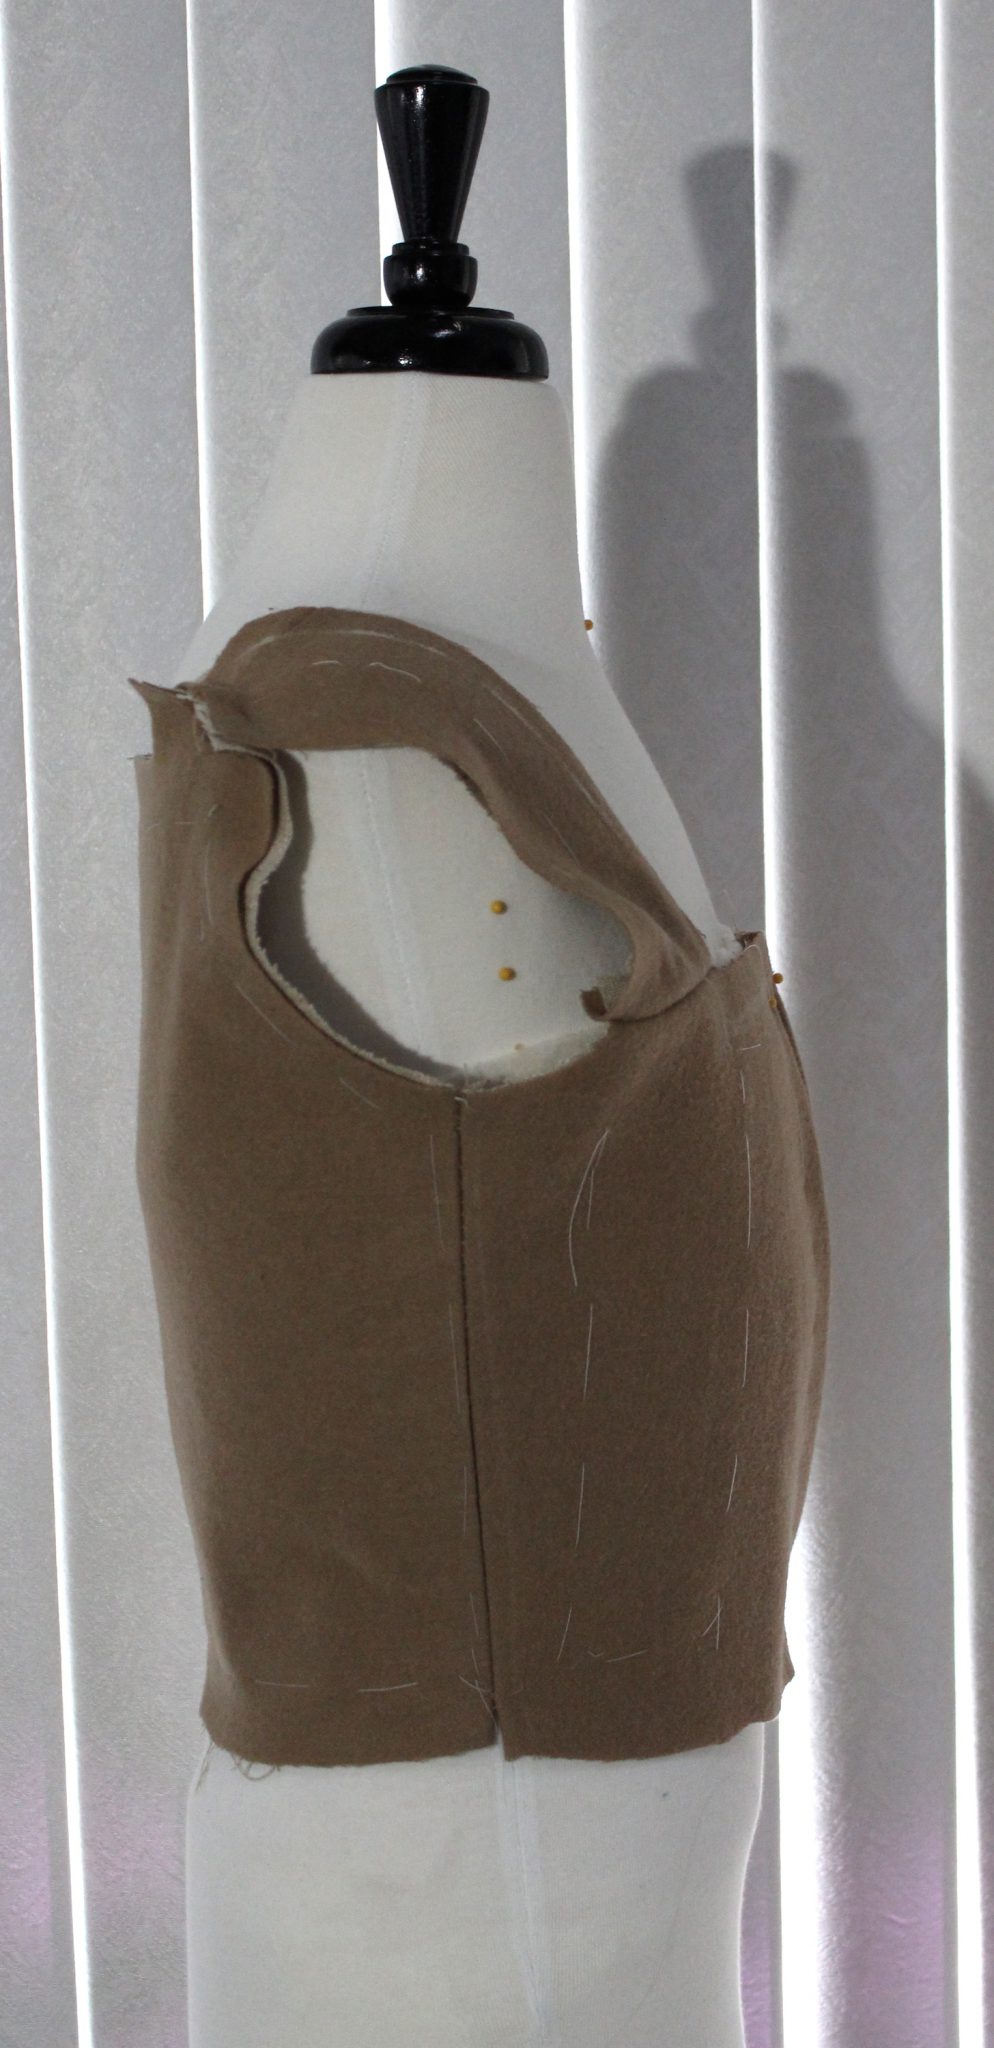
How it currently looks with at least one sleeve pinned on and the basting threads still in.
Up next, troubleshooting the armscye problem area! My experiment in using wool binding has made that area stiff + the seam allowances from where I pieced the strap. Pinning the sleeve on also caused some pulling. I may need to adjust the angle of the strap by unpicking the binding and adjusting where the strap and bodice meet. What do you guys think?
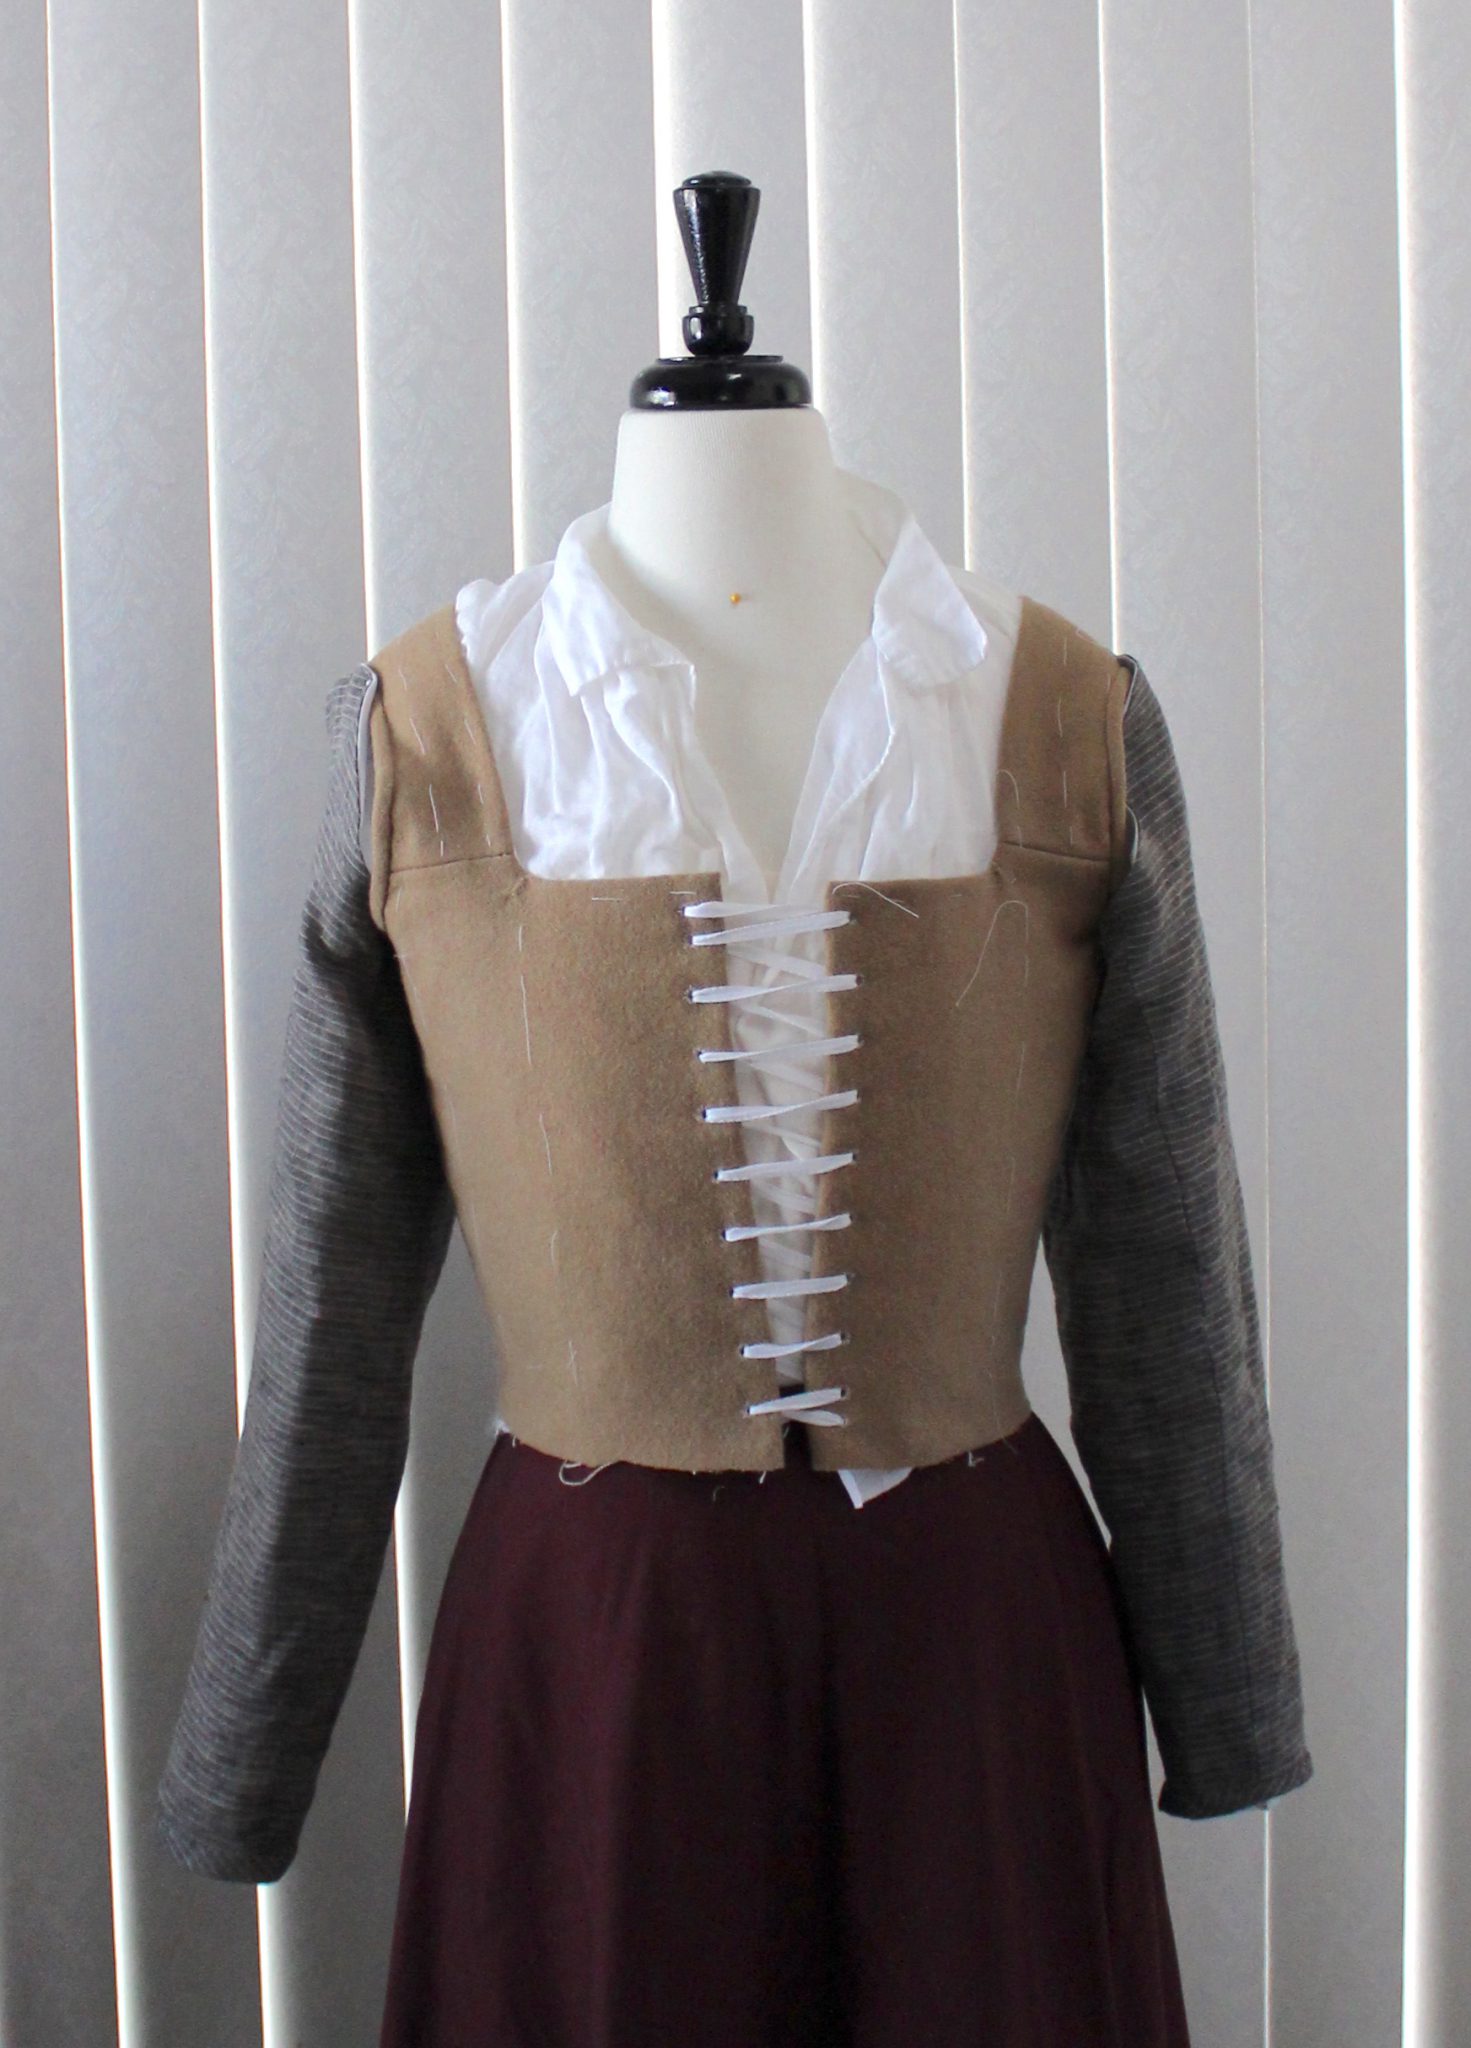
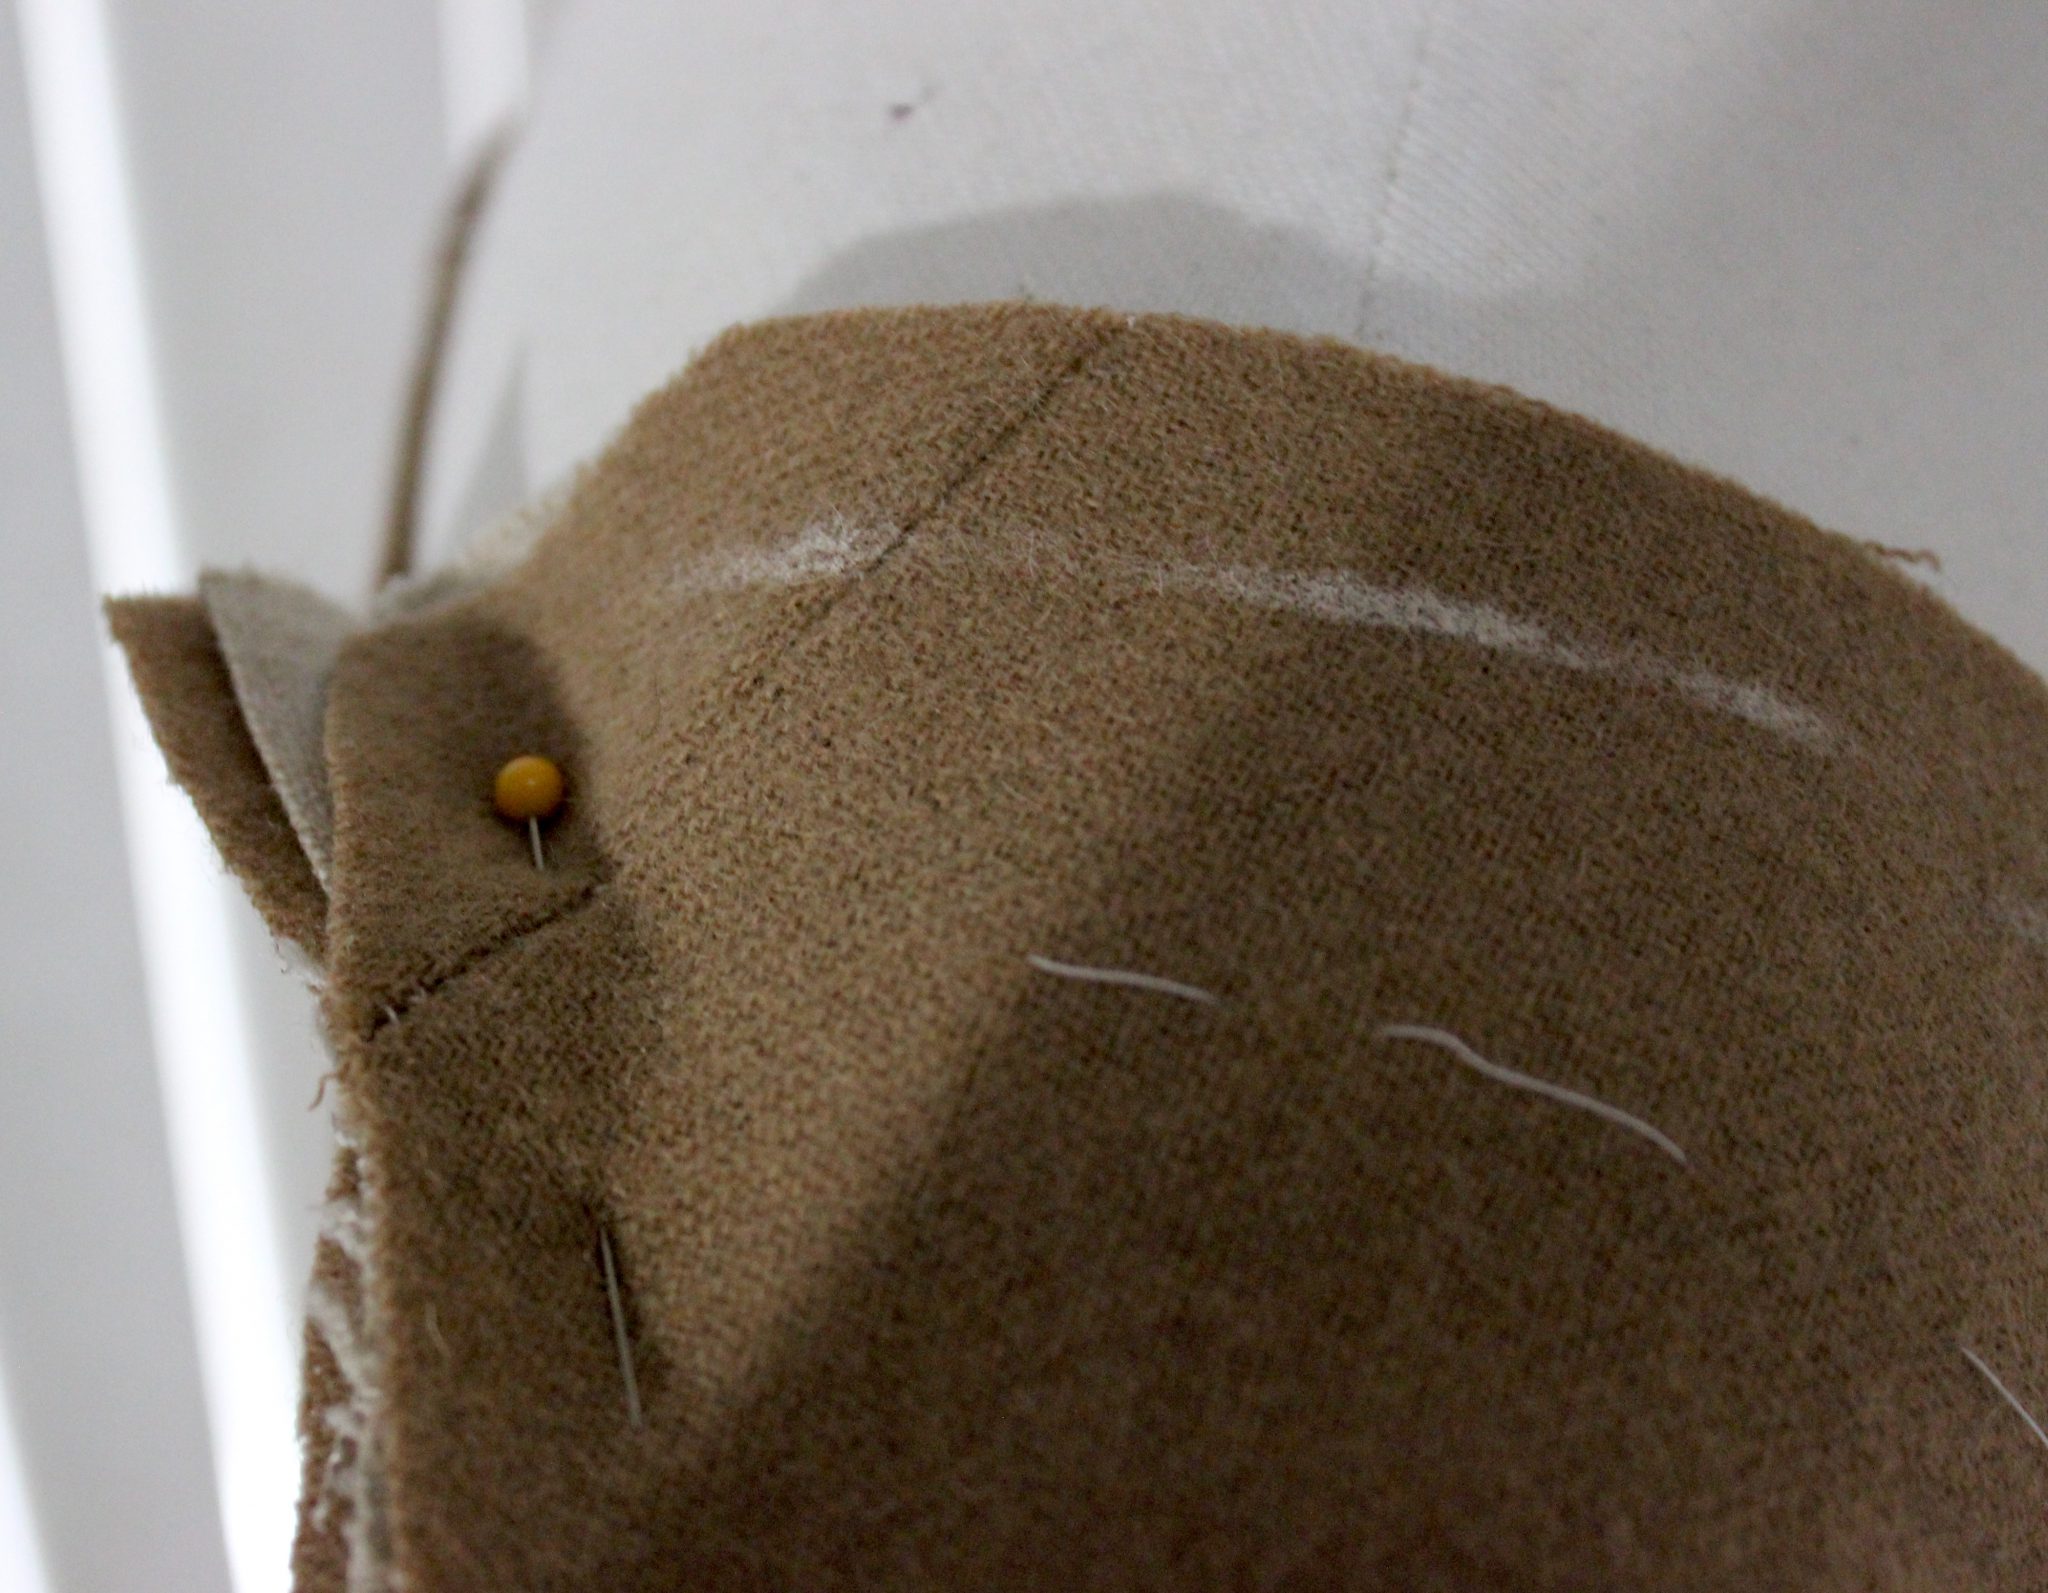
I forgot to post these, I’ve slowly been sewing away on petticoat bodies from caramel colored wool. Linen/cotton canvas interlining, linen/cotton lining. Sewn with the broken backstitch, running stitch and whip stitch in linen thread. The project has sat in the time out corner a few times.
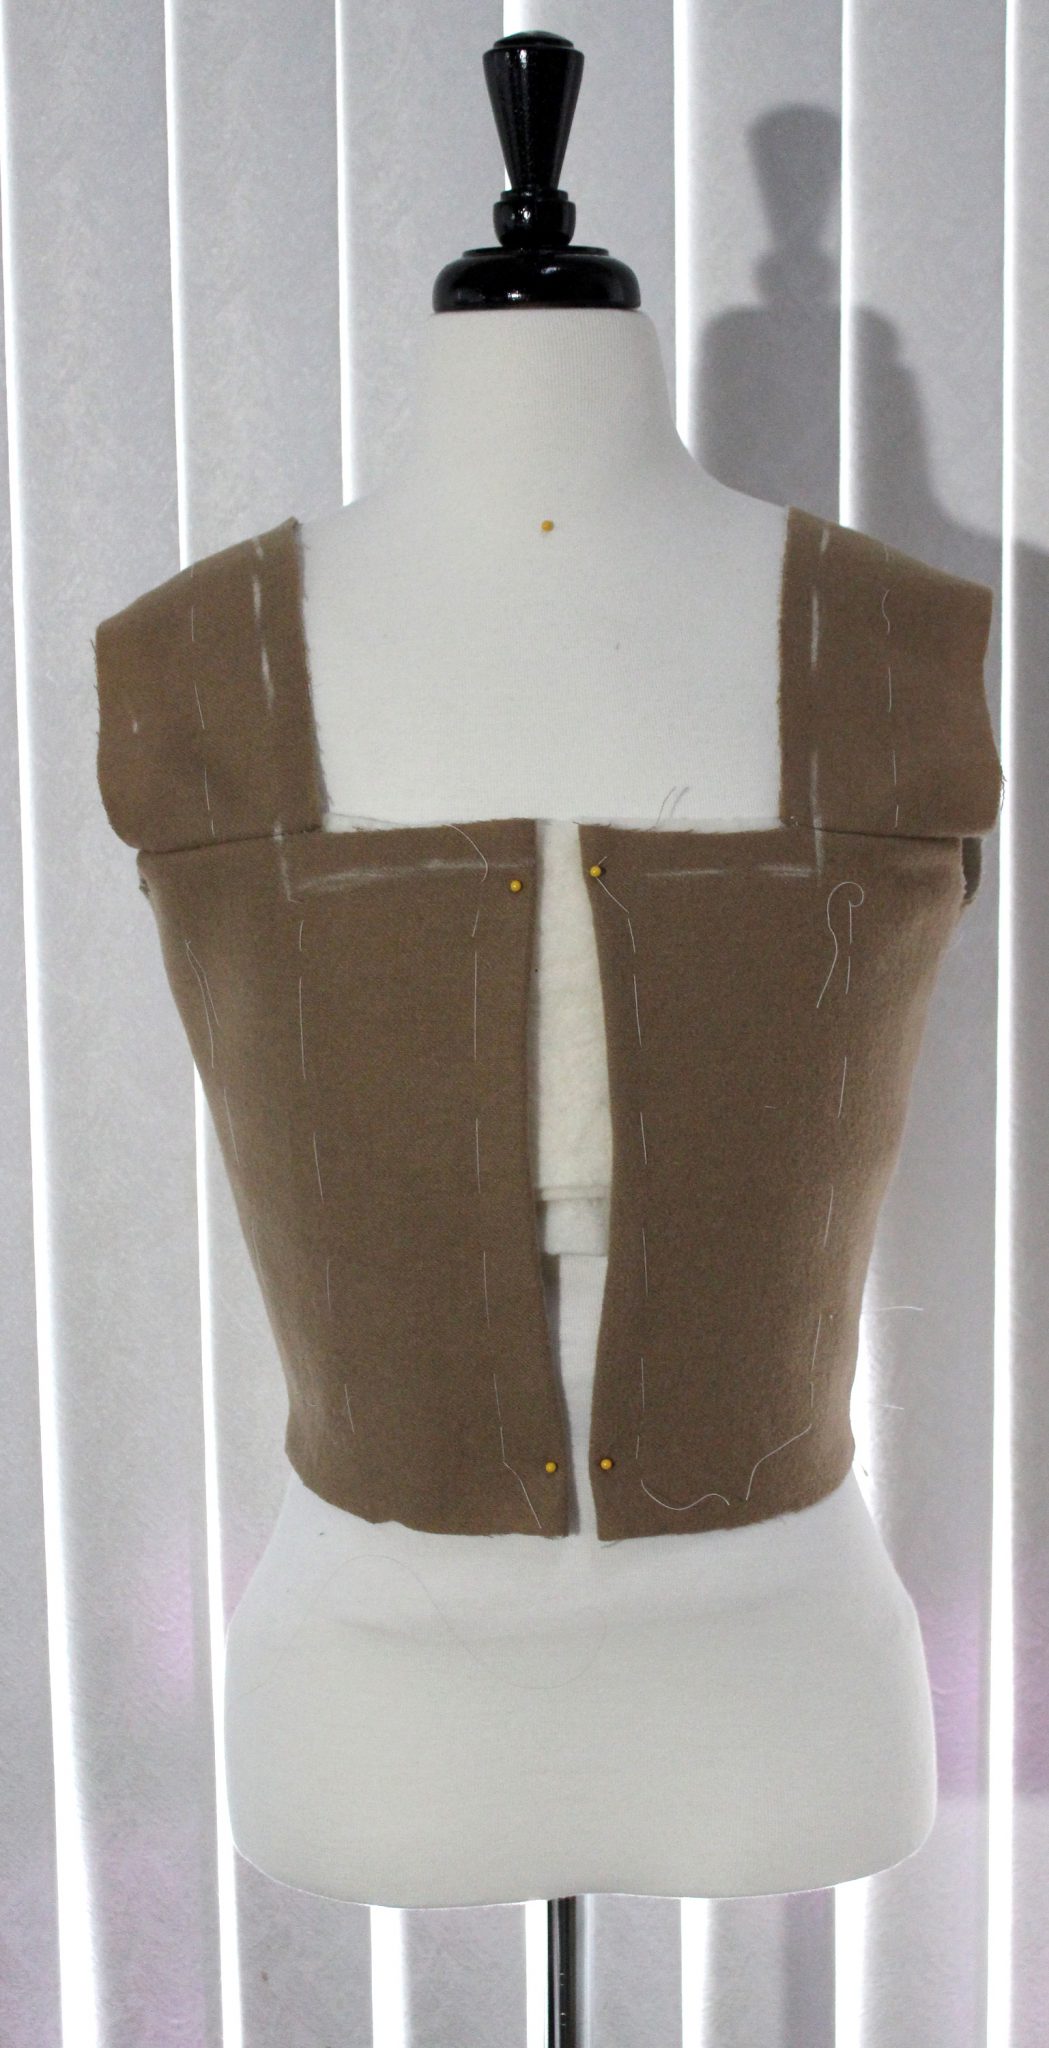
First, when I trimmed the neckline corner down a tiny bit too far, I ended up darning it as a fix and reinforcing the area. Second I tried it on and it was too tight! Bah, I need to adjust my bodice block. Thankfully I had an extra large seam allowance in the back so I was able to let it out, but once I did that the back neckline started to have issues. After lots of basting, pressing, and re-basting I sewed up another 1/4 an inch and that seemed to fix it.
The lining is in, the armscyes bound, so it just needs eyelets and a tiny bit of clean up, oh and the petticoat. I have 5 yards of red wool (lucky e-bay find) which should be enough for a new kirtle *and* the petticoat if I am careful with my cutting.
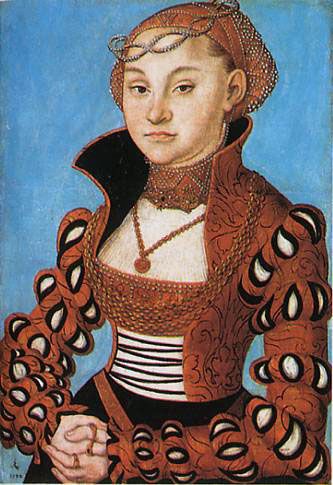
I have always liked Saxon Gowns, they have a different look from the French and English gowns of the early 16th century, they have interesting construction puzzles, and an excuse to use several yards of velvet and fancy fabric is always a good thing.
After going back and forth with a friend on just how these gowns were put together, looking at lots and lots of paintings, and seeing what other costumers have done I decided to make one for myself.
I picked up some brown velveteen for cheap along with some jacquard in a similar color and started plotting.
I have always been fond of the tall collared styled gowns and I haven’t seen many of them recreated so that is what I set my sights on.
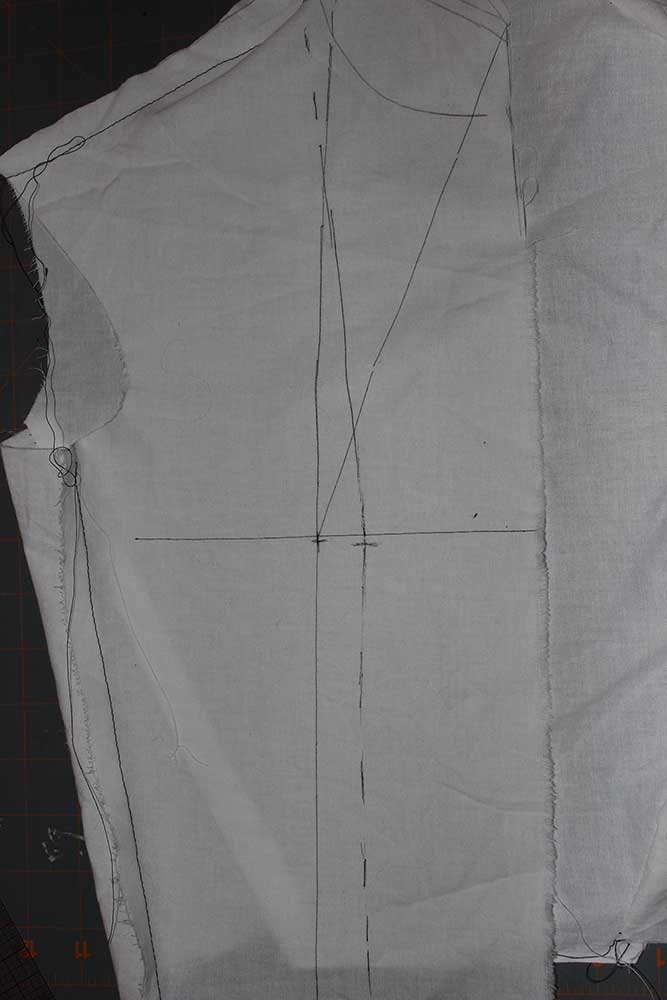
I dug out my tall collared doublet pattern to use as a base for the bodice, this version of the patterns has a few issues so it would need a bit of adjustment to get things right.
One of the issues with my doublet pattern, too tall in the collar and the base of the neck is too wide.Doublet pattern base
I cut out a mock-up in muslin adjusted the collar and the back of the neck.
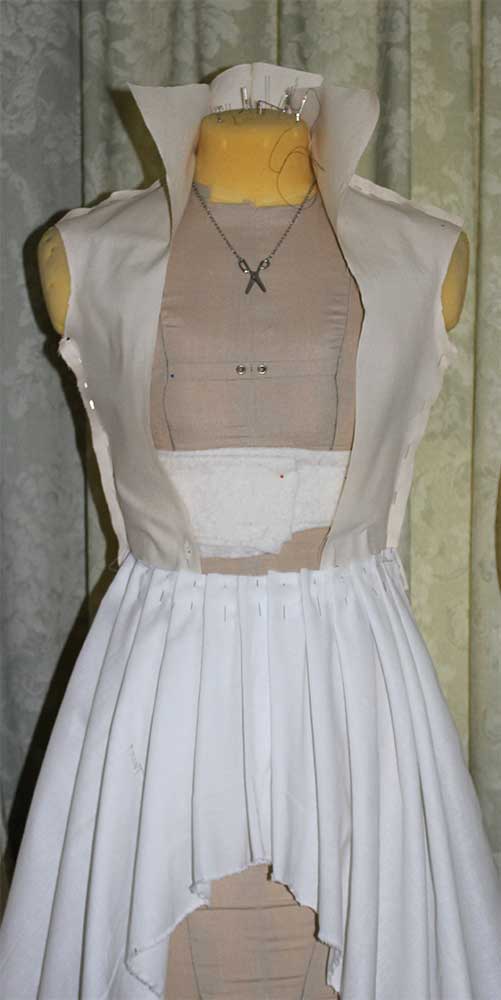
That basted in place I put it on my dress form and marked where the bust point fell on the form.
But when I tried the mock-up on, where I marked the bust point on the form, is not where my bust point is. This is important as I’m using the bust point as a marker for where the edge of the gowns fall.
So I marked on the mock-up where my bust point hit. This also gives me the basis for how wise the front gap will be in the finished gown. Once that was marked I trued up my edges and starting at the bust point flared the front out to form the collar, and I am left with a pretty good base for the gown bodice. The only thing left to adjust is the back collar.
Flaring the collar out, starting at the bust pointSaxon Gown bodice mock-up