After a year of putting the skirt together I have returned to making the “Pisa” Gown. This was not a planned execution back into the fray and fluff of velvet, but rather a unhinged returned after being driven half mad by Tudor skirts and lots of ironing. But more on that later.
After my experiments with buckram and pad stitching I decided the first bodice I started on was a learning experience. I had yet to cut the final velvet layer so I didn’t feel too bad starting over. I used my tweaked block pattern and then got cold feet for a few days over the style of the bodice point.
Eleanora’s grave gown and the Pisa gown are both cut with a very steep dropped waist. I’m a bit smaller then Eleanora, based on the clothing measurements in the back of Pattern’s of fashion, and that steep of a point does not look good on me, so after some debate I cut the waist with a bit more curve at the waist to the point, rather then a straight line.
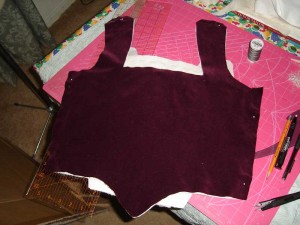
The bodice taken care of I had to decide how I was going to stiffen it. I’ve found that gown interlinings need to either be stiff enough to shape the body or soft enough to mold with the body, if it is between those two extremes you get creases and wrinkles.
Usually just a layer of twill or canvas works well for me, but Moda mentioned the use of felt interlinings which I’ve wanted to try since reading about it.
I did not have any felt on hand nor could I run out to the store at 3am, but I did have some cotton needle punched quilt batting and decided that was close enough.
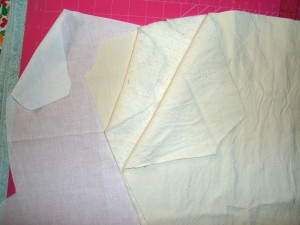
What I used:
Washed cotton twill: 1 yard
Warm and natural cotton batting: 1/2 a yard
muslin (cut the pattern with straps and seam allowances): 1 yard
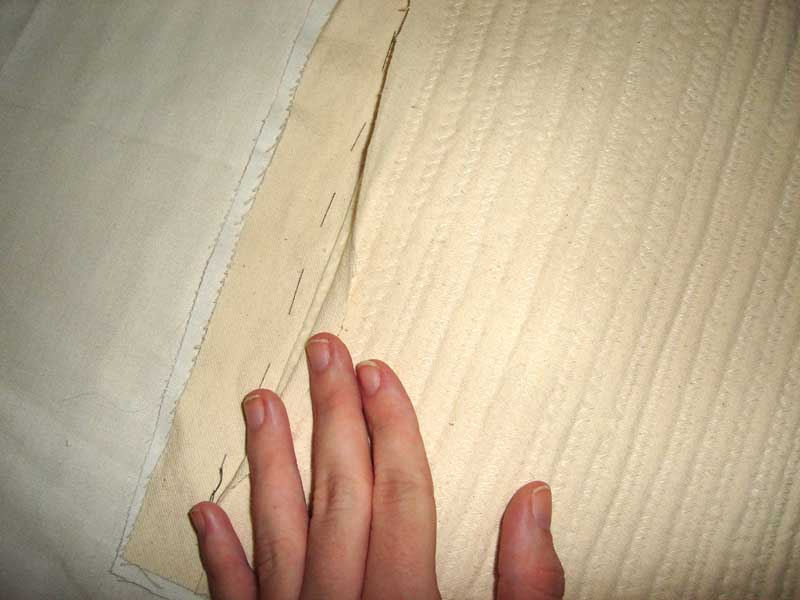
I cut two layers of cotton twill, and a layer of the batting with seam allowances but without straps. Those were stacked in a twill, batting, twill sandwich, pinned and then the whole thing zig-zag stitched together.
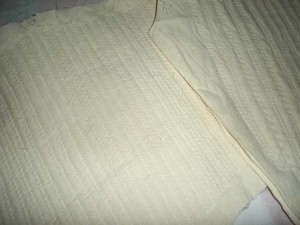
I did the same thing for the back stopping each row before I got to the seam allowances, pivoting the interlining and then starting a new row. In the end the whole thing had almost a corded appearance. (Which might just be from some tension issues with the machine.)
With both pieces done I basted them by hand to a layer of muslin, sewing just the outer layer of twill to it. (The twill layer laying against the muslin).
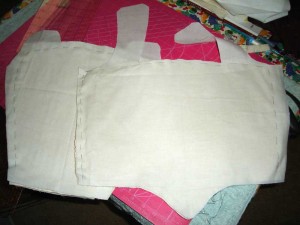
I then cut away the seam allowances and in a little bit more, of the batting and the twill layer facing me. This reduces the bulk and means I will not be sewing eyelets through batting. The muslin is then basted to the velvet fabric all around save for the waist line which is left open.
Oops! Missed that somehow! Thanks for the update!
It looks really nice, though I can probably do with more ahem.. smoothing than you do 😀
Hope you get to finish it soon! It’s such a beautiful color, too!
Hi Marianne! This project is still in my “not yet finished” pile. One day I will take apart the hem and fix the shape of the skirt and find the right trim for it. I do have some photos of it on me in its unfinished state.
http://centuries-sewing.com/wp-content/uploads/2012/01/pisagown_wipfront.jpg
http://centuries-sewing.com/wp-content/uploads/2012/01/pisagown_wipside.jpg
http://centuries-sewing.com/wp-content/uploads/2012/01/pisagown_wipskirtlining.jpg
I hope those are helpful!
Jenn/CenturiesSewing
Hello!
How did this turn out? I was looking for more updates but seem not be able to find any, past the skirt. I’d love to know if it worked well, as I’m wondering what stiffening to use for my next project. 🙂