


Another project off my list. I worked on this off and on for several months. A majority of the construction was done over the course of a week. The actual finishing like the eyelets and binding and the busk took far longer then sewing the boning channels.
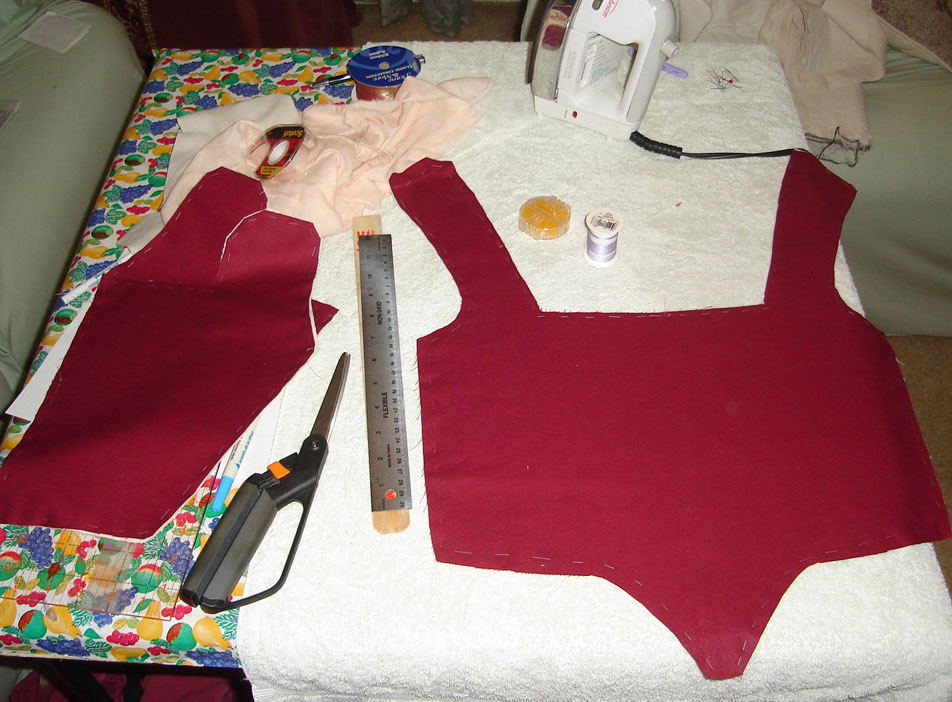
Two layers of cotton duck with the outer layer of red cotton sateen (standing in for silk, ask my cat about it). Hand sewn with black silk thread. Self made bias tape, and hand sewn eyelets with matching cotton floss.
The pattern is my usual bodice block. It is boned with cable ties, the boning diagram is rough nod to Pfaltzgrafin Dorothea Sabine von Neuberg’s corset.


")
 but I think you can get something similar with the corset generator but it will take a few mock-ups. You want your straps to start Where your arm meets the body, draw a line up from that point, (however long you want as it can be adjusted later) that will form the outside edge of the strap, from that line go in about an inch to an inch and a half and draw parallel line letting it hit right against the top front neckline, do the same for the back. However you want to keep the back cut high with short straps in possible. If you cut the corset very low in the back you can have an issues with the straps falling off your shoulders, which gets annoying fast.
Leave a Reply